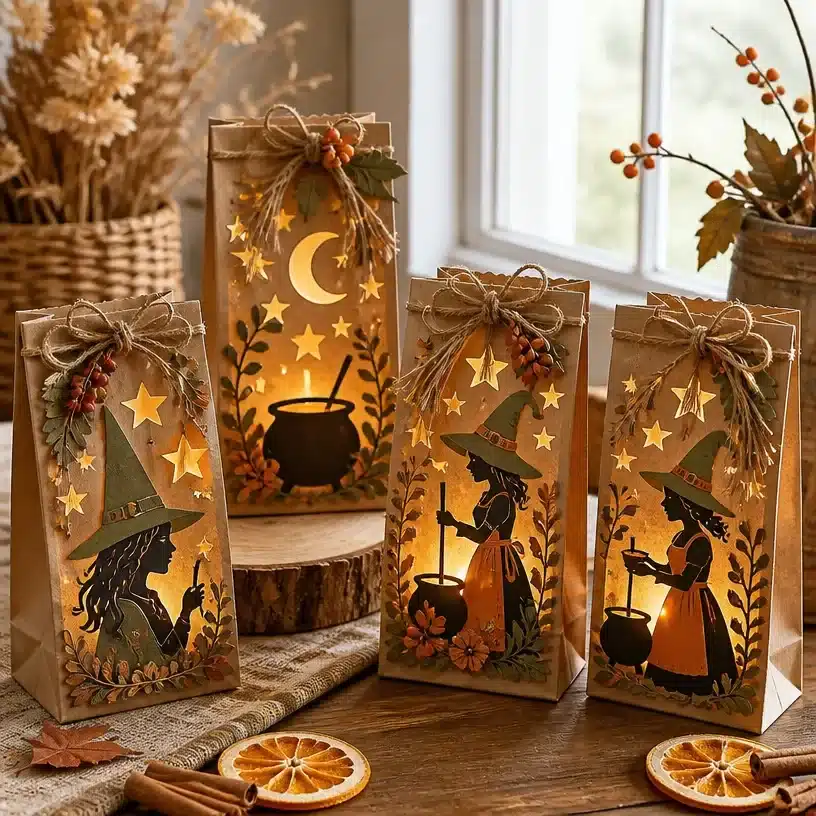
Why DIY Paper Bag Vintage Kitchen Witch Luminary Set Is Worth Making
The DIY Paper Bag Vintage Kitchen Witch Luminary Set is a charming and whimsical project perfect for adding a touch of seasonal decor to your home. Made from everyday materials, this craft not only provides a unique decorative element but also allows for creative expression. Whether placed on a windowsill, mantel, or dining table, these luminaries cast a warm, inviting glow that enhances the cozy atmosphere of your space. It’s an ideal project for anyone looking to engage in fun crafting, making it a delightful activity for families and friends to enjoy together. You may also find Diy Rainbow Spiderweb Paper Plate Suncatcher useful.
What makes this craft particularly special is its simplicity. With just a few easily obtainable materials and straightforward steps, even beginners can achieve satisfying results. You’ll find that the process of creating these luminaries invites you to tap into your artistic side without the pressure of perfection, making it both enjoyable and stress-relieving. Plus, the retro 1960s and 1970s vintage style adds an intriguing nostalgic flair, appealing to those who appreciate unique handmade decor. You may also find Diy Rainbow Squishy Paper Pumpkin Craft Tutorial useful.
Before You Start
Before diving into the crafting process, it’s essential to prepare your workspace and materials to ensure a smooth experience. You’ll be creating decorative luminaries that not only catch the light but also bring in the festive spirit of the fall season. You may also find Diy Tissue Paper Sun Catchers For Sunny Windows useful.
The process will involve cutting, gluing, and painting to achieve a layered effect that pays homage to vintage aesthetics. It’s important to keep in mind that each layer of paint will need adequate time to dry before adding details. This significantly helps in maintaining crisp edges and vibrant colors. You may also find Diy Witch Hat Collage Craft For Kids useful.
You will also want to protect your work surface consider laying down old newspapers or a plastic sheet to catch any spills or paint drips. Since this craft involves gluing and possibly sharp scissors, supervising younger crafters is necessary to ensure safety.
Materials You’ll Need
Gather the following materials for your project:
- Kraft paper bags
- Cardstock
- Hole punch
- Glue stick
- Battery LED tea lights
- Craft colors in harvest gold
- Avocado green
- Burnt orange
- Walnut brown
Helpful Tools
In addition to the materials, having the right tools will enhance your crafting experience:
- Scissors: For cutting shapes and edges with precision.
- Paintbrushes: Various sizes for applying glue and paint.
- A crafting knife: For more intricate cuts if desired.
- A ruler: To keep measurements consistent.
How to Make DIY Paper Bag Vintage Kitchen Witch Luminary Set
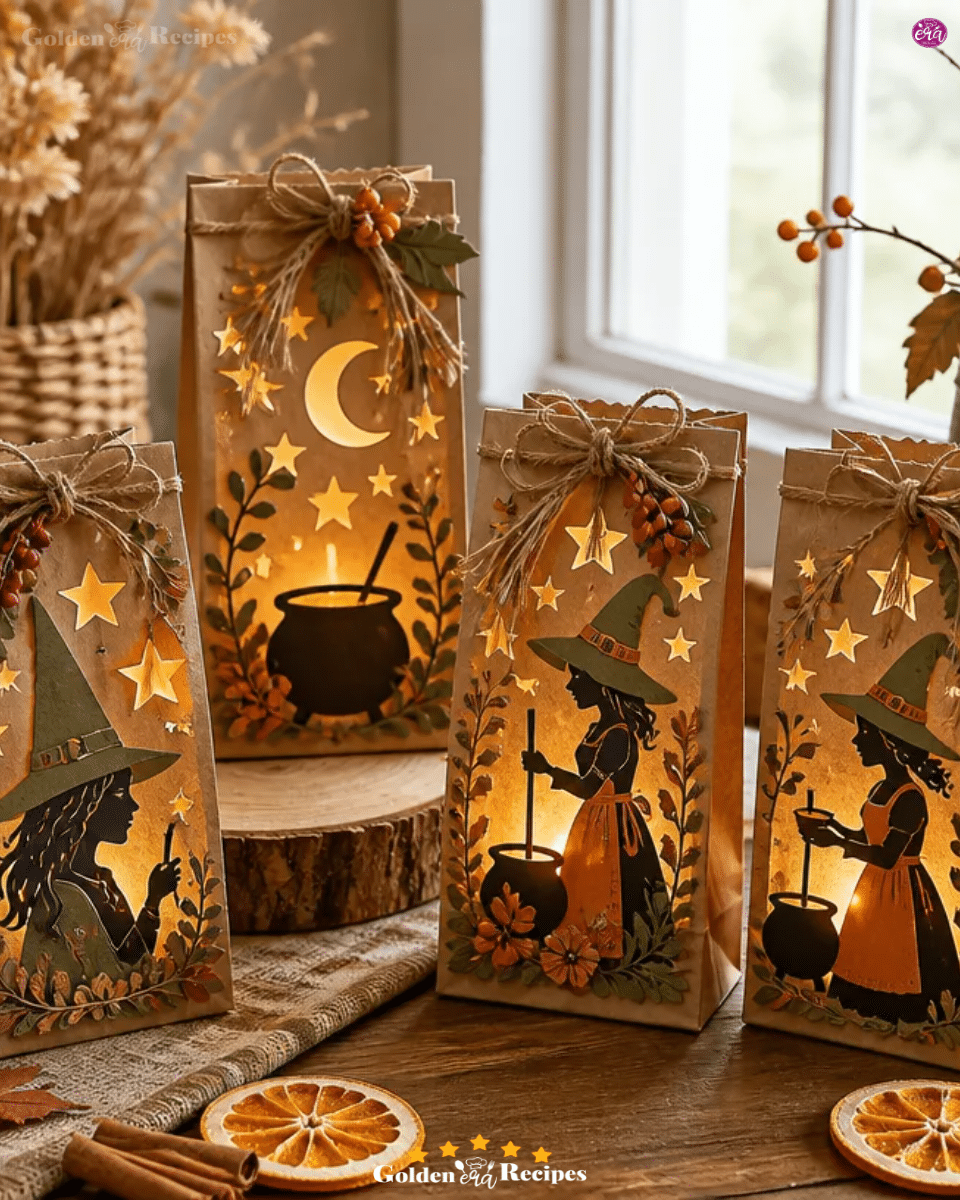
Gather your materials: Begin by collecting all the items listed above. If you have any recycled paper materials, flatten them out for easy use.
Build the base form: Carefully open a Kraft paper bag and stand it upright. Trim the top edge if needed to achieve your desired height. Dry-fit any cardstock shapes you want to add, ensuring they sit securely before committing with glue.
Add initial color layers: Using paintbrushes, apply the base colors to the outside of your luminary in thin coats. Retro colors like harvest gold or burnt orange will enhance the vintage feel. Allow each layer to dry completely before moving onto the next to avoid muddling colors.
Incorporate seasonal details: Now is the time to showcase your creativity! Add decorative elements like small leaves, stars, or faces cut from cardstock, gluing them carefully onto your luminary. Be sure to keep the focal detail near the center for visual impact.
Secure loose parts: Once satisfied with your decorations, trim any stray threads or excess glue. If necessary, seal your luminary with an appropriate sealer for added durability. Insert a cool battery-operated LED light into the bottom, and style your luminary against a simple fall background to complete the look.
Displaying your creations can be quite rewarding. Consider aligning them on a shelf or creating a themed centerpiece for your dining room table.
Ideas for Using Your Finished Craft
Once your DIY Paper Bag Vintage Kitchen Witch Luminary Set is complete, there are various creative ways to showcase and utilize your luminaries.
- Spectacular Window Displays: Positioning these luminaries by a window creates a beautiful showcase for passersby, embracing the seasonal warmth and inviting a sense of nostalgia.
- Festive Table Settings: For dinner parties or celebrations, these luminaries can serve as unique centerpieces, enhancing your table decor with their flickering glow.
- Seasonal Decorations: They are also perfect for decorating your home during Halloween or the fall season, reflecting the fun spirit of vintage-style crafts.
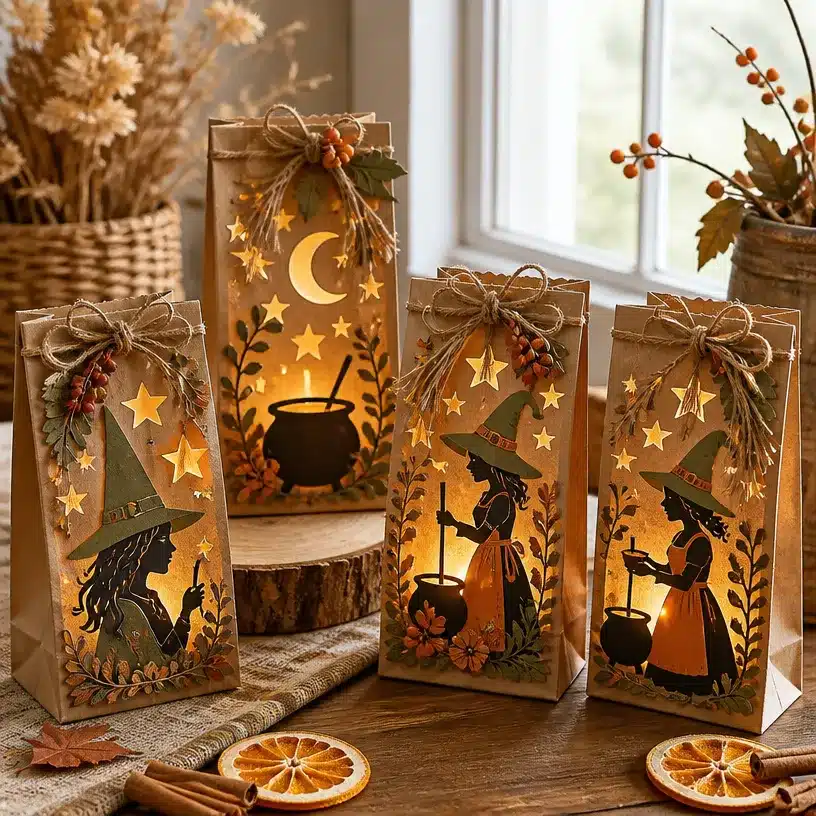
Tips for the Best Result
To ensure your DIY Paper Bag Vintage Kitchen Witch Luminary Set turns out beautifully, keep these tips in mind:
- Avoid excess glue: Less is more in crafting; too much glue can create a messy appearance and prolong drying times.
- Use a consistent brush stroke: Keeping your paint application even will help your colors shine and look crisp.
- Allow for adequate drying time: Be patient; letting each layer dry completely before adding more designs or colors prevents smudging and maintains sharp edges.
- Make precise cuts: If using a crafting knife, take your time for greater accuracy and better overall appearance.
Common Mistakes to Avoid
Here are some common mistakes and quick fixes:
- Uneven paint application: If paint looks blotchy, it may require a light sanding after it dries, followed by a thin touch-up layer.
- Loose decorations: If decorations start coming off, use a stronger adhesive for better hold, and let them cure as needed.
- Wrinkled paper: If the paper wrinkles, apply a low heat from a hairdryer on the underside to flatten it out gently.
- Focal points not visible: If the details are too faint, consider using a contrasting color to make them pop more against the base layer.
Creative Ways to Make It Your Own
Personalization can make your DIY Paper Bag Vintage Kitchen Witch Luminary Set truly stand out. Here are some ideas:
- Color Variations: Instead of just warm tones, try using pastels or even white for a snowy winter look.
- Different Shapes: Experiment with cutting unique silhouettes out of your paper bags for varied designs.
- Add Extras: Incorporate natural elements such as twigs or small pinecones for an earthy feel.
- Names or Initials: Personalize the luminaries with family names or initials to create memorable gifts.
How to Store DIY Paper Bag Vintage Kitchen Witch Luminary Set
Taking care of your finished craft is simple:
- Dust as Needed: Lightly dust your luminaries to keep them clean and vibrant.
- Avoid Direct Sunlight: Store them in a cool, dark place to prevent fading or damage from direct sunlight.
- Safe Storage: If stacking, be sure to place them in between layers of soft material to prevent crushing delicate details.
A Quick Safety Note
When handling scissors and crafting tools, ensure that children are supervised to prevent any potential accidents. If you plan to use LED lights, the batteries should be kept out of reach of small children.
FAQs About DIY Paper Bag Vintage Kitchen Witch Luminary Set
How long does it take to complete the project?
The entire crafting process can take about 2-3 hours, depending on drying times between layers.
Can I use a different material?
Yes, you can use other types of paper, but ensure they are sturdy enough to hold their shape.
What glue works best?
A glue stick is sufficient for paper crafts, but a stronger craft glue may be necessary for heavier decorations.
Can children help with this project?
Absolutely! Just ensure adult supervision when using scissors or hot glues.
How should I store the luminaries?
Keep them in a cool, dry place and consider wrapping them in soft cloth to prevent damage.
Conclusion
Making your own DIY Paper Bag Vintage Kitchen Witch Luminary Set is not only a rewarding project but also an excellent way to enhance your home decor. The creative process allows personal expression while producing beautiful, handmade items that can be shared with friends and family.
For more crafting inspirations, check out Vintage Halloween Luminaries – Etsy for various styles or learn more about a different project with this guide on How to Make an Air Dry Clay Ghost Luminary. Enjoy your crafting journey!
Follow us on social for more recipe ideas & inspiration!
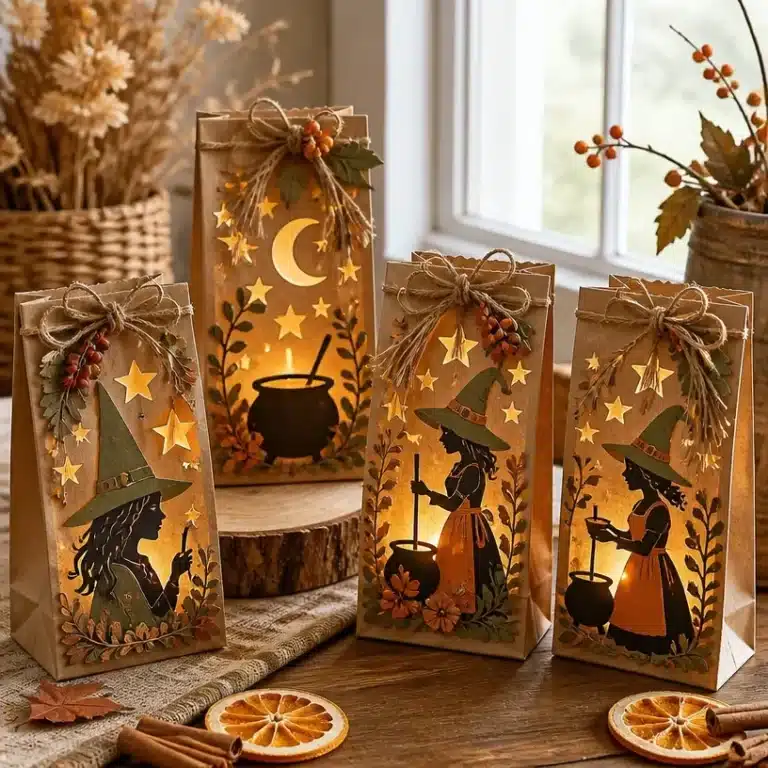
DIY Paper Bag Vintage Kitchen Witch Luminary Set
Would you like to save this recipe?
By submitting you agree to receive this recipe and occasional emails. Unsubscribe anytime.
Ingredients
Materials
- 5 pieces Kraft paper bags Choose medium-sized ones.
- 2 sheets Cardstock For decorative shapes.
- 1 piece Hole punch To create patterns in the paper.
- 1 stick Glue stick For attaching decorations.
- 5 pieces Battery LED tea lights For lighting the luminaries.
- 1 set Craft colors Harvest gold, avocado green, burnt orange, walnut brown.
Tools
- 1 piece Scissors For precise cutting.
- 1 set Paintbrushes Various sizes for applying glue and paint.
- 1 piece Crafting knife For intricate shapes.
- 1 piece Ruler To ensure measurements are consistent.
Instructions
Preparation
- Gather all your materials for easy access.
- Prepare your workspace by laying down newspapers or a plastic sheet.
Creating the Luminaries
- Open a Kraft paper bag and stand it upright, trimming the top if necessary.
- Apply the base colors externally in thin layers using paintbrushes.
- Allow each color layer to dry completely before adding more.
- Glue decorative shapes onto your luminary ensuring a focal point.
- Insert a battery-operated LED light into the bottom for illumination.
Displaying Your Luminaries
- Align your luminaries on a shelf or style them as a centerpiece.
Last Step: Don’t forget to leave a rating and comment below! It helps other readers find the best recipes — and it helps us too!
Tips & Notes:
Nutrition Information: Serving: 1 | Calories: 200kcal | Carbohydrates: | Protein: | Fat: | Sodium: | Fiber: | Sugar:
Nutritional information is provided as a courtesy and calculated automatically. Values can vary depending on the brands and ingredients you use, so if you’re tracking closely, I recommend calculating with your own preferred tool.