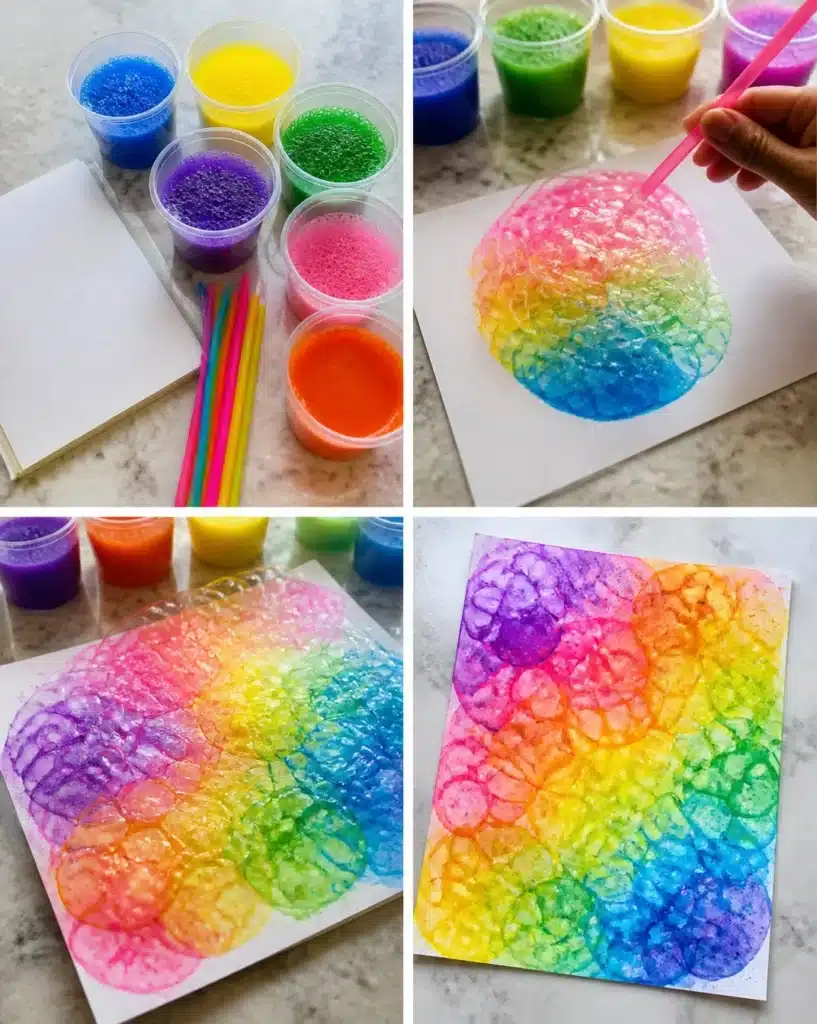
Why You’ll Want to Make Prism Rainbow Bubble Prints
The beauty of Prism Rainbow Bubble Prints lies in their vibrant colors and the sheer fun of making them. This project is perfect for anyone looking to create something unique while enjoying a playful activity. The prints have an abstract quality that adds a splash of creativity to any space, making them excellent as decorations, gifts, or even a personal keepsake. Best of all, the materials are easy to find and the process is simple enough for beginners of all ages. Imagine the joy of watching those colorful bubbles pop, leaving behind stunning patterns that can brighten up a room.
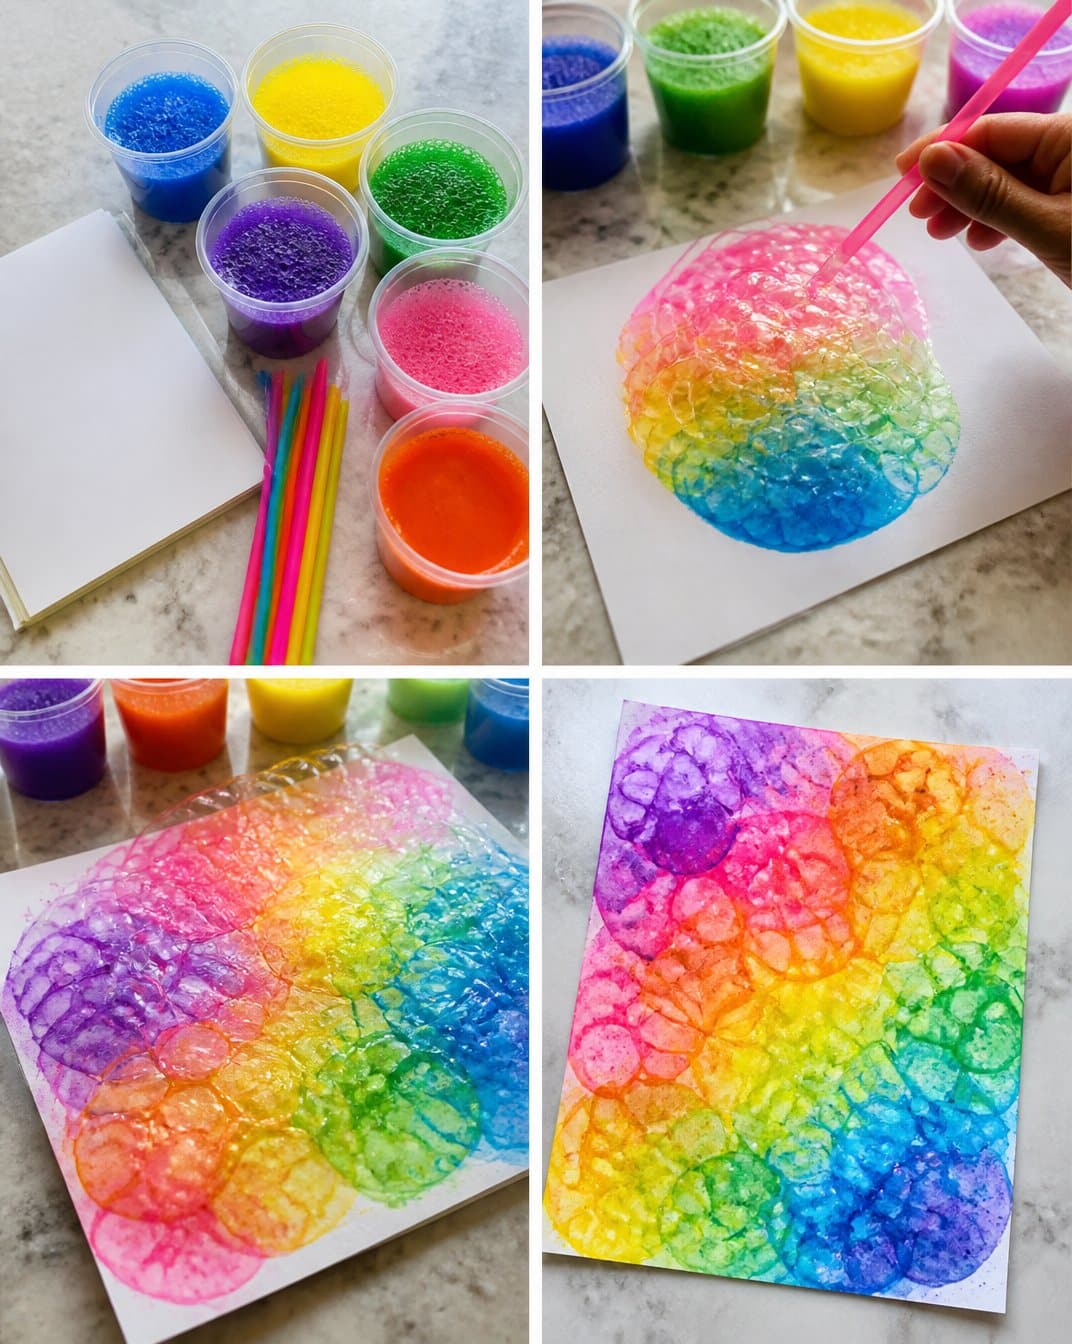
Getting Ready to Make Prism Rainbow Bubble Prints
Before diving into this exciting project, it’s helpful to understand the overall process of creating your Prism Rainbow Bubble Prints. The finished prints will feature swirls of vibrant colors on cardstock, each piece bearing its own unique design. Preparation is key, so make sure you have a clean workspace and the right materials ready. It’s important to work on a surface that you don’t mind getting a little messy, as bubbles can pop and cause splashes of color. While this project is fun for all ages, adult supervision is recommended to help with blowing bubbles.
What You’ll Need for Prism Rainbow Bubble Prints
- Bubble solution
- Food coloring
- Paper cups
- White cardstock
- Straw
Make sure to use a strong, high-quality bubble solution to achieve vibrant colors and lasting prints. The cardstock should be thick enough to hold paint without bending.
Helpful Tools
While the materials listed above are crucial, you’ll find that having a few extra tools can make the crafting experience smoother. Tissues or a damp cloth are handy for cleaning any spills, and a plastic tablecloth can protect your workspace from stains.
How to Make Prism Rainbow Bubble Prints
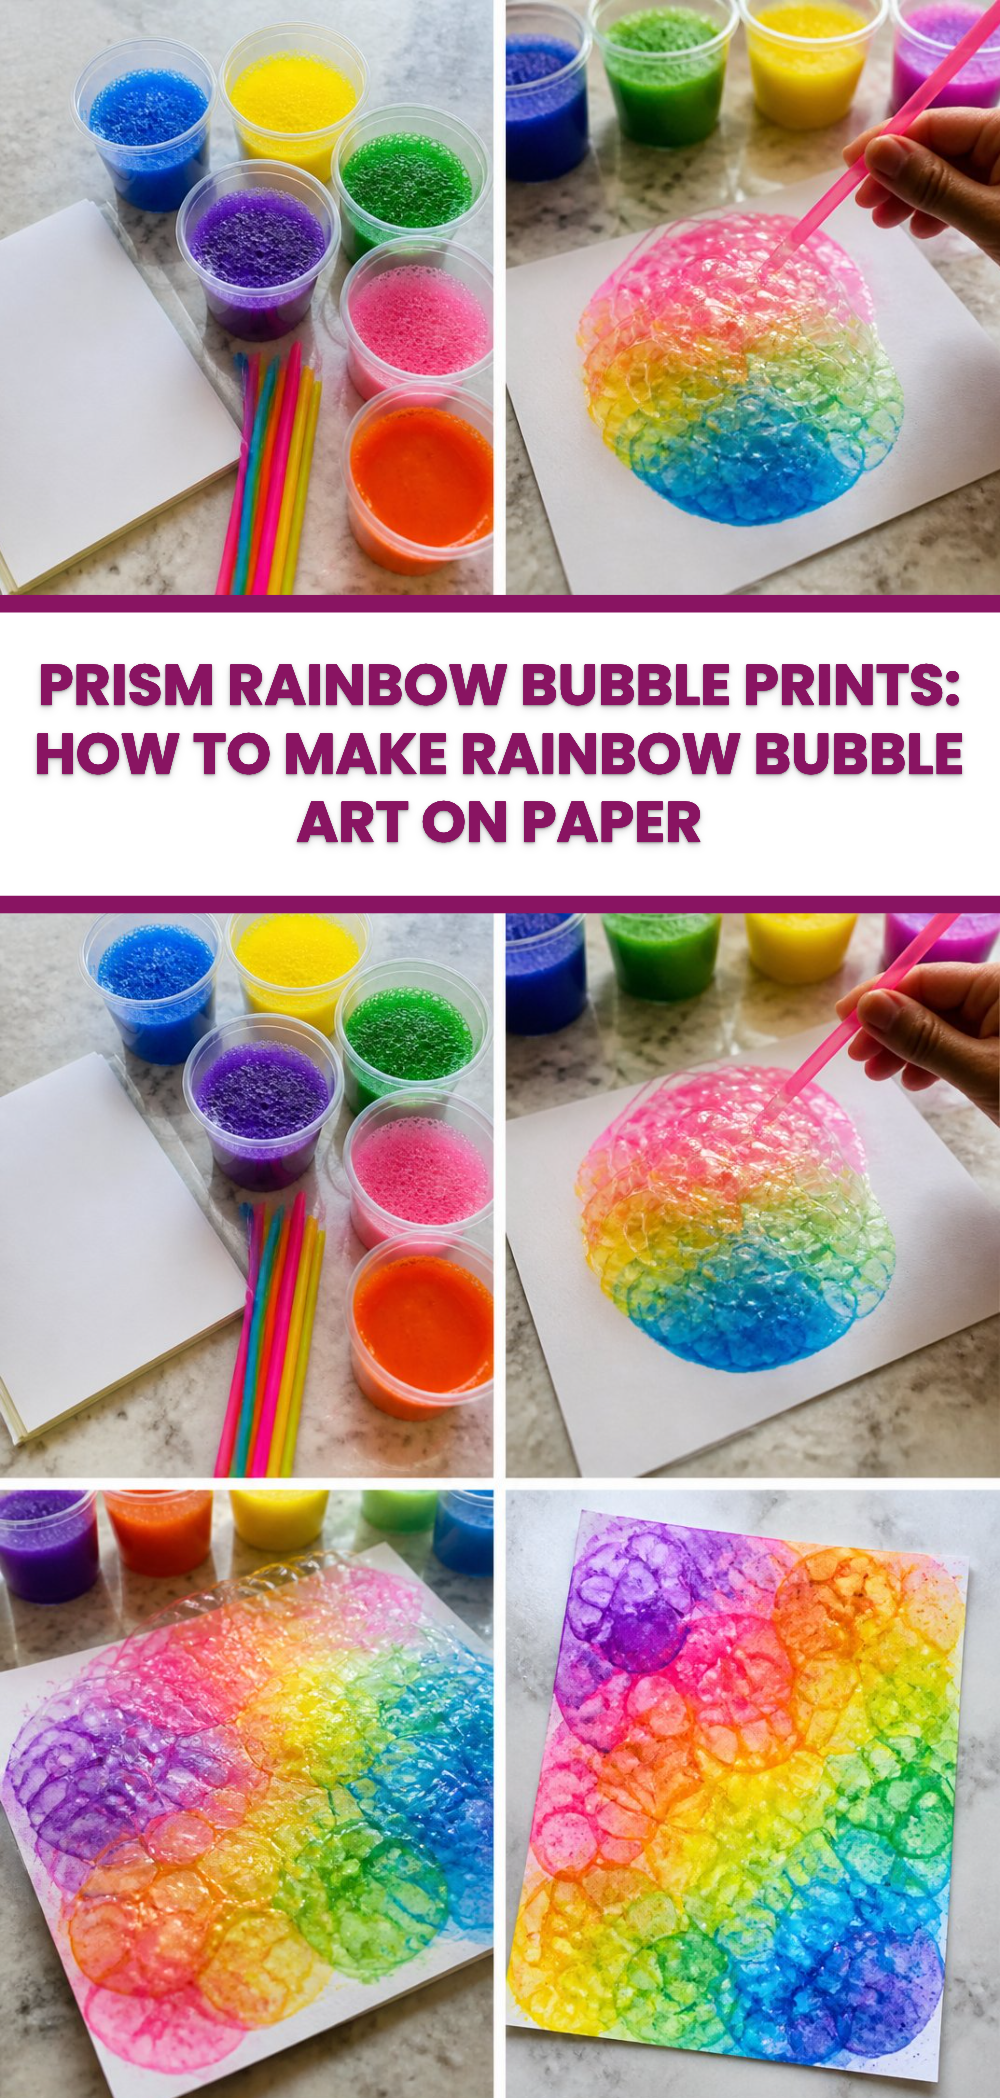
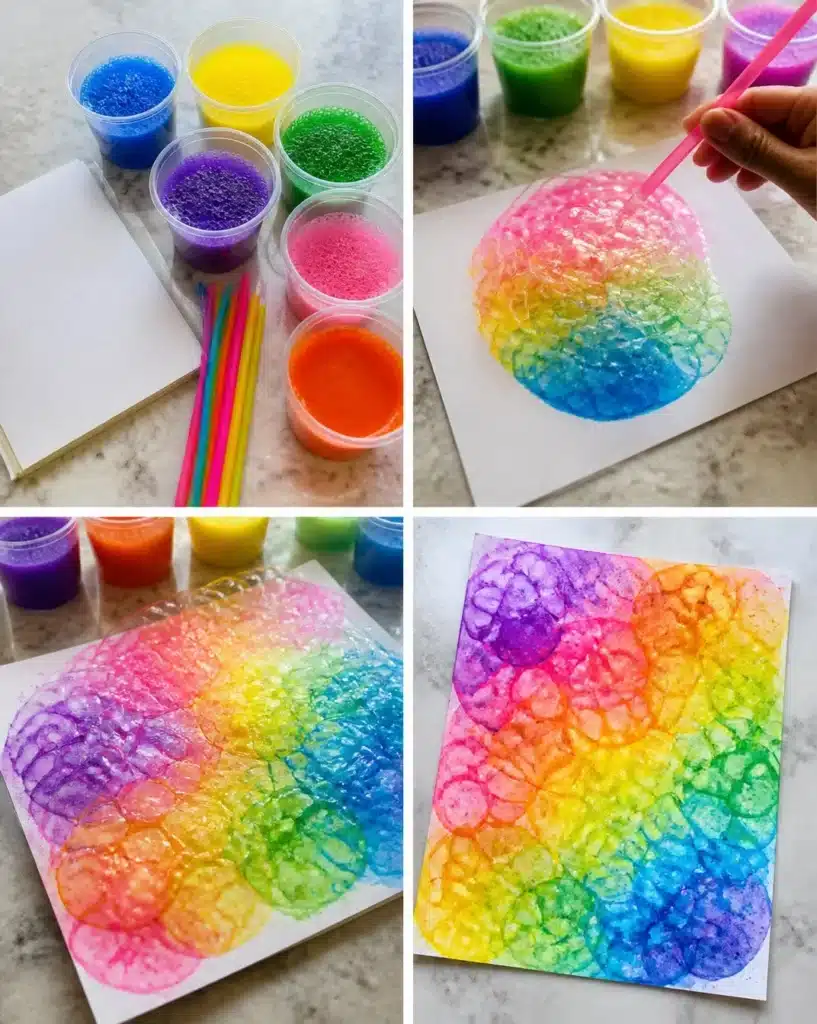
Prepare the Bubble Mixture: In paper cups, mix your bubble solution with several bright colors of food coloring. Each cup can feature a different color, giving you a wide palette to work from.
Blow Bubbles: Take one of the colored cups and dip your straw into the bubble solution. Gently blow into the straw to create bubbles. Aim to blow the bubbles towards the white cardstock, making sure they land on the surface.
Create Patterns: As the bubbles pop, they’ll leave behind beautiful splashes of color on the cardstock. Feel free to layer different colors by blowing bubbles from various cups.
Let It Dry: Once satisfied with your prints, set the cardstock aside to dry completely. This could take anywhere from 30 minutes to an hour, depending on the thickness of the layers.
Admire Your Artwork: After the prints are dry, step back and admire your unique pieces. No two prints will turn out the same, making each artwork special.
Ideas for Using Your Finished Craft
After you complete your Prism Rainbow Bubble Prints, you can display them in various ways to enjoy their beauty. Consider framing them and hanging them on a wall to add a splash of color to your home decor. These prints can also serve as vibrant cards for special occasions, or even as unique decor for birthday parties and other celebrations. If you’re feeling more adventurous, you can create a gallery wall featuring multiple prints, each with its own unique color scheme and pattern.
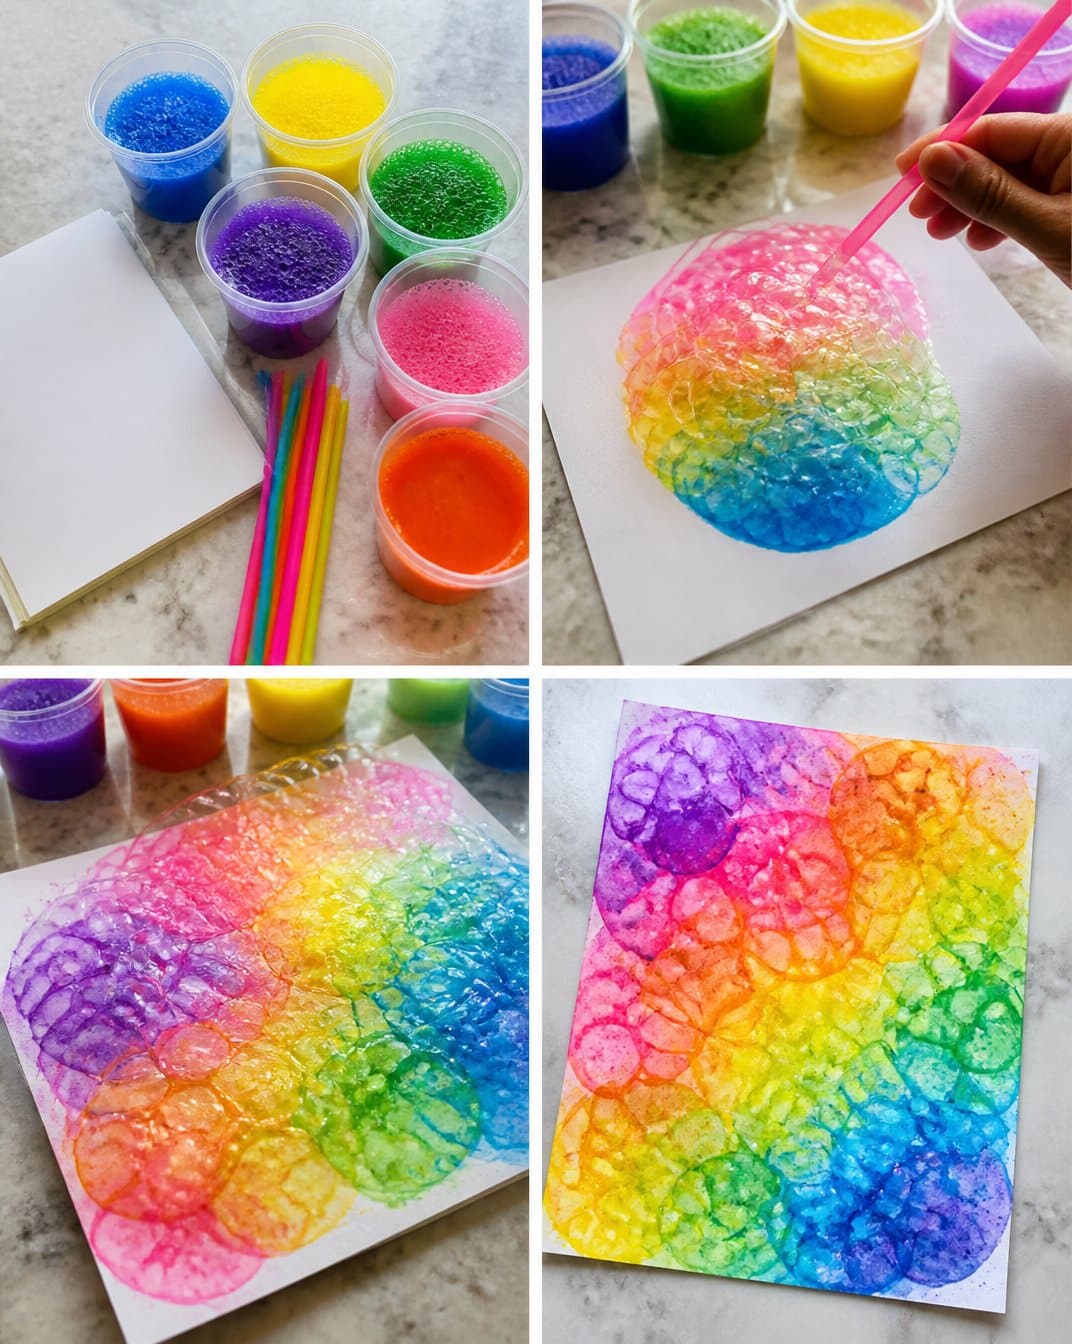
Tips for the Best Result
- Control Bubble Size: Gently blow into the straw to avoid large bubbles that may spill over, leading to messy prints.
- Layer Carefully: If you want to create a gradient effect, start with lighter colors and add darker shades gradually.
- Use Quality Materials: Opt for high-quality cardstock and bubble solution to enhance the clarity and vibrancy of your prints.
- Be Patient During Drying: Allow sufficient time for drying to prevent smudging and ensure a clean look.
- Try Different Techniques: Experiment with blowing bubbles from varying heights or angles for diverse patterns.
Common Mistakes to Avoid
1. Bubbles Not Popping
Sometimes, you might find that the bubbles don’t pop as you expected, leaving you with faint prints. This could be due to the bubble solution not being concentrated enough. To fix this, ensure you’re using a strong bubble mix.
2. Color Smudging
If colors bleed into one another, it might be because the bubbles were too concentrated in one area. To prevent this, try blowing the bubbles more evenly across the cardstock.
3. Weak Prints
If you notice that the prints are weak and not vibrant, consider adding more food coloring to the bubble solution. Adjusting the ratios can yield brighter results.
Creative Ways to Make It Your Own
To personalize your Prism Rainbow Bubble Prints further, consider the following variations:
- Experiment With Color Combinations: Use unconventional colors that reflect a theme, such as pastels for spring or warm tones for autumn.
- Add Glitter: For a sparkling effect, sprinkle some glitter onto the wet prints before they dry.
- Incorporate Stencils: Place stencils over certain areas of the cardstock before blowing bubbles to create shapes.
- Use Different Papers: Try out colored paper or textured surfaces for different visual effects.
- Personalize With Names: After the prints are dry, write names or quotes on the cardstock using markers or pens.
How to Store Prism Rainbow Bubble Prints
To keep your Prism Rainbow Bubble Prints looking fresh, it’s important to store them properly. Place the prints in a flat, dry area away from sunlight to prevent fading. You can also use a large envelope or file folder to protect them from dust and moisture. If you decide to frame them, use UV-protective glass to maintain the colors over time.
A Quick Safety Note
When working on this project, ensure that younger children are supervised, especially while blowing bubbles. Make sure they understand how to use straws gently to avoid any accidental spills or messes.
FAQs About Prism Rainbow Bubble Prints
How long does it take?
The overall project typically takes about 1-2 hours, depending on drying time.
Can I use different materials?
While the listed materials work best, you can experiment with other colors and types of food coloring.
Is adult supervision required?
Yes, especially for younger children who may need assistance with blowing bubbles and working safely with the materials.
Can I change the size of the prints?
Yes! You can use larger or smaller pieces of cardstock based on your creative preferences.
How should I store my prints?
Store them flat in a dark, dry place to prevent fading and damage.
Conclusion
Prism Rainbow Bubble Prints offer a wonderful way to express your creativity while engaging in a fun activity. As you create these colorful artworks, consider exploring additional projects that complement your crafting journey. You might enjoy engaging in other creative activities such as building a sweet apple pie bubble dessert or making colorful sweet sour roll-ups to match the vibrant theme. Let your imagination run wild and enjoy every step of the creative process!
Follow us on social for more recipe ideas & inspiration!
Prism Rainbow Bubble Prints
Would you like to save this recipe?
By submitting you agree to receive this recipe and occasional emails. Unsubscribe anytime.
Ingredients
For the bubble mixture
- 1 cup Bubble solution Use a strong, high-quality bubble solution for vibrant colors.
- various colors Food coloring Choose strong colors for the best results.
For creating the prints
- 5 sheets White cardstock Thick cardstock works best to hold paint.
- 5 pieces Paper cups Use to mix colors.
- 1 piece Straw For blowing bubbles.
- 1 piece Plastic tablecloth To protect workspace from stains.
- 1 piece Tissues or damp cloth For cleaning spills.
Instructions
Preparation
- Prepare a clean workspace and gather all your materials.
Mixing the Bubble Solution
- In paper cups, mix the bubble solution with several bright colors of food coloring.
Blowing Bubbles
- Take one colored cup and dip your straw into the bubble solution. Gently blow into the straw to create bubbles.
- Aim to blow the bubbles towards the white cardstock, ensuring they land on the surface.
Creating Patterns
- As bubbles pop, they will leave behind splashes of color. Layer different colors by blowing bubbles from various cups.
Drying
- Set the cardstock aside to dry completely, which may take 30 minutes to an hour.
Final Admiration
- After drying, admire your unique pieces - no two will be alike!
Last Step: Don’t forget to leave a rating and comment below! It helps other readers find the best recipes — and it helps us too!
Tips & Notes:
Nutrition Information: Serving: 1 | Calories: | Carbohydrates: | Protein: | Fat: | Sodium: | Fiber: | Sugar:
Nutritional information is provided as a courtesy and calculated automatically. Values can vary depending on the brands and ingredients you use, so if you’re tracking closely, I recommend calculating with your own preferred tool.