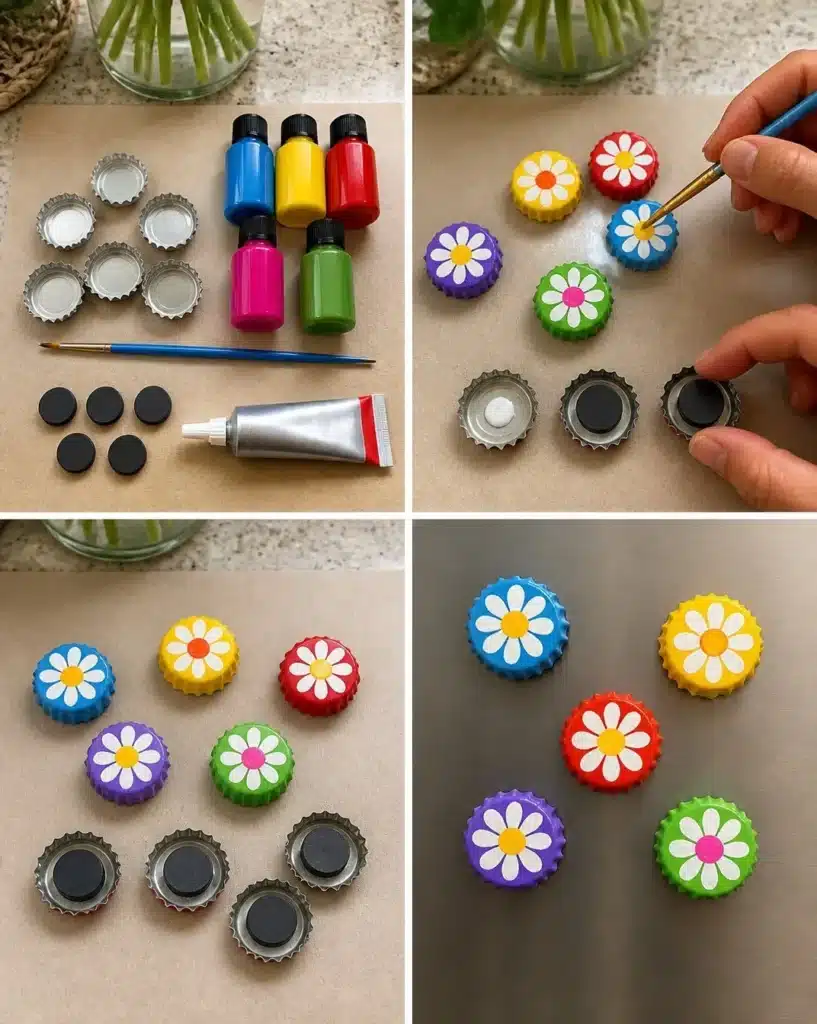
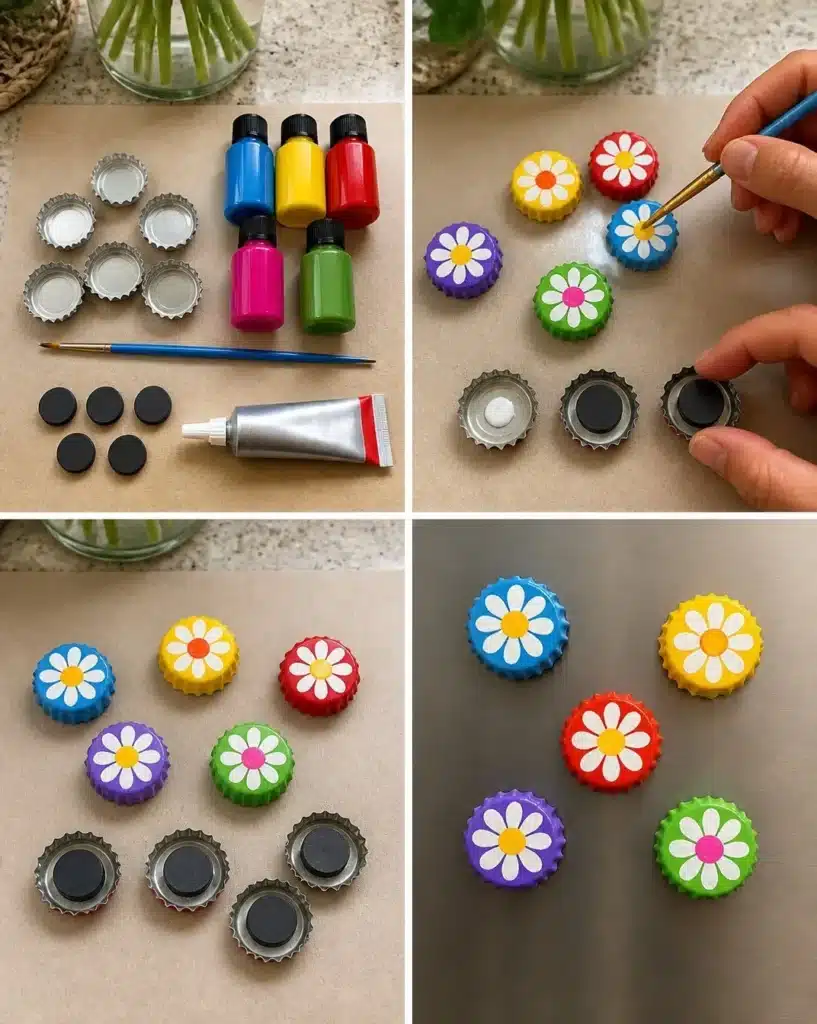
DIY Bottle Cap Flower Magnets are a delightful way to turn simple materials into charming decorations for your home or gifts for friends. This project combines a touch of creativity with practical crafting skills, making it perfect for beginners and seasoned crafters alike. You can display these playful magnets on your refrigerator, use them to hold notes and reminders, or give them as heartfelt gifts that spread joy. With such an easy process, you’ll enjoy the artistic side while getting functional decor in return. Let’s dive into how you can create your very own decorative magnets. You may also find Caprese Grilled Cheese Recipe useful.
Why DIY Bottle Cap Flower Magnets Is Worth Making
This craft project stands out for its accessibility and aesthetic appeal. First off, the materials are easy to find or repurpose, often requiring items you likely already have at home. The steps involved are beginner-friendly, allowing anyone to create beautiful flower designs in just a few hours. You may also find Homemade Cheesy Italian Caprese Bread useful.
In terms of decoration, these magnets are not merely functional. They can brighten up any kitchen or workspace with their vibrant colors and whimsical designs. Plus, the handmade nature of the project makes it a thoughtful gift option for friends, teachers, or family members. You may also find Mediterranean Cauliflower Soup Recipe useful.
Additionally, you can customize the colors and designs to match your personal style or seasonal themes. There’s something satisfying about transforming old bottle caps into something new and delightful, adding texture and color to your home decor.
Before You Start
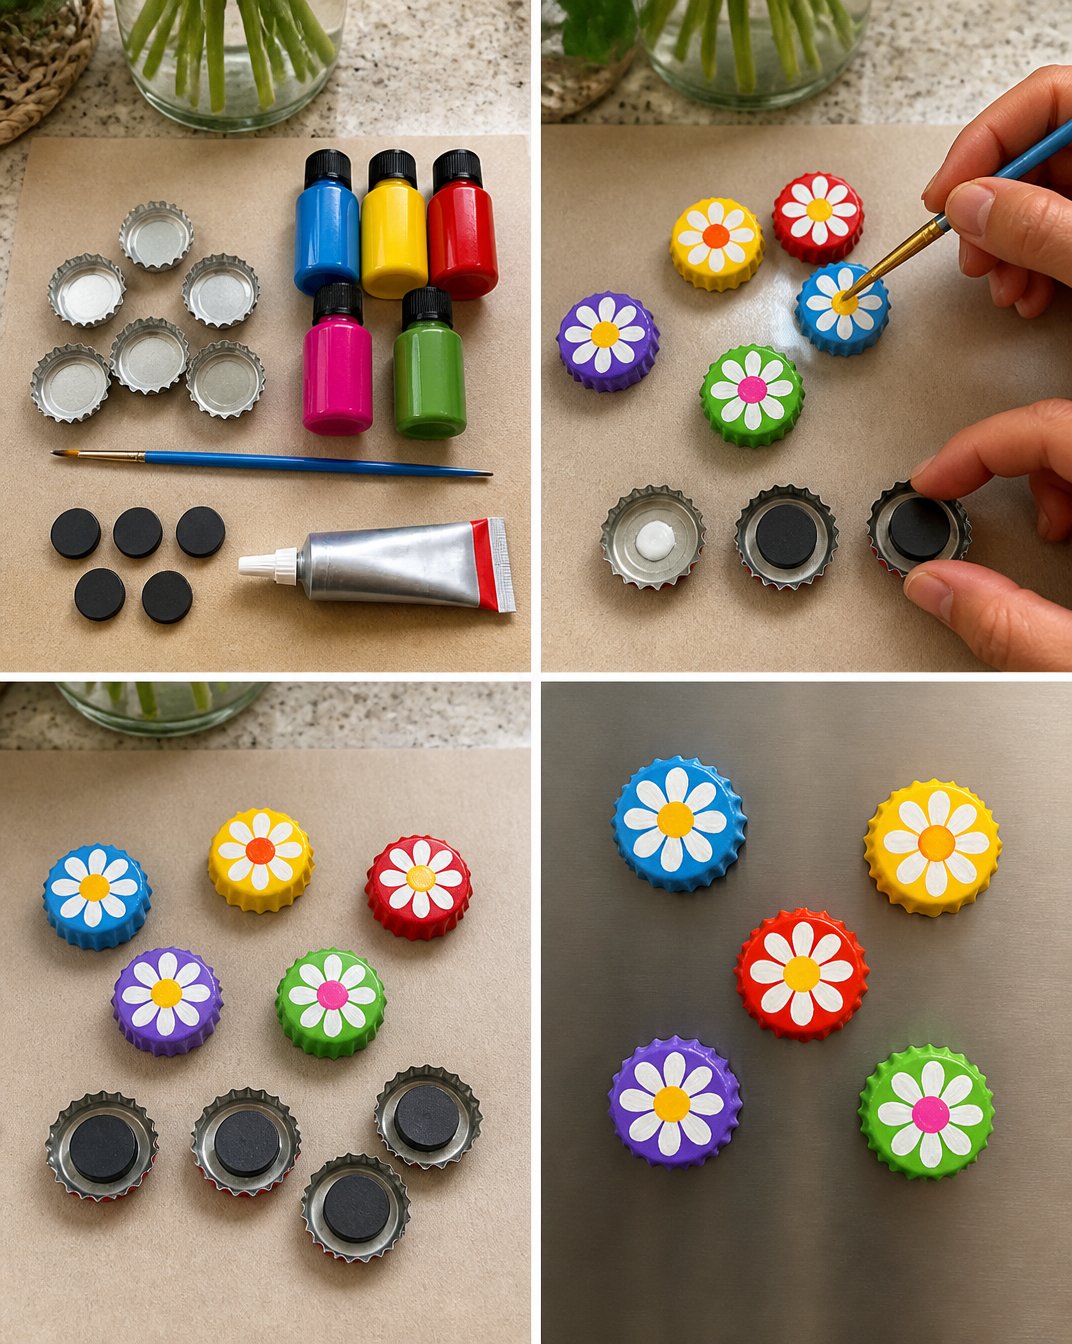
Before embarking on your DIY Bottle Cap Flower Magnets journey, it’s good to have a clear idea of the overall process. You’ll be painting metal bottle caps to resemble flowers, which means your choice of colors will play a crucial role in the final appearance. The finished product will showcase bright, cheerful designs that can be displayed on any magnetic surface.
To make the crafting process smoother, consider protecting your workspace with newspaper or a plastic cover. This will make cleaning up easier and prevent paint from staining your surfaces. If you’re crafting with children or anyone inexperienced, adult supervision is recommended, especially during the use of strong adhesives and tools.
What You’ll Need for DIY Bottle Cap Flower Magnets
- 5 clean metal bottle caps
- 1 bottle of acrylic craft paint in assorted bright colors
- 1 small paintbrush
- 5 circular adhesive magnets
- 1 tube of strong craft glue
Helpful Tools
While the above materials are essential for the project, the following tools could enhance your crafting experience:
- A drop cloth or newspaper for workspace protection
- A palette or plate for mixing paint
- A cup of water for rinsing your brush
How to Make DIY Bottle Cap Flower Magnets
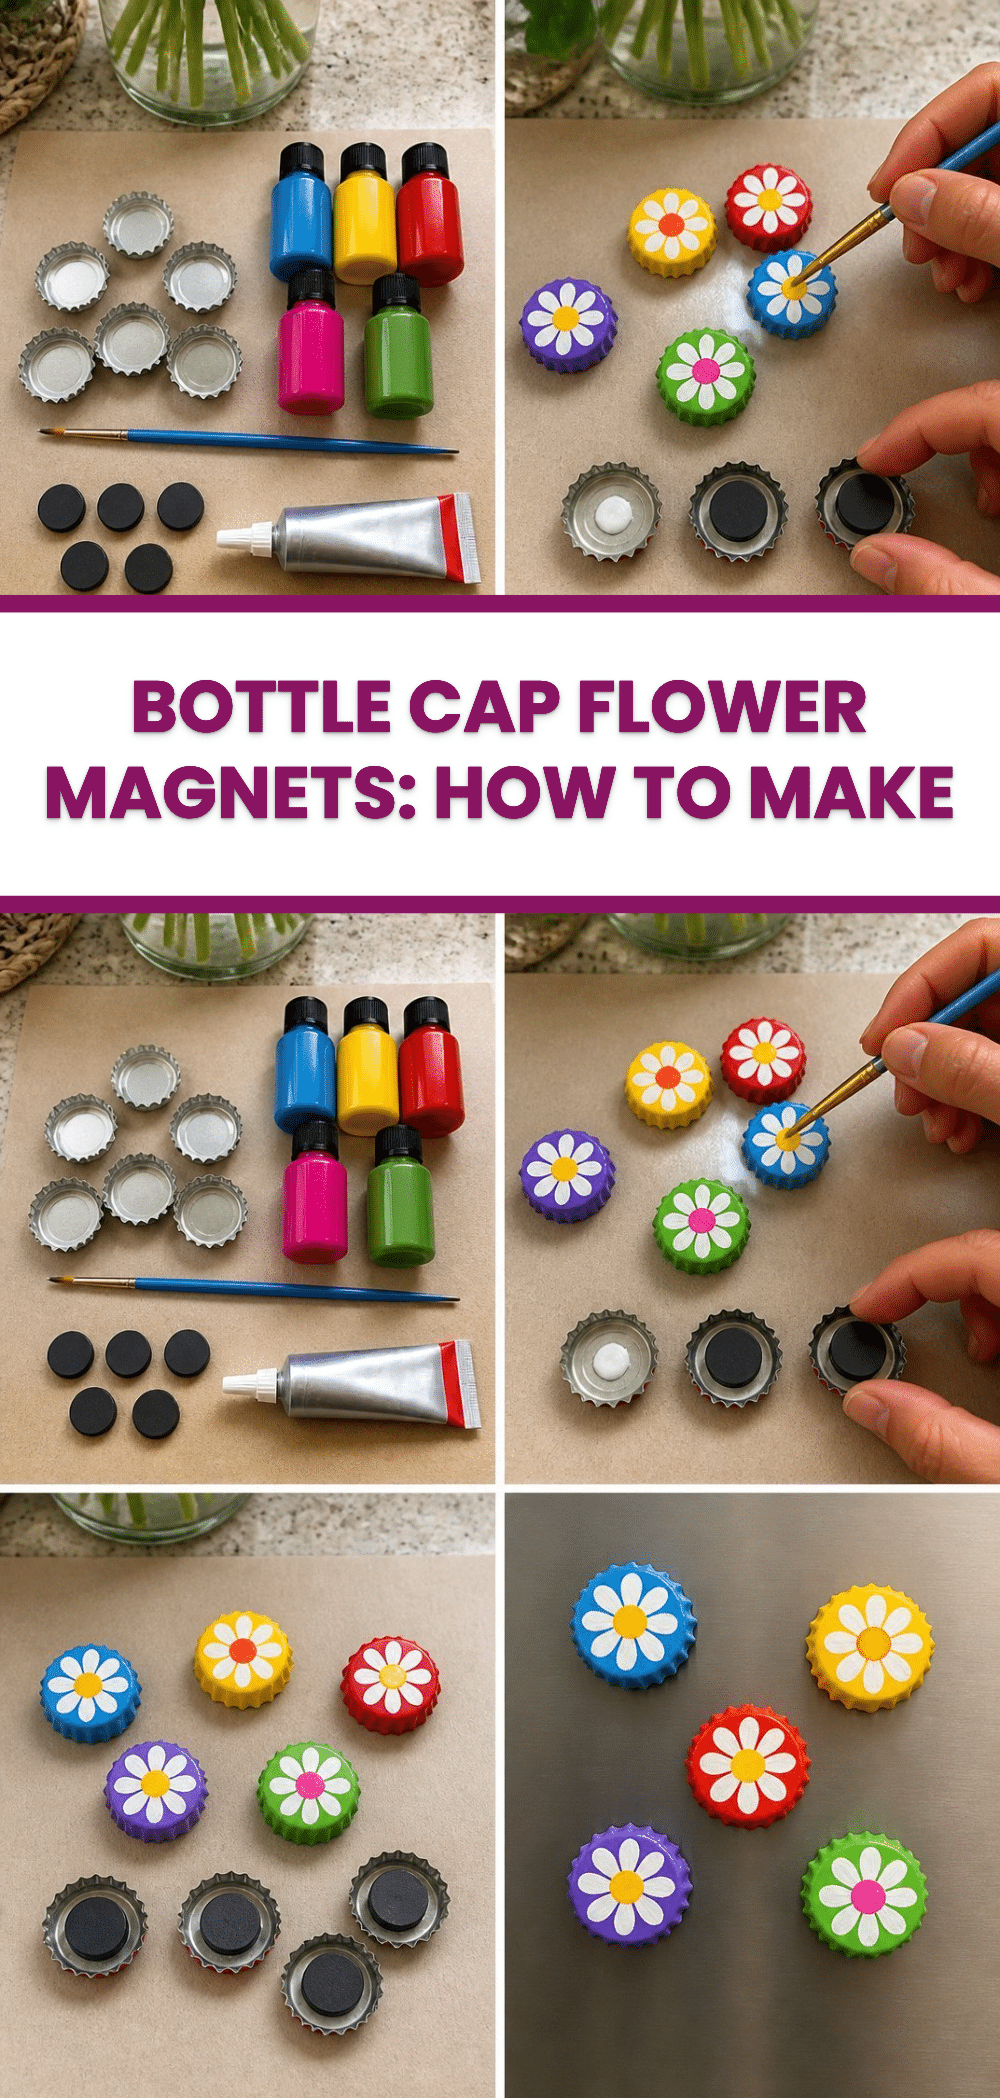
- Start by painting the exterior of each bottle cap with your chosen bright colors. Don’t rush this step; let them dry completely to avoid any smudging.
- Once dry, take your paintbrush and add a small contrasting dot in the center of each cap to resemble a cheerful little flower. This is where you can let your creativity shine!
- After your flowers are complete, apply a small amount of craft glue to the back of each bottle cap and press an adhesive magnet firmly into place.
- Finally, allow the glue to cure fully before placing your finished magnets on a magnetic surface, like your refrigerator.
How to Display DIY Bottle Cap Flower Magnets
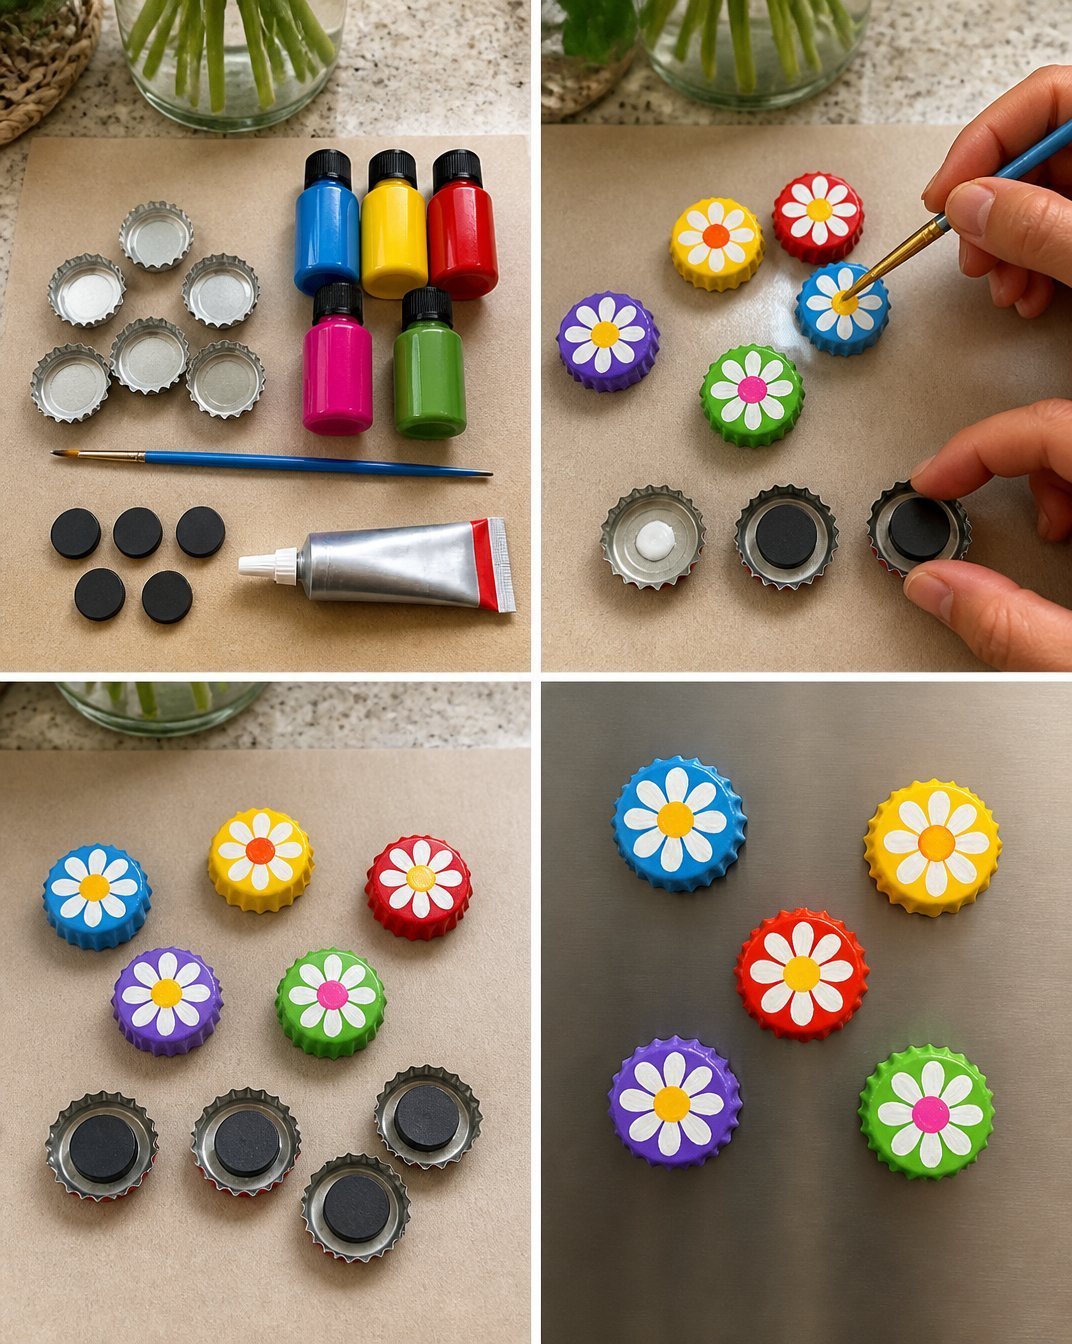
Now that you have created your flower magnets, the fun part is deciding how to display them. These brightly colored magnets can easily brighten up any refrigerator door, creating an eye-catching display in your kitchen.
You can also use them in a home office to keep important papers in place or on a magnetic board for organization. Additionally, consider gifting them to friends who can use these delightful pieces to adorn their own fridges or workplaces. These magnets can also transition beautifully into seasonal decor, allowing you to change them with the seasons think colorful flowers for spring or festive designs for winter.
Tips for the Best Result
- Let Layers Dry: Allow each layer of paint to dry fully before adding another. This prevents colors from bleeding into one another and helps maintain clean, crisp designs.
- Control Your Paint: Use thin layers of paint for easier drying and a neater finish. Too much paint can cause drips or uneven surfaces.
- Position Before Attaching: Temporarily place your magnets on the fridge before attaching them permanently. This gives you a chance to rearrange until you find the layout you love.
- Avoid Over-gluing: When applying your adhesive, use only a small amount to secure the magnet. Excess glue can seep out the sides, creating a messy finish.
Common Mistakes to Avoid
- Uneven Painting: If you notice uneven paint application, it may have been due to applying too thick of layers. Next time, apply thinner coats for a smoother finish.
- Loose Magnets: If magnets don’t seem secure, it could be that the glue didn’t dry completely. Ensure ample drying time before handling the magnets extensively.
- Too Much Color Mixing: When creating designs, mixing too many colors can produce muddy results. Aim to use 2-3 colors per cap for a clearer design.
- Smudged Patterns: To prevent smudging, make sure your painted caps are fully dried before moving them or handling them again.
Creative Ways to Make It Your Own
To personalize your DIY Bottle Cap Flower Magnets, consider the following variations:
- Seasonal Colors: Change your paint colors with the seasons bright pastels for spring, warm tones for fall, and cool colors for winter.
- Patterns: Instead of simple dots, experiment with patterns like stripes, polka dots, or checks to give each flower its own character.
- Add Glitter: For a touch of sparkle, add glitter to the paint while it’s wet, creating a shimmering effect.
- Use Natural Materials: Incorporate small leaves or petals from flowers around the cap before gluing the magnet for a more realistic flower look.
- Names or Initials: Personalize the magnets by writing names or initials on the caps with a fine-tipped marker.
Caring for Your Finished Craft
To keep your DIY Bottle Cap Flower Magnets looking great, consider the following care tips:
- Avoid Moisture: Since these magnets are made from paper and wood materials, keep them away from moisture to prevent damage.
- Dust Regularly: Lightly dust the magnets to keep them looking fresh. A soft cloth works wonders.
- Store Safely: If you want to change out your magnets for a different season, store them in a cool, dry place free of humidity.
A Quick Safety Note
When using strong craft glue, ensure good ventilation in the area where you’re working. If crafting with children, supervise them closely, especially during adhesive application, to avoid contact with skin or accidental spills.
FAQs About DIY Bottle Cap Flower Magnets
How long does it take to make these magnets?
Most of the time will be spent waiting for paint to dry. You can complete the painting in under an hour, but with drying time, plan for a few hours total.
Can I use a different material instead of bottle caps?
While bottle caps are the perfect shape, you could explore similar round shapes like circular chipboard or wood discs for a different look.
What type of glue works best?
A strong craft glue is crucial for securing the magnets firmly. Hot glue also works well but can be harder to control.
Can I change the size of the magnets?
Yes! You can use larger bottle caps or even substitute with different circular materials, just adjust the size of the magnets accordingly.
How should I store them?
Store in a cool, dry place. You can wrap them in soft cloths to keep them from being scratched if you’re putting them away for a seasonal change.
Conclusion
Learning to make DIY Bottle Cap Flower Magnets is not just about creating a charming piece for your home; it’s a fun activity filled with creativity and color. These magnets are perfect for brightening your refrigerator or sharing with friends. If you want to explore more similar ideas, you might enjoy checking out projects like Bottle Cap Flowers – Living Well Mom or Bottle Cap Magnet Flowers – Pretty Handy Girl. Enjoy the process of making something beautiful and unique, and don’t hesitate to make the project your own!
Follow us on social for more recipe ideas & inspiration!
DIY Bottle Cap Flower Magnets
Would you like to save this recipe?
By submitting you agree to receive this recipe and occasional emails. Unsubscribe anytime.
Ingredients
Main Ingredients
- 5 pieces clean metal bottle caps
- 1 bottle acrylic craft paint in assorted bright colors Choose vibrant colors for a cheerful appearance.
- 1 small paintbrush For painting the bottle caps.
- 5 pieces circular adhesive magnets
- 1 tube strong craft glue Ensure it is high-quality for secure adhesion.
Instructions
Painting the Caps
- Start by painting the exterior of each bottle cap with your chosen bright colors. Let them dry completely to avoid any smudging.
- Once dry, use the paintbrush to add a small contrasting dot in the center of each cap to resemble a flower.
Attaching Magnets
- After your flowers are complete, apply a small amount of craft glue to the back of each bottle cap.
- Press an adhesive magnet firmly into place.
- Allow the glue to cure fully before placing the magnets on a magnetic surface.
Last Step: Don’t forget to leave a rating and comment below! It helps other readers find the best recipes — and it helps us too!
Tips & Notes:
Nutrition Information: Serving: 5 | Calories: 10kcal | Carbohydrates: | Protein: | Fat: | Sodium: | Fiber: | Sugar:
Nutritional information is provided as a courtesy and calculated automatically. Values can vary depending on the brands and ingredients you use, so if you’re tracking closely, I recommend calculating with your own preferred tool.