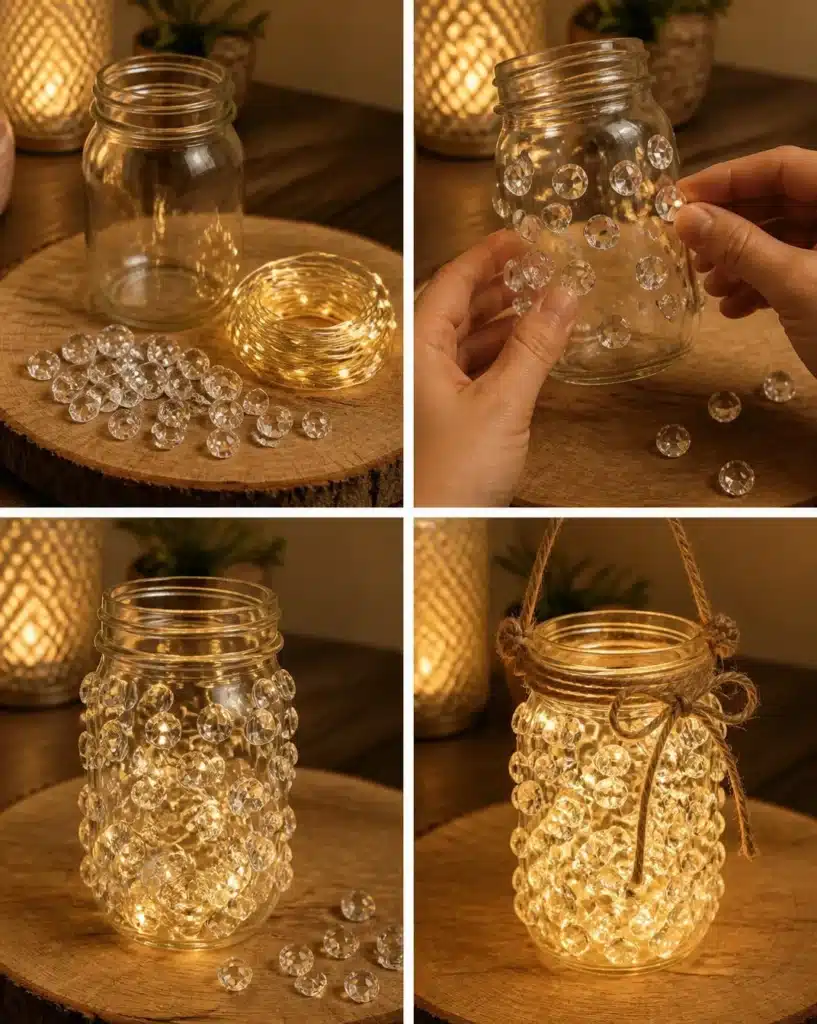
Why You’ll Want to Make Crystal Fairy Lantern
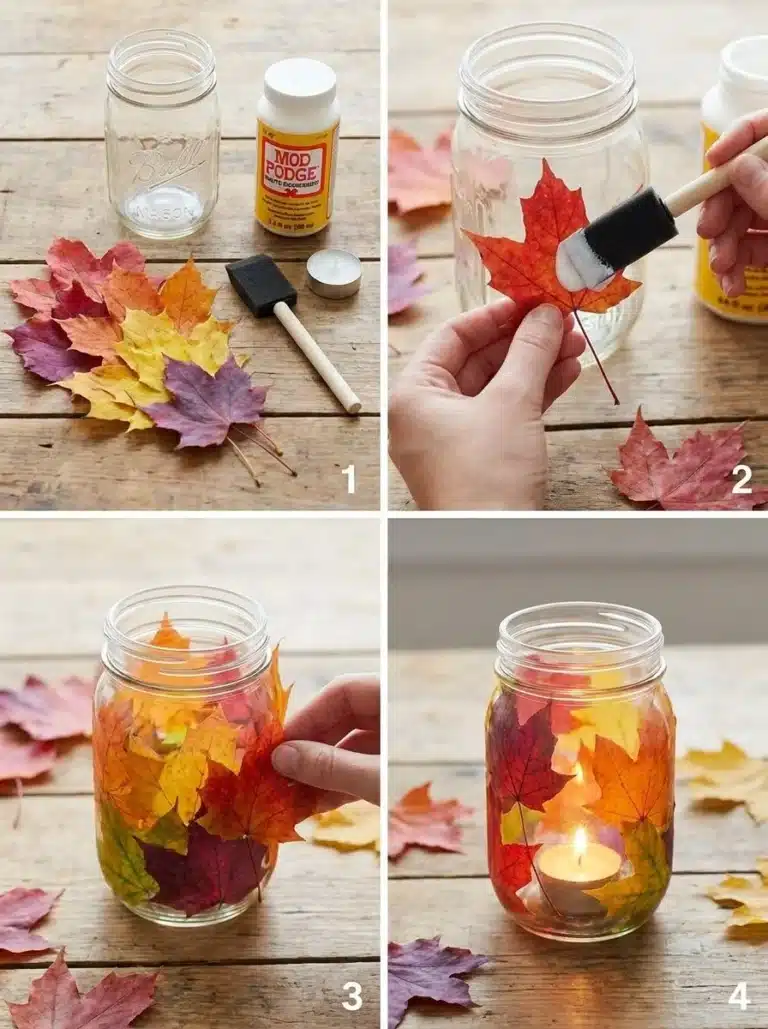
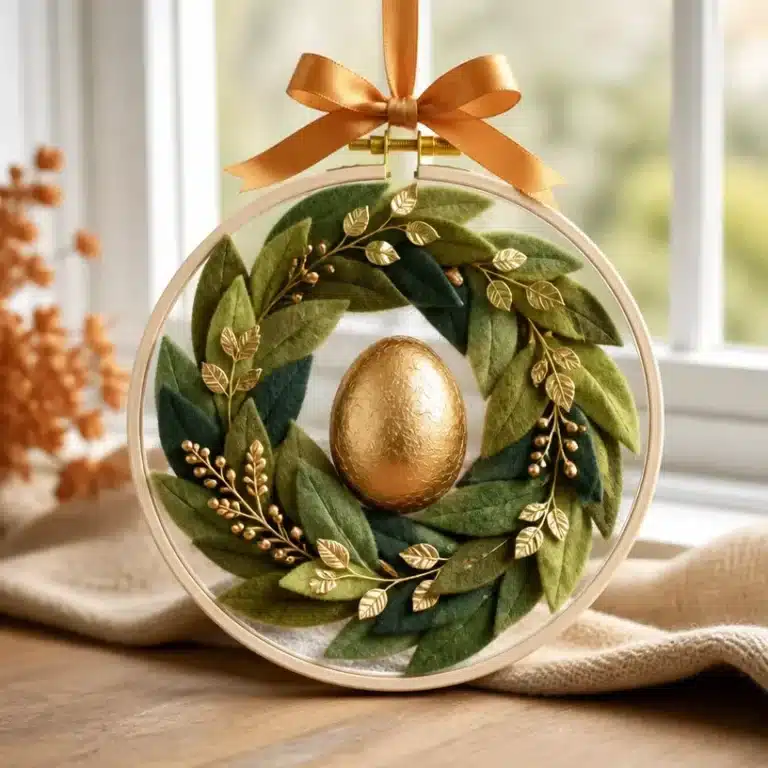
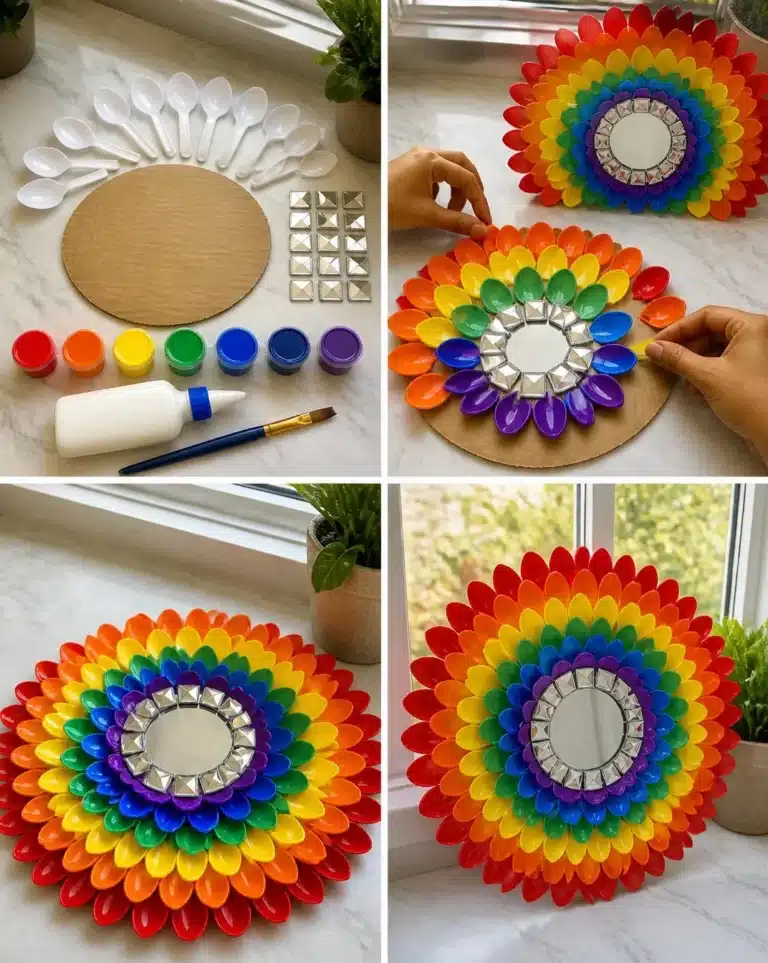
The Crystal Fairy Lantern is a delightful craft project that combines both creativity and functionality. With simple materials and an easy-to-follow process, you can create a charming, sparkling lantern perfect for any space. It’s the ideal addition to your home decor or a thoughtful gift for friends and family. The way the light dances through the crystal gems creates an enchanting atmosphere that invites warmth and elegance. You may also find Crystal Fairy Lantern useful.
Using everyday items like a glass jar, fairy lights, and crystal gems, this project is accessible even for beginners. You can place your finished lantern on your nightstand, hang it in a window, or use it as part of your seasonal decor. With its shimmering surface and soft glow, the Crystal Fairy Lantern will surely enhance any setting. You may also find Crystal Fairy Lantern useful.
Before You Start
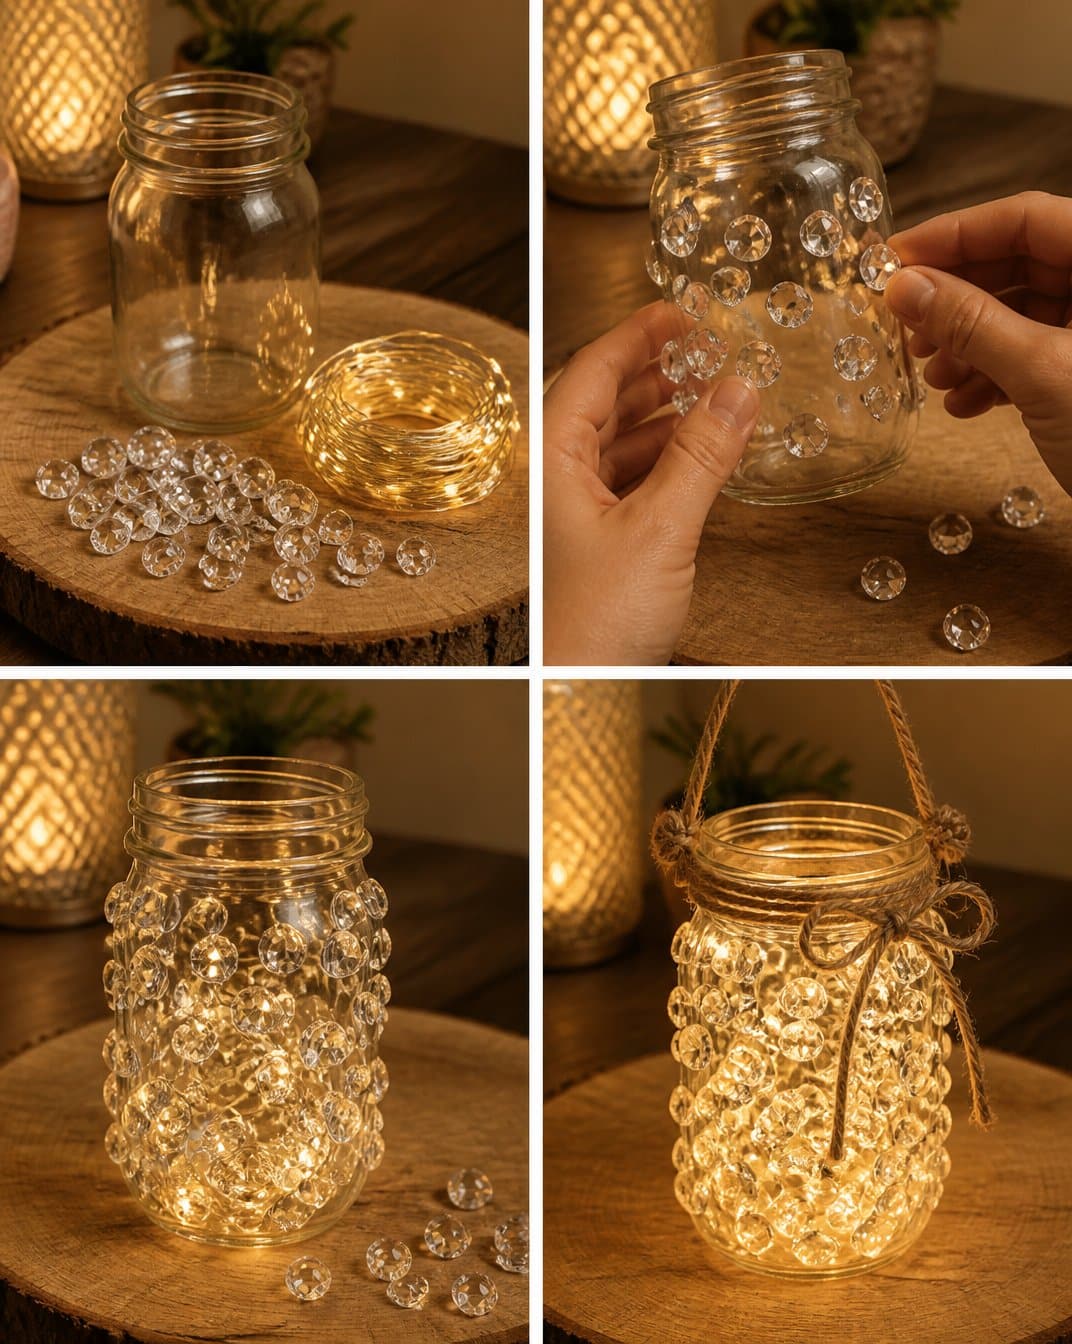
Getting ready for your Crystal Fairy Lantern project involves a little organization, which will lead to smoother crafting. The basic process is straightforward: you will be decorating a glass jar with crystal gems and then filling it with fairy lights. The finished lantern should look stunning, with glittering gems reflecting lovely points of light. You may also find Coconut Water Cloud Coffee Boosts Focus useful.
It’s wise to protect your workspace since glue and small pieces are involved. Make sure you have a well-lit area to work in and perhaps lay down some newspaper to catch any excess glue or debris. Adult supervision will be beneficial, especially if children are involved, as they might handle small pieces and tools.
What You’ll Need for Crystal Fairy Lantern
- Glass jar
- Fairy lights
- Crystal gems
- Craft glue (like E6000 or a strong adhesive)
- Optional: ribbon, paint, or additional decorative elements
Note on Materials: Use a clear glass jar for the best light reflection. Choose battery-operated fairy lights for convenience and safety, especially if the lantern will be used in bedrooms or around fabrics. When selecting crystal gems, go for a mix of sizes to create an interesting visual texture.
Helpful Tools
- Scissors (for trimming ribbon or other decorations)
- A clean cloth (to wipe the jar before starting)
- Tweezers (optional, for placing smaller gems)
How to Make Crystal Fairy Lantern
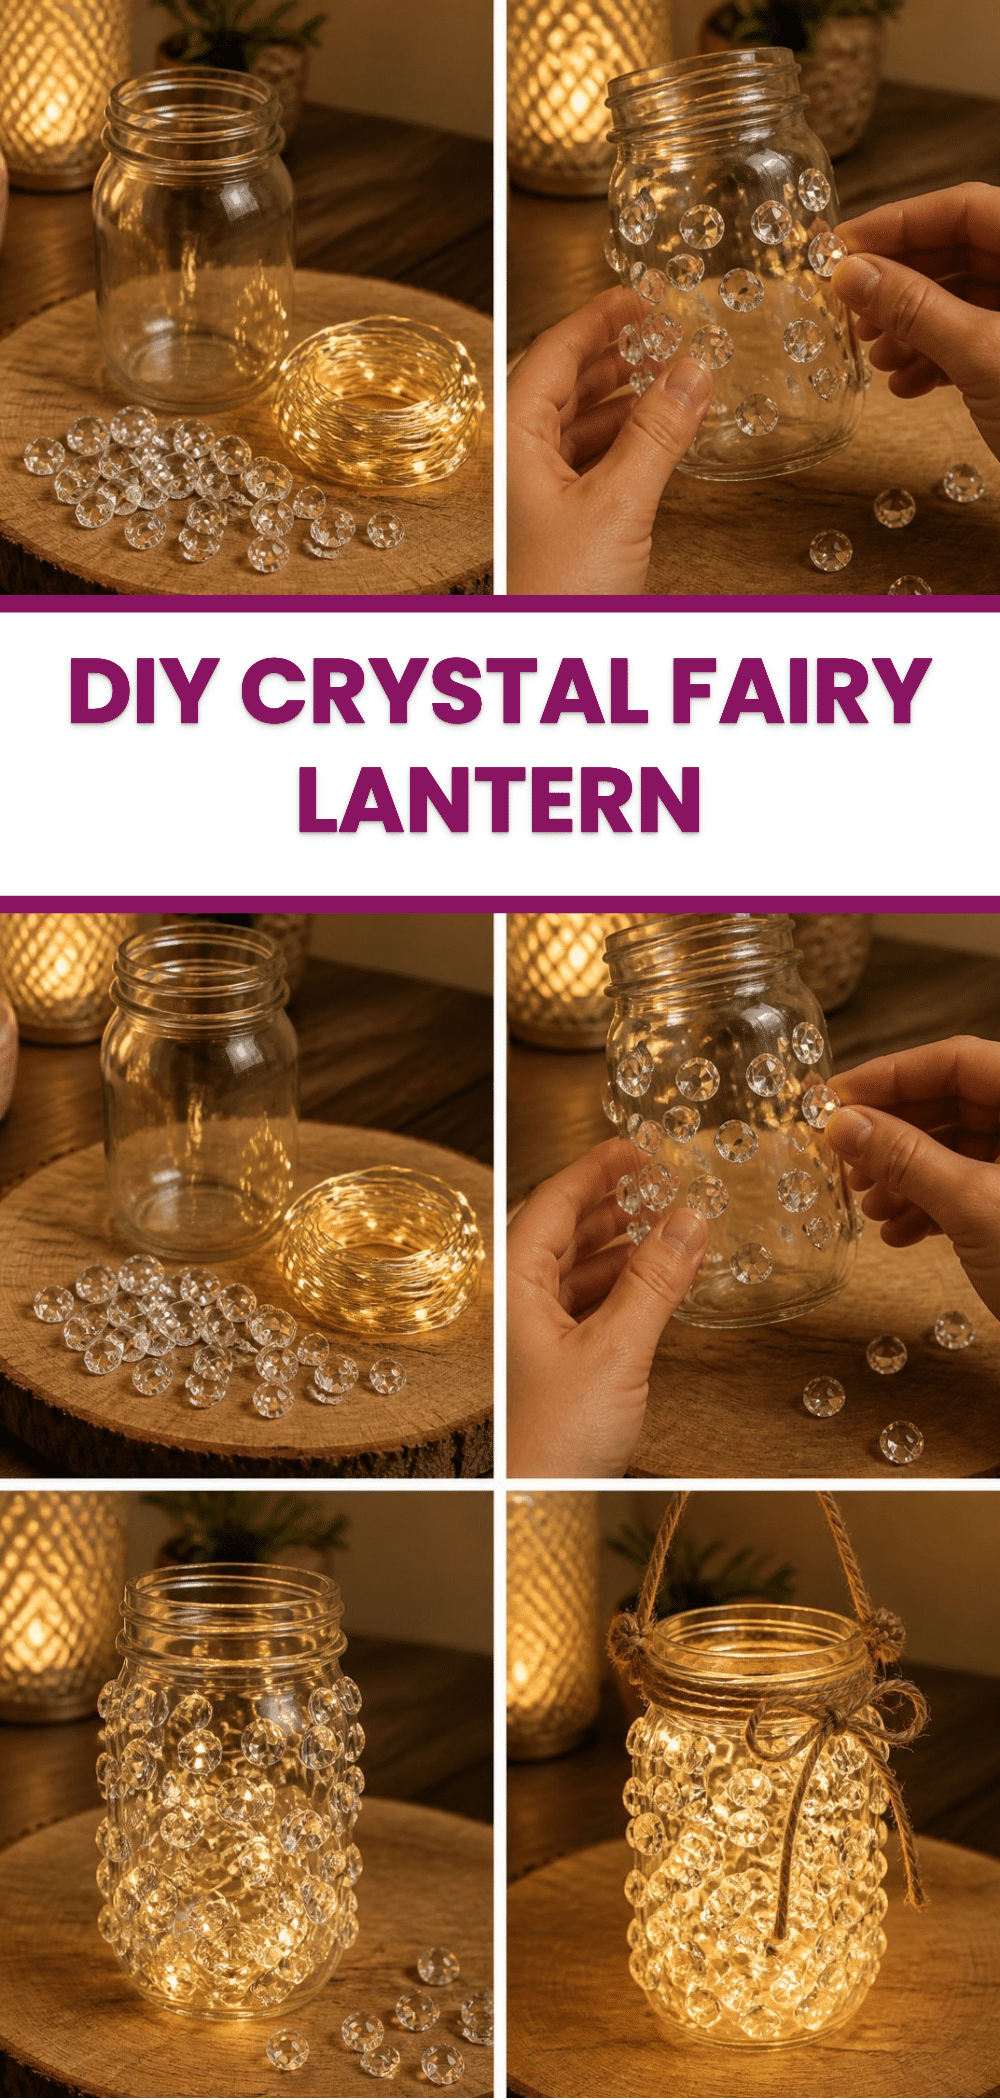
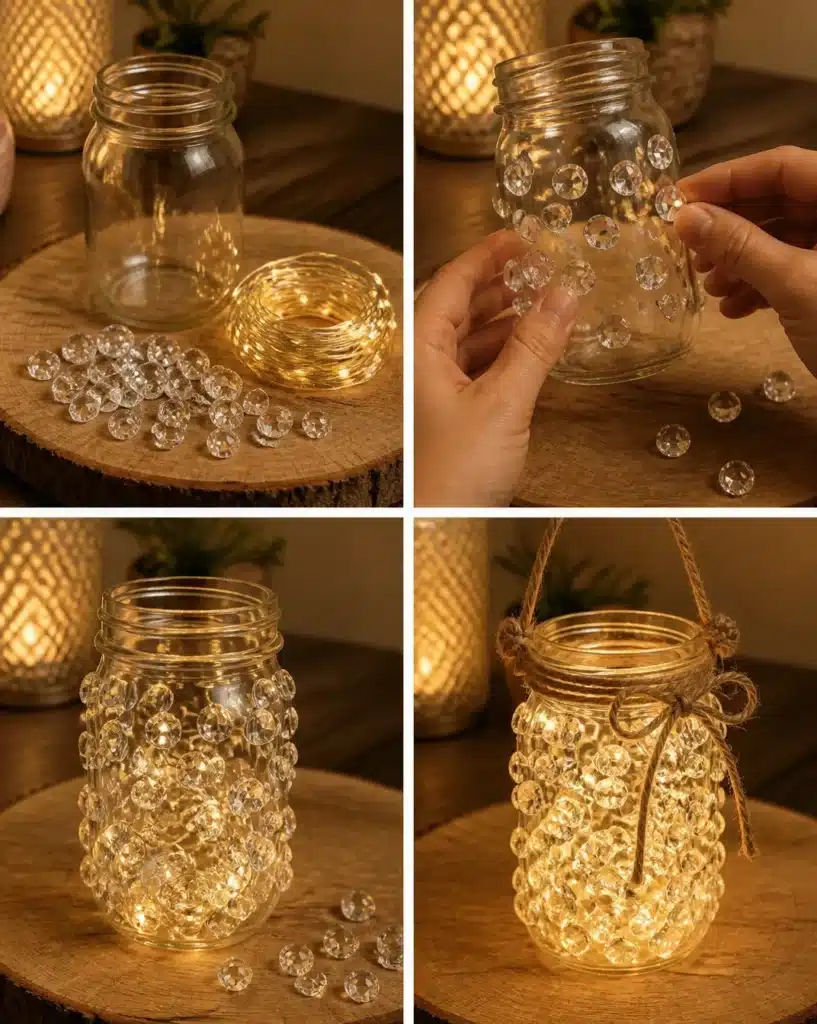
Clean your glass jar. Start by washing the jar to eliminate any dust or fingerprints. Dry it completely using a clean towel.
Apply glue to the gems. Put small dots of glue on the back of each crystal gem. Carefully press these onto the inner walls of the jar. Arrange them in a pattern you like, overlapping slightly for a fuller look.
Allow the glue to dry. Once you have placed all your gems, leave the jar to dry completely. This could take anywhere from 30 minutes to a few hours, depending on the glue type used.
Add the fairy lights. After the glue is dry, gently insert the fairy lights into the jar, spreading them among the gems. Secure the battery pack near the opening with additional glue if needed, or simply tuck it behind the jar to keep it hidden.
How to Display Crystal Fairy Lantern
Your completed Crystal Fairy Lantern can be placed in various locations to maximize its visual impact. Consider these options:
- On a shelf or mantel. Creating a sparkling focal point in a room can be achieved with the lantern placed on a shelf or mantelpiece.
- In a window. The sunlight can illuminate the gems beautifully during the day, creating an eye-catching display.
- On a table. Use it as a centerpiece for a dining table, particularly during gatherings or holidays.
Tips for the Best Result
Avoid excess glue. Be careful to use just enough glue to hold each gem firmly; excess can create a cloudy effect and take longer to dry.
Allow for drying time. Make sure the glue is fully dry before moving on to the next steps to prevent the gems from shifting.
Use tweezers for precision. If your gems are small, using tweezers can help place them accurately without mishaps.
Layer the gems. Overlap the gems slightly to avoid gaps, which will help to create a more cohesive, bright effect.
Test lights before insertion. Always check that the fairy lights work before putting them inside the jar to avoid having to take them out again.
Common Mistakes to Avoid
Problem: Gems not sticking properly.
- Cause: Insufficient glue application.
- Fix: Reapply glue and hold the gem in place until it sets.
- Prevention: Apply a small dot of glue to the center of each gem for better adherence.
Problem: Uneven lighting from fairy lights.
- Cause: Lights may bunch up in one area or be positioned poorly.
- Fix: Rearrange the lights inside the jar for a more balanced appearance.
- Prevention: Distribute the lights evenly before securing them in place.
Problem: Glue residue visible after drying.
- Cause: Using too much glue.
- Fix: Carefully remove excess with a damp cloth or scraper.
- Prevention: Less is more use tiny dots of glue.
Creative Ways to Make It Your Own
You can personalize your Crystal Fairy Lantern in various ways to match your style or occasion:
Colorful paint. Before adding gems, paint the inside of the jar with translucent paint for a unique effect.
Seasonal decorations. Decorate with different colors or seasonal shapes (like leaves or flowers) near holidays.
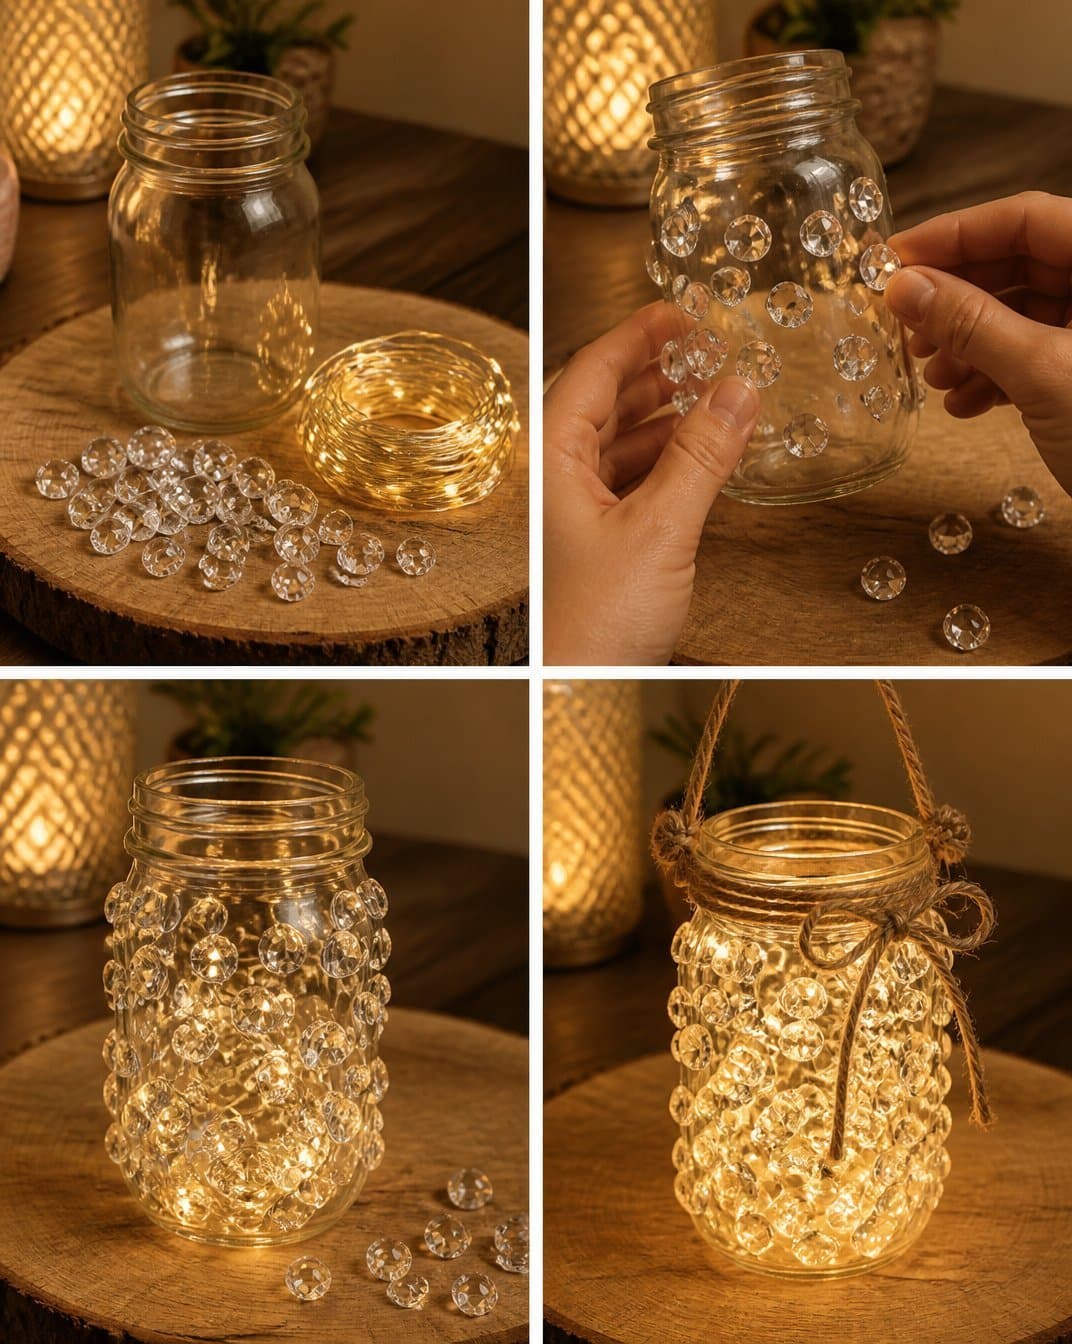
Add ribbons. Tie a ribbon around the jar’s neck or add a bow for a touch of elegance.
Customize with names or initials. Use adhesive letters on the jar for personalization.
Experiment with sizes. Use different sizes of jars for varying heights in a display, creating an eye-catching arrangement.
How to Store Crystal Fairy Lantern
To keep your Crystal Fairy Lantern looking its best, consider the following tips:
- Dust regularly. Use a soft cloth to gently wipe the surface of the jar to avoid dust buildup.
- Store in a cool, dry place. Avoid areas with temperature fluctuations to prevent damage to the glue or gems.
- Wrap or cover. If you store it for the season, wrap it in a soft cloth to protect it from scratches or breaks.
A Quick Safety Note
When working with glass and any adhesives, be cautious. If children are involved, ensure that they are supervised, especially when handling sharp glass edges or small pieces that pose a choking hazard.
FAQs About Crystal Fairy Lantern
How long does it take?
The entire project can take about two to three hours, depending on drying time.
Can I use a different material?
Yes, if you don’t have glass jars, consider using plastic jars, but keep in mind the reflective qualities will differ.
What glue works best?
A strong craft glue like E6000 is recommended as it holds well on glass and gems.
How should I store it?
Keep it in a sturdy box or wrapped in cloth, away from sunlight, to maintain its appearance.
Can I change the size?
Absolutely! You can use different sizes of jars to create a varied display.
Conclusion
Creating a Crystal Fairy Lantern can be a rewarding and enjoyable crafting experience. It’s a perfect way to add a touch of elegance and warmth to your space, or to create a meaningful gift. Consider exploring options online for additional decorative elements, such as a Crystal Fairy Lamp or a beautiful Fairy Lamp Pedestal Base Pedestal Crystal Fairy Lamp. With simple materials and a little creativity, you can brighten up any room with your handmade creation!
Follow us on social for more recipe ideas & inspiration!
Crystal Fairy Lantern
Would you like to save this recipe?
By submitting you agree to receive this recipe and occasional emails. Unsubscribe anytime.
Ingredients
Main Materials
- 1 piece Glass jar Use a clear glass jar for best light reflection.
- 1 set Fairy lights Consider using battery-operated lights for safety.
- 1 bag Crystal gems Choose a mix of sizes for interesting texture.
- 1 container Craft glue (like E6000) A strong adhesive is recommended.
Optional Decorations
- 1 piece Ribbon For tying around the jar.
- 1 container Paint Optional, for coloring the inside of the jar.
Helpful Tools
- 1 piece Scissors For trimming ribbon or decorations.
- 1 piece Clean cloth For wiping the jar.
- 1 piece Tweezers Optional, for placing smaller gems.
Instructions
Preparation
- Clean the glass jar to eliminate dust or fingerprints, and dry it completely.
- Apply small dots of glue on the back of each crystal gem and carefully press them onto the inner walls of the jar in a preferred pattern.
- Allow the glue to dry completely, which could take 30 minutes to a few hours.
- Once dry, gently insert the fairy lights into the jar, spreading them among the gems, and secure the battery pack near the opening.
Display
- Place the lantern on a shelf, mantel, or table to create an attractive focal point.
- Consider displaying it in a window to allow sunlight to illuminate the gems.
Last Step: Don’t forget to leave a rating and comment below! It helps other readers find the best recipes — and it helps us too!
Tips & Notes:
Nutrition Information: Serving: 1 | Calories: | Carbohydrates: | Protein: | Fat: | Sodium: | Fiber: | Sugar:
Nutritional information is provided as a courtesy and calculated automatically. Values can vary depending on the brands and ingredients you use, so if you’re tracking closely, I recommend calculating with your own preferred tool.