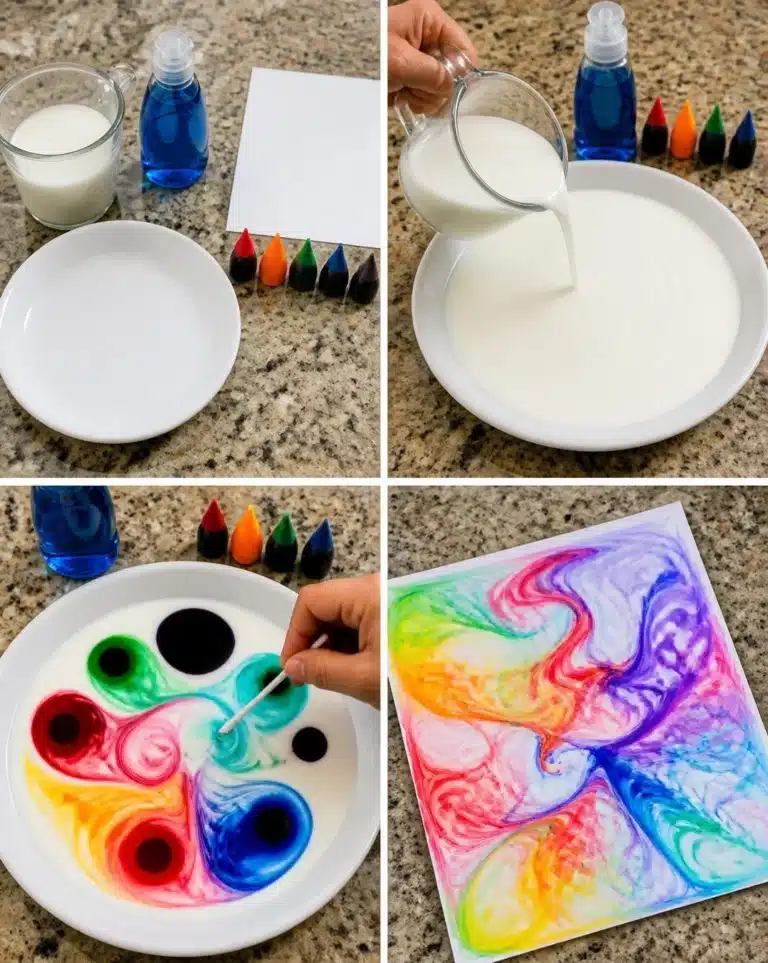
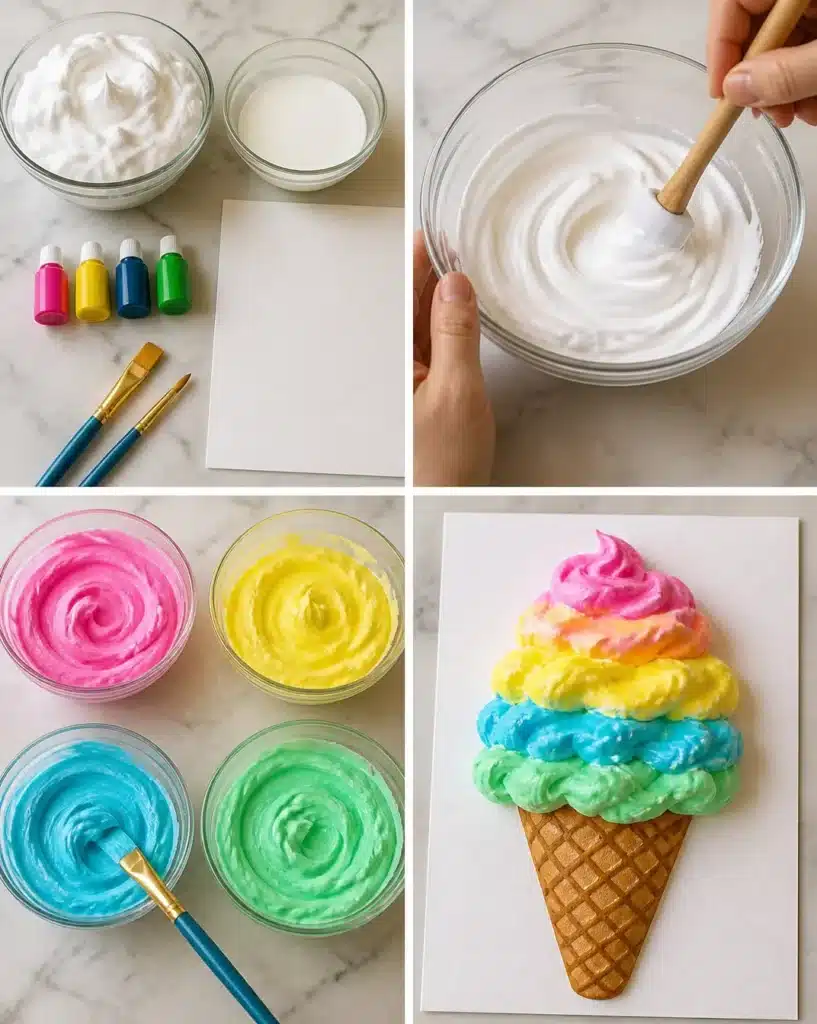
Puffy Rainbow Ice Cream Paint is a delightful craft project that appeals to kids and adults alike. This fun and colorful art activity allows children to unleash their creativity by using a fluffy paint made from simple ingredients. Whether as an entertaining afternoon activity, an art project for school, or a unique gift idea, this craft is both engaging and visually pleasing. After creating their masterpiece, kids can proudly display their work or give it to someone special. The vibrant colors and fun texture make it a perfect project for rainy days or craft parties. You may also find Creamy Wild Rice And Mushroom Soup useful.
Why You’ll Want to Make Puffy Rainbow Ice Cream Paint Kids Love
Creating Puffy Rainbow Ice Cream Paint is an enjoyable experience filled with laughter and creativity. This project utilizes easy-to-find materials like shaving cream and glue, making it accessible for everyone. The fluffy paint creates a visually stunning finish an appealing texture that looks just like ice cream! Kids can explore their artistic side while developing motor skills through painting. Moreover, this craft makes for great handmade gifts for friends and family. You may also find Iced Pumpkin Cream Chai Tea Latte useful.
Understanding how to integrate fun and learning in a craft can enhance their enjoyment. Painting with this fluffy mixture introduces children to color mixing, pattern creation, and the joy of art. You may even want to experiment with making other creative projects, like three-ingredient recipes to use at snack time while working on arts and crafts!
Before You Start
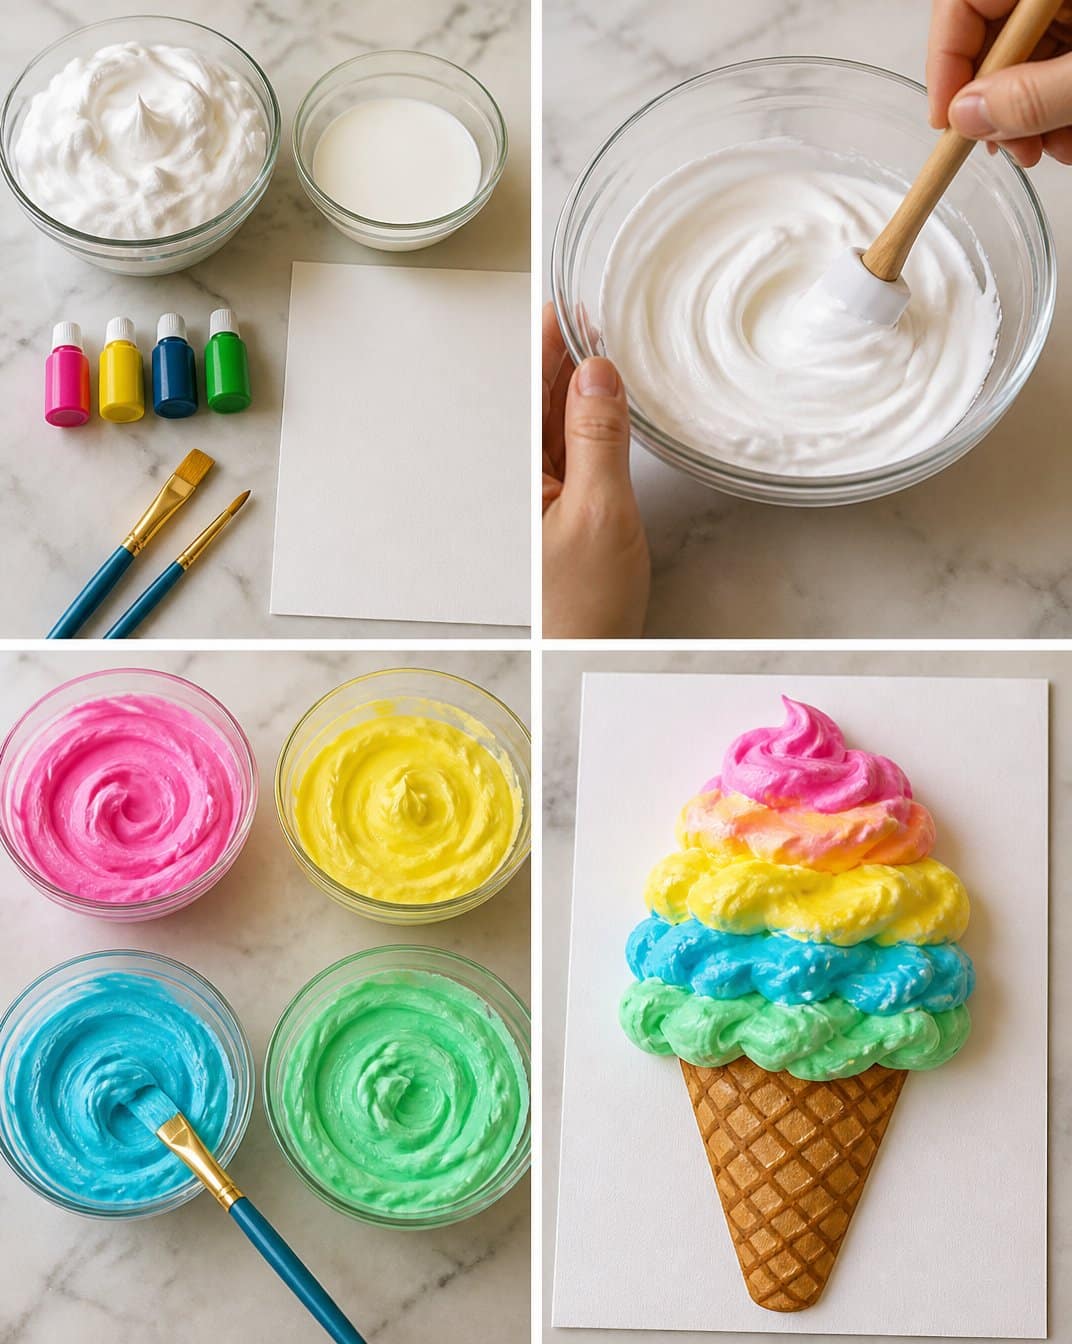
Before diving into making Puffy Rainbow Ice Cream Paint, it is essential to gather your materials and set up your workspace. The process involves mixing, coloring, and painting, so be prepared for some delightful messiness. Make sure you have a clean, safe space, preferably where children can comfortably engage in arts and crafts.
Each painting project has its unique charm, and this fluffy paint should create an airy and vibrant final product. Plan for some time as the results will need a little drying to achieve their dreamy texture. A protective cover for the working surface can help in managing any spills or drips.
Materials You’ll Need
Gather these materials to create your Puffy Rainbow Ice Cream Paint:
- 1 cup shaving cream
- ½ cup white glue
- Food coloring
- Cardstock
- Paintbrushes
Each item plays a vital role in the project. For instance, the shaving cream gives the paint its fluffy texture, while the glue helps bond the mixture to the cardstock once applied. You can opt for stiff cardstock to ensure your painted pieces are well-supported during the drying process.
Helpful Tools
- Mixing bowls
- Spatula or spoon for mixing
- Paper towels for cleanup
- An apron or old clothing for painting (optional)
How to Make Puffy Rainbow Ice Cream Paint Kids Love
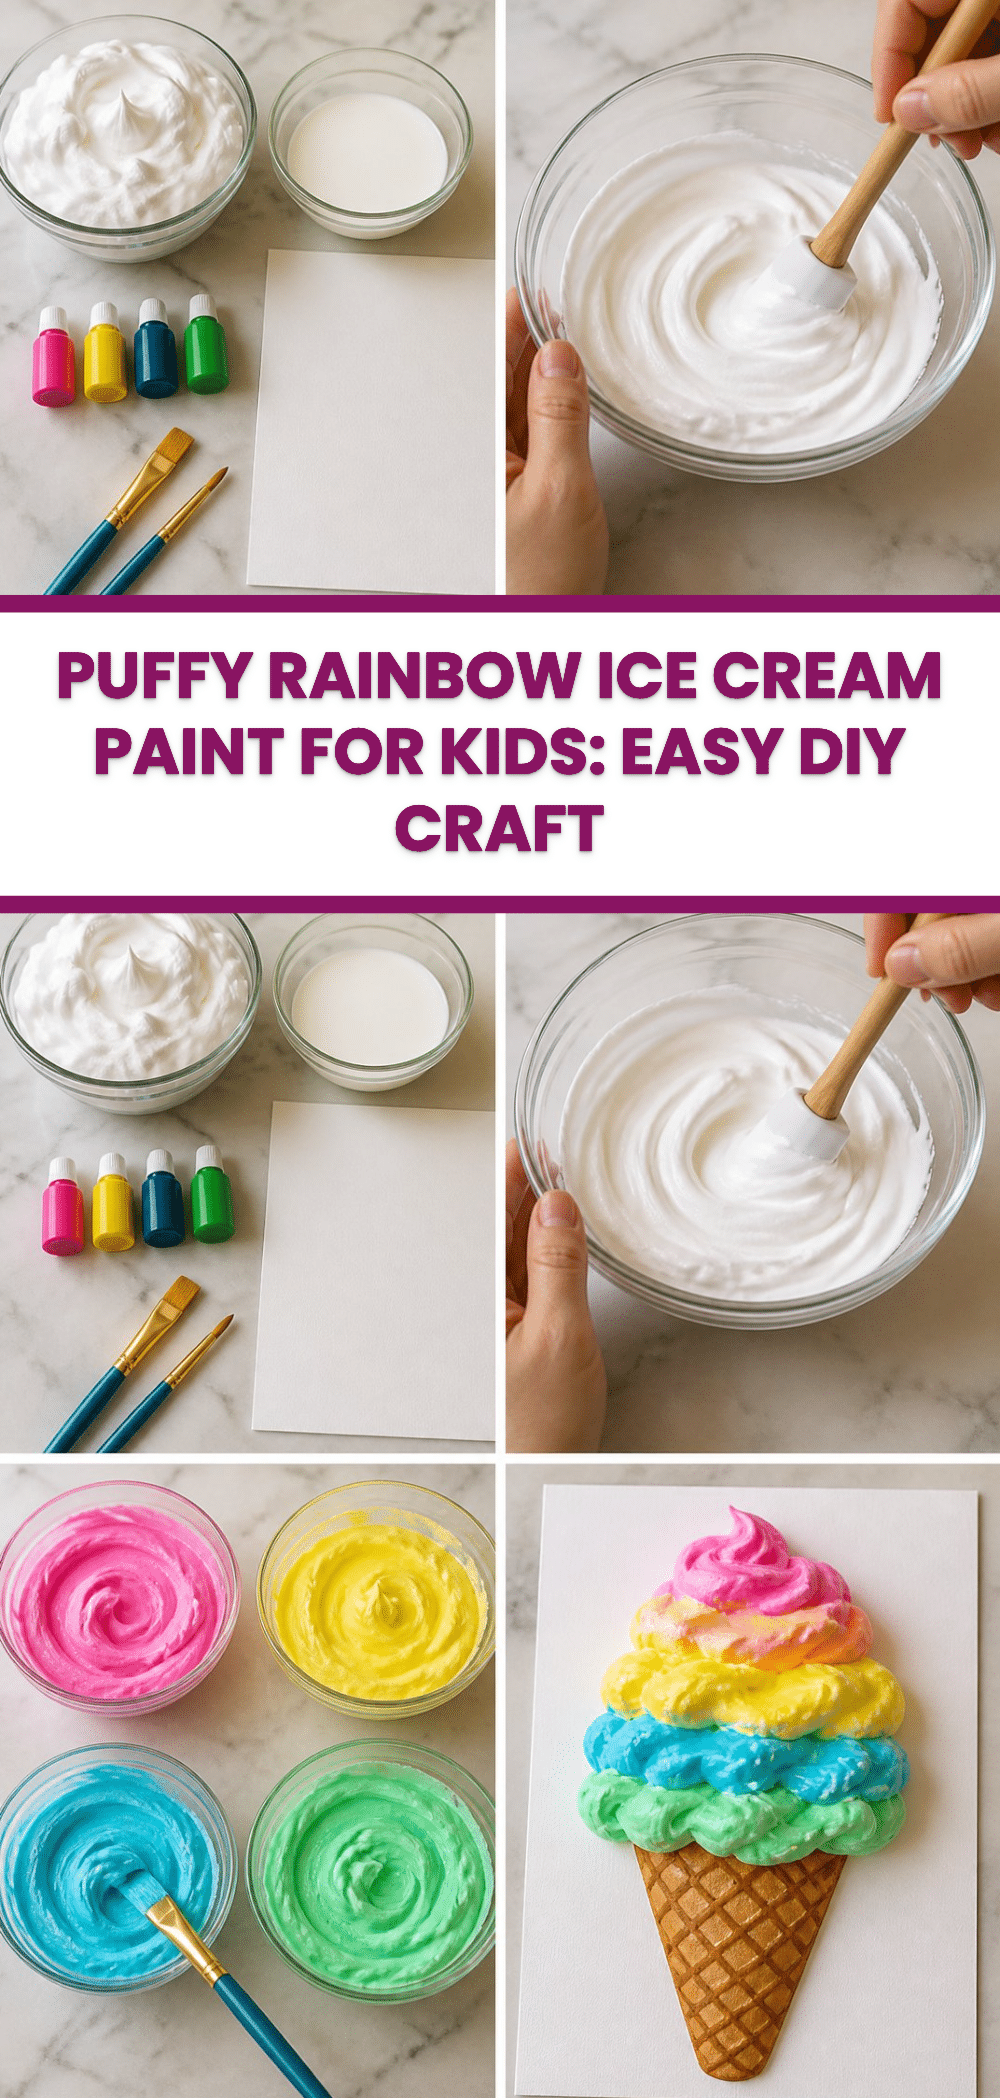
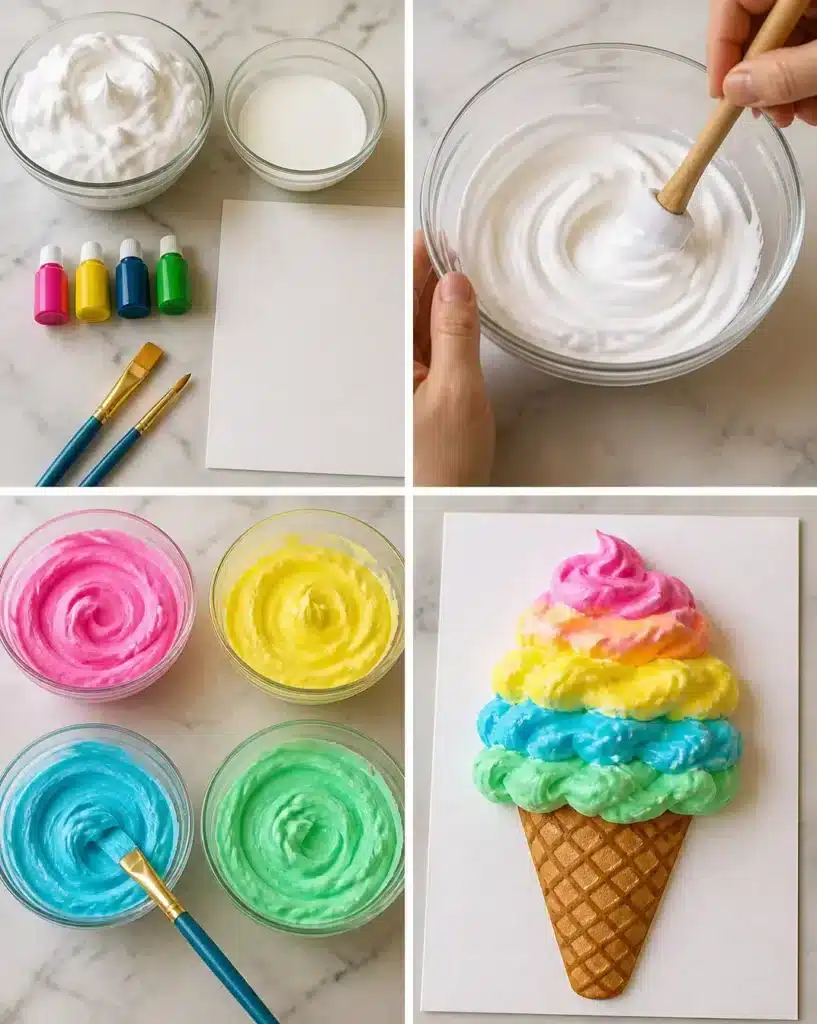
- Start by gently mixing the shaving cream with the white glue in a mixing bowl. Aim for a light and fluffy consistency that feels airy in your hands.
- Divide the mixture into several bowls to create a variety of colors. Add a few drops of food coloring to each bowl until you achieve your desired shade.
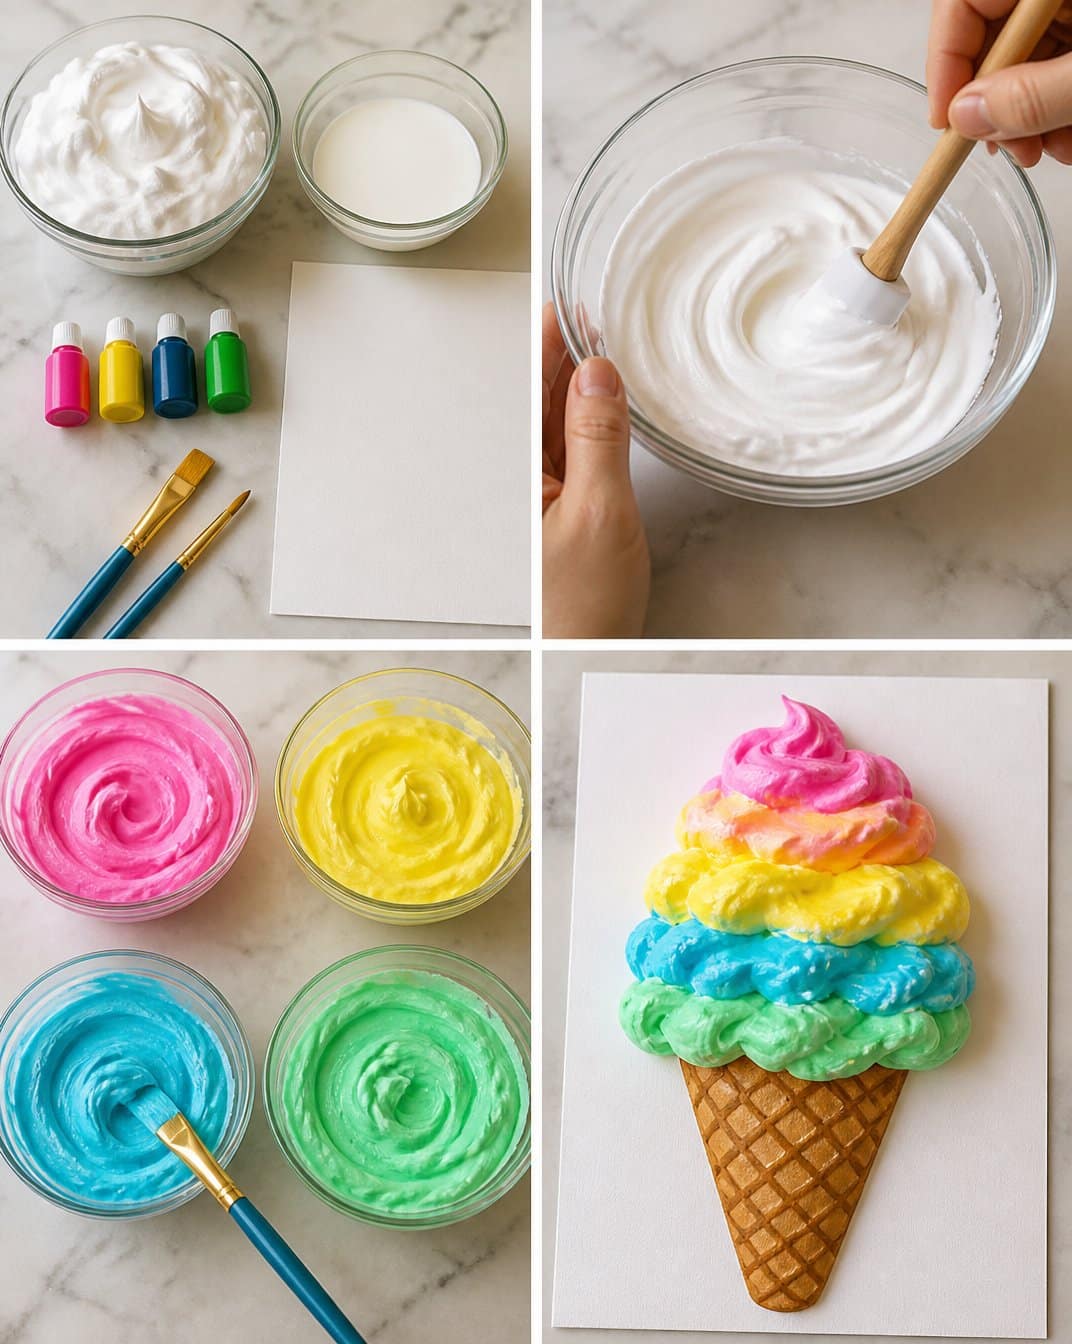
- Allow your little ones to use paintbrushes to spread their vibrant concoctions onto cardstock, painting cheerful ice cream cones or whatever imaginative designs they wish to create.
- After painting, allow their masterpieces to dry for a bit. The colors will transform into a lovely, fluffy 3D effect that’s simply delightful to touch.
How to Display Puffy Rainbow Ice Cream Paint Kids Love
Once the paint dries fully and achieves its fluffy look, you can display the colorful creations in several ways. Consider framing the artworks and hanging them in a playroom or a child’s bedroom. They can also be stuck on the refrigerator for a sweet home display. Additionally, these colorful pieces can be given as unique gifts, making them perfect for birthdays or special occasions. Crafting such joyful projects can be an avenue for thoughtful handmade gifts or decorations for a party.
Tips for the Best Result
To enhance your Puffy Rainbow Ice Cream Paint project, here are a few helpful tips:
- Mix thoroughly: Ensuring the shaving cream and glue are combined well will prevent a lumpy texture.
- Control your colors: Use small amounts of food coloring at a time to achieve the right intensity without overwhelming the mixture.
- Work quickly: The paint begins to set as it dries due to the glue. Plan on applying the paint promptly for the best results.
- Allow enough drying time: Ensure the artwork dries completely to maintain the puffy effect and prevent smudging.
Common Mistakes to Avoid
Here are some common pitfalls to be aware of:
- Uneven paint application: If paint is applied too thickly, it may crack as it dries. Aim for even layers for the best finish.
- Not mixing enough: If the white glue and shaving cream are not combined well, it may create a texture that doesn’t adhere properly to the cardstock.
- Ignoring the drying time: Rushing the drying process can lead to disappointing results, such as smudging or losing the puffiness of the paint.
Creative Ways to Make It Your Own
This project allows for much creativity. Here are some variations to consider for personalizing each craft:
- Use different color palettes, such as pastels for a softer look or bright neons for a more vibrant appearance.
- Experiment with glitter or metallic paints to add some shimmer to the finished project.
- Incorporate various shapes or stencils to create patterns that resemble ice cream cones or cupcakes.
- Add names or initials to personalize each piece, making perfect gifts for friends.
How to Store Puffy Rainbow Ice Cream Paint Kids Love
For caring for your fluffy paint creations, store them in a cool, dry place. If you plan to reuse the paint, you can cover the bowls with plastic wrap to keep them from drying out too quickly. Make sure to clean all brushes and tools promptly to prevent any residue from drying on them, as this could impact future projects.
A Quick Safety Note
While this craft is safe for children to make, adult supervision is always recommended particularly when mixing materials. Ensure little ones avoid consuming any materials while working to maintain a safe crafting environment.
FAQs About Puffy Rainbow Ice Cream Paint Kids Love
How long does it take?
The entire process can usually be completed in about an hour, plus drying time.
How long does it need to dry?
The puffy paint should dry for at least an hour, depending on the thickness.
Can I use a different material?
You can substitute the shaving cream with whipped foam for a similar fluffy texture.
Can children make it?
Yes, this project is kid-friendly with adult supervision.
Can I make it ahead of time?
You can prepare the paint and store it, but it’s best to use it fresh for the best texture.
Conclusion
Crafting Puffy Rainbow Ice Cream Paint is not only an exciting project but also a wonderful opportunity for kids to express their creativity. When you gather your supplies and spare some time, you’re sure to create colorful masterpieces that can be showcased or gifted. If you’re looking for more fun activities, consider trying projects like the Puffy Paint Ice Cream Cone Craft or explore 13 ways to play with shaving cream. Enjoy the fluffy fun!
Follow us on social for more recipe ideas & inspiration!
Puffy Rainbow Ice Cream Paint
Would you like to save this recipe?
By submitting you agree to receive this recipe and occasional emails. Unsubscribe anytime.
Ingredients
Main Ingredients
- 1 cup shaving cream Provides the fluffy texture.
- 1/2 cup white glue Bonds the mixture to the cardstock.
- food coloring For creating vibrant colors.
- 1 piece cardstock For painting surface.
- paintbrushes For applying the paint.
Instructions
Mixing the Paint
- Start by gently mixing the shaving cream with the white glue in a mixing bowl until you achieve a light and fluffy consistency.
- Divide the mixture into several bowls to create a variety of colors, adding a few drops of food coloring to each bowl until you reach your desired shade.
Painting
- Let kids use paintbrushes to spread their vibrant concoctions onto cardstock, painting cheerful designs.
- Allow the painted artworks to dry for a bit to achieve a lovely fluffy 3D effect.
Display
- Once the paint dries completely, display the colorful creations by framing them or sticking them on the refrigerator.
Last Step: Don’t forget to leave a rating and comment below! It helps other readers find the best recipes — and it helps us too!
Tips & Notes:
Nutrition Information: Serving: 4 | Calories: | Carbohydrates: | Protein: | Fat: | Sodium: | Fiber: | Sugar:
Nutritional information is provided as a courtesy and calculated automatically. Values can vary depending on the brands and ingredients you use, so if you’re tracking closely, I recommend calculating with your own preferred tool.