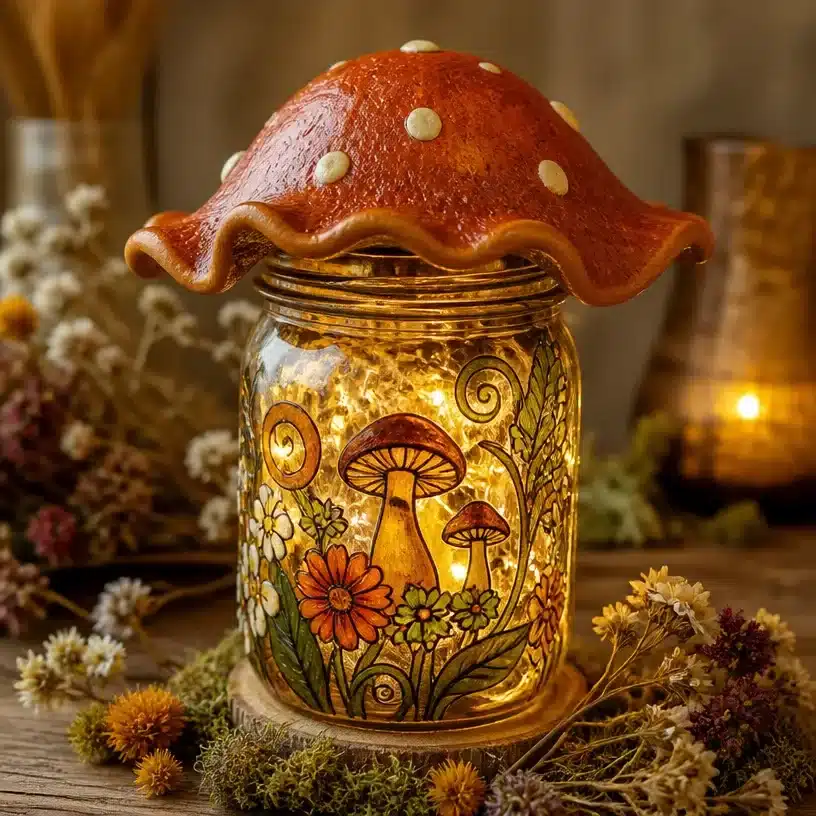
Why You’ll Want to Make Recycled Jar 70s Mushroom LED Lantern
Creating a Recycled Jar 70s Mushroom LED Lantern not only brings a touch of nostalgic charm to your home, but it’s also an eco-friendly project that repurposes materials you might already have. This craft highlights creativity, allowing you to personalize your lantern in unique ways. The soft glow of LED lights emanating from your lantern can serve as a cozy accent in any room, offering warmth and a decorative flair. Whether you use it for a romantic dinner, as a thoughtful gift, or simply as a decorative piece for your living space, this DIY project is approachable for all skill levels. Plus, you can learn more about similar projects by visiting this guide.
You may also find Aip Mulled Wine Mocktail Recipe useful.
Getting Ready to Make Recycled Jar 70s Mushroom LED Lantern
Before diving into crafting, it’s essential to familiarize yourself with the process. This lantern is designed to mimic the fun, colorful aesthetic of 1970s decor. Generally, the finished product will showcase vibrant colors, a whimsical mushroom shape, and a delightful glow from within. To simplify your crafting experience, you may want to gather all your materials first and make sure your workspace is clean and covered to protect against any spills or glue spots. You may also find Aip Mulled Wine Mocktail useful.
This lantern will primarily use an old jar as its base, providing a sturdy structure. Before starting, be sure to wash and dry your jar to remove any labels or residue. It’s also a good idea to understand how long certain materials take to dry, especially if you’re layering paint or glue. If you have young children assisting you in this project, be prepared to supervise during the use of any tools or materials that could pose a risk. You may also find Broiled Lobster Tails Lemon Garlic Butter useful.
Materials You’ll Need
- A glass or plastic jar (like a mason jar)
- Acrylic paints (various colors, ideally reds, yellows, and whites)
- Paintbrushes (a variety of sizes)
- LED string lights (battery-operated for safety)
- Craft glue or hot glue gun
- Decorative elements (like faux moss, beads, or glitter)
- Craft scissors
- Optional: clear sealant spray or mod podge for finishing
These materials are relatively easy to find at most craft stores or can be repurposed from what you have at home. Using acrylic paint is ideal because it adheres well to glass and is non-toxic. For adhering decorative elements, a hot glue gun provides a strong bond, but always apply adult supervision with this tool.
Helpful Tools
- Paint palette for mixing colors
- Sponge brushes for a texture effect
- Cloth or paper towels for cleanup
- Tweezers for placing small decorative items
How to Make Recycled Jar 70s Mushroom LED Lantern
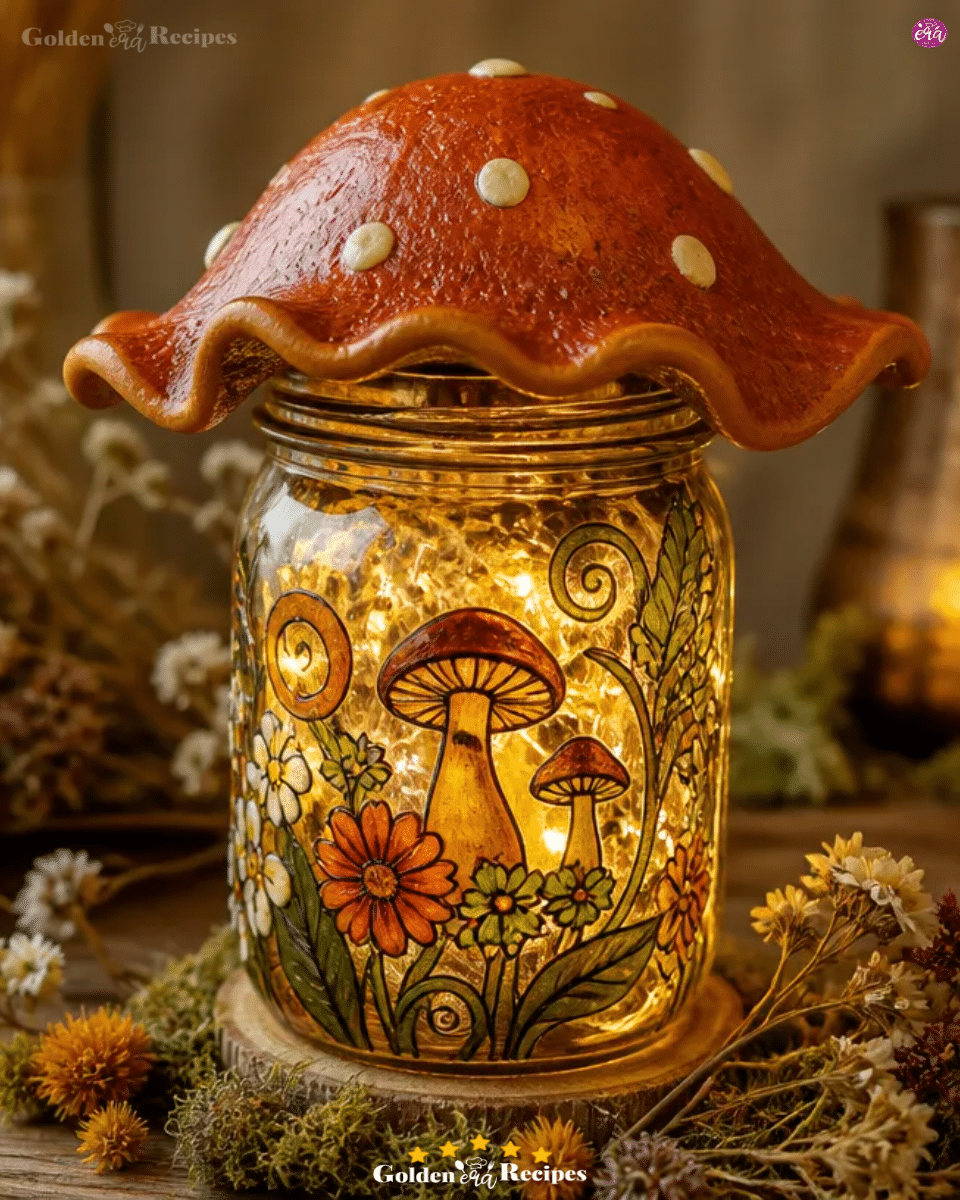
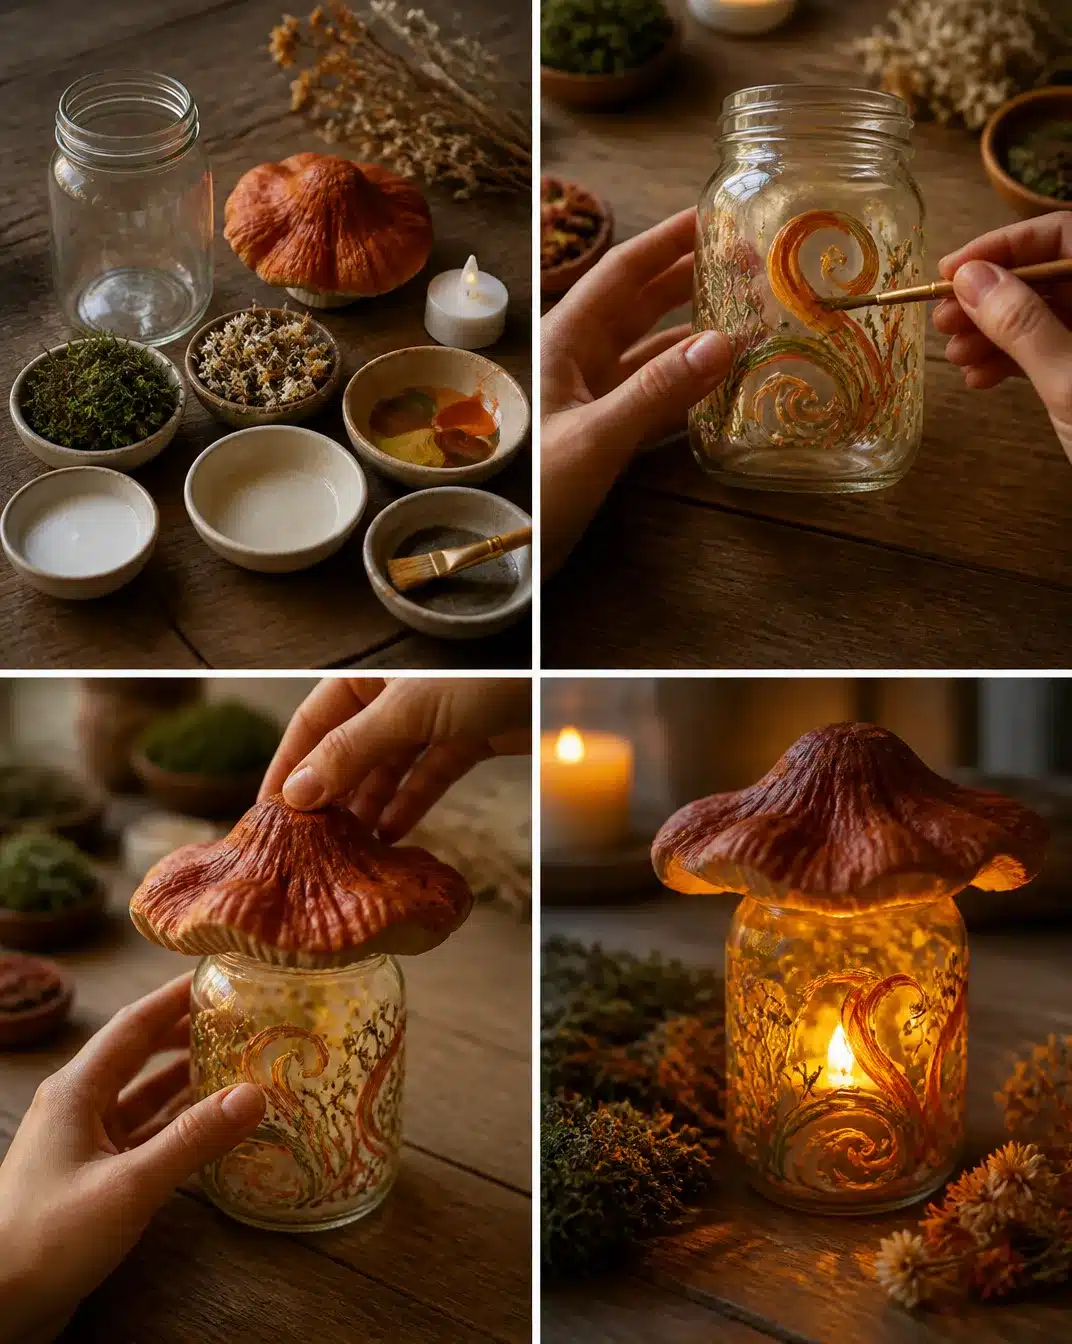
Begin by choosing a paint color for your base coat. Use a brush to evenly apply the paint inside the jar. Aim for a uniform coverage and allow to dry completely.
Once the base coat is dry, use a sponge brush or a fine-tipped brush to add mushroom spots in a contrasting color. Feel free to mimic natural mushroom patterns for an authentic look.
After the spots have dried, it’s time to add a layer of sparkle or decorative elements. For a magical touch, sprinkle glitter on the wet paint, or apply faux moss around the bottom edge of the jar using glue.
While your jar is drying, prepare the LED lights. If using string lights, often you will need to place the battery pack at the back or base of the jar for a seamless look.
Once everything is fully dry, carefully place the LED lights inside the jar. Try to position them so the lights are spread evenly throughout.
Seal the exterior with a clear spray sealant to protect your design and give it a polished finish, ensuring it lasts longer.
For an extra creative note, add a ribbon or twine around the top of the jar to finish the look.
Ideas for Using Your Finished Craft
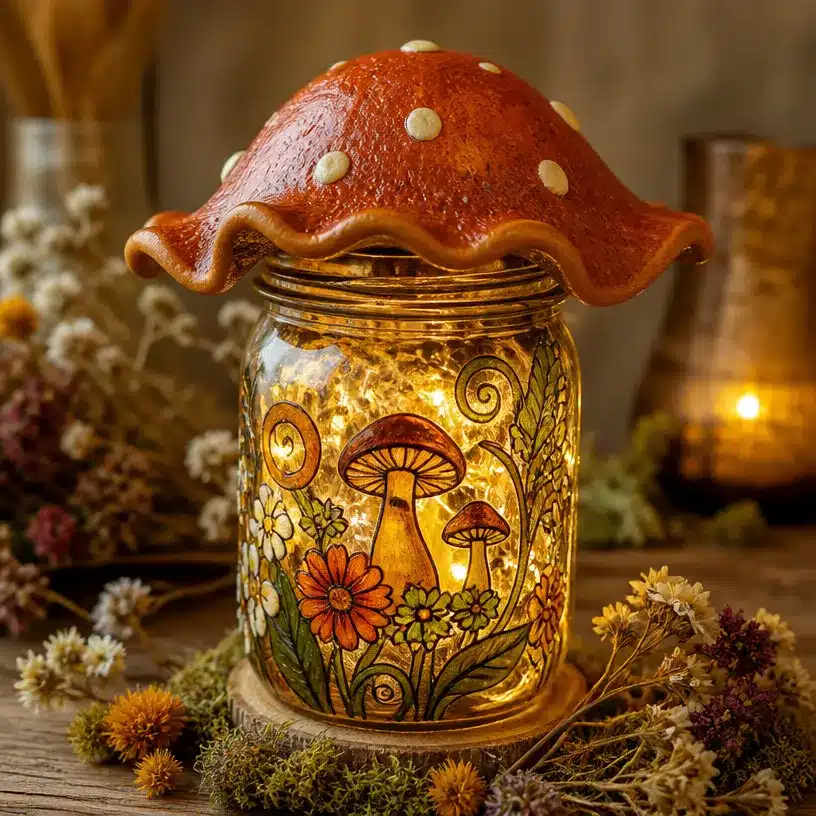
Once you’ve completed your Recycled Jar 70s Mushroom LED Lantern, there are many fun ways to display it. These lanterns can brighten up a corner of your dining table or make lovely gifts for friends and family. Consider showcasing them on your windowsill to catch the light during the day or placing them on a bookshelf to add a cozy vibe to your reading nook. They can also be delightful additions for parties or events, serving as centerpieces or mood lighting. This is a craft that not only beautifies spaces but also promotes the creativity embedded in handmade projects.
Tips for the Best Result
- Use thin layers of paint and let them dry fully before applying additional coats for an even finish.
- If working with glitter, pour it over a tray to catch excess and save for later use.
- Experiment with different brush techniques for varying textures on your lantern.
- Position decorative items before gluing them down; this will help visualize the final product and avoid any last-minute adjustments.
- Protect your workspace with newspaper or a drop cloth to make cleanup easier afterwards.
Common Mistakes to Avoid
- Applying too much paint at once, which can cause drips; remember, patience is key.
- Forgetting to adequately prepare your jar by ensuring it’s clean and dry; this can affect paint adhesion.
- Not allowing enough drying time between layers; this can lead to smudging.
- Overloading the jar with decorative items can make it look cluttered; keep it playful yet balanced.
Creative Ways to Make It Your Own
To truly make this lantern your own, consider various customization options. You could choose different colors to match your home decor or seasonal themes. For an autumn look, incorporating shades of orange and brown with leaf motifs can provide a warm touch. Use different sized jars for a varied look in group displays, or add personal touches like your name or initials using stencils or stickers. For a festive touch, consider adding themed embellishments for holidays like Christmas or Halloween.
How to Store Recycled Jar 70s Mushroom LED Lantern
To keep your lantern looking good over time, be mindful of its storage. If you’re storing it for a season or two, wrap it carefully in bubble wrap or tissue paper to prevent breakage. Keep it in a cool, dry place, avoiding direct sunlight to protect the colors from fading or the materials from deteriorating. In terms of cleaning, a gentle dusting with a soft cloth will help maintain its sparkle.
A Quick Safety Note
When working with glass jars, always be cautious. If cutting or drilling is required, use protective gloves and eyewear. Ensure hot glue and paint are treated with care to avoid burns or injuries. For those working with children, adult supervision is essential when using sharp tools or adhesives.
FAQs About Recycled Jar 70s Mushroom LED Lantern
How long does it take to make?
The total time varies, but plan for at least 2-3 hours, including drying time for paint and glue.
Can I use a different jar size?
Absolutely! The size of the jar can dramatically change the look of your lantern, so feel free to experiment.
What paint works best?
Acrylic paint is recommended due to its ease of use and durability on glass surfaces.
How should I store it?
Store it in a protective wrap and keep it in a cool, dry area to prevent any damage or fading.
Conclusion
With its playful aesthetic and practicality, the Recycled Jar 70s Mushroom LED Lantern is a rewarding DIY project that both beginners and seasoned crafters can enjoy. Don’t hesitate to personalize your lantern to reflect your creativity. If you’re interested in exploring more about unique lighting solutions for your home, take a look at the Brightech Celia Table Lamp or consider high-quality materials like Finery – 100% ANSO® High Performance Nylon that could enhance your crafting experience even further. Happy crafting!