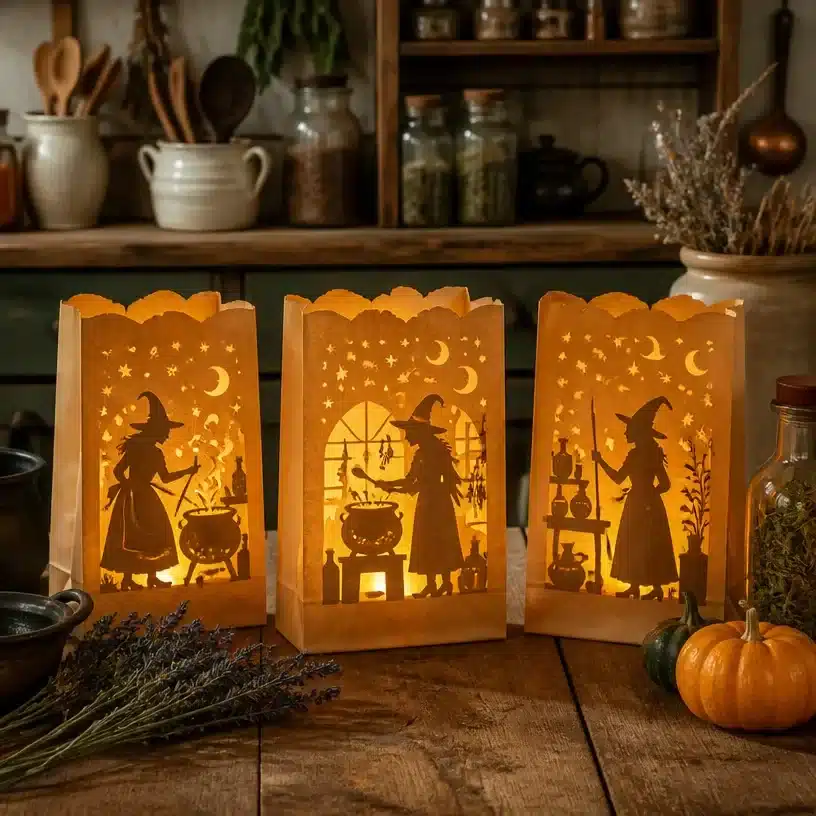
Why DIY Paper Bag Vintage Kitchen Witch Luminary Set Is Worth Making
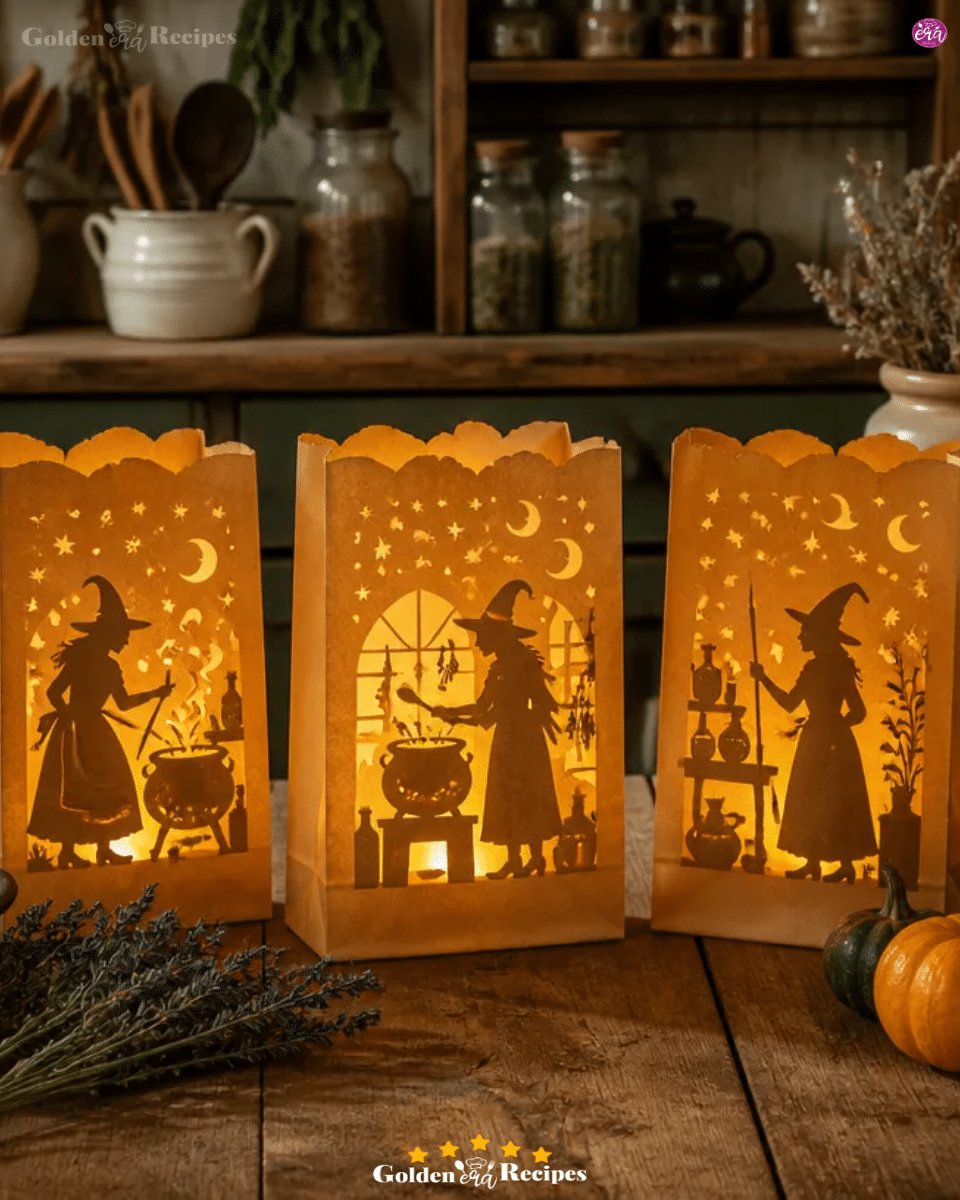
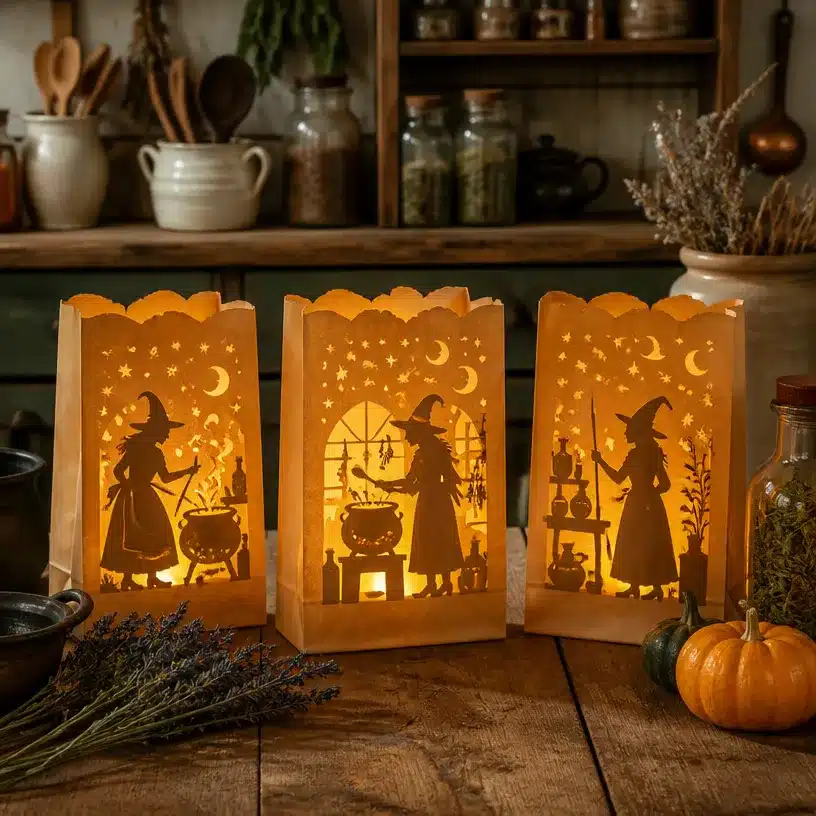
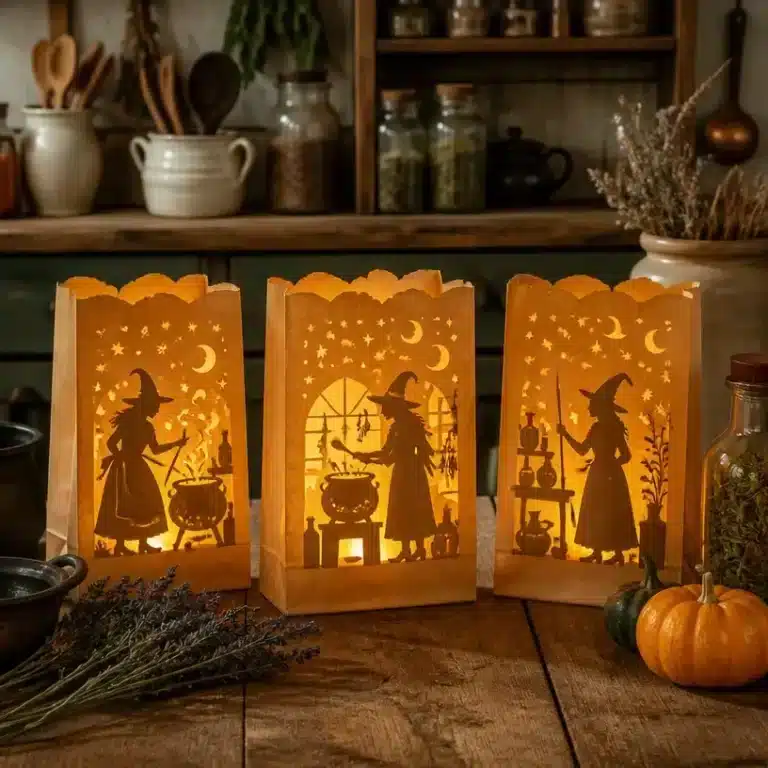
The DIY Paper Bag Vintage Kitchen Witch Luminary Set is a great craft for anyone looking to add a touch of whimsy and charm to their home decor. This project not only transforms everyday materials into something magical but also allows for personalization and creativity. As the light shines through the intricately decorated bags, they create a warm glow, perfect for Halloween gatherings or cozy evenings. With easy-to-find materials and straightforward steps, you’ll find this craft approachable and rewarding, making it an excellent choice for beginners and experienced crafters alike. You may also find Diy Rainbow Squishy Paper Pumpkin Craft Tutorial useful.
You may also find Diy Tissue Paper Sun Catchers For Sunny Windows useful.
Before You Start
Before diving into your DIY Paper Bag Vintage Kitchen Witch Luminary Set, it’s helpful to understand the basic process. You will be turning plain paper bags into delightful luminaries, each adorned with spooky and charming designs. These luminaries can be displayed on your porch, as part of a Halloween decor setup, or even gifted to friends. You may also find Diy Witch Hat Collage Craft For Kids useful.
Make sure to prepare your workspace by laying down protective covering to catch any spills or glue. Since this project involves cutting, gluing, and positioning, having everything organized will help you work more efficiently. Adult supervision is recommended if children are participating, especially when using scissors or glue.
What You’ll Need for DIY Paper Bag Vintage Kitchen Witch Luminary Set
- Paper bags (light brown, preferably lunch-sized)
- Black construction paper
- Scissors
- Glue stick or craft glue
- Acetate sheets (or wax paper)
- LED tealight candles
- Optional: markers, paints, or other decorative items
Helpful Tools
- Craft knife (for adult use)
- Cutting mat (to protect surfaces)
- Paintbrush (if using paint)
- Ruler (for precise measurements)
The light brown paper bags serve as the base for your luminaries, while the black construction paper is perfect for creating Halloween-themed cutouts. LED tealights are a safe choice for illuminating your creations, avoiding any fire hazards.
How to Make DIY Paper Bag Vintage Kitchen Witch Luminary Set
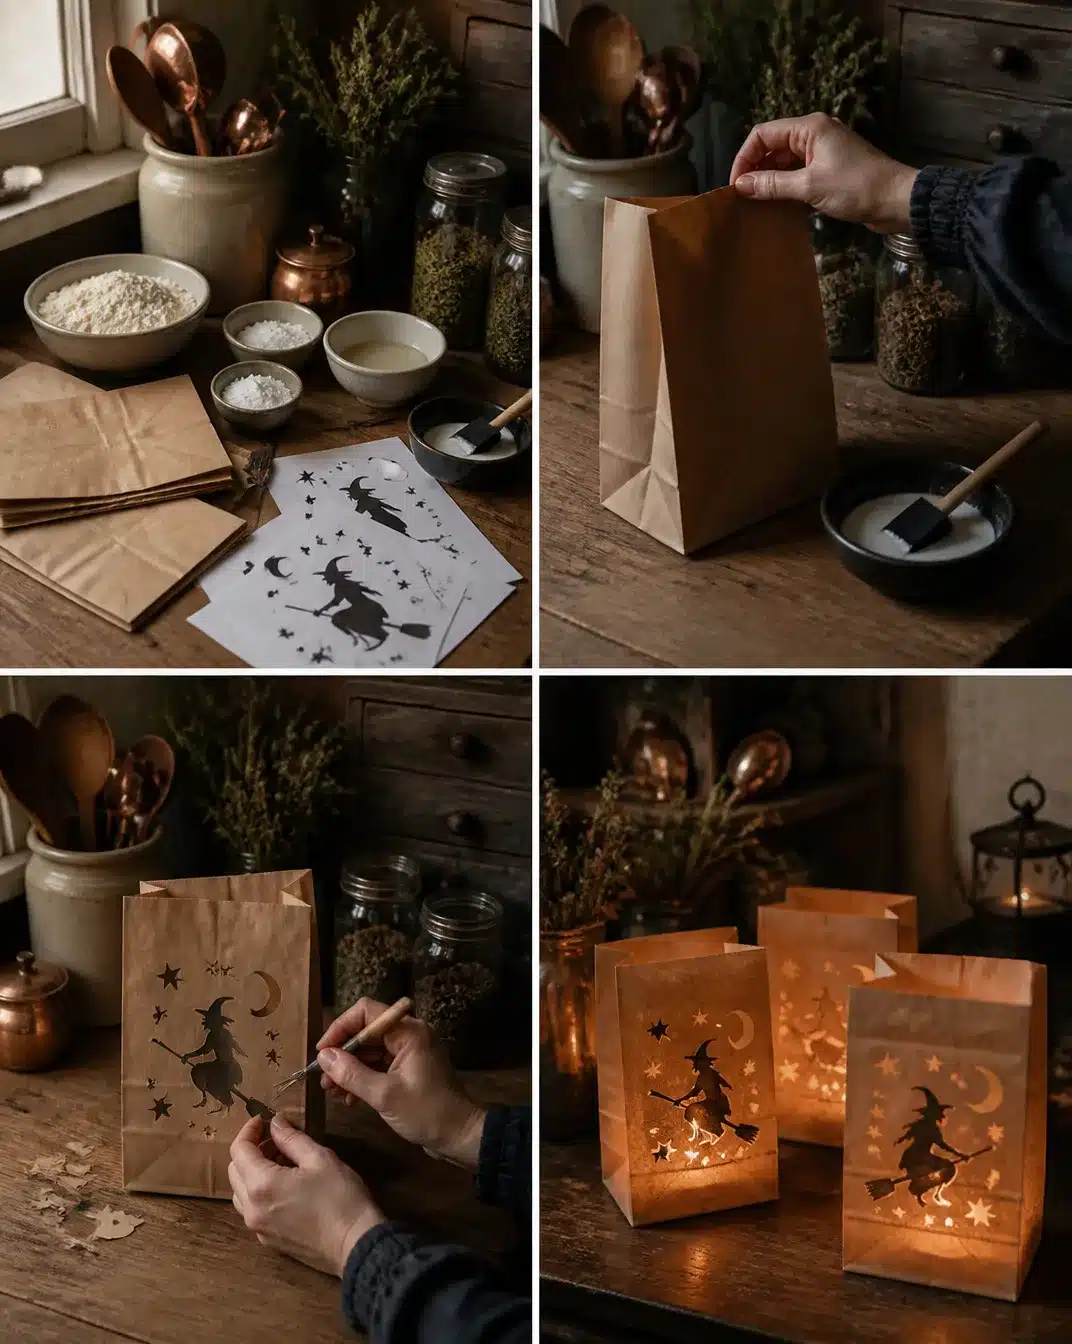
Start by flattening your paper bags and trimming them to the desired height for your luminary. Typical heights range from 6 to 8 inches.
Using a ruler, measure and cut spooky shapes like a witch’s hat, a pumpkin, or a cauldron out of the black construction paper. These cutouts will let light shine through when you place a tealight inside.
Attach these cutouts to the front of the paper bags using your glue. Make sure they are securely adhered to avoid peeling.
Once the glue is dry, insert acetate sheets or wax paper behind the cutouts. This will diffuse the light from the tealights and give your luminary a warm glow.
Carefully fold the top edge of the paper bag down about an inch and create a crease. This will create a neat finish.
Place an LED tealight inside each bag. If needed, use double-sided tape to secure the tealight in place.
Finally, set your luminaries in an outdoor or indoor location to enjoy their enchanting glow.
Ideas for Using Your Finished Craft
The DIY Paper Bag Vintage Kitchen Witch Luminary Set can be used in various ways to enhance your seasonal decor. They make charming porch displays for Halloween, adding a spooky ambiance when lit. Group several together on a table to create a festive centerpiece for Halloween parties. You could also line outdoor walkways with them for an inviting glow leading up to your front door. If you’re looking for inspiration for other seasonal crafts, consider checking out this rainbow spiderweb suncatcher as an alternative decoration.
Tips for the Best Result
Choose well-fitting cutouts: Ensure that the shapes you cut are proportionate to the size of the bag for a balanced look.
Use even glue layers: Applying glue in an even layer helps avoid bubbles and ensures that your cutouts stay flat.
Allow sufficient drying time: Give the glue time to dry completely before moving on to placing the tealights in your luminaries. This ensures that your decorations remain intact.
Be mindful with scissors: If children are helping, ensure they are using safety scissors or under adult supervision when using sharp tools.
Play with the placement: Try different placements of your luminaries, such as varying heights or designs, to create a visually interesting display.
Common Mistakes to Avoid
Rushing the glue drying process: If you place the tealight before the glue has dried properly, you risk loosening your cutouts.
Fix: Give longer drying times, especially on humid days.
Poor cutout designs: Complex or overly detailed designs can be difficult to cut and may not hold their shape.
Fix: Stick to simpler designs at first, and feel free to experiment once you’re comfortable.
Using regular candles: Opting for standard candles can result in fire hazards.
Fix: Always use battery-operated LED tealight candles for safety when lighting your luminaries.
Ignoring paper quality: Thin paper bags may not hold up well and can become droopy or weak.
Fix: Choose sturdier paper bags for better durability.
Creative Ways to Make It Your Own
Add paint: Use acrylic paint to decorate the outside of the bags, or play with glow-in-the-dark paints for an added effect.
Seasonal variations: Create luminaries for different occasions, such as snowflakes for winter or flowers for spring.
Photo transfers: You can print or transfer photos of family members in costume to the bags for a fun personal touch.
Personalized messages: Write favorite quotes or greetings on the bags using markers for a unique flair.
Mix materials: Combine fabric, like cheesecloth or burlap, with the paper to add texture and interest.
How to Store DIY Paper Bag Vintage Kitchen Witch Luminary Set
To keep your luminaries in good condition, store them in a dry area away from direct sunlight. Use a plastic container or box to prevent them from getting crushed or damaged. If the luminaries have paints or markers, ensure they are completely dry before stacking them. For added protection, place sheets of tissue paper between each luminary if you’re putting them in a box.
A Quick Safety Note
When using scissors or craft knives, adult supervision is advised, especially for younger crafters. Ensure that any LED lights are turned off when not in use, and keep the luminaries away from wet or damp locations to maintain the integrity of the materials used.
FAQs About DIY Paper Bag Vintage Kitchen Witch Luminary Set
How long does it take?
The entire project can take about 1-2 hours, depending on your crafting speed and drying times.
What glue works best?
A glue stick or craft glue works well for attaching the cutouts. Be sure it’s strong enough to hold the paper over time.
Can children make it?
Yes, children can help with supervision. Just ensure to provide safety scissors and assist with the cutting if needed.
Can I change the size?
Absolutely! You can use smaller or larger bags to adjust the size of your luminaries.
How should I store it?
Store the luminaries in a container in a cool, dry place to avoid damage.
Conclusion
This DIY Paper Bag Vintage Kitchen Witch Luminary Set is not only a fun crafting project but also a charming addition to your home’s seasonal decor. The creativity involved allows you to make each luminary unique and personal. If you enjoy exploring more luminary styles, you might like to check out a few options available, like these vintage Halloween luminaries. Additionally, for those interested in expanding their crafting repertoire, read up on how to make an air dry clay ghost luminary. Happy crafting!
Follow us on social for more recipe ideas & inspiration!
Paper Bag Vintage Kitchen Witch Luminary Set
Would you like to save this recipe?
By submitting you agree to receive this recipe and occasional emails. Unsubscribe anytime.
Ingredients
Main materials
- 5 pieces Light brown paper bags (preferably lunch-sized)
- 1 sheet Black construction paper For spooky cutouts
- 1 stick Glue stick or craft glue
- 2 sheets Acetate sheets or wax paper To diffuse light
- 5 pieces LED tealight candles For safe illumination
Optional materials
- 1 set Markers, paints, or other decorative items For personalization
Instructions
Preparation
- Flatten the paper bags and trim them to a height of 6 to 8 inches.
- Use a ruler to measure and cut spooky shapes like a witch's hat, pumpkin, or cauldron from the black construction paper.
Assembly
- Attach the cutouts to the front of the paper bags using glue.
- Once the glue is dry, insert acetate sheets or wax paper behind the cutouts.
- Fold the top edge of the paper bag down about an inch and create a crease.
- Place an LED tealight inside each bag and secure if needed.
- Set your luminaries in an outdoor or indoor location to enjoy their glow.
Last Step: Don’t forget to leave a rating and comment below! It helps other readers find the best recipes — and it helps us too!
Tips & Notes:
Nutrition Information: Serving: | Calories: | Carbohydrates: | Protein: | Fat: | Sodium: | Fiber: | Sugar:
Nutritional information is provided as a courtesy and calculated automatically. Values can vary depending on the brands and ingredients you use, so if you’re tracking closely, I recommend calculating with your own preferred tool.