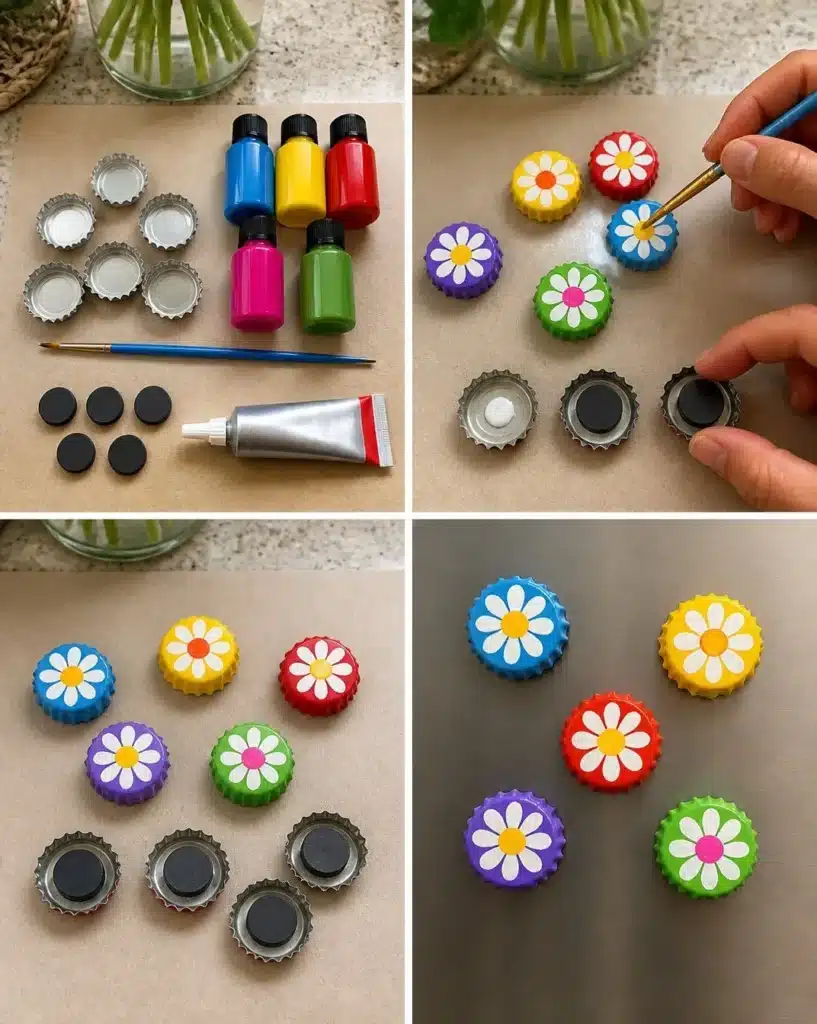
Why You’ll Want to Make DIY Bottle Cap Flower Magnets
DIY Bottle Cap Flower Magnets are a delightful and creative craft that allows you to repurpose everyday materials into something beautiful and functional. These charming little magnets serve as a perfect decorative addition to your refrigerator, office, or even as handmade gifts for friends and family. The process is simple, making it an excellent choice for crafters of all ages and skill levels. You may also find Blackberry Sage Elderflower Lemonade Glow useful.
One of the most appealing aspects of this project is the ease with which you can customize your designs. With just a few supplies, you can create flowers in an array of colors, sizes, and styles, bringing a touch of whimsy to your space. As you explore painting and decorating the bottle caps, you’ll find that your creativity can truly shine. The final result is not just a craft; it’s a celebration of your unique style, making each magnet one-of-a-kind. You may also find Caprese Grilled Cheese Recipe useful.
Before You Start
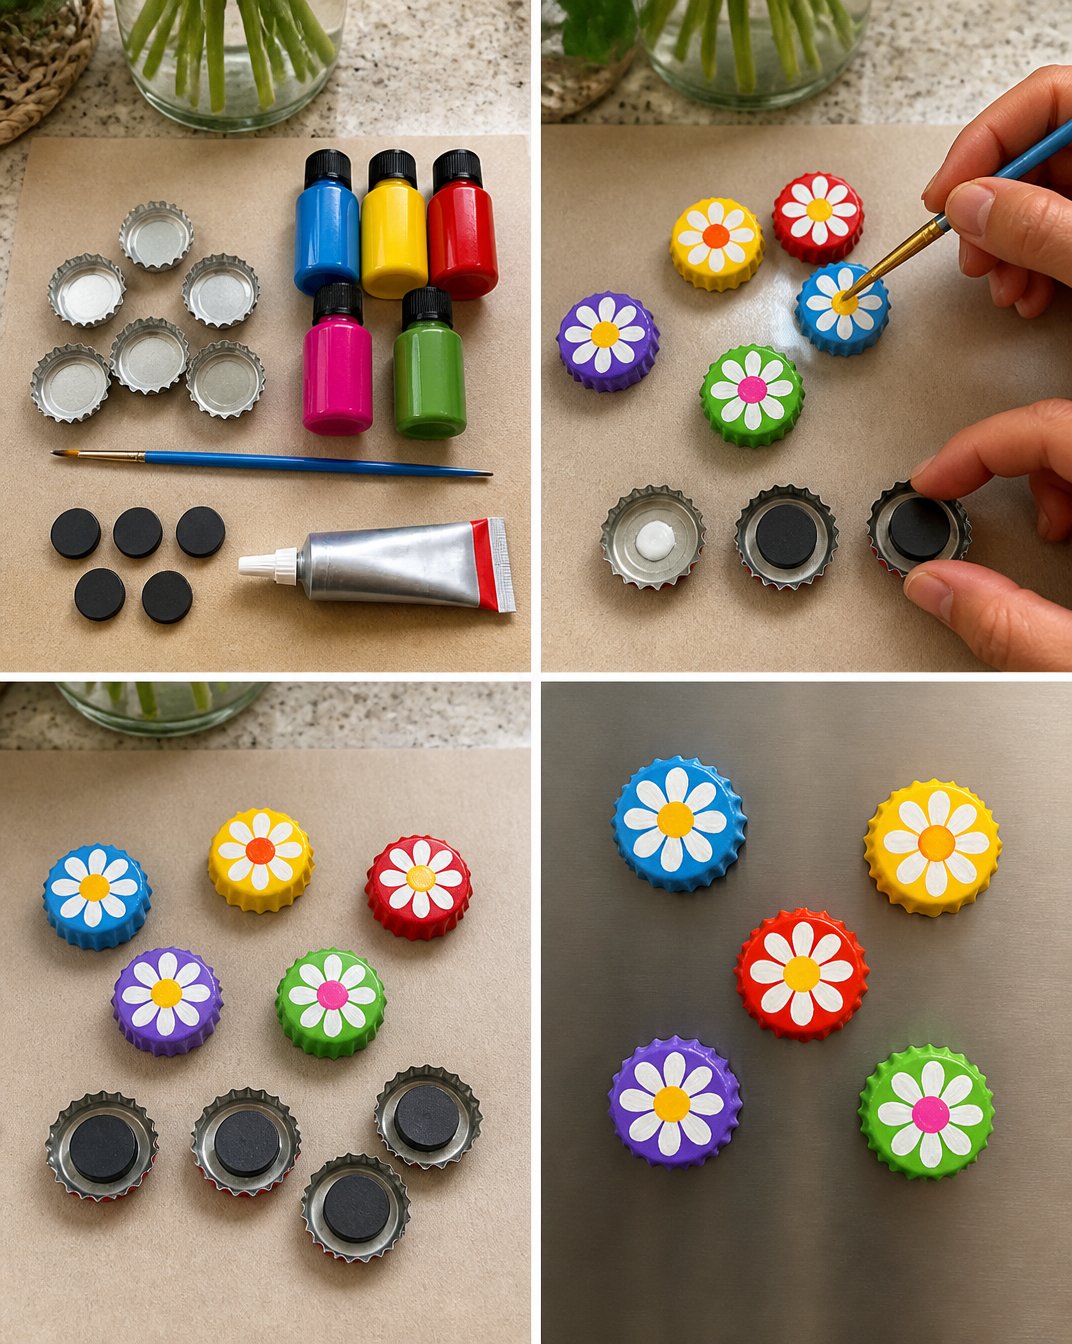
Before diving into the crafting fun, it’s beneficial to prepare your workspace and gather your materials. This project is primarily about painting, so having a clean and organized area will help you enjoy the process without unnecessary distractions. Lay down some newspaper or a plastic tablecloth to protect your surfaces from paint spills and stains. You may also find Dandelion Flower Jelly For You useful.
Once you have your space ready, think about the color schemes you want to use for your flowers. Bright colors often work best, but feel free to explore pastel shades or metallics if they match your decor. Give yourself time to let things dry properly; rushing can lead to smudged paint and colors bleeding together, which may lessen the overall quality of your finished product. Adult supervision is suggested when younger crafters are involved, especially when using strong adhesives.
What You’ll Need for DIY Bottle Cap Flower Magnets
- 5 clean metal bottle caps
- 1 bottle of acrylic craft paint in assorted bright colors
- 1 small paintbrush
- 5 circular adhesive magnets
- 1 tube of strong craft glue
Helpful Tools
Having a dry cloth on hand is useful for wiping excess paint or glue from your fingers or the caps. If you’re interested in adding a final touch of sparkle, consider having some glitter or stickers nearby to enhance your designs.
How to Make DIY Bottle Cap Flower Magnets
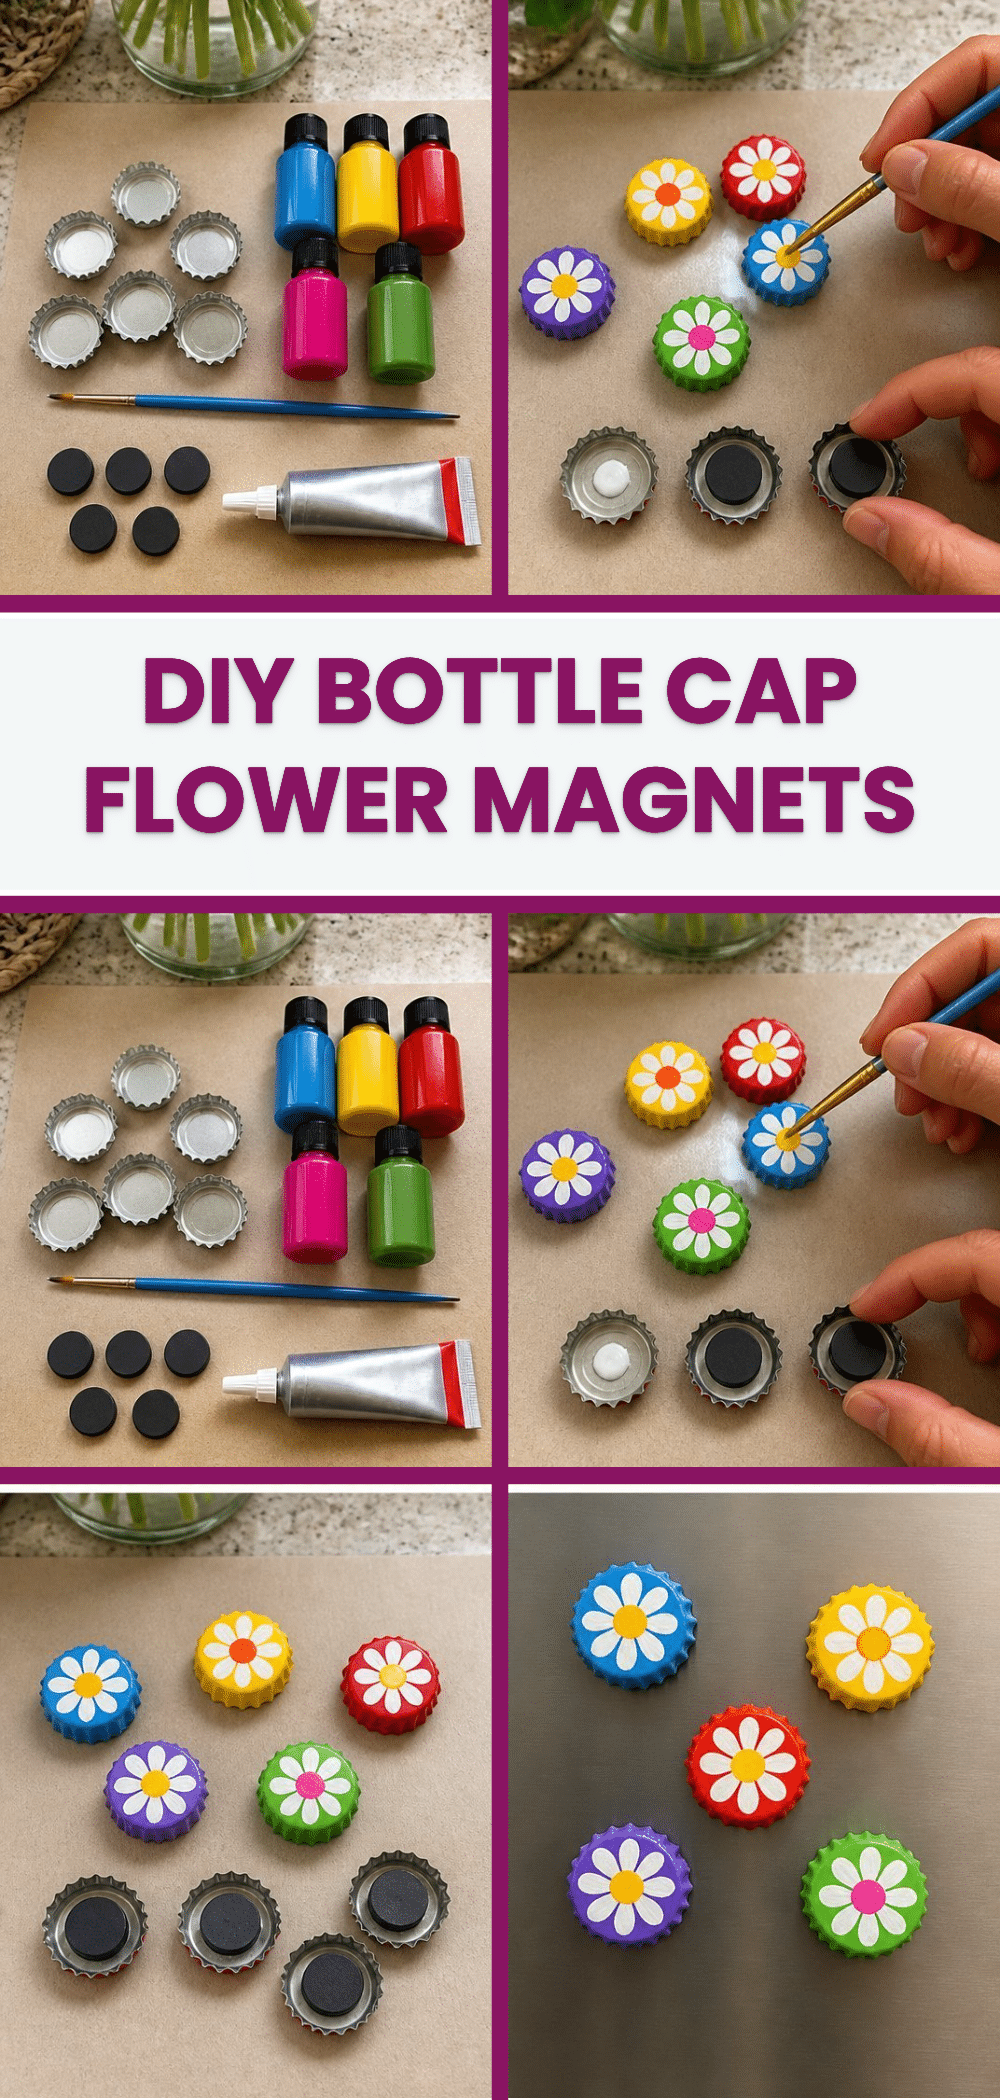
Begin by painting the exterior of each bottle cap with your chosen bright colors. Apply a thin, even coat; this will prevent any runs or uneven patches in the paint. Allow them to dry completely before proceeding, as rushing can lead to smudging.
Once dry, take your paintbrush and add a small contrasting dot in the center of each cap to resemble a cheerful little flower. This is where you can let your creativity shine! Consider using complementary colors for a more striking effect.
After your flower designs are set, apply a small amount of craft glue to the back of each bottle cap. Firmly press an adhesive magnet into place, ensuring it adheres well.
Finally, allow the glue to cure fully before placing your finished magnets on a magnetic surface, like your refrigerator. This helps ensure they stay secure and don’t detach unexpectedly.
How to Display DIY Bottle Cap Flower Magnets
Once your DIY Bottle Cap Flower Magnets are ready to go, the options for display are limitless. They make wonderful decorative touches for the kitchen, adding a pop of color to your refrigerator. Additionally, consider giving them as gifts; handmade items such as these can brighten anyone’s day.
These magnets can also be grouped together on a magnetic board or showcased in a kid’s room for a playful touch. Their lightweight nature allows for easy rearrangement, so you can enjoy new displays as often as you like.
Tips for the Best Result
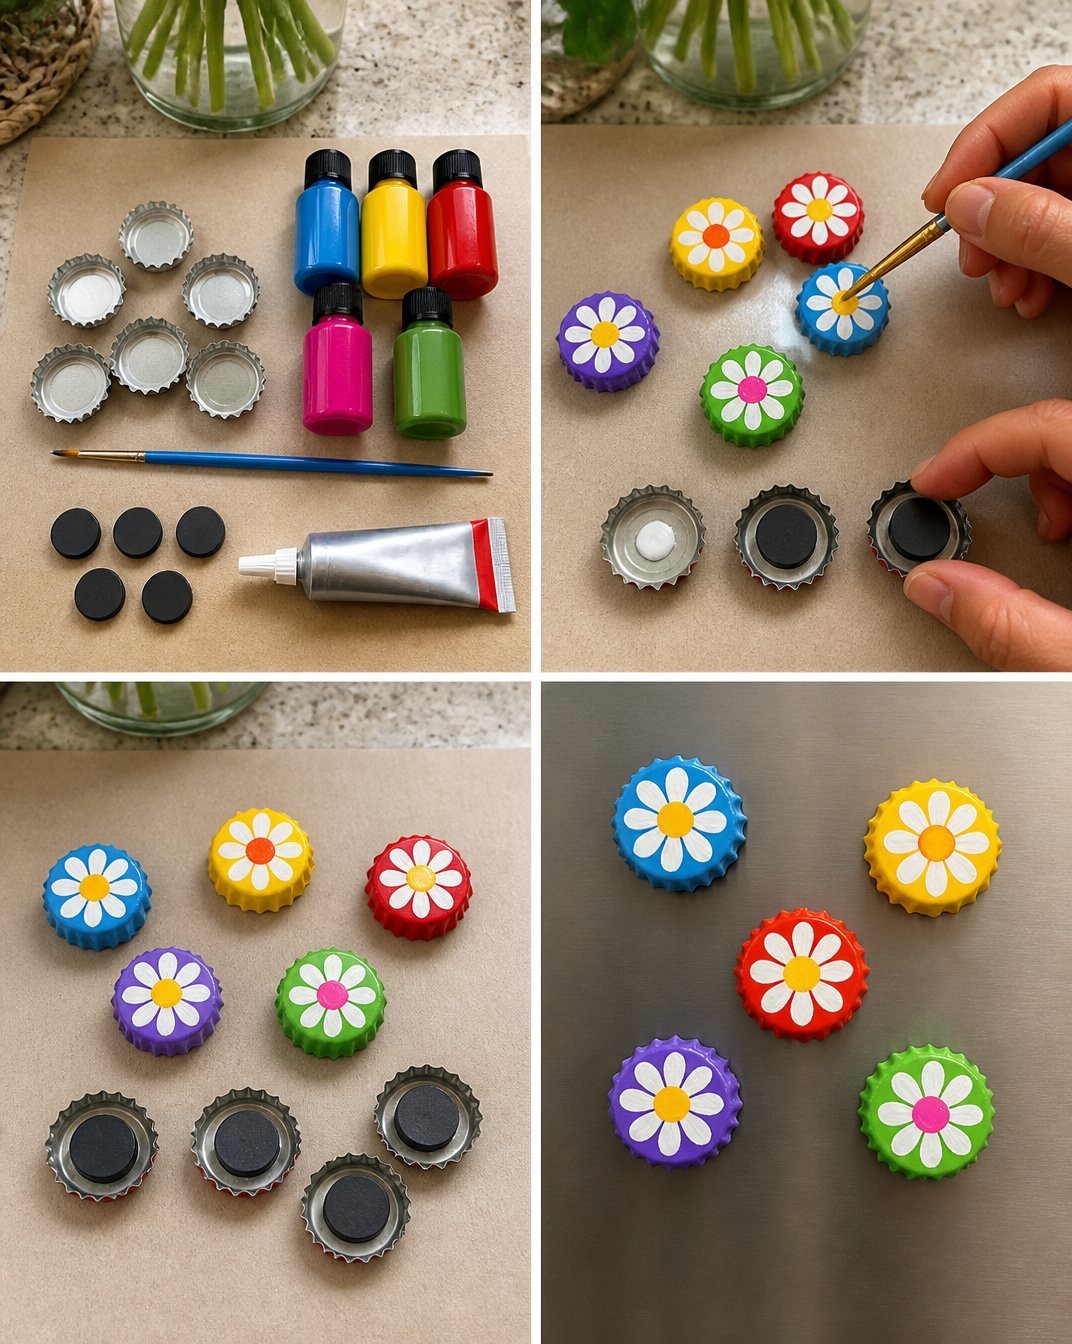
- Choose a fine-tipped paintbrush to get more precise detail when painting the centers of your flowers.
- Allow each layer of paint to dry thoroughly before applying additional layers; this ensures a more vibrant color without bleeding.
- If you’re using glitter, add it while the paint is still wet for better adhesion and a more even finish.
- Avoid adding too much glue to the back of the magnets; a small dot is sufficient to hold them securely without oozing out the sides.
Common Mistakes to Avoid
Mistake: Applying too thick a layer of paint.
Cause: This often leads to runs or uneven surfaces.
Fix: Opt for multiple thin layers instead, allowing each to dry before the next.Mistake: Rushing the drying process.
Cause: Trying to paint or glue while wet can lead to smudging or pieces not sticking.
Fix: Be patient and allow ample time for drying as indicated in the steps above.Mistake: Using insufficient adhesive.
Cause: This can lead to magnets falling off.
Fix: Make sure to apply a small but effective amount of glue when attaching the magnets, ensuring a strong bond.
Creative Ways to Make It Your Own
This craft is incredibly versatile, allowing for numerous creative variations to personalize your DIY Bottle Cap Flower Magnets. Here are some ideas:
- Color Combinations: Try using metallic paints or neon colors to give your flowers a unique look.
- Patterns: Instead of just dots, consider using small triangles, hearts, or even lines to create different flower shapes.
- Adding Texture: Incorporate small decorative elements like beads or strips of fabric for more dimensional flowers.
- Holiday Themes: Paint appropriate colors or motifs for different holidays, such as red and green for Christmas or pastels for Easter.
Caring for Your Finished Craft
To ensure your DIY Bottle Cap Flower Magnets stay vibrant and intact, keep them out of direct sunlight to prevent fading. Clean them gently with a damp cloth when dusty, and avoid using harsh chemicals that might damage the paint or surface. Ensure they are stored in a dry place to avoid moisture damage, which could weaken the glue.
A Quick Safety Note
When using craft glue, always ensure that you’re in a well-ventilated area. Although most craft glues are non-toxic, strong odors can be overpowering, and proper ventilation ensures a comfortable crafting experience. If younger crafters are involved, adult supervision is encouraged, especially when handling tools and adhesives.
FAQs About DIY Bottle Cap Flower Magnets
How long does it take to make these magnets?
The entire process can take 1-2 hours, depending on drying times and complexity in design.
Can I use other types of paint?
Acrylic craft paint is recommended for its quick drying and versatility, but you can use other craft paints as long as they adhere well.
Can children make it?
Children can certainly participate, especially with adult supervision when handling glue and paint.
How should I store my magnets?
When not in use, store them in a cool, dry place. You can stack them carefully or wrap them in tissue paper to prevent scratches.
What if my paint isn’t drying properly?
Humidity can affect drying times. Make sure your workspace is well-ventilated, and consider using a heat source like a fan to help speed up the process.
Conclusion
Creating DIY Bottle Cap Flower Magnets is a fun and fulfilling project. The blend of creativity and practicality allows you to enjoy personal, decorative pieces that bring life to everyday spaces. As you explore this craft, you might also find inspiration in other creative projects, such as the delightful Bottle Cap Flowers – Living Well Mom or a comprehensive guide on how to make bottle cap flowers – South Bend Tribune. Enjoy the crafting process, indulge your creativity, and watch as your charming magnets come to life!
Follow us on social for more recipe ideas & inspiration!
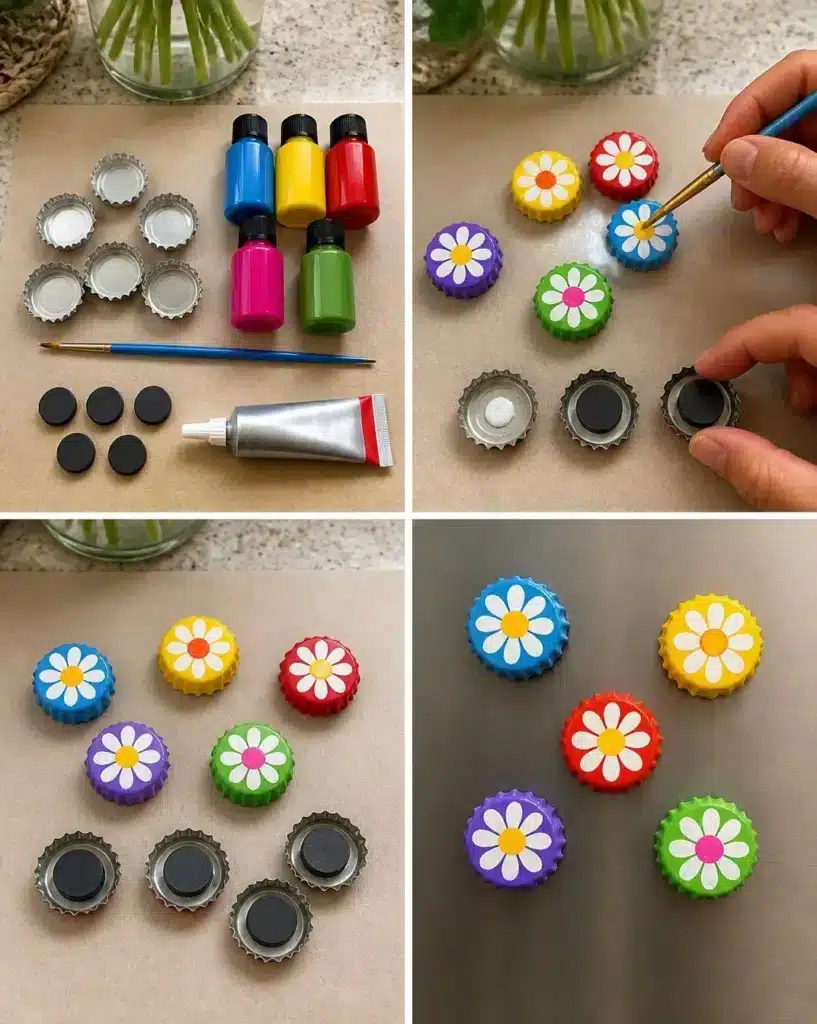
DIY Bottle Cap Flower Magnets
Would you like to save this recipe?
By submitting you agree to receive this recipe and occasional emails. Unsubscribe anytime.
Ingredients
Main Ingredients
- 5 pieces clean metal bottle caps Ensure they are free of any residue.
- 1 bottle acrylic craft paint in assorted bright colors Choose colors that match your decor.
- 1 small paintbrush A fine-tipped brush is recommended for detail work.
- 5 pieces circular adhesive magnets Ensure they have strong adhesive.
- 1 tube strong craft glue Recommended for ensuring strong adhesion.
Instructions
Painting
- Begin by painting the exterior of each bottle cap with your chosen bright colors. Apply a thin, even coat to prevent any runs or uneven patches, and allow them to dry completely.
- Once dry, take your paintbrush and add a small contrasting dot in the center of each cap to resemble a cheerful flower.
Assembling
- After your flower designs are set, apply a small amount of craft glue to the back of each bottle cap. Press an adhesive magnet into place, ensuring it adheres well.
- Allow the glue to cure fully before placing your magnets on a magnetic surface.
Last Step: Don’t forget to leave a rating and comment below! It helps other readers find the best recipes — and it helps us too!
Tips & Notes:
Nutrition Information: Serving: 5 | Calories: | Carbohydrates: | Protein: | Fat: | Sodium: | Fiber: | Sugar:
Nutritional information is provided as a courtesy and calculated automatically. Values can vary depending on the brands and ingredients you use, so if you’re tracking closely, I recommend calculating with your own preferred tool.