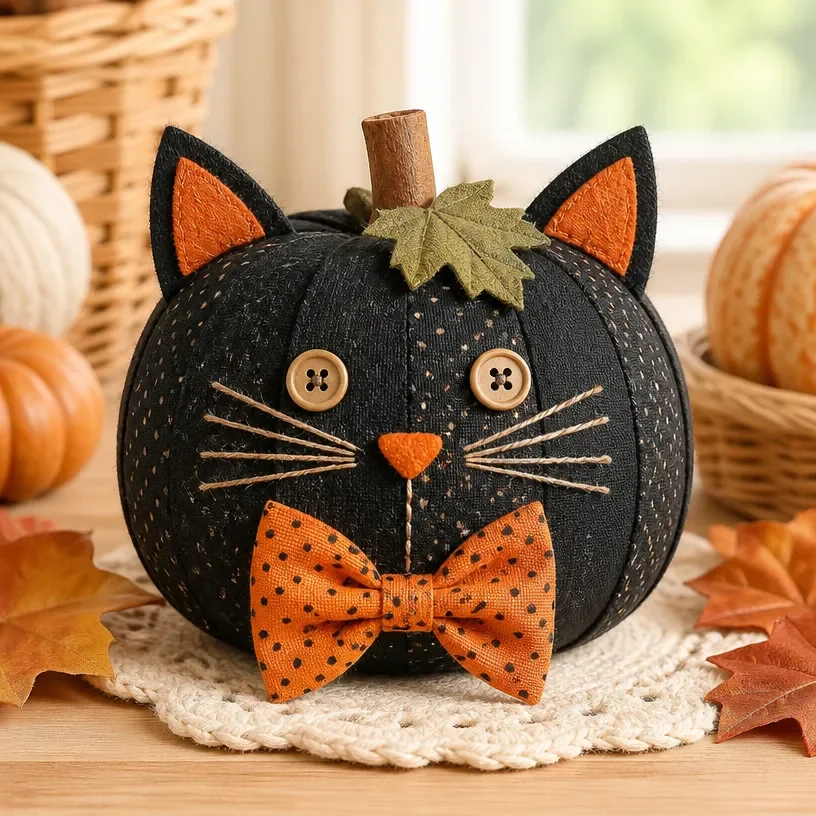
Why DIY Scrap-Fabric Black Cat Pumpkin for Halloween Is Worth Making
Crafting a Scrap-Fabric Black Cat Pumpkin combines the charm of Halloween decor with the creativity of DIY projects. This fun and easy craft not only allows you to express your artistic flair but also gives you a delightful centerpiece for your autumn displays. The playful design of a black cat nestled in a pumpkin captures the festive spirit of Halloween, making it an excellent addition for home, parties, or as a unique gift for friends and family. You may also find Adorable Black Kitten Rainbow Pumpkin Suncatcher For Windows useful.
Using readily available materials, this craft encourages recycling and reusing fabric scraps, turning what might be leftover pieces into something truly special. The vibrant colors and textures of the fabric will breathe life into your spooky season decorations, allowing you to create a nostalgic feel reminiscent of the 1960s and 1970s home decor styles. Each piece will be unique to you, showcasing your personality and craft skills. Furthermore, this project is beginner-friendly, making it accessible for crafters of all ages. You may also find Diy Rainbow Pony Bead Pumpkin Suncatcher useful.
Whether you display it on a shelf, table, or window sill, the DIY Scrap-Fabric Black Cat Pumpkin brings a sense of warmth and whimsy to any fall setting. Embrace the autumn spirit this Halloween by crafting something truly memorable. You may also find Diy Tissue Paper Sun Catchers For Sunny Windows useful.
Before You Start
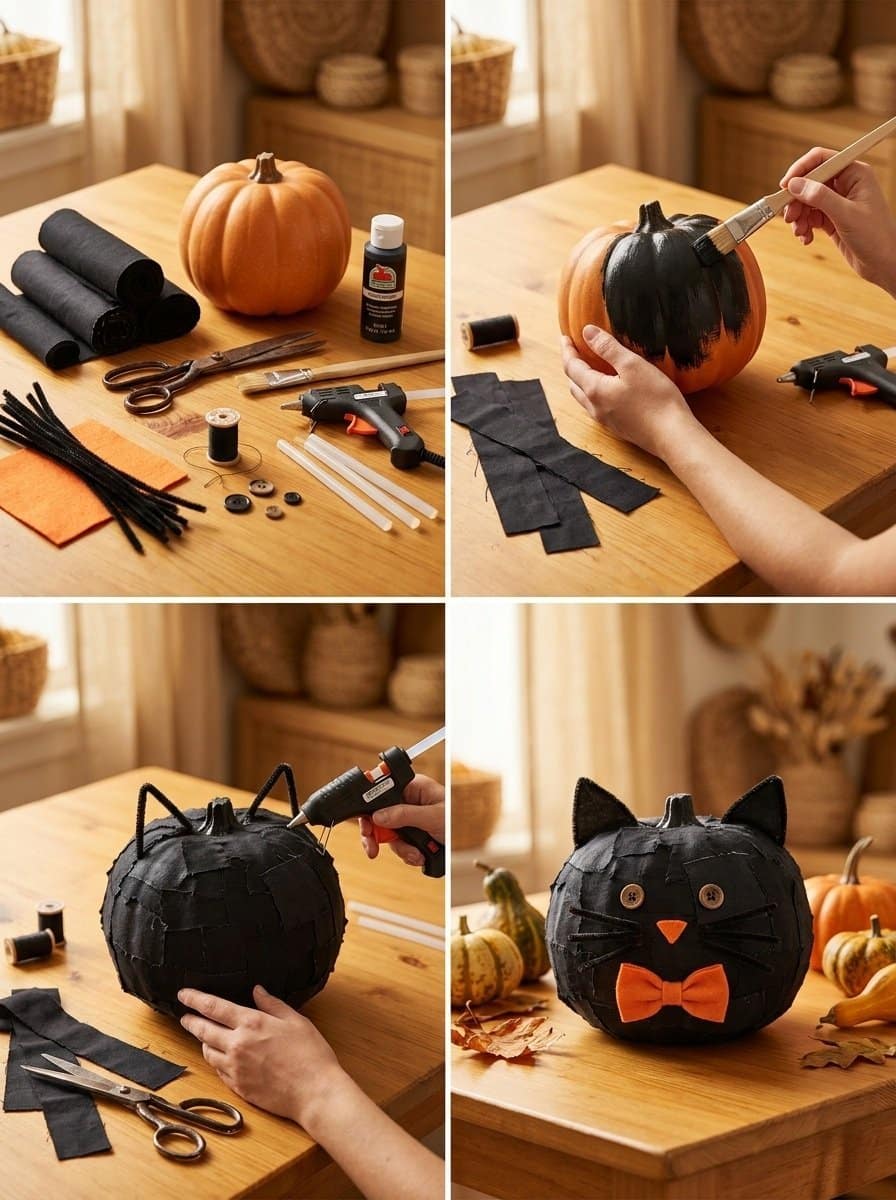
To make the DIY Scrap-Fabric Black Cat Pumpkin, gather everything you need and set up your workspace. This project will require a few straightforward steps, and having everything organized beforehand will make the crafting process smooth. You may also find Sparkling Rainbow Pumpkin Decor For Halloween useful.
You’ll be creating a charming pumpkin shape with features reminiscent of a playful cat, ensuring that your final piece is both stylish and adorable. Preparation involves cleaning or flattening your fabric scraps and ensuring your workspace is protected from any potential mess. Consider using a drop cloth or newspapers to keep your surfaces safe.
While crafting, remember that it’s best to let adhesive and paint layers dry completely before moving on to the next step to prevent sticky situations or muddy colors.
Materials You’ll Need
- Fabric scraps
- Fiberfill
- Strong thread
- Cinnamon stick
- Felt leaf
- Craft colors:
- Harvest gold
- Avocado green
- Burnt orange
- Walnut brown
Helpful Tools
- Scissors
- Hot glue gun
- Paintbrushes
- Palette or container for mixing paint
The fabric scraps can be any colors or patterns you love. Choose Halloween-themed designs for extra fun. A strong adhesive is essential, especially when assembling the layers and securing details. Fiberfill will give your pumpkin a soft, puffed-up look, while the cinnamon stick adds a rustic touch that enhances the overall design.
How to Make DIY Scrap-Fabric Black Cat Pumpkin for Halloween
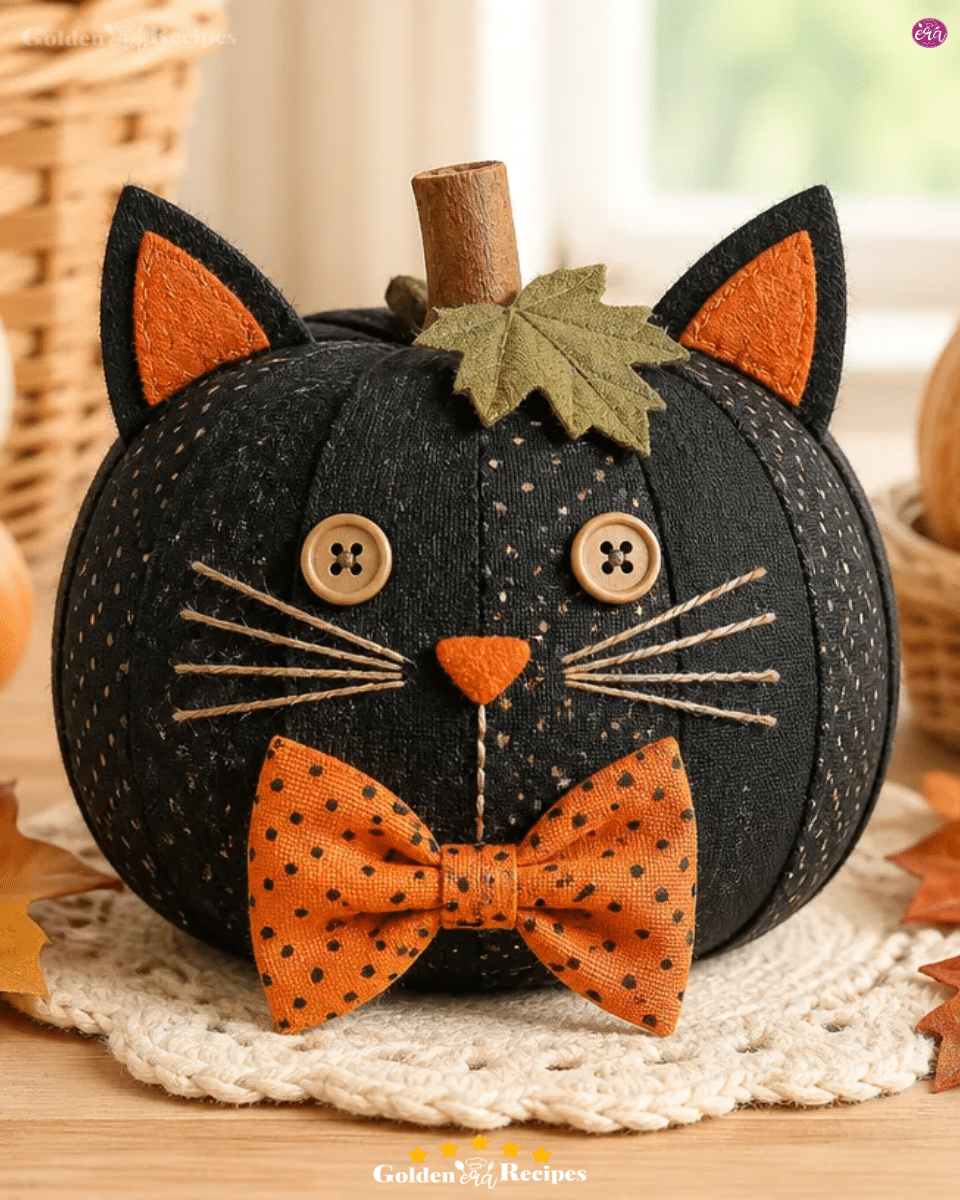
First, gather your materials, ensuring all fabric scraps are clean and any recycled pieces are flattened. Lay your workspace with protective covering.
Next, build the base form of the pumpkin. Cut out the main shape and layout based on your design or inspiration. Ensure the edges are neat and proportions are beginner-friendly. It’s helpful to dry-fit the pieces before gluing to ensure a stable structure.
Then, add the main color layers to the pumpkin using thin coats of craft paint. This technique helps maintain a crisp finish resembling the vibrant yet classic retro styles. Allow each coat to dry thoroughly before layering on additional colors.
After the base is dry, incorporate seasonal details that will make your Scrap-Fabric Black Cat Pumpkin distinctly recognizable. You might add small felt leaves, painted stars, or even a cute cat face. Keep the most noteworthy features central for captivating visual interest.
For the finishing touch, secure any loose parts and trim stray threads or glue. Apply a compatible sealer if necessary to preserve your creation. If you plan to make this project light-up, use a cool battery-operated LED, and style your masterpiece against a simple fall-themed backdrop.
How to Display DIY Scrap-Fabric Black Cat Pumpkin for Halloween
Your finished Scrap-Fabric Black Cat Pumpkin can be displayed in many creative ways. Consider placing it on a shelf as part of a festive arrangement with other autumn decorations or setting it on a mantelpiece to catch the eye.
Additionally, it can enhance your table decor for Halloween parties or serve as a whimsical centerpiece. If you have a garden, you could even place it on your porch to welcome trick-or-treaters. Personalizing your decorative piece with unique embellishments can also make it a memorable gift.
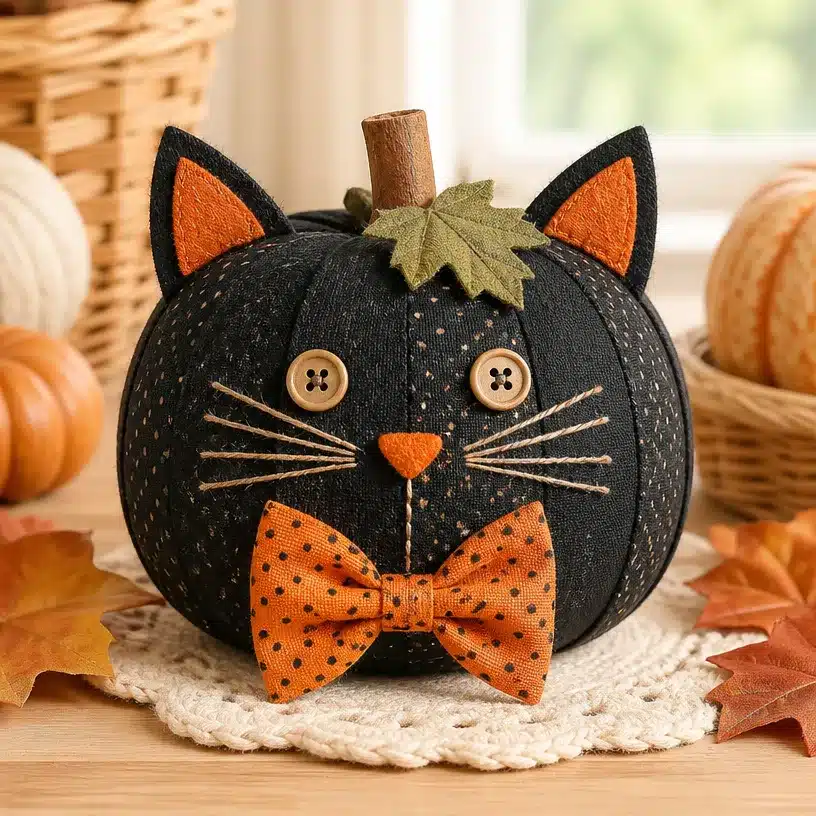
Tips for the Best Result
- To avoid excess glue, apply only a small, even bead when securing fabric pieces together.
- Let each paint layer dry fully before adding the next to prevent any unwanted blend of colors.
- Use painter’s tape for edges when looking for clean lines, especially around the pumpkin’s features.
- Keep the fabric layers smooth while gluing down to prevent wrinkles in your final product.
- When using hot glue, allow it to cool slightly before pressing pieces together to avoid burns and mess.
Common Mistakes to Avoid
While making your DIY Scrap-Fabric Black Cat Pumpkin, you might encounter some challenges. Here are a few common issues and how to handle them:
- If your pumpkin shape looks uneven, it likely occurred during the assembly. To fix this, carefully trim any excess fabric and adjust the layers until balanced.
- If you’ve added too much glue, wipe away the excess before it hardens. In the future, try using a smaller glue nozzle for precise application.
- If the paint layer appears uneven, it may be due to insufficient drying time between coats. To prevent this in future projects, give each layer proper time to dry before continuing.
Creative Variations
To make your Scrap-Fabric Black Cat Pumpkin even more special, consider trying these variations:
- Experiment with different fabric patterns, such as polka dots or stripes.
- Create a more personal touch by adding initials or names with painted letters.
- Use different ornaments like beads or glitter to enhance the pumpkin’s decoration.
- Change the color palette to match your home decor consider pastel shades for a more muted look.
- Swap out the cinnamon stick for a small twig to give your pumpkin a unique stem.
Caring for Your Finished Craft
Caring for your new craft ensures it lasts through many fall seasons. Dust it gently with a soft cloth to keep it appearing fresh. Avoid placing it in direct sunlight to prevent fading of colors. If your pumpkin is displayed outdoors, consider taking it inside during inclement weather to protect it from moisture.
A Quick Safety Note
If using a hot glue gun, be sure to supervise children while crafting, as the nozzle can become very hot. Also, while scissors are needed, keep them away from younger crafters unless supervised.
FAQs About DIY Scrap-Fabric Black Cat Pumpkin for Halloween
How long does it take to make?
The crafting process generally takes about 2-3 hours, including drying times.
Can I use a different material besides fabric?
Yes! You can experiment with felt, paper, or even recycled items.
What glue works best for this project?
A hot glue gun provides a strong hold, but fabric glue works well too for a fabric-only approach.
Can children participate?
Yes, but adult supervision is recommended when using any sharp tools or hot glue.
How should I store it?
Store your craft in a cool, dry place, ideally in a box or wrapped in tissue paper during the off-season.
Conclusion
Incorporating the DIY Scrap-Fabric Black Cat Pumpkin into your Halloween festivities adds a personal touch to your decor. The process of creating it is just as enjoyable as the final result, making for fun, quality crafting time. While you’re inspired, consider exploring more creative Halloween projects like ghost and bat pillows or check out 15 Cute Halloween Sewing Projects To Make & Sell for additional crafting ideas to enhance your Halloween experience. Enjoy your crafting adventure!
Follow us on social for more recipe ideas & inspiration!
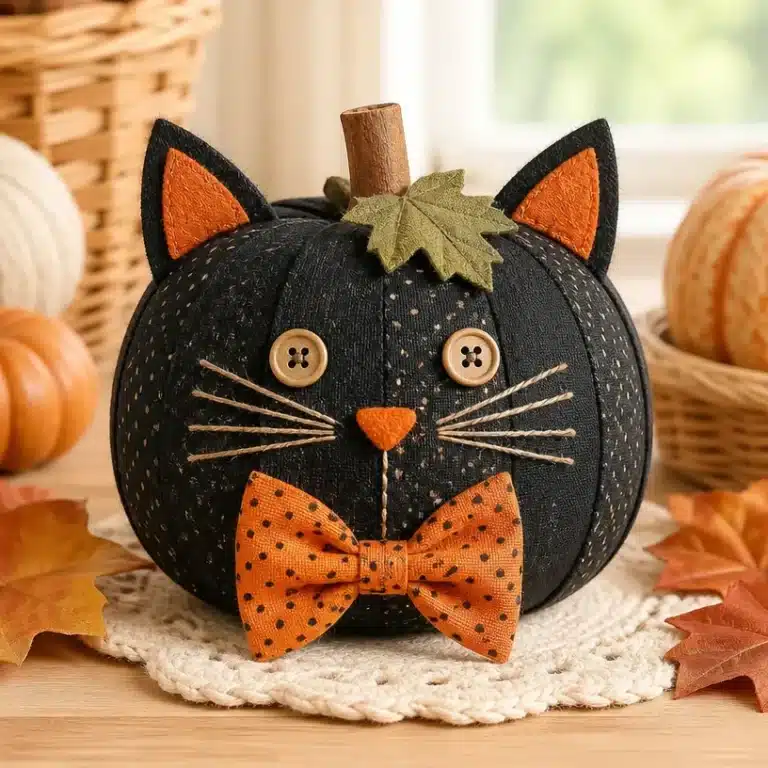
Scrap-Fabric Black Cat Pumpkin
Would you like to save this recipe?
By submitting you agree to receive this recipe and occasional emails. Unsubscribe anytime.
Ingredients
Materials
- 1 set Fabric scraps Any colors or patterns, Halloween-themed for extra fun.
- 1 pack Fiberfill For a soft, puffed-up look.
- 1 roll Strong thread For securing pieces together.
- 1 stick Cinnamon stick Adds a rustic touch.
- 1 leaf Felt leaf Seasonal embellishment.
- 3 Craft colors: Harvest gold, Avocado green, Burnt orange, Walnut brown For painting the pumpkin.
Tools
- 1 each Scissors For cutting fabric.
- 1 each Hot glue gun For assembling the pieces.
- 1 set Paintbrushes For applying paint.
- 1 each Palette or container For mixing paint.
Instructions
Preparation
- Gather all your materials, ensuring the fabric scraps are clean and any recycled pieces are flattened. Protect your workspace with a drop cloth or newspapers.
Creating the Pumpkin
- Build the base form of the pumpkin by cutting out the main shape based on your design. Ensure neat edges and proportions that are beginner-friendly.
- Add the main color layers to the pumpkin using thin coats of craft paint. Allow each coat to dry thoroughly before layering on additional colors.
- Incorporate seasonal details such as small felt leaves, painted stars, or a cute cat face centered on the pumpkin.
- Secure any loose parts and trim stray threads. Optionally, apply a compatible sealer to preserve your creation.
- If making the pumpkin light-up, use a cool battery-operated LED.
Last Step: Don’t forget to leave a rating and comment below! It helps other readers find the best recipes — and it helps us too!
Tips & Notes:
Nutrition Information: Serving: 1 | Calories: 150kcal | Carbohydrates: | Protein: | Fat: | Sodium: | Fiber: | Sugar:
Nutritional information is provided as a courtesy and calculated automatically. Values can vary depending on the brands and ingredients you use, so if you’re tracking closely, I recommend calculating with your own preferred tool.