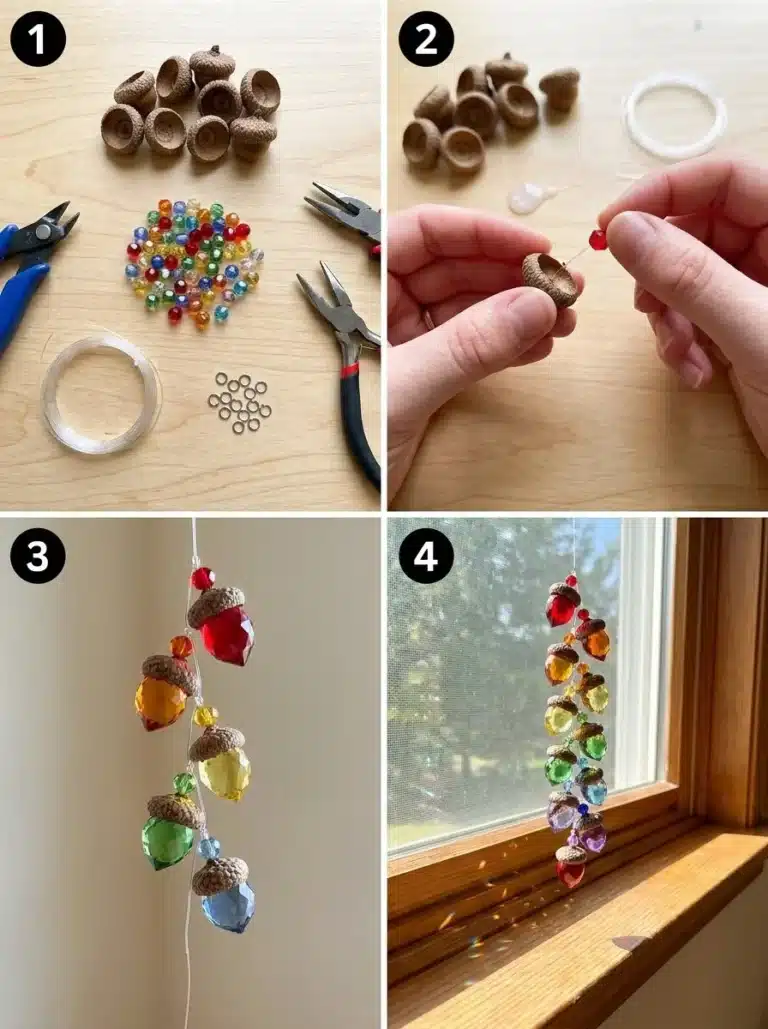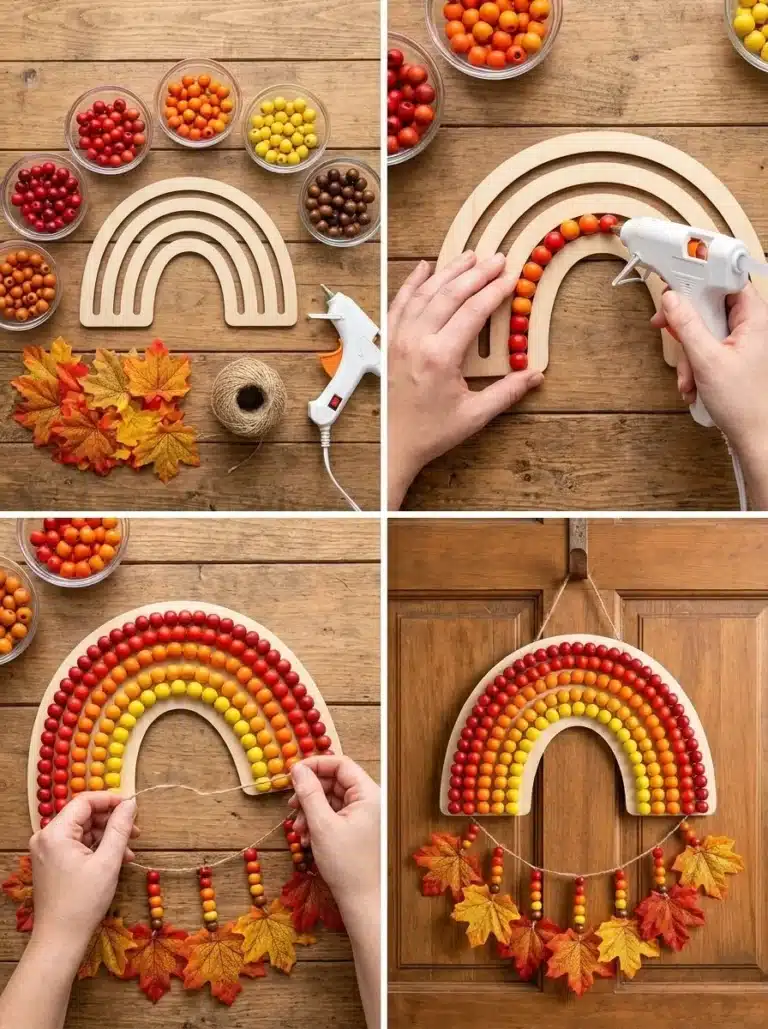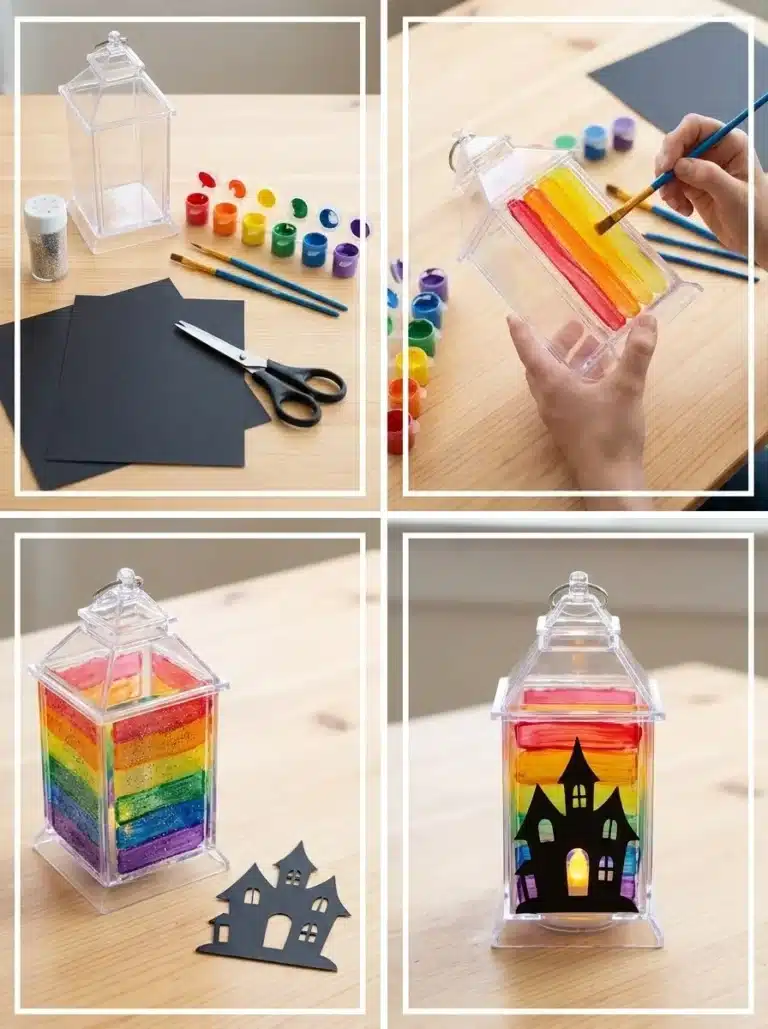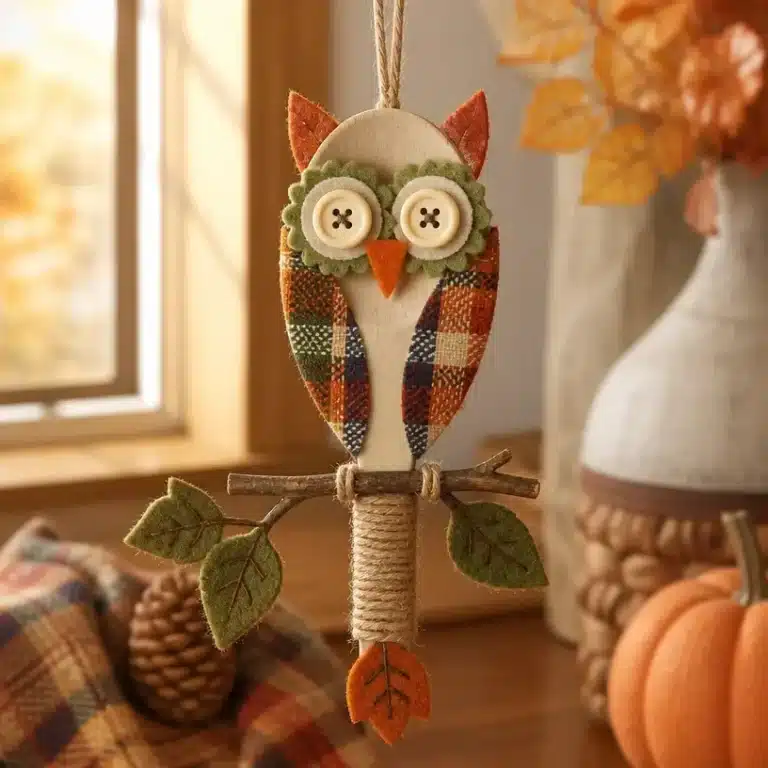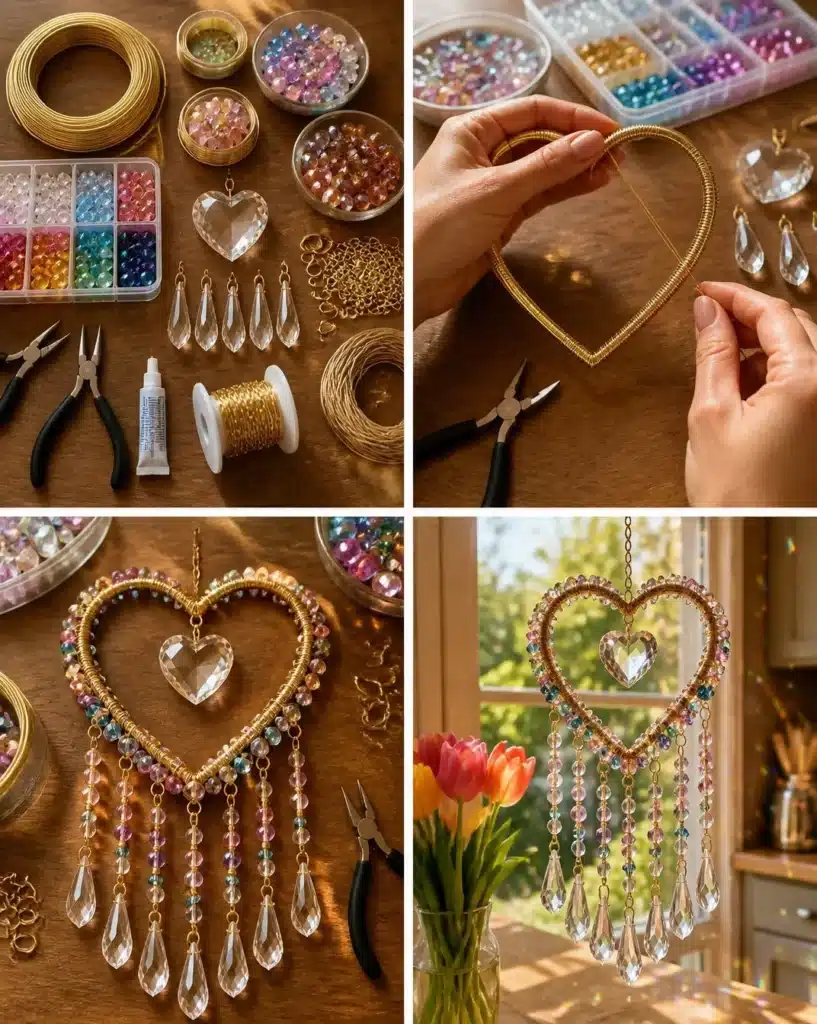
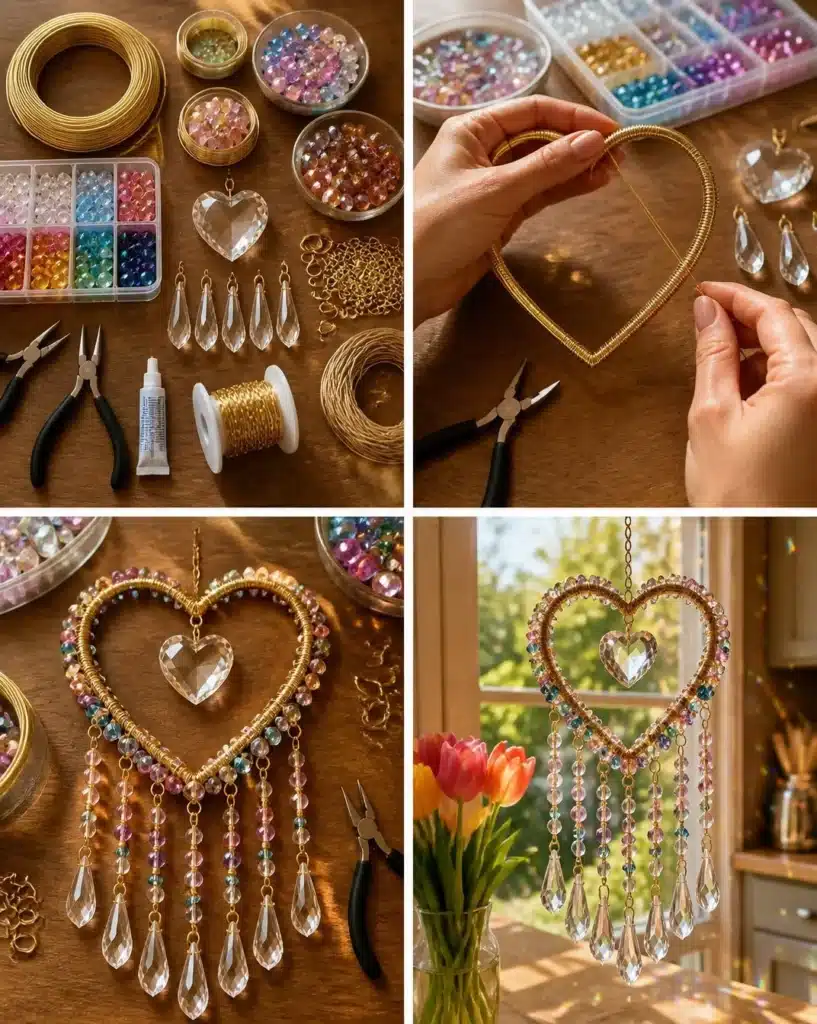
DIY Beaded Heart Crystal Suncatcher is an eye-catching craft that brings a delightful touch of color and light into your home. This beautiful project is not just a feast for the eyes but also a wonderful way to express your creativity. Whether you hang it in a window, gift it to someone special, or use it as part of your seasonal decor, this charming suncatcher radiates positive energy and joy as it catches the sunlight. The process is beginner-friendly, allowing crafters of all skill levels to create something truly unique. You may also find Heart Shaped Red Velvet Mini Cakes useful.
Why You’ll Want to Make DIY Beaded Heart Crystal Suncatcher
One of the most appealing aspects of crafting a Beaded Heart Crystal Suncatcher is its simplicity. The materials required are easy to find, often available at your local craft store or even in your home. Additionally, the steps are straightforward, making it a perfect project for beginners or those looking to enjoy a relaxing time with friends or family. The finished piece is luminously beautiful, showcasing a mix of sparkle and color as it reflects sunlight. Plus, you can customize your suncatcher to fit your taste, choosing your beads and colors, making it a personal and thoughtful gift. You may also find Hearty Beef And Barley Soup useful.
Before You Start
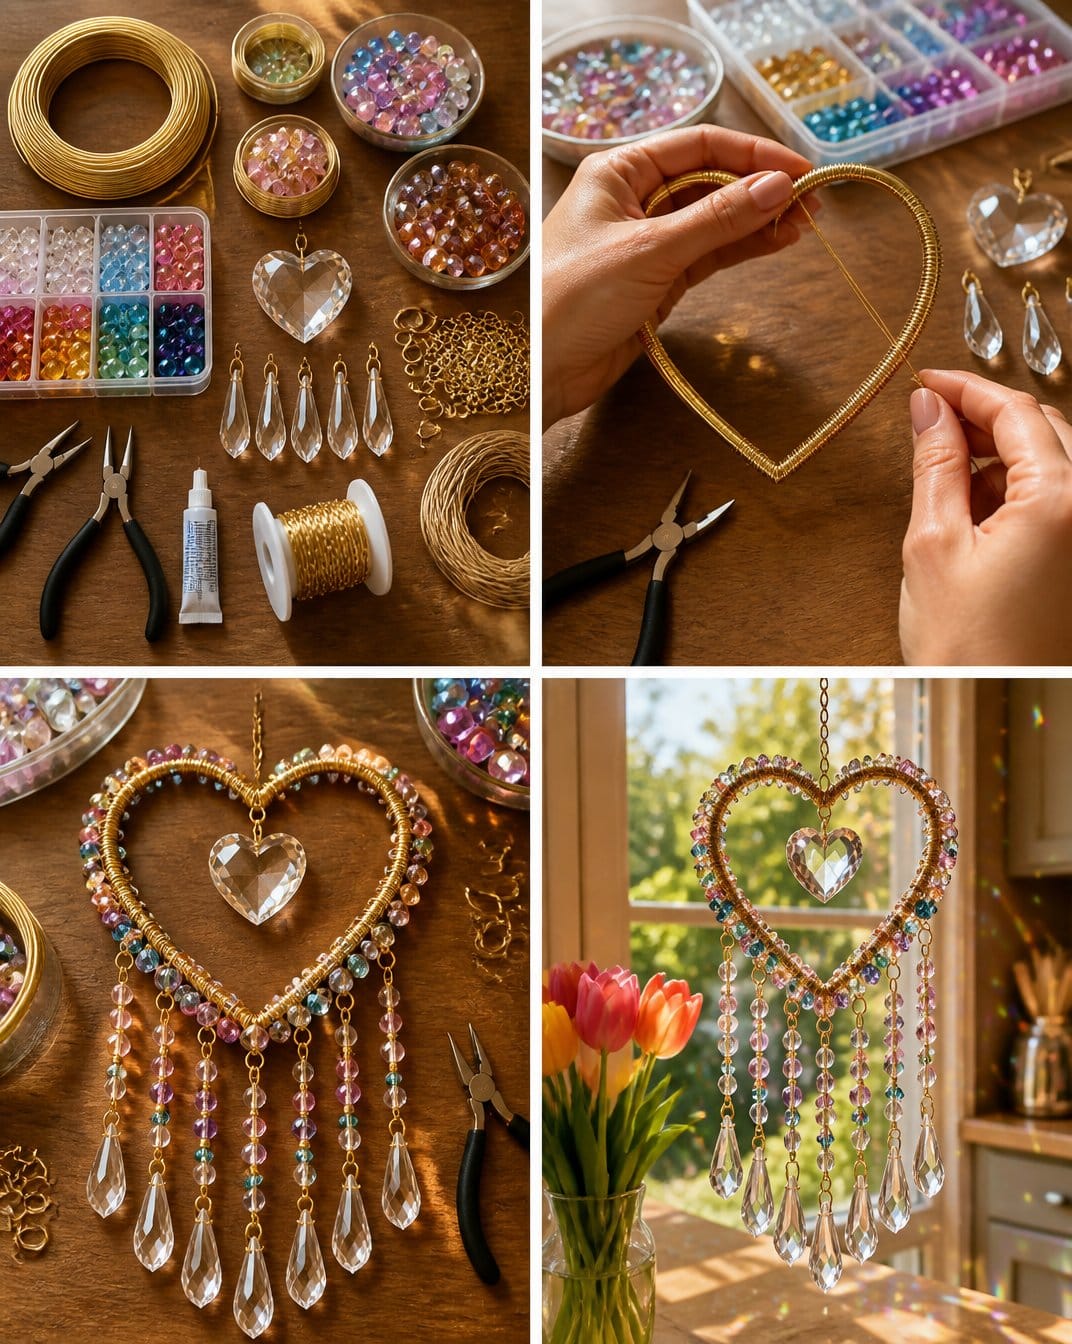
Before diving into the crafting process, it’s beneficial to have a clear understanding of what you will be making. The DIY Beaded Heart Crystal Suncatcher will feature a sturdy heart frame adorned with colorful beads and crystal pendants. The end result should be a cheerful blend of colors and textures that catches light beautifully. Our workspace will need protection to avoid any mess, so consider laying down a craft mat or newspaper. Ensure you have all your materials ready and make sure to work in a well-lit area to help you see the fine details. You may also find Hearty Lentil Soup Recipe useful.
What You’ll Need for DIY Beaded Heart Crystal Suncatcher
- Thick aluminum or craft wire
- Gold floral wire
- Assorted acrylic, crystal, or glass beads
- Decorative crystal pendant for the center
- Crystal teardrop pendants
- Jewelry chain
- Jump rings
- Round-nose jewelry pliers
- Wire cutters
- Strong jewelry glue (optional)
- Hanging cord or decorative chain
Helpful Tools
The round-nose pliers and wire cutters are essential for shaping and cutting the wire, respectively. Having strong jewelry glue is recommended if you want to secure any loose connections.
How to Make DIY Beaded Heart Crystal Suncatcher
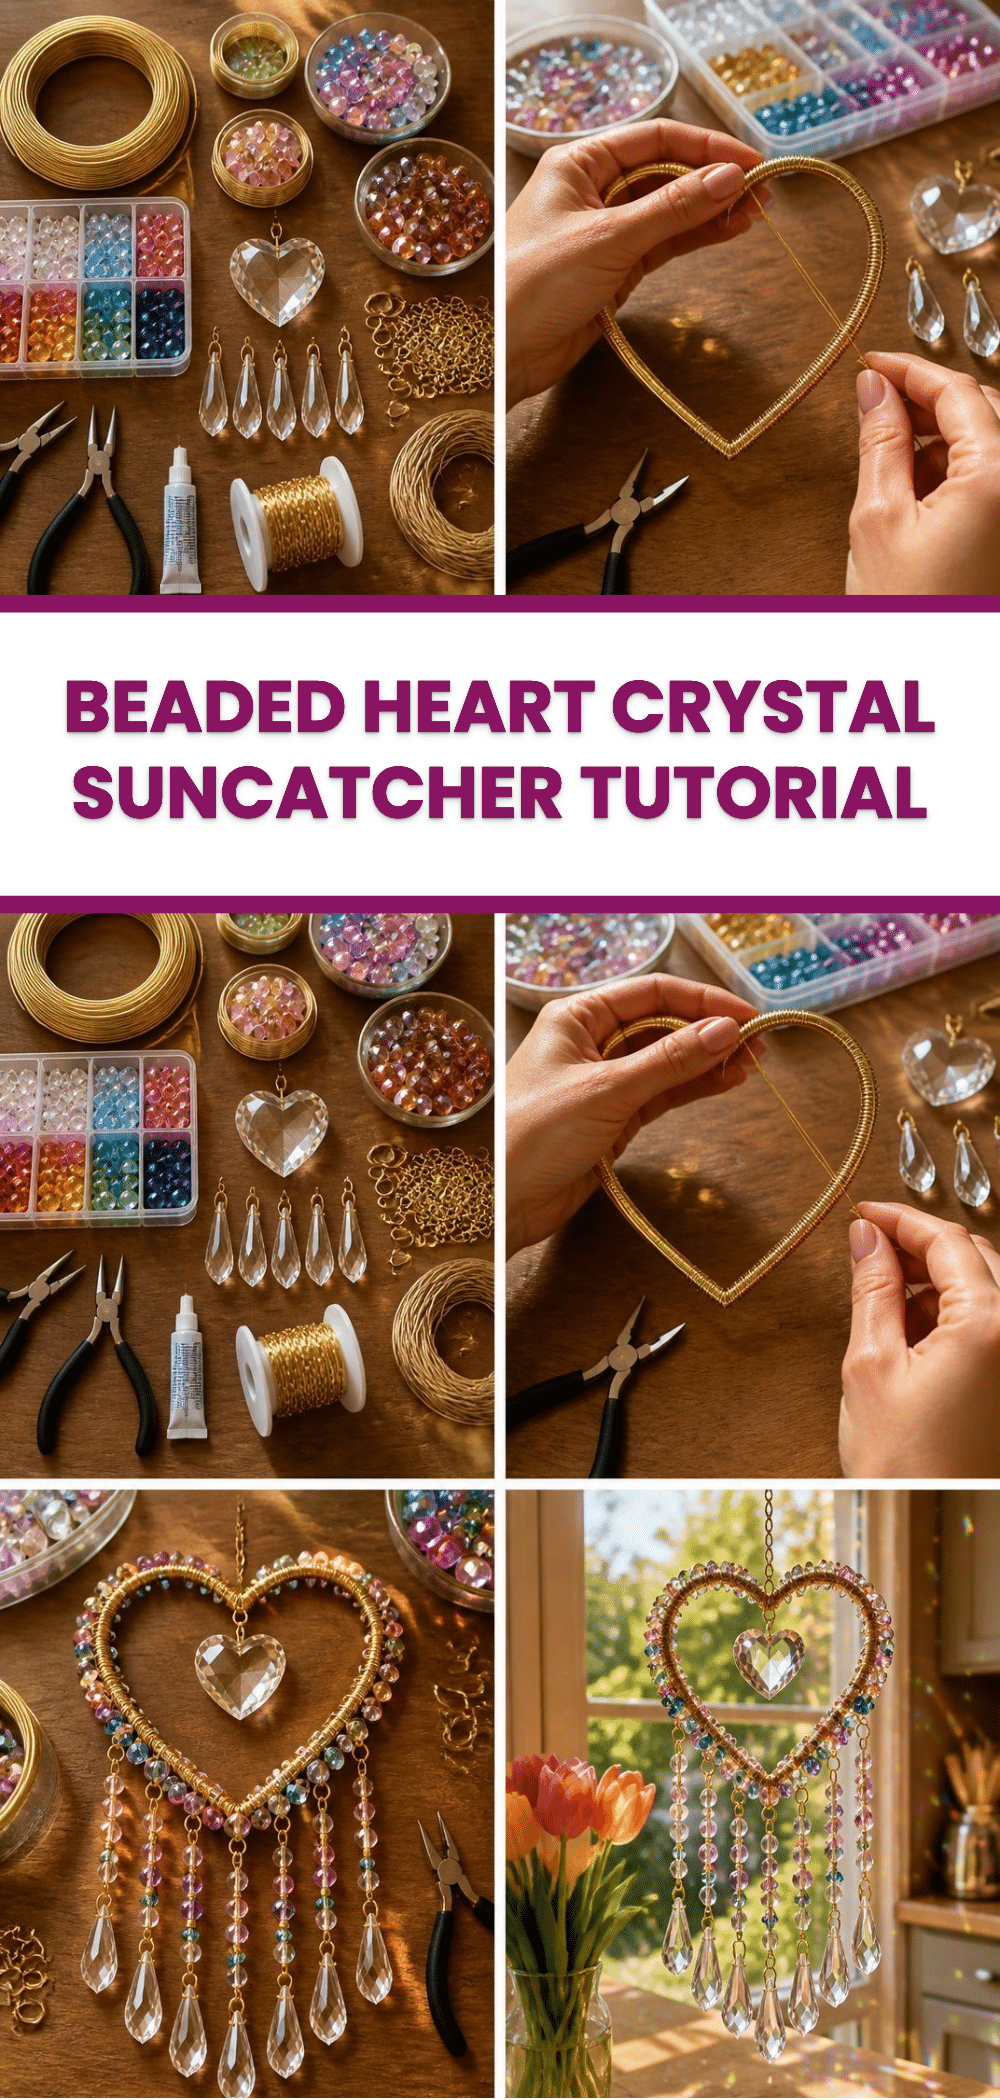
First, shape the thick aluminum wire into a heart frame. Secure the ends tightly with the gold floral wire to create a sturdy base for your suncatcher.
Next, take your chosen beads and crystal teardrops. String them onto lengths of gold wire, gently attaching them to the heart frame at even intervals for a cohesive design.
Use a jump ring to attach your decorative crystal pendant to the center of the heart, adding that special touch that will enhance its appeal.
Finally, connect a length of jewelry chain or hanging cord to the top of your heart using another jump ring. This will provide a convenient way to hang your lovely creation.
Tuck any loose wire ends neatly and, if you like, add a small dab of jewelry glue to secure any loose connections for added durability.
How to Display DIY Beaded Heart Crystal Suncatcher
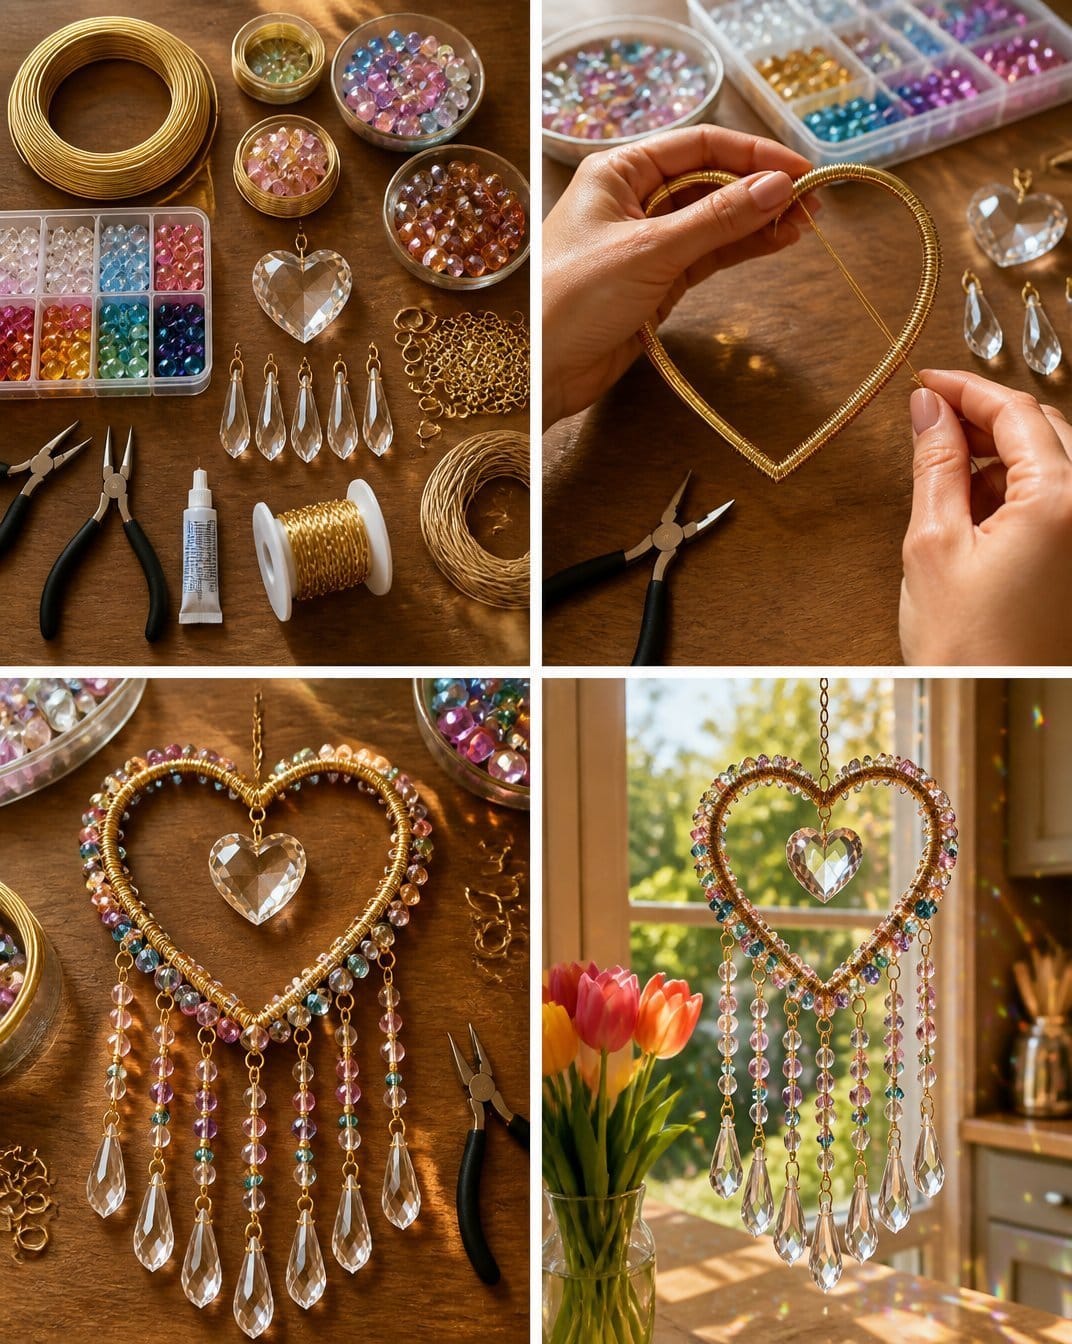
Once your suncatcher is complete, you will want to find the perfect spot for it. Displaying it in a sunny window is an excellent idea; sunlight will hit the beads and pendants, creating beautiful patterns on your walls. Alternatively, consider using it as a centerpiece on a table or hanging it from a hook in your garden. Each season brings new light angles, transforming how it looks as the months go by.
Tips for the Best Result
- Be mindful of the color balance; try to position your clear and colored beads evenly.
- Avoid excess glue to keep your suncatcher looking clean and tidy.
- Let the glued areas dry thoroughly before hanging to ensure it holds together nicely.
- If using multiple colors, position your beads before securing them to ensure a pleasing arrangement.
- Make sure to handle fragile materials gently to prevent breakage.
Common Mistakes to Avoid
Loosely connected pieces: If your beads aren’t attached securely, they might come off. Ensure your connections with the floral wire and glue are tight.
Uneven spacing: If your pattern feels unstructured, take a moment to adjust your beads before securing them, ensuring they are evenly spaced.
Using too much glue: This can create unsightly blobs. Just apply enough to hold the connection safely without visible excess.
To fix these mistakes, simply re-adjust your beads while the glue is still wet, or remove and reattach pieces that are loose.
Creative Ways to Make It Your Own
There are countless ways to personalize your Beaded Heart Crystal Suncatcher. Here are a few variations you might consider:
- Color Themes: Choose beads in colors that resonate with specific seasons, like pastel hues for spring or rich jewel tones for fall.
- Add Personal Touches: Consider incorporating initials or small charms that represent personal milestones or favorite symbols.
- Different Shapes: While hearts are charming, you could try other shapes like stars or flowers for a fresh twist.
Caring for Your Finished Craft
Keeping your suncatcher looking good requires minimal effort. Dust it occasionally with a soft cloth to maintain its sparkle. If you hang it outdoors, be mindful of extreme weather; while handcrafted pieces are lovely, they can be delicate. During storms or high winds, it’s wise to bring your suncatcher indoors.
A Quick Safety Note
When using sharp tools like wire cutters, take care to cut away from your body and ensure your work area is clear of unnecessary items to avoid accidents. Supervise younger creators closely while they handle the tools.
FAQs About DIY Beaded Heart Crystal Suncatcher
How long does it take to make?
Expect to spend about 1-2 hours on your suncatcher, depending on your crafting speed.
Can children help?
Yes, but they should be supervised, especially with tools like wire cutters and pliers.
What glue works best?
A clear-drying jewelry glue is recommended for securing connections without making them visible.
Can I use different materials?
Absolutely! Different types of beads or wire can create unique looks.
Conclusion
Creating your own DIY Beaded Heart Crystal Suncatcher is a rewarding and enjoyable project that allows you to express your inner craft enthusiast. As you pour your creativity into this charming decoration, remember that every piece reflects your style. For those looking to explore more crafting supplies, check out the Worgree 460pcs DIY Suncatcher Making Kits or explore options at Pujiang Haitai Crystal Lighting Co., Ltd. Enjoy the journey and the light your creation will bring!
Follow us on social for more recipe ideas & inspiration!
Beaded Heart Crystal Suncatcher
Would you like to save this recipe?
By submitting you agree to receive this recipe and occasional emails. Unsubscribe anytime.
Ingredients
Materials
- 1 piece Thick aluminum or craft wire For shaping the heart frame.
- 1 roll Gold floral wire To secure the heart frame.
- Assorted pieces Acrylic, crystal, or glass beads Choose colorful beads for decoration.
- 1 piece Decorative crystal pendant For the center of the heart.
- 2-3 pieces Crystal teardrop pendants For added sparkle.
- 1 piece Jewelry chain For hanging the suncatcher.
- 5-10 pieces Jump rings To connect various components.
- 1 piece Round-nose jewelry pliers For shaping wire.
- 1 pair Wire cutters For cutting the wire.
- 1 tube Strong jewelry glue Optional for securing pieces.
- 1 length Hanging cord or decorative chain For hanging the finished product.
Instructions
Creating the Frame
- Shape the thick aluminum wire into a heart frame.
- Secure the ends tightly with the gold floral wire.
Adding Beads
- String your chosen beads and crystal teardrops onto lengths of gold wire.
- Gently attach them to the heart frame at even intervals.
Final Touches
- Use a jump ring to attach the decorative crystal pendant to the center of the heart.
- Connect a length of jewelry chain or hanging cord to the top of the heart using another jump ring.
- Tuck any loose wire ends neatly and add a small dab of jewelry glue for added durability.
Last Step: Don’t forget to leave a rating and comment below! It helps other readers find the best recipes — and it helps us too!
Tips & Notes:
Nutrition Information: Serving: 1 | Calories: | Carbohydrates: | Protein: | Fat: | Sodium: | Fiber: | Sugar:
Nutritional information is provided as a courtesy and calculated automatically. Values can vary depending on the brands and ingredients you use, so if you’re tracking closely, I recommend calculating with your own preferred tool.