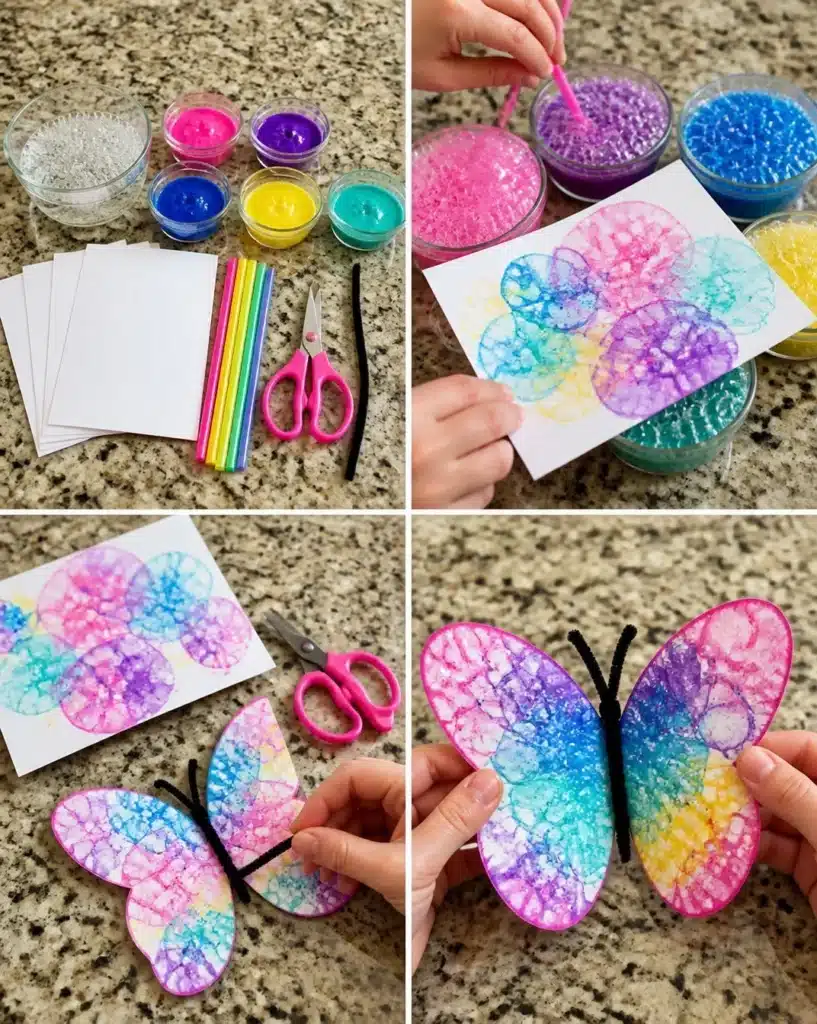
Why You’ll Want to Make DIY Bubble Print Butterfly Wings Craft for Kids
Creating DIY Bubble Print Butterfly Wings is not only a fun afternoon activity but also a chance to spark creativity. The project allows children to explore vibrant colors, patterns, and textures while making something delightful they can use as decorations or gifts. With easy-to-find materials and simple steps, this craft is suitable for kids of all ages. Plus, they might enjoy displaying their beautiful bubble prints at home or giving them as personalized gifts. The process is so engaging that it becomes a memorable family experience. You may also find 5 Amazing Ways Butterfly Pea Tea Weight Loss Drink Can Help You useful.
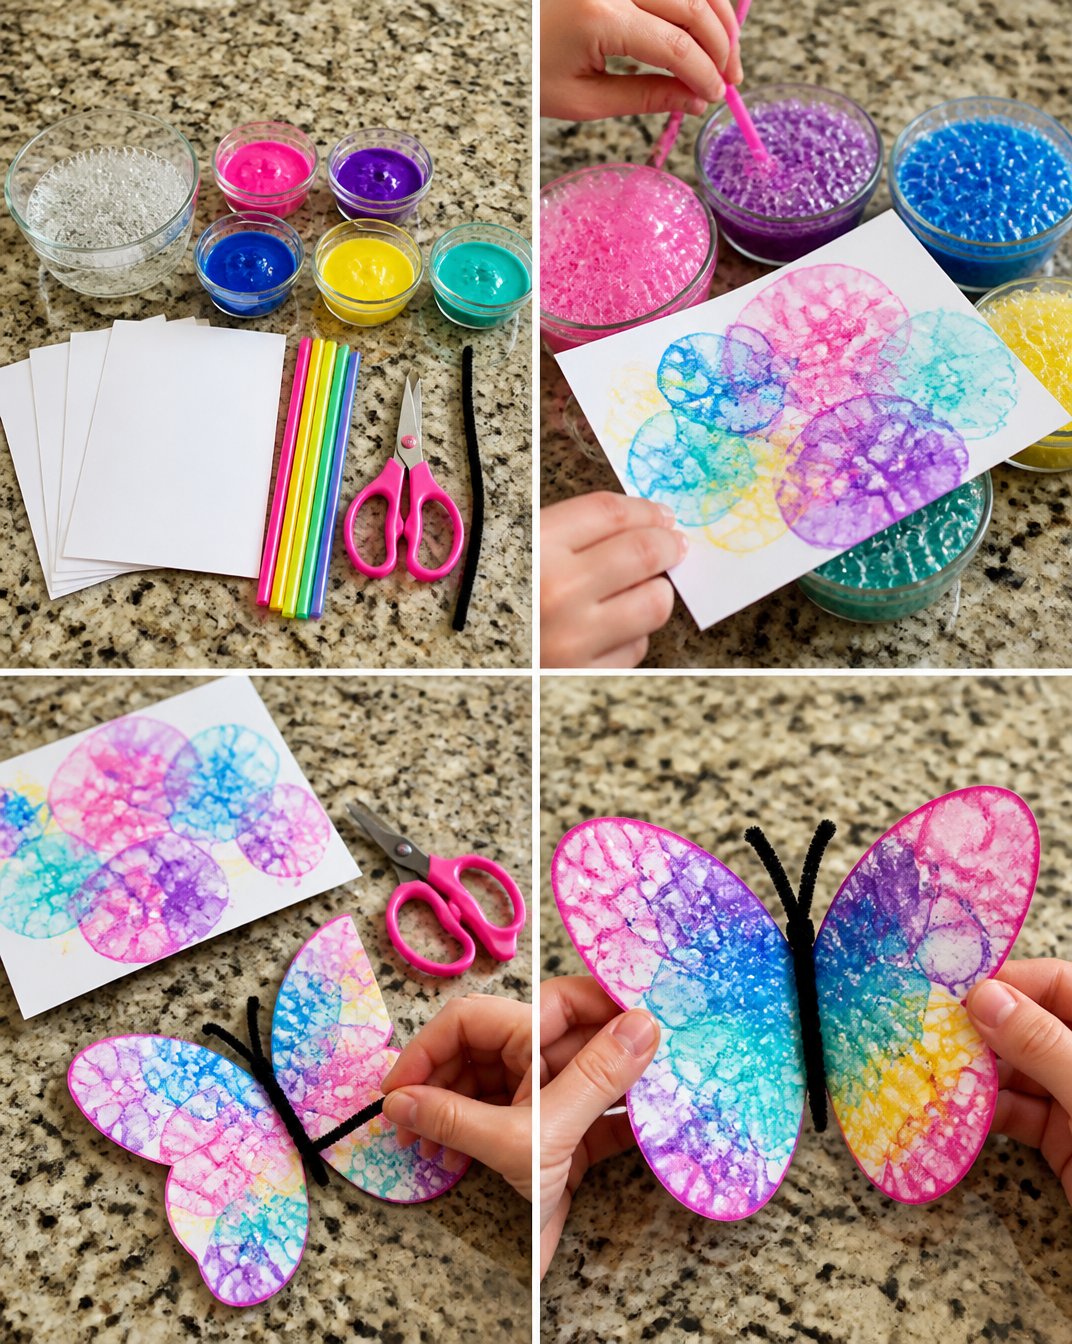
Before You Start
Before diving into this colorful project, it’s helpful to have an overview of what you’ll be doing. The basic process involves mixing bubble solution with paint, creating fun bubble prints, and then transforming those prints into beautiful butterfly wings. Allowing adequate drying time is crucial to achieving a vibrant finish before final assembly. You may also find 5 Delicious Berberine Smoothie Recipes For Weight Loss Success useful.
Make sure to protect your workspace; bubble solutions and paints can create a mess, so use newspaper or a plastic tablecloth. It’s also a good idea to supervise young children closely, especially while using scissors for cutting out the wings. You may also find 5 Delicious Ways To Enjoy Kefir Overnight Oats For Breakfast useful.
Materials You’ll Need
- 1 cup of bubble solution or liquid dish soap
- 2 tablespoons of washable tempera paint (various colors)
- 3 sheets of white heavy cardstock paper
- 4 plastic drinking straws
- 1 pair of child-safe scissors
- 1 black pipe cleaner
Helpful Tools
- Shallow tray or bowl for mixing
- Newspaper or plastic tablecloth for covering your workspace
When selecting your cardstock, opt for a heavy type to ensure that it can hold up to the paint and bubble solution without getting too soggy. Additionally, while any washable tempera paint works, vibrant colors like red, blue, and yellow can create stunning effects.
How to Make DIY Bubble Print Butterfly Wings Craft for Kids
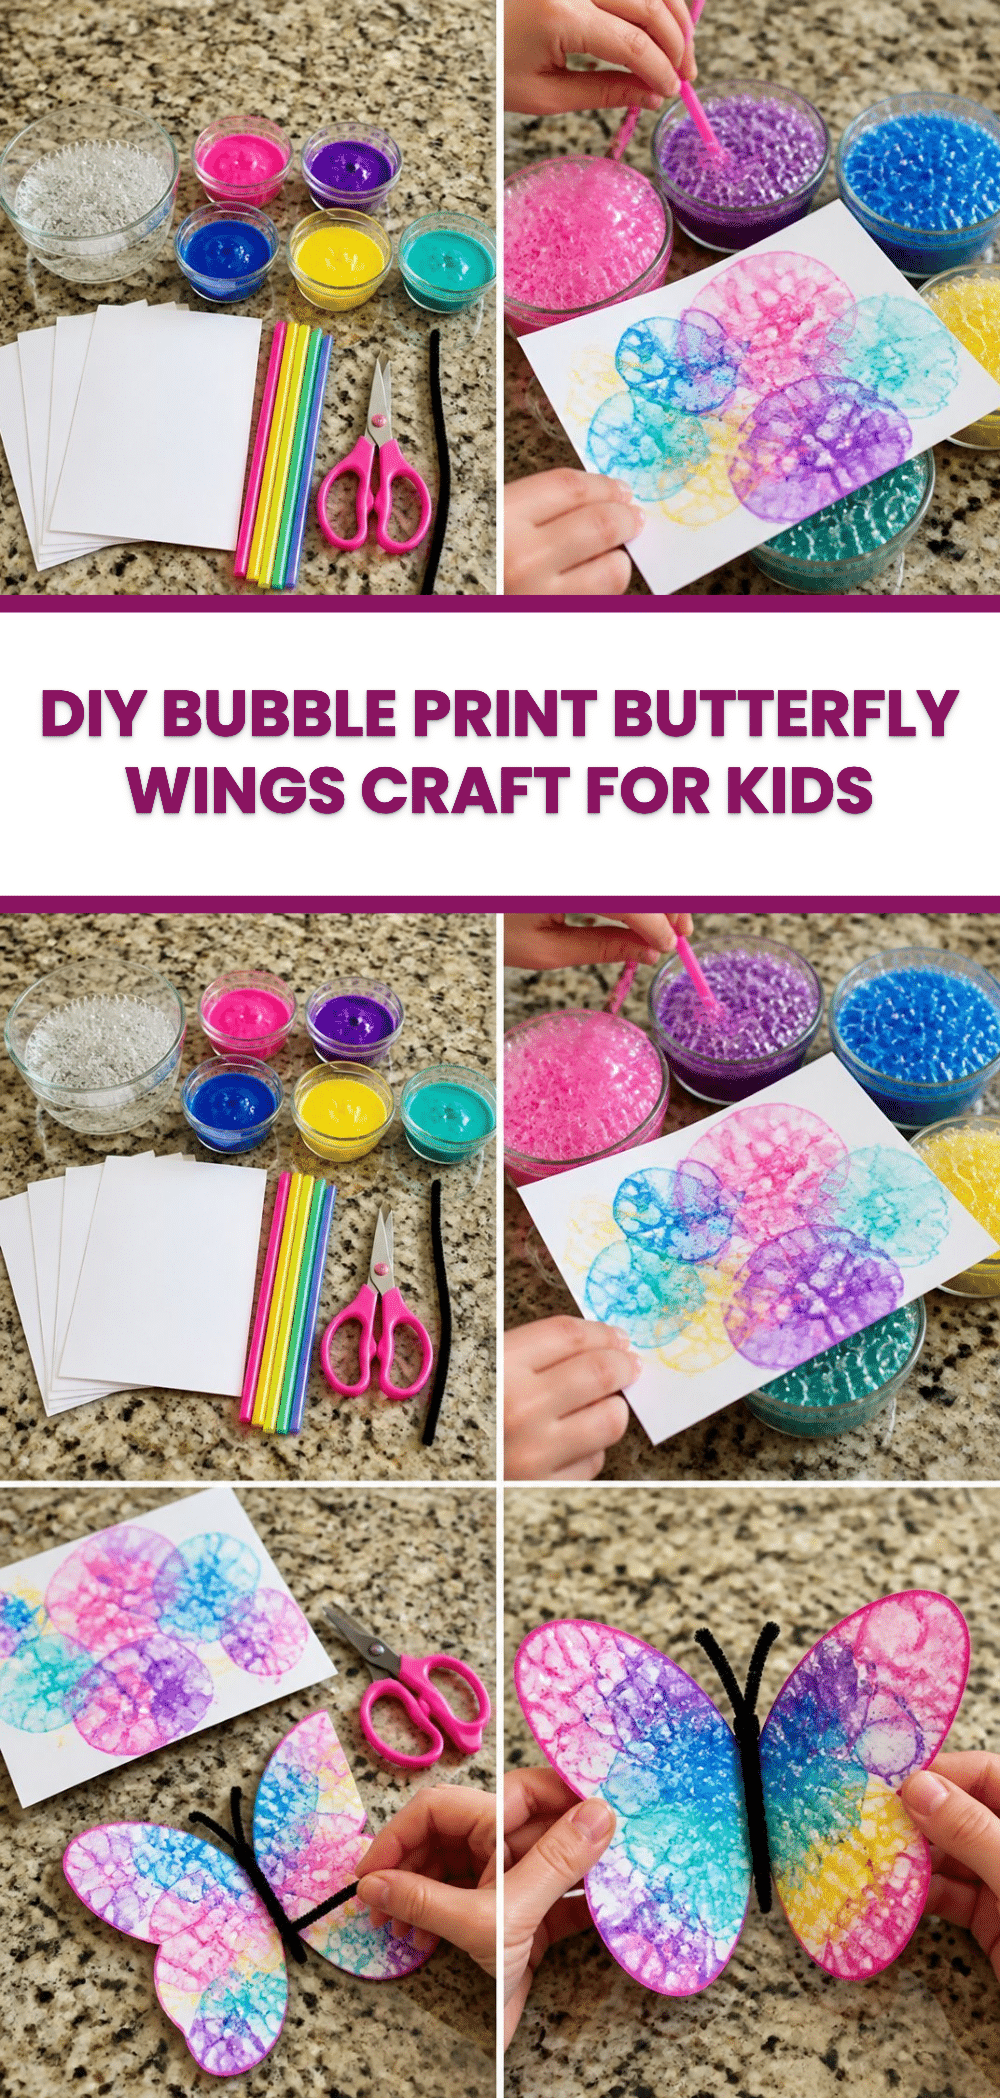
First, mix the bubble solution and tempera paint together in a shallow tray or bowl. Encourage your little artists to explore how the colors blend as they whip it all together. A variety of colors can create beautiful effects!
Now comes the fun part! Dip a straw into the bubbly mixture and gently blow bubbles onto the surface of one sheet of cardstock. Watch as colorful prints emerge, creating a magical garden of their own design.
Once the paper is covered in delightful colors, let it dry completely. Patience is key here, so check after 30 minutes to an hour.
After it’s dry, help your child cut out wing shapes from the cardstock. You can use templates if you want a more uniform look, or let them go freehand. Fold the wings in half.
With a little love, attach the black pipe cleaner in the center to form the butterfly’s body and antennae. Twist the pipe cleaner securely to ensure the wings stay in place.
How to Display DIY Bubble Print Butterfly Wings Craft for Kids
Once completed, these vibrant butterfly wings can serve various purposes. You might hang them in a child’s bedroom or playroom as colorful decor. Alternatively, these wings can also be used in a classroom for thematic displays, particularly in spring or around Easter. They make wonderful gifts for friends or family, especially during special occasions.
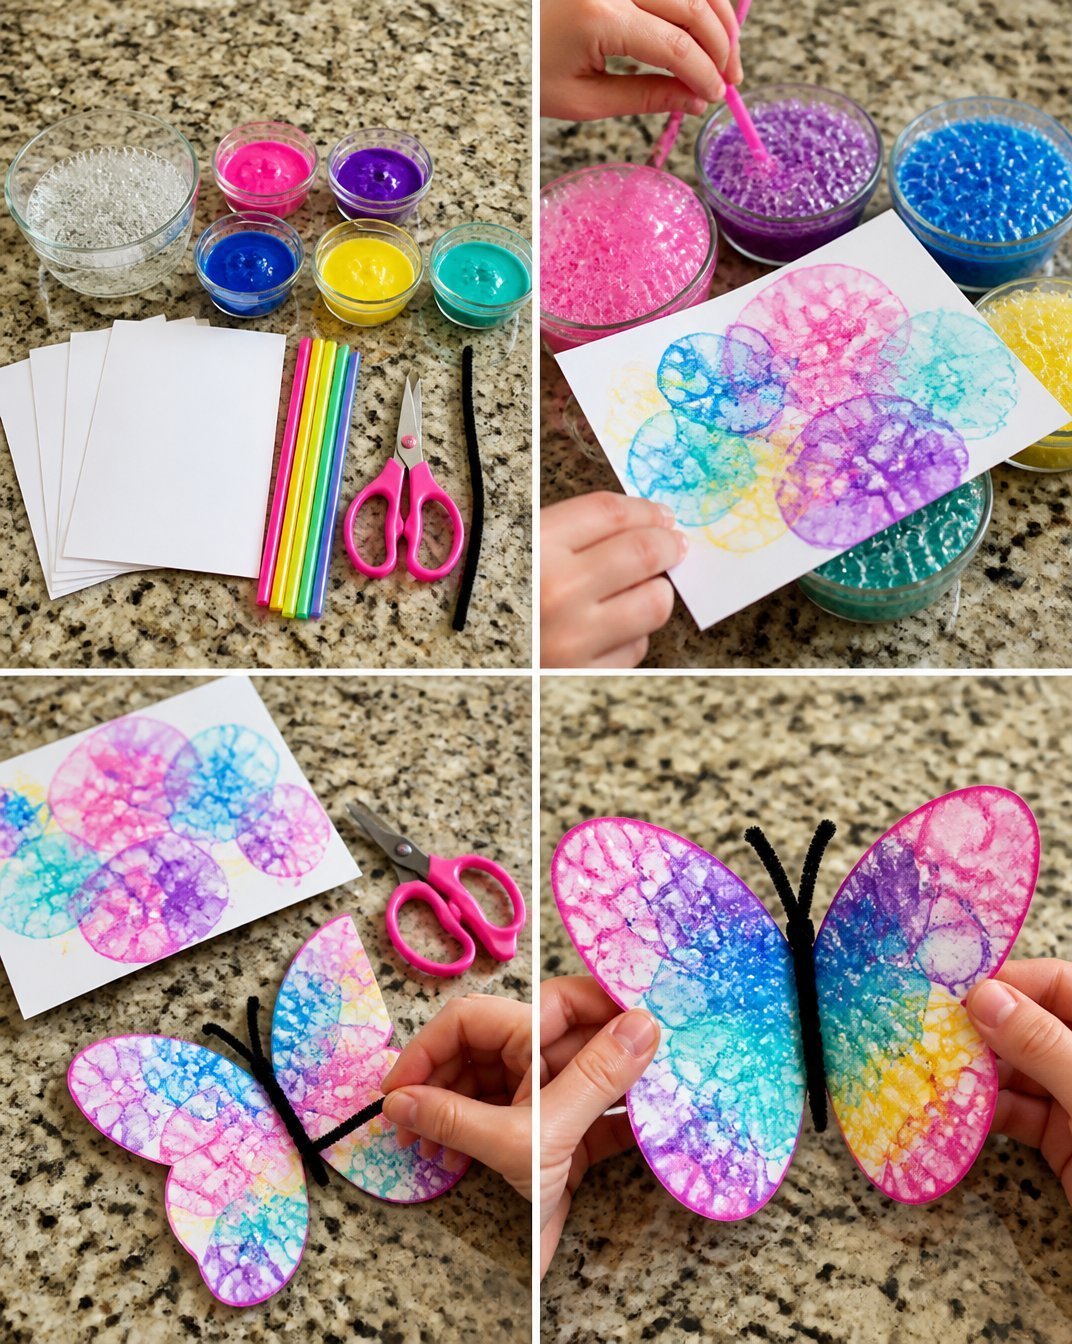
Tips for the Best Result
To avoid excess glue or bubble solution, use just enough pressure while blowing bubbles. Too much pressure might create messy prints.
Make sure to keep the layers of paints thin for a clearer print. Thick layers can lead to muddy colors and less defined shapes.
Protect your work surface with newspapers or plastic coverings to make cleanup easier. Paint and bubble solutions can be messy!
Allow each layer to dry fully before adding more bubbles to ensure vibrant and distinct print layers while preventing color bleeding.
Common Mistakes to Avoid
Too Much Bubble Solution: If the wings appear too soggy and fail to hold their shape, it’s likely the bubble solution was applied too thickly. Next time, try using less solution to achieve a better balance.
Cutting Wet Paper: Cutting the cardstock before it’s completely dry can cause it to tear or rip. Ensure the materials are fully set before proceeding to this step.
Not Folding Evenly: When folding the wings in half, an uneven fold can lead to asymmetrical designs. Check the symmetry as you fold for a more balanced look.
Creative Ways to Make It Your Own
Experiment with different paint colors or patterns. Try alternating colors for unique patterns.
Add glitter or sequins to the cardstock before it dries for a bit of sparkle.
Personalize the wings by writing names or short phrases on them with markers.
Use different shapes for the wings, like rounded edges, or use leaf shapes for a fun twist on the butterfly design.
How to Store DIY Bubble Print Butterfly Wings Craft for Kids
To keep your craft looking fresh, avoid direct sunlight which can fade the colors. If they are hung or placed on display, consider dusting them gently with a soft cloth. Store flat, if possible, in a box or folder to prevent bending or folding when not in use.
A Quick Safety Note
Since this project involves using scissors, adult supervision is necessary for younger children to ensure safe handling.
FAQs About DIY Bubble Print Butterfly Wings Craft for Kids
How long does it take to make these butterfly wings?
It typically takes about 1-2 hours, including drying time for the bubble prints.
Can I use different materials?
Yes, feel free to experiment with other types of paints or even different paper materials.
How should I store my bubble print wings?
Store them flat in a cool place away from sunlight to preserve their colors.
Can I make this craft ahead of time?
Certainly! Just ensure they are fully dried before storing them to prevent sticking.
Conclusion
Crafting DIY Bubble Print Butterfly Wings is a wonderfully creative project that brightens up any space. As you embark on this fun activity, don’t hesitate to customize your designs and make them uniquely yours. For more creative ideas, you can explore various crafts, like Bubble Art Butterflies – Red Ted Art – Kids Crafts or try your hand at Bubble Wrap Butterflies (with Free Printable!). Enjoy the process of creating and personalizing your butterfly wings!
Follow us on social for more recipe ideas & inspiration!
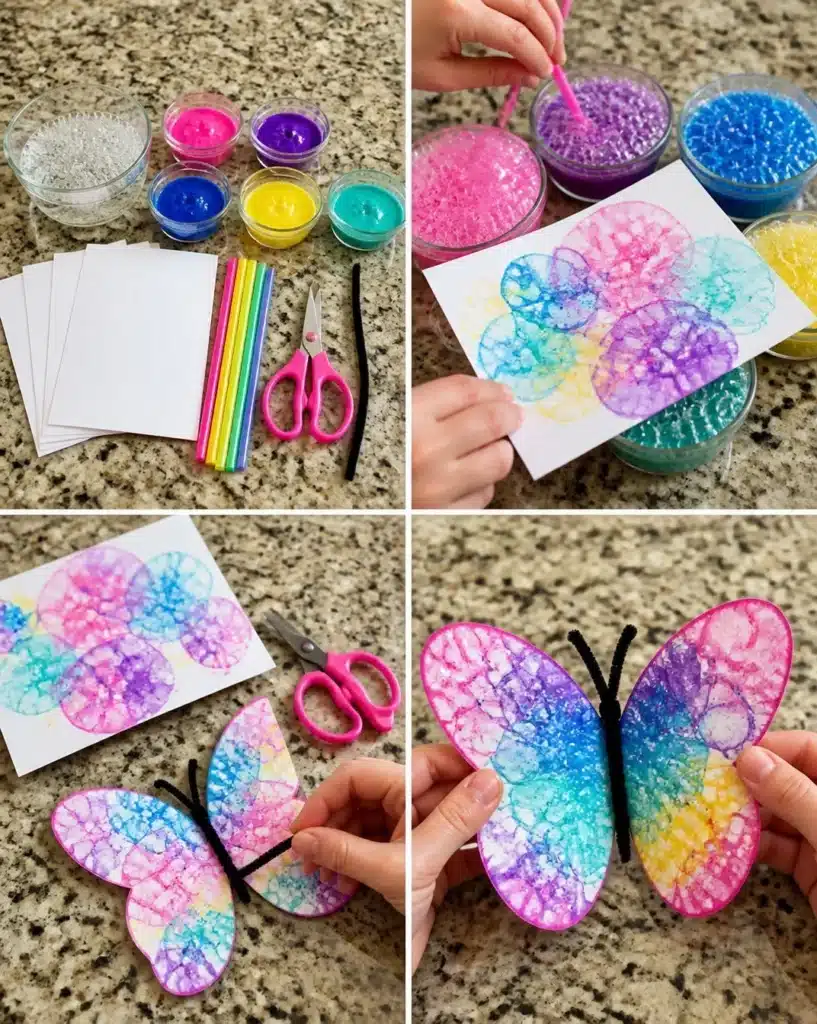
DIY Bubble Print Butterfly Wings
Would you like to save this recipe?
By submitting you agree to receive this recipe and occasional emails. Unsubscribe anytime.
Ingredients
Craft Materials
- 1 cup bubble solution or liquid dish soap
- 2 tablespoons washable tempera paint (various colors) Use vibrant colors like red, blue, and yellow for better effects.
- 3 sheets white heavy cardstock paper Use heavy cardstock to withstand paint and bubble solution.
- 4 pieces plastic drinking straws
- 1 pair child-safe scissors Supervise children while using scissors.
- 1 piece black pipe cleaner
Instructions
Mixing
- Mix the bubble solution and tempera paint together in a shallow tray or bowl.
Creating Bubble Prints
- Dip a straw into the bubbly mixture and gently blow bubbles onto the surface of one sheet of cardstock.
- Watch as colorful prints emerge.
Drying
- Let the paper dry completely for 30 minutes to 1 hour.
Cutting Wings
- Cut out wing shapes from the dried cardstock.
- Fold the wings in half.
Assembly
- Attach the black pipe cleaner in the center to form the butterfly's body and antennae.
- Twist the pipe cleaner securely to ensure the wings stay in place.
Last Step: Don’t forget to leave a rating and comment below! It helps other readers find the best recipes — and it helps us too!
Tips & Notes:
Nutrition Information: Serving: 1 | Calories: | Carbohydrates: | Protein: | Fat: | Sodium: | Fiber: | Sugar:
Nutritional information is provided as a courtesy and calculated automatically. Values can vary depending on the brands and ingredients you use, so if you’re tracking closely, I recommend calculating with your own preferred tool.