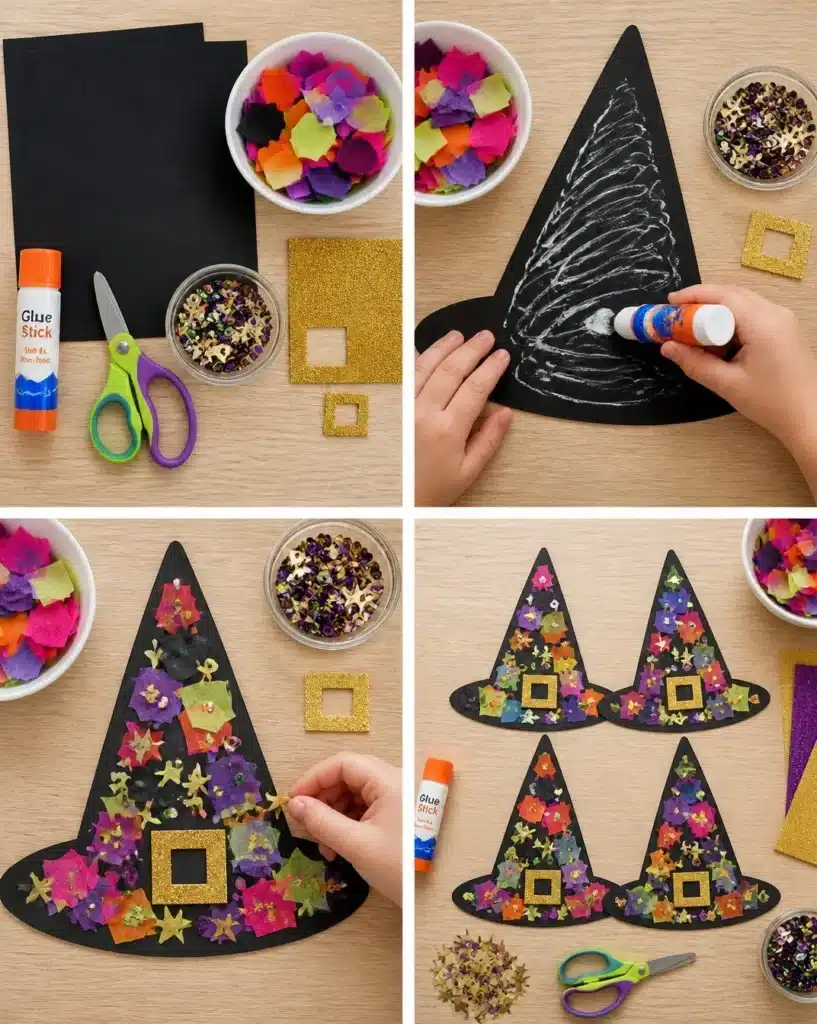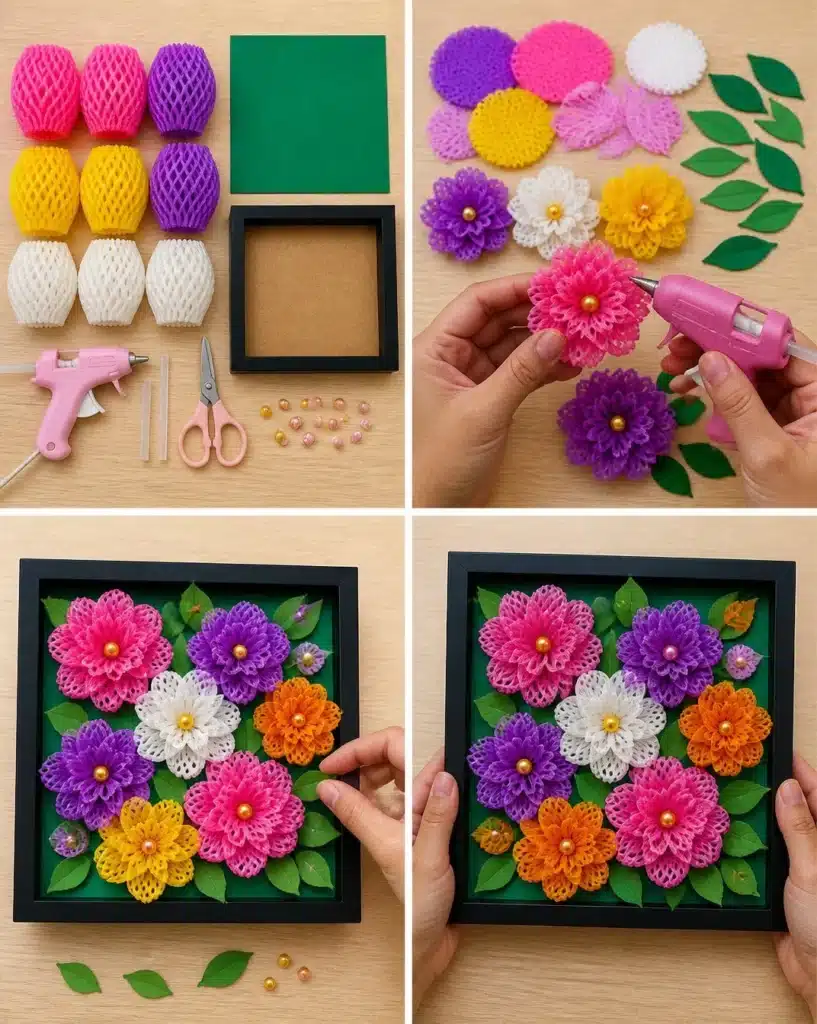
DIY 3D Flower Wall Art combines vibrant colors, unique textures, and delightful shapes to create a stunning piece of decor. This project encourages creativity and is perfect for brightening any space in your home or making a thoughtful gift. By using simple materials, you can craft charming flowers that almost appear to bloom right off the wall. Whether you display it in your living room, office, or present it to a friend, this handcrafted wall art will surely catch the eye and spark joy. The best part? This project is friendly for beginners, making it an accessible and enjoyable experience. You may also find Best 16 Breakfast Bowl Recipes Kickstart Your Day useful.
Why You’ll Want to Make DIY 3D Flower Wall Art
Creating your own DIY 3D Flower Wall Art offers a range of delightful benefits. First and foremost, the project requires easy-to-find materials, including colorful fruit foam nets, cardstock, and basic crafting tools. It also allows for beginner-friendly steps that are straightforward yet rewarding. As you assemble your flowers, you’ll appreciate how the textures and colors come alive, resulting in a piece that captures light and adds energy to any room. You may also find Brownie Pudding Inspired By Ina Garten useful.
Additionally, handmade items possess a special charm, making them perfect as gifts for friends or family. You can easily personalize this project with colors that match the recipient’s favorite shades or customize the design to fit their style. The relatively low cost of materials means you can create multiple pieces, allowing you to experiment with colors and styles. You may also find Easy Ham And Havarti Cheese Sliders To Do useful.

Getting Ready to Make DIY 3D Flower Wall Art
Understanding the basic process before starting can make your crafting experience smoother. For this project, you’ll be flattening foam nets, cutting them into shapes, and layering them to build eye-catching three-dimensional flowers. The finished product will feature vibrant flowers with depth, enhanced by decorative leaves made from cardstock. You’ll also want to prepare your workspace, as glue can be messy, so covering surfaces or using a craft mat will help keep things tidy.
Be sure to have enough time for each step, particularly when it comes to drying the hot glue. This project should not feel rushed; allowing pieces to hold their form ensures a more durable final product.
Materials You’ll Need
- 6 to 8 colorful fruit foam nets (pink, purple, yellow, and white)
- 1 sheet of 8.5×11-inch green cardstock
- 1 8×8-inch square shadow box frame
- 1 mini low-temp hot glue gun with glue sticks
- 1 pair of craft scissors
- 10 to 12 small craft beads for flower centers
Helpful Tools
Using a mini low-temp hot glue gun is essential for this project, as it allows you to secure pieces without damaging them. Craft scissors will help you achieve precise cuts on the foam nets and cardstock. Make sure you have a clean surface to work on and a craft mat or old newspaper to catch glue drips.
How to Make DIY 3D Flower Wall Art
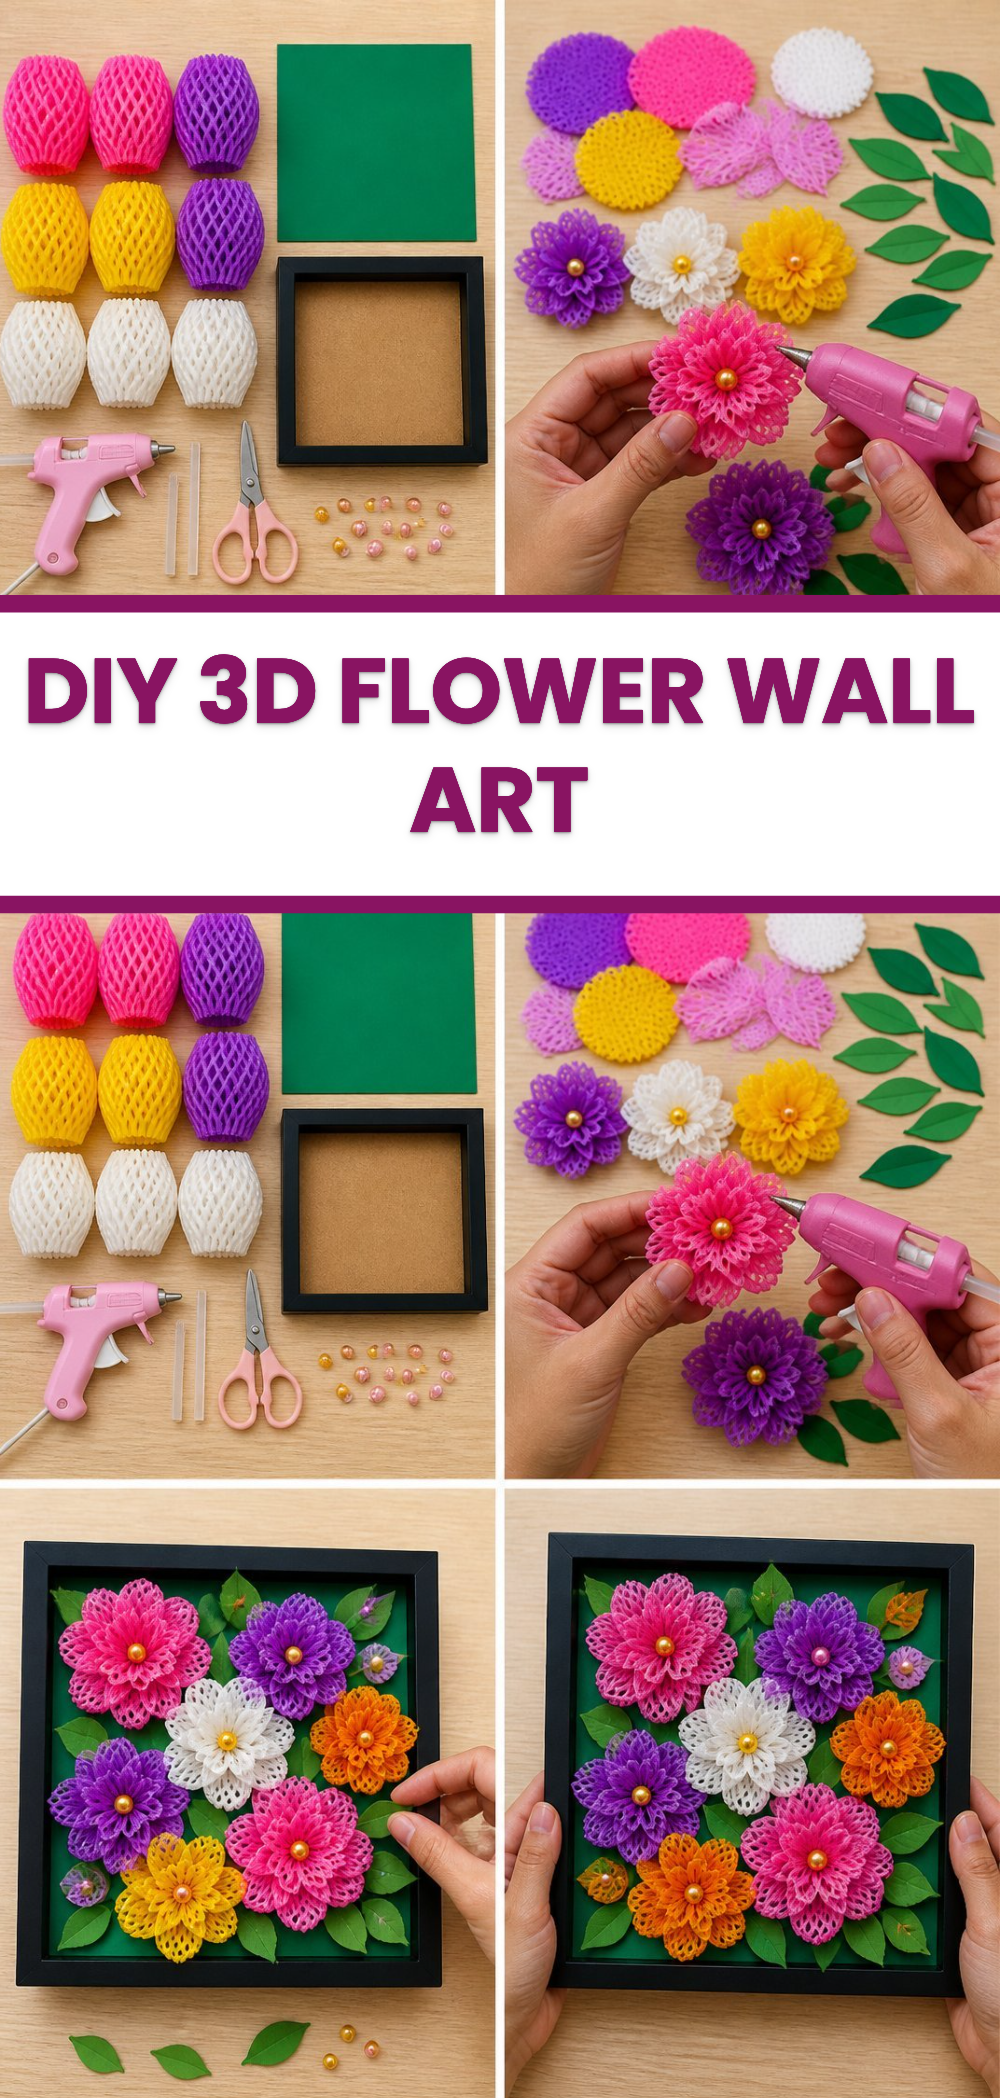
- Start by flattening the fruit foam nets. Gently press down on them to create a smooth surface before cutting.
- Using your craft scissors, cut the foam nets into circular layers and petal shapes. Aim for varying sizes to create a more dynamic look.
- Next, layer and stack the foam net pieces to form your delightful 3D flowers. Use a small dab of hot glue to secure the centers of each flower.
- Cut out leaf shapes from the green cardstock. Feel free to play with different sizes and styles to enhance your arrangement.
- Insert a craft bead into the center of each flower for an extra touch of charm. The beads will add a nice finishing detail that catches the light.
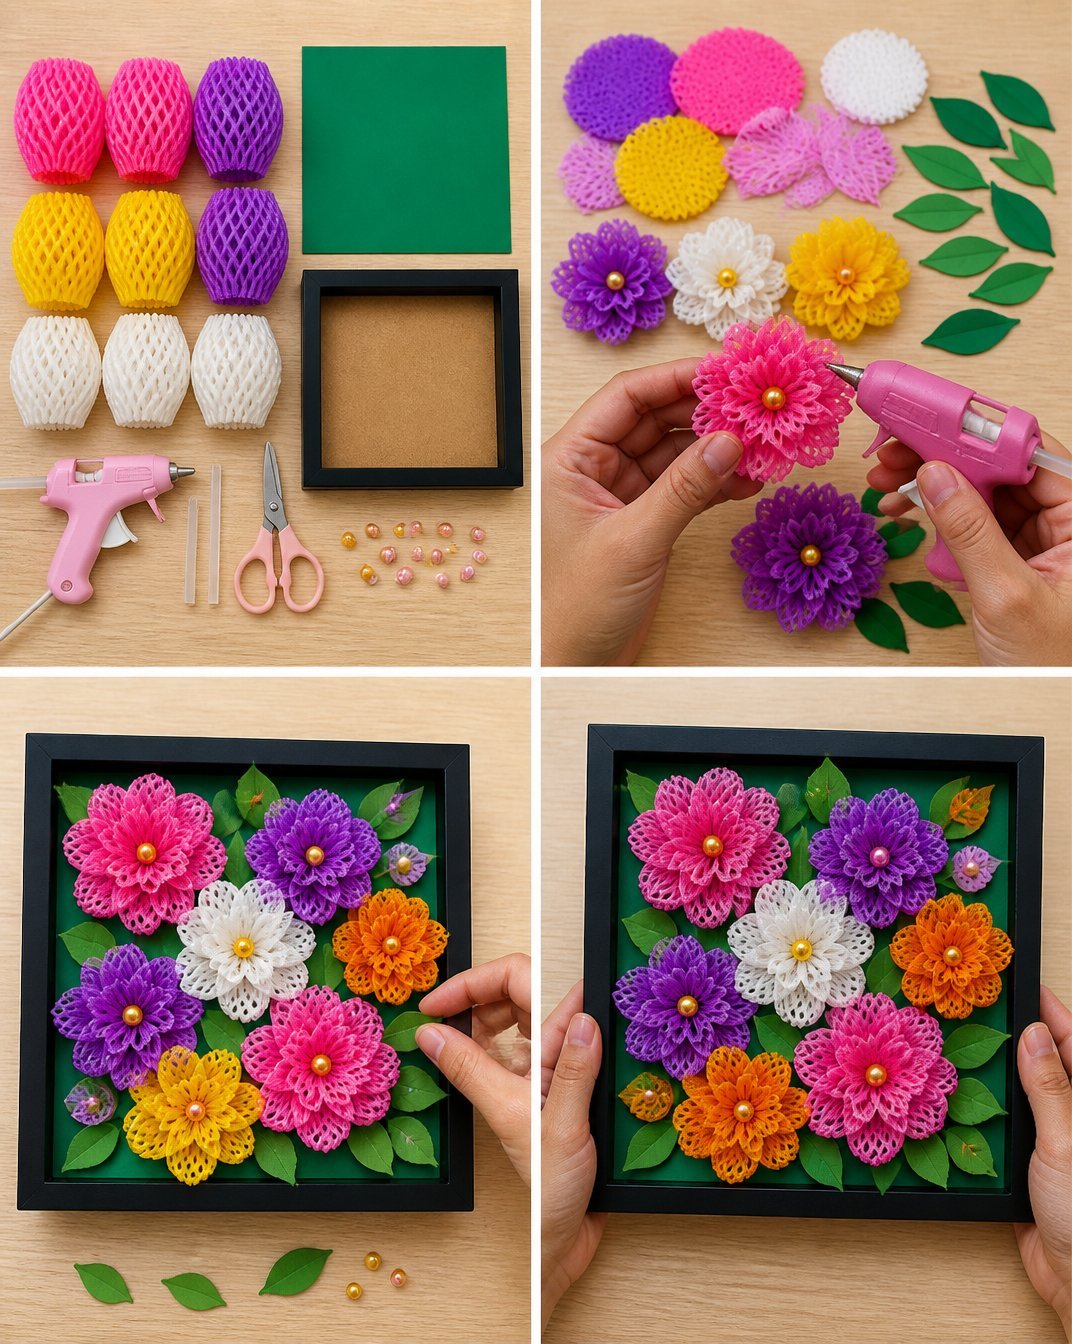
- Now, arrange and glue your lovely flowers and green leaves onto the backing of your shadow box frame. Take your time to position everything to your liking.
- Finally, carefully reassemble the frame with the beautifully decorated backing board. Your DIY 3D Flower Wall Art is now ready to be displayed with pride!
How to Display DIY 3D Flower Wall Art
Once your 3D Flower Wall Art is completed, the fun continues as you decide where to showcase your creation. It’s perfect for brightening up a living room wall or adding a touch of nature to a child’s bedroom. You can place it on a desk or a mantel for a pop of color in everyday spaces. Consider giving it as a thoughtful handmade gift for special occasions, where it can be cherished for years to come.
Tips for the Best Result
- Avoid using too much glue, as it can become messy and affect the appearance of your flowers.
- Ensure layers are even to maintain a polished finish. Adjust and trim if necessary.
- Protect your work surface with a craft mat to prevent glue from seeping into wood or fabric.
- Let each layer dry fully before moving on to prevent them from shifting out of place.
- When arranging pieces, take a step back to assess the overall look before securing everything.
Common Mistakes to Avoid
- A common mistake is cutting petals that are too similar in size; this can make the flowers look flat. Make sure to vary the sizes of your petals for more dimension.
- If pieces aren’t adhering properly, it may be due to excessive movement while the glue is drying. Give each flower some time to set before continuing.
- Not having a clean craft space can lead to glitter and glue contaminating each other; having a clean area will help maintain your project’s look.
Creative Ways to Make It Your Own
- Experiment with different colors not only for flowers but also for the leaves. Adding unique patterns to the foam nets can create an unexpected look.
- Personalize the project with initials or small quotes using created cutouts from cardstock.
- Use glitter or paint to add sparkle to some of the flowers for added visual interest.
How to Store DIY 3D Flower Wall Art
To keep your craft looking good, store it in a cool, dry place away from direct sunlight. Dust the shadow box frame gently with a soft cloth as needed to maintain its shine. If displaying it in a high-traffic area, consider protecting it with a display case to prevent accidental damage.
A Quick Safety Note
When handling the hot glue gun, be cautious. It’s important to remember that the tip will get very hot, and an adult should supervise children when using it. Additionally, sharp scissors should only be handled by older kids or adults.
FAQs About DIY 3D Flower Wall Art
How long does it take to complete this project?
The project usually takes around 1.5 to 2 hours, including drying time.
Can I use a different material instead of foam nets?
Yes, you can experiment with other materials, such as felt or paper, though the texture will differ.
Can children make it?
Older children can participate with supervision, especially when using scissors and the hot glue gun.
How should I store my finished craft?
Store it in a dry place away from direct sunlight to avoid fading.
Conclusion
Crafting DIY 3D Flower Wall Art is a delightful way to express creativity and bring vibrancy to your surroundings. With simple materials and steps, anyone can create a lovely piece of decorative art. As you experiment and personalize your flowers, remember to enjoy the process and let your imagination flourish. If you’re looking to enhance your decor further or explore more design options, check out these offerings for new ideas: 3D Wall Stickers DIY Flower Wall Decal Removable Waterproof Wall Decor and 3d Flower Wall Art – Etsy. Happy crafting!
Follow us on social for more recipe ideas & inspiration!
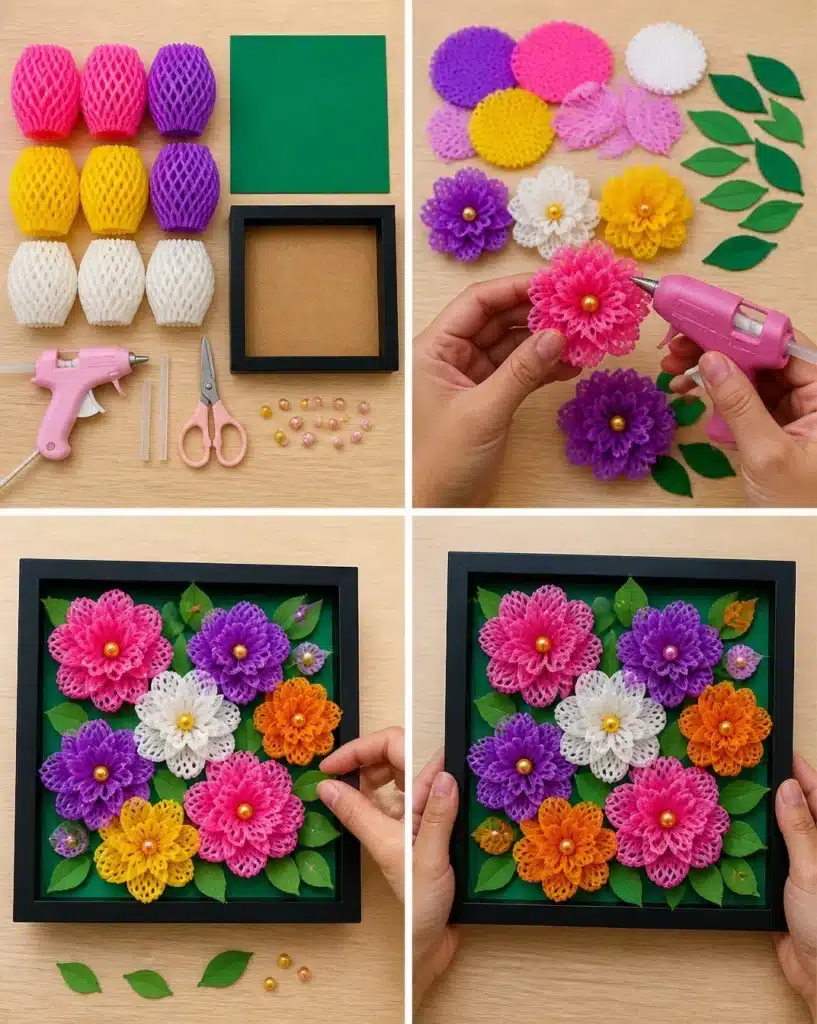
DIY 3D Flower Wall Art
Would you like to save this recipe?
By submitting you agree to receive this recipe and occasional emails. Unsubscribe anytime.
Ingredients
Materials
- 6 to 8 pieces colorful fruit foam nets (pink, purple, yellow, and white)
- 1 sheet 8.5×11-inch green cardstock
- 1 piece 8×8-inch square shadow box frame
- 1 piece mini low-temp hot glue gun with glue sticks Essential tool for assembly.
- 1 pair craft scissors For precise cutting.
- 10 to 12 pieces small craft beads for flower centers Adds charm to flowers.
Instructions
Preparation
- Flatten the fruit foam nets by gently pressing down on them.
- Cut the foam nets into circular layers and various petal shapes.
- Layer and stack the foam net pieces to form 3D flowers, securing them with a small dab of hot glue.
- Cut leaf shapes from the green cardstock and vary sizes for a dynamic arrangement.
Assembly
- Insert a craft bead into the center of each flower for added detail.
- Arrange and glue the flowers and leaves onto the backing of the shadow box frame.
- Reassemble the frame with your beautifully decorated backing.
Last Step: Don’t forget to leave a rating and comment below! It helps other readers find the best recipes — and it helps us too!
Tips & Notes:
Nutrition Information: Serving: 1 | Calories: | Carbohydrates: | Protein: | Fat: | Sodium: | Fiber: | Sugar:
Nutritional information is provided as a courtesy and calculated automatically. Values can vary depending on the brands and ingredients you use, so if you’re tracking closely, I recommend calculating with your own preferred tool.