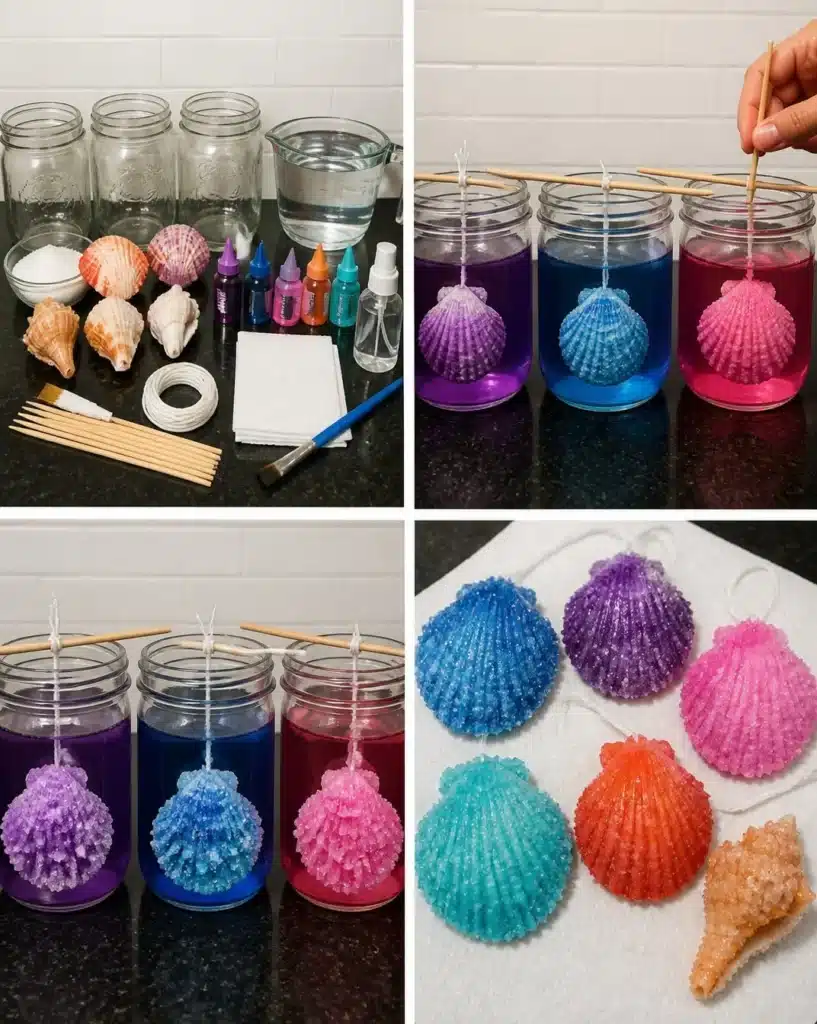
Why You’ll Want to Make DIY Crystal Seashells
Creating DIY Crystal Seashells is a delightful project that combines the beauty of nature with a touch of science. Imagine transforming ordinary seashells into sparkling treasures that can serve as vibrant decor for your home or a unique gift for friends and family. This project not only makes for an attractive display but also introduces you to the fun world of crystal growth, making it perfect for all ages. With easy-to-find materials and simple steps, you’ll find that this crafting experience is both engaging and satisfying. You may also find DIY Crystal Seashells useful.
Whether you want to showcase these shimmering creations on a shelf, use them as table decorations, or incorporate them into seasonal displays, the possibilities are endless. By customizing these seashells with your choice of colors, you can tailor them to fit any occasion. The process is straightforward, so even if you’re new to crafting, you’ll feel confident taking on this project. Plus, if you’re looking for additional crafting inspiration, you can check out other exciting DIY projects that will enhance your creative skills, such as this delightful recipe.
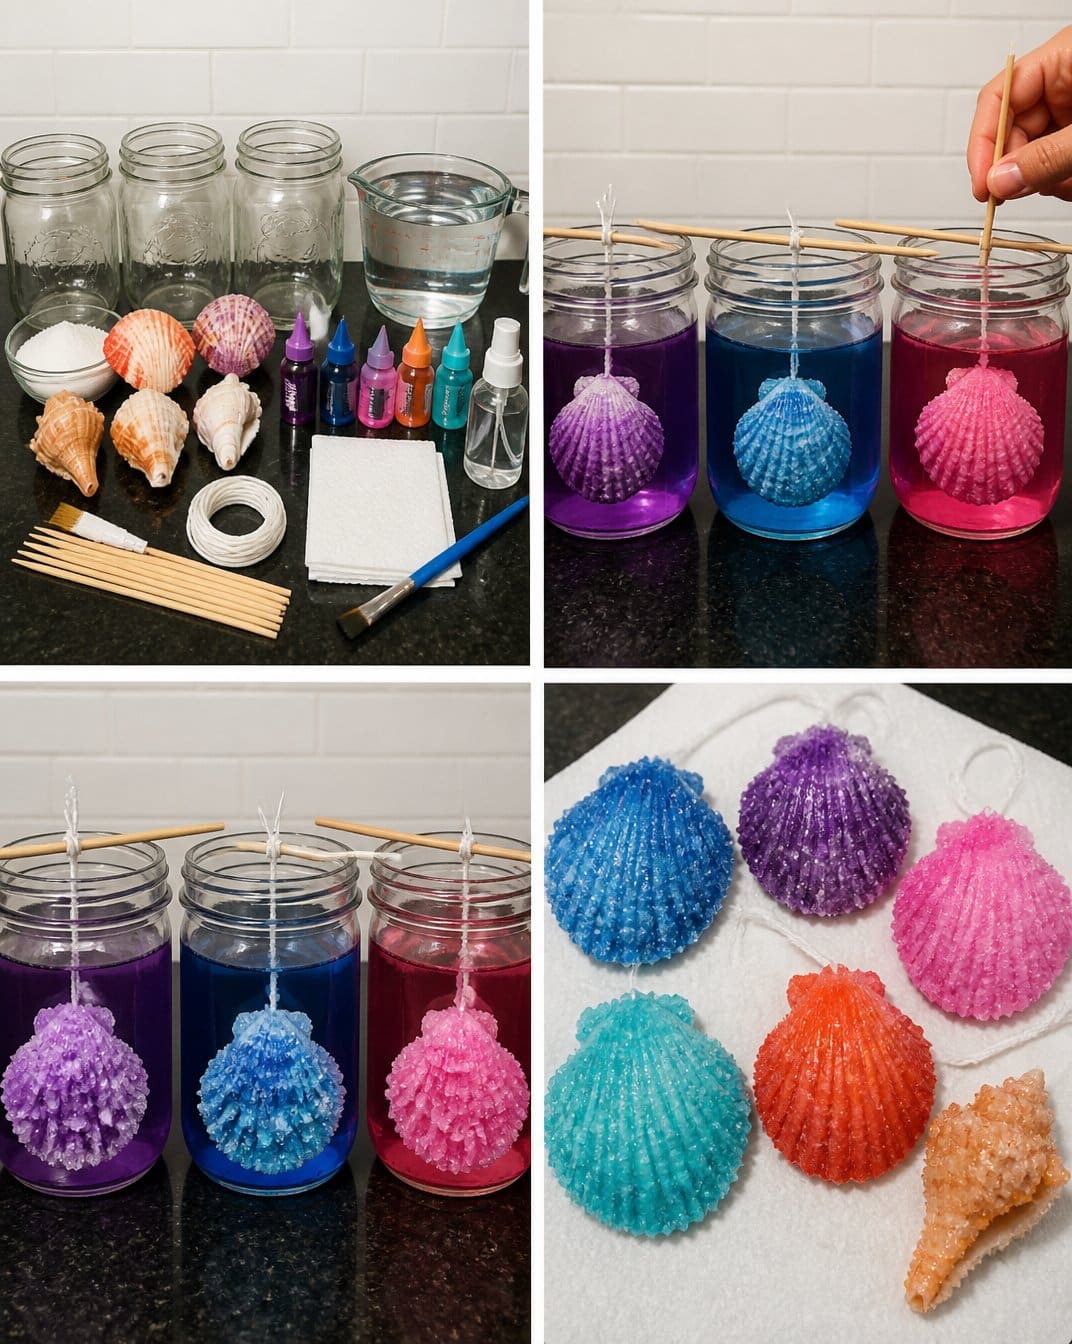
Before You Start
Before diving into the crafting world of Crystal Seashells, it’s helpful to understand the process. You’ll be creating beautiful crystals on seashells using a solution of water and Borax. The final pieces should exhibit a stunning sparkle, reminiscent of ocean wonders. You may also find Coconut Water Cloud Coffee Boosts Focus useful.
First, make sure your workspace is protected, as things can get a bit messy with the materials involved. You’ll need to work in a well-ventilated area when handling Borax. As you prepare for this DIY project, have your shells washed and cleaned, ready for decoration. The drying time will typically be around 24 hours, so plan to start this project when you have that time to let your shells sit undisturbed.
What You’ll Need for DIY Crystal Seashells
- 4–6 clean seashells (scallop shells, conch shells, or spiral shells)
- 3 cups very hot water (almost boiling)
- 9 tablespoons Borax (20 Mule Team Borax)
- Gel or liquid food coloring (purple, blue, pink, orange, aqua)
- 3 wide-mouth mason jars
- Wooden skewers or craft sticks
- Cotton string or fishing line
- Paper towels
- Clear acrylic spray sealer (optional)
- Small paintbrush (optional for glitter)
Helpful Tools
While you will need basic crafting tools, the main focus here is on the shells and the jars. Wooden skewers or craft sticks will help you suspend the seashells as the crystals form, and a small paintbrush can assist with applying glitter if you choose to add that decorative element.
How to Make DIY Crystal Seashells
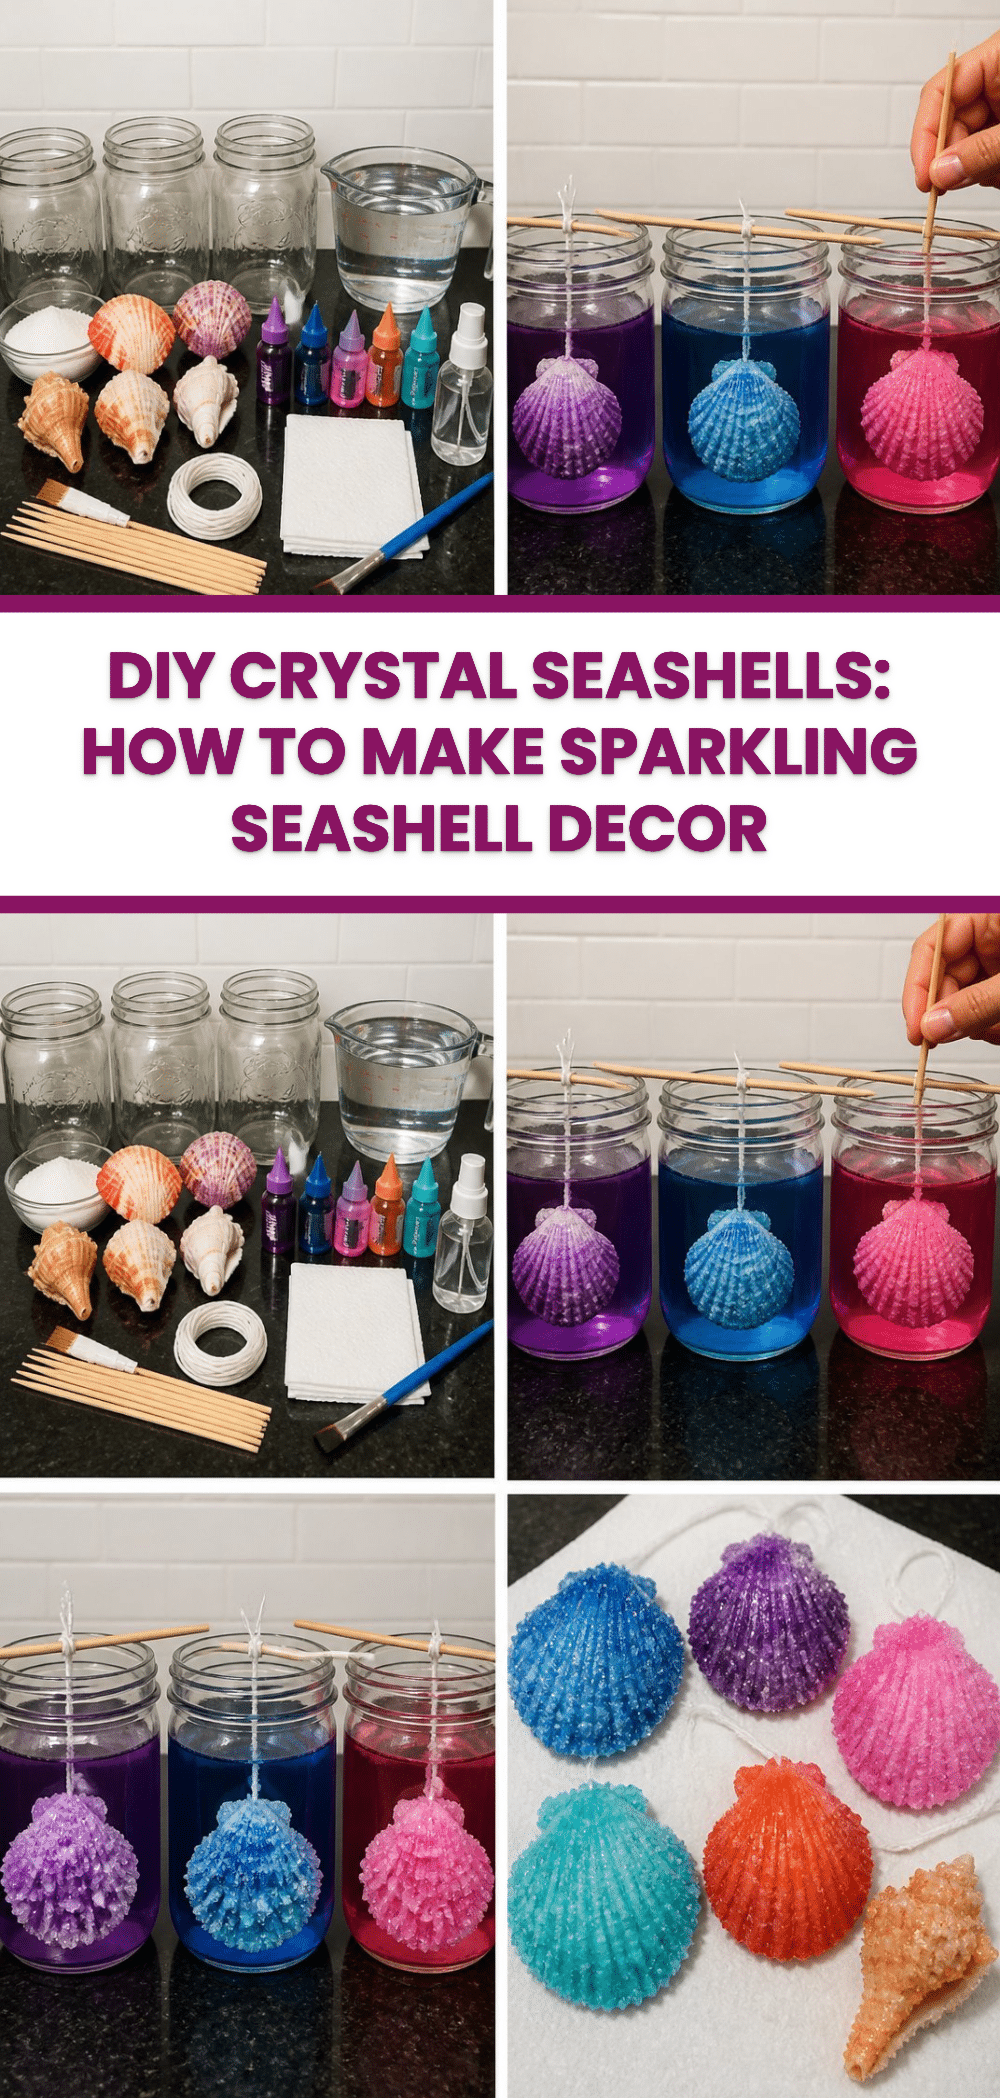
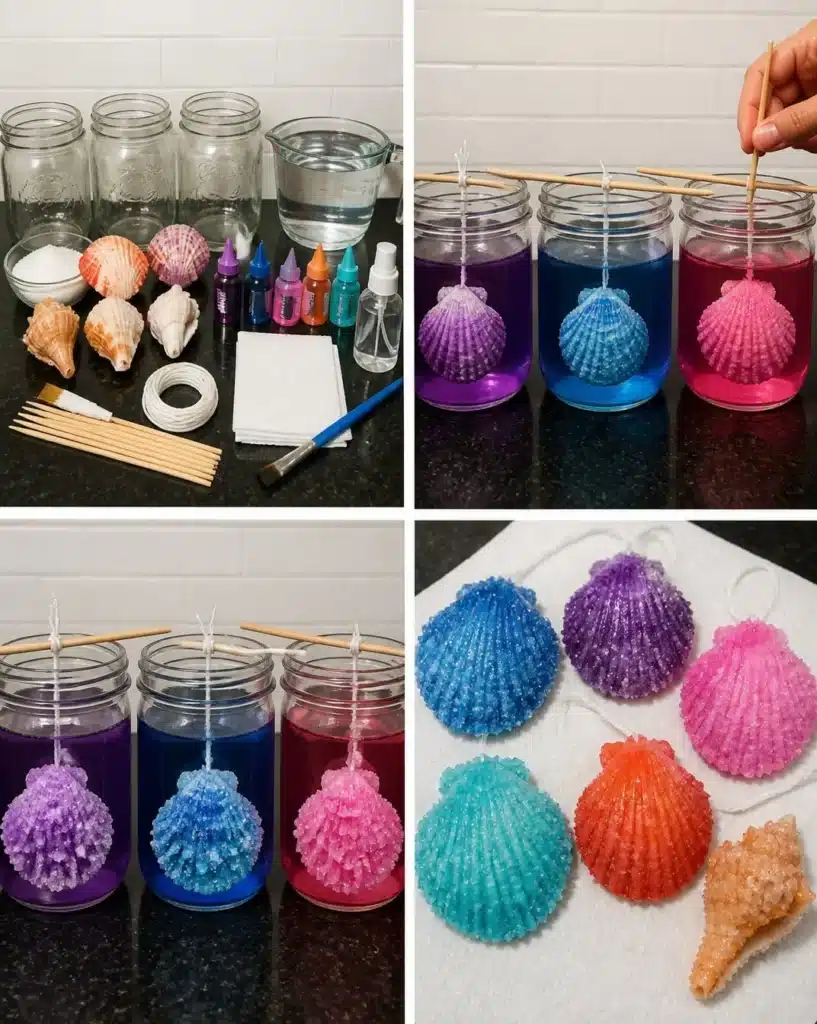
Begin by tying a piece of string around the top of each seashell. Attach the other end of the string to a wooden skewer so that the shell can dangle nicely in the solution.
In each of your mason jars, mix 3 tablespoons of Borax into 1 cup of very hot water until it dissolves completely. Add a few drops of your chosen food coloring for an extra pop of color.
Carefully hang the prepared shells into the jars, ensuring they are fully submerged but not touching the bottom or sides of the jars.
Allow the jars to sit undisturbed for 24 hours. This patience will reward you with beautiful crystals forming on the shells.
After 24 hours, gently remove the shells and place them on paper towels to dry. If desired, you can use a clear acrylic spray sealer to protect the finish once they’re completely dry.
How to Display DIY Crystal Seashells
Once your Crystal Seashells are dry, you can showcase your artistic efforts in a variety of ways. Consider placing them in a sunny window to catch the light, or use them as part of a beach-themed display. You could also create a beautiful centerpiece for a table by arranging several shells together in a decorative bowl.
Feel free to give these shells as handmade gifts; they would be perfect for beach lovers or anyone who enjoys nature-inspired decor. You might also consider using them for classroom decor or as part of a science presentation on crystal growth.
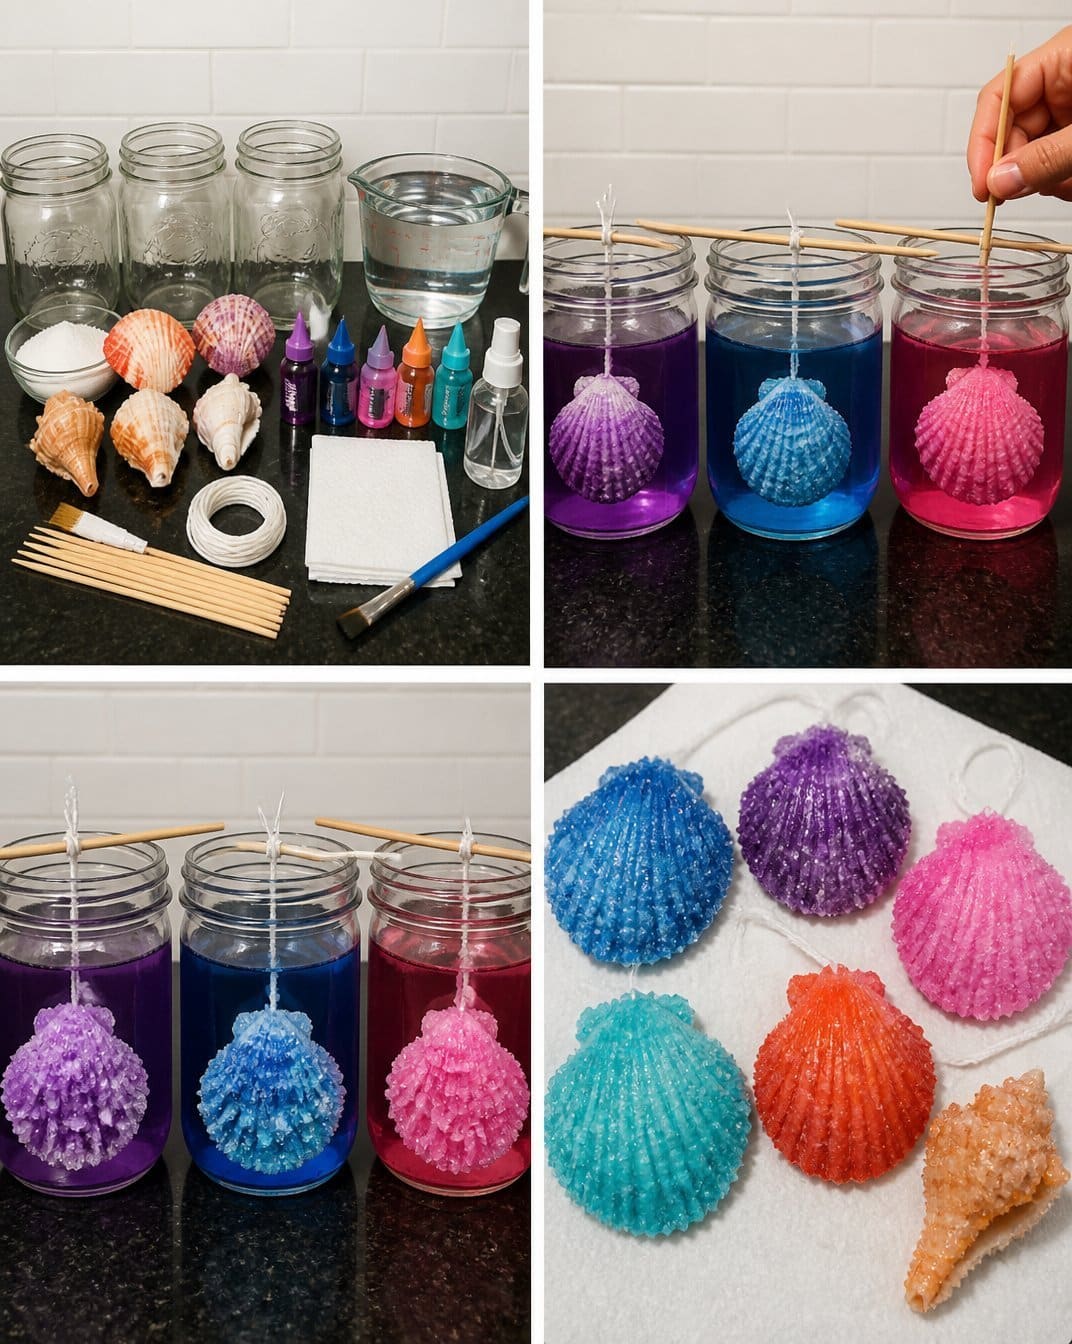
Tips for the Best Result
To enhance your crafting experience and ensure the best outcome:
- Make sure to dissolve the Borax fully before adding the shells; undissolved particles can interfere with crystal formation.
- Use enough food coloring to achieve a vibrant hue, but avoid over-saturating as this may affect the clarity of the crystals.
- Ensure the strings are securely tied around the shells so they remain suspended properly in the solution.
- Keep the jars out of direct sunlight after you’ve submerged the shells, as extreme heat could impact the crystallization process.
Common Mistakes and Easy Fixes
Crafting can sometimes lead to unexpected challenges. Here are a few pitfalls you might encounter:
Cloudy Crystals: If your crystals do not look clear, it might be because the Borax didn’t completely dissolve. To prevent this, ensure you stir until fully dissolved before submerging the shells.
Shells Touching the Bottom: If the shells touch the bottom, they won’t form crystals properly. You can fix this by re-suspending them in the solution with a tighter knot or adjusting the length of string.
Minimal Crystal Growth: If you notice limited crystal formation, ensure you are using very hot water and that the jars are undisturbed during the crystallization process.
Creative Ways to Make It Your Own
There are numerous ways you can personalize your Crystal Seashells:
- Color Combinations: Experiment with different food coloring hues or mix them to create custom shades.
- Add Glitter: If you want a glitter finish, apply a small amount of glue to the shells before hanging them in the crystal solution, then sprinkle with glitter.
- Seasonal Themes: Consider dressing your shells for different seasons by using colors associated with each, such as pastels for spring or blues and whites for winter.
- Name Tags: Attach small tags with names or initials on them for personalized gifts or party favors.
How to Store DIY Crystal Seashells
Proper care will help keep your Crystal Seashells looking great. Here are a few tips:
- Store your shells in a dry, cool place to avoid any damp or humidity that could affect their appearance.
- Use a soft cloth or duster to gently remove any dust that settles on them over time.
- If you’ve used any adhesive or glitter details, be cautious that they don’t rub off when handling.
A Quick Safety Note
When working with Borax, ensure you are cautious, particularly around children and pets. While Borax is commonly used in household products, it’s best to avoid ingestion or prolonged skin contact. Always wash hands thoroughly after crafting and supervise children closely during this project.
FAQs About DIY Crystal Seashells
How long does it take to make the crystals?
The entire process takes about 24 hours for the crystals to form, plus additional time for your shells to dry.
Can I use different materials?
While Borax is ideal for this project, there are other crystal-forming materials like sugar or salt that can also be used, but the results may vary.
Can children make it?
This project is suitable for children to participate in, but adult supervision is necessary when handling hot water and Borax.
Why are my crystals not forming well?
This can happen if the solution was not hot enough or if the conditions were disturbed. Make sure to keep the jars undisturbed.
What if I want to make a larger crystal shell?
You can use larger seashells, but ensure to adjust the amount of Borax and water based on the size of your shell.
Conclusion
In conclusion, crafting DIY Crystal Seashells is not just about creating something beautiful; it’s an adventure into the fascinating world of crystal growth. You can explore various designs and styles to make them uniquely yours. For more inventive ideas on crafting, check out helpful resources like this beginner guide and learn about even more engaging activities. Don’t hesitate to have fun with these creations and enjoy the process! If you want to explore more science experiments with a creative twist, consider visiting this craft resource for further inspiration.
Follow us on social for more recipe ideas & inspiration!
DIY Crystal Seashells
Would you like to save this recipe?
By submitting you agree to receive this recipe and occasional emails. Unsubscribe anytime.
Ingredients
Main Ingredients
- 4-6 pieces clean seashells (scallop shells, conch shells, or spiral shells)
- 3 cups very hot water (almost boiling)
- 9 tablespoons Borax (20 Mule Team Borax)
- to taste drops Gel or liquid food coloring (purple, blue, pink, orange, aqua) Choose your preferred colors.
Tools and Materials
- 3 pieces wide-mouth mason jars
- 2 pieces wooden skewers or craft sticks
- 1 piece cotton string or fishing line
- 1 piece paper towels
- 1 piece clear acrylic spray sealer (optional) For protecting finished shells.
- 1 piece small paintbrush (optional for glitter) If you choose to add glitter.
Instructions
Preparation
- Tie a piece of string around the top of each seashell and attach the other end to a wooden skewer.
- In each mason jar, mix 3 tablespoons of Borax into 1 cup of very hot water until fully dissolved.
- Add a few drops of your chosen food coloring to the mixture.
Creating Crystals
- Carefully hang the prepared shells into the jars, making sure they are fully submerged but not touching the bottom or sides.
- Allow the jars to sit undisturbed for 24 hours for the crystals to form.
- After 24 hours, remove the shells and place them on paper towels to dry.
- Optionally, apply clear acrylic spray sealer once they’re completely dry.
Last Step: Don’t forget to leave a rating and comment below! It helps other readers find the best recipes — and it helps us too!
Tips & Notes:
Nutrition Information: Serving: 6 | Calories: | Carbohydrates: | Protein: | Fat: | Sodium: | Fiber: | Sugar:
Nutritional information is provided as a courtesy and calculated automatically. Values can vary depending on the brands and ingredients you use, so if you’re tracking closely, I recommend calculating with your own preferred tool.