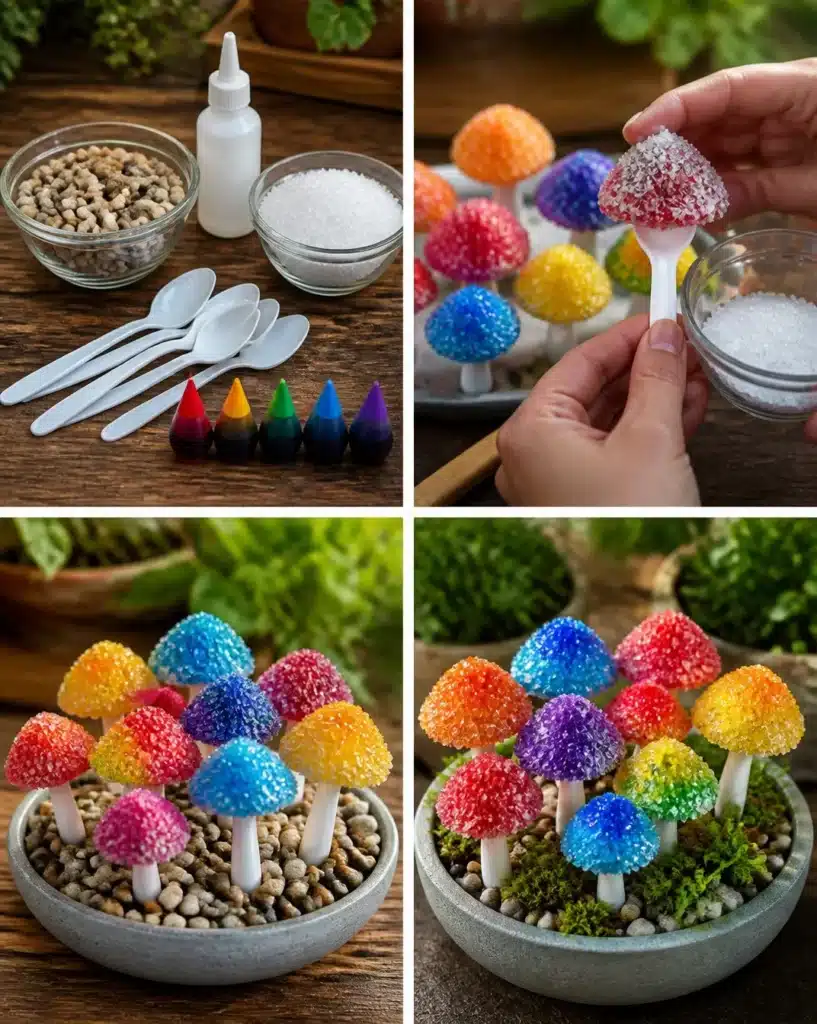
Why You’ll Want to Make Crystal Rainbow Garden Mushrooms
Creating Crystal Rainbow Garden Mushrooms is not only a fun and engaging craft project, but it also leaves you with charming decorations that can brighten any space. This project is simple enough for beginners, yet it allows for creative expression through the vivid colors and textures that you can achieve. The use of easy-to-find materials like plastic spoons, salt, and food coloring makes this a budget-friendly option. Furthermore, these delightful mushrooms can be perfect for a garden party, a whimsical touch in children’s play areas, or even as thoughtful handmade gifts. You may also find Stuffed Mushrooms useful.
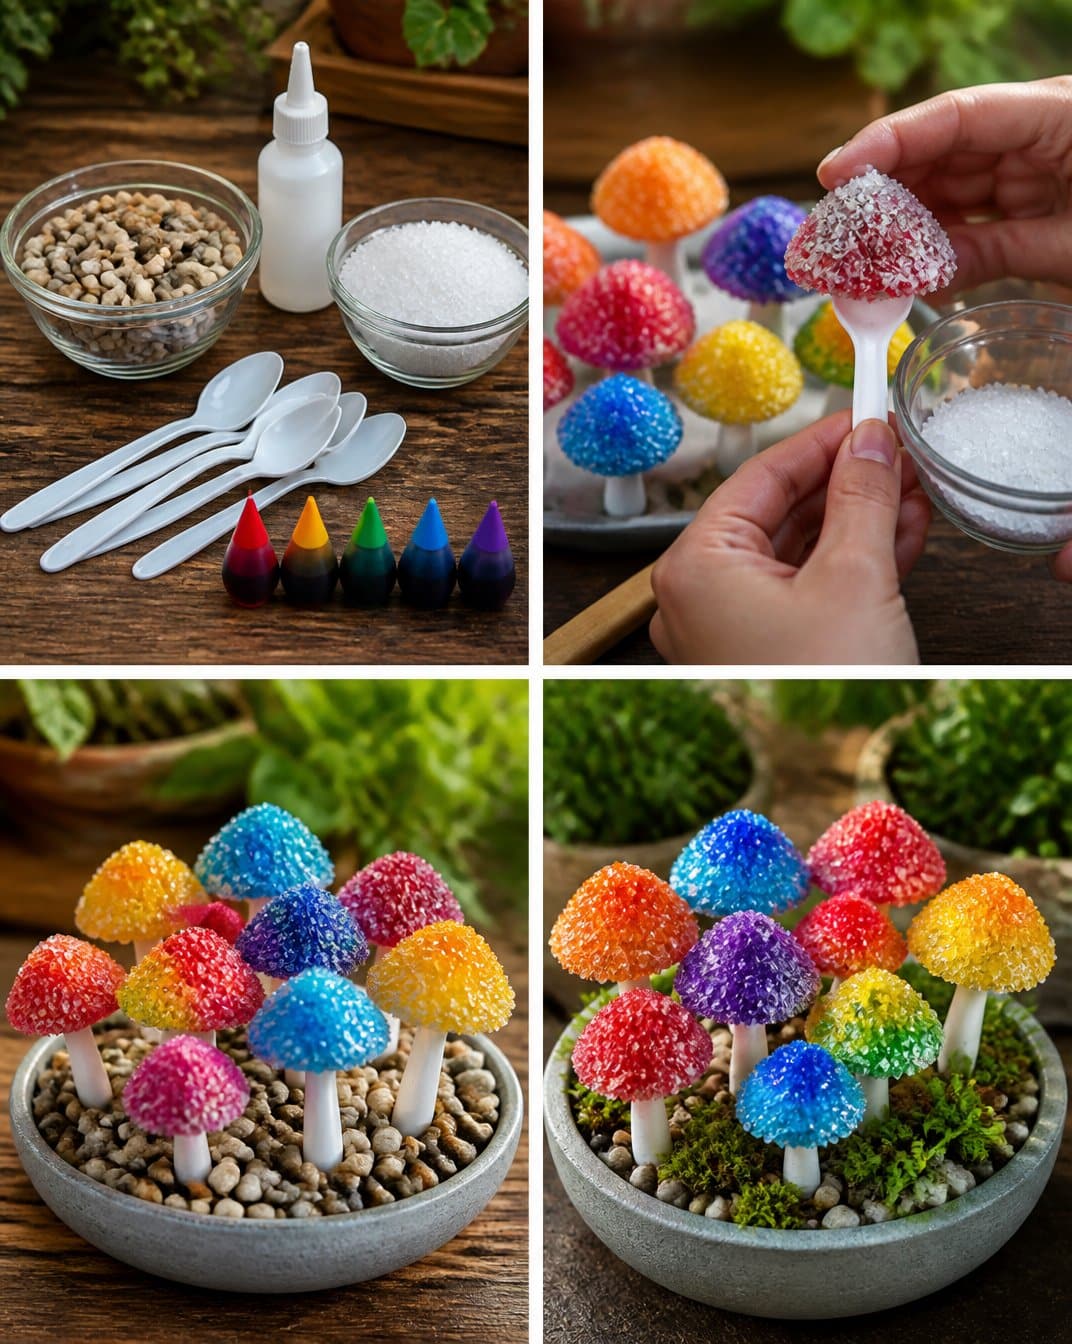
Before You Start
Before diving into the crafting, it’s helpful to understand the basic process of making these colorful mushrooms. You’ll be transforming plastic spoons into the caps, and sturdy pebbles into the stems, creating a whimsical mini garden. The final project should exhibit vibrant colors and a playful design. It’s advisable to prepare your workspace with newspaper or a craft mat to catch any spills from glue or food coloring. You may also find Sweet Sour Vodka Rainbow Rollups useful.
In this project, adult supervision is recommended, especially when children are involved, particularly during the coloring phase to manage any mess. Finally, be prepared for some drying time between steps so that everything sets properly.
What You’ll Need for Crystal Rainbow Garden Mushrooms
- Plastic spoons
- Small pebbles
- White glue
- Coarse salt
- Food coloring
Helpful Tools
- Paper plates or trays (for holding glue and salt)
- Paintbrush (for applying glue)
How to Make Crystal Rainbow Garden Mushrooms
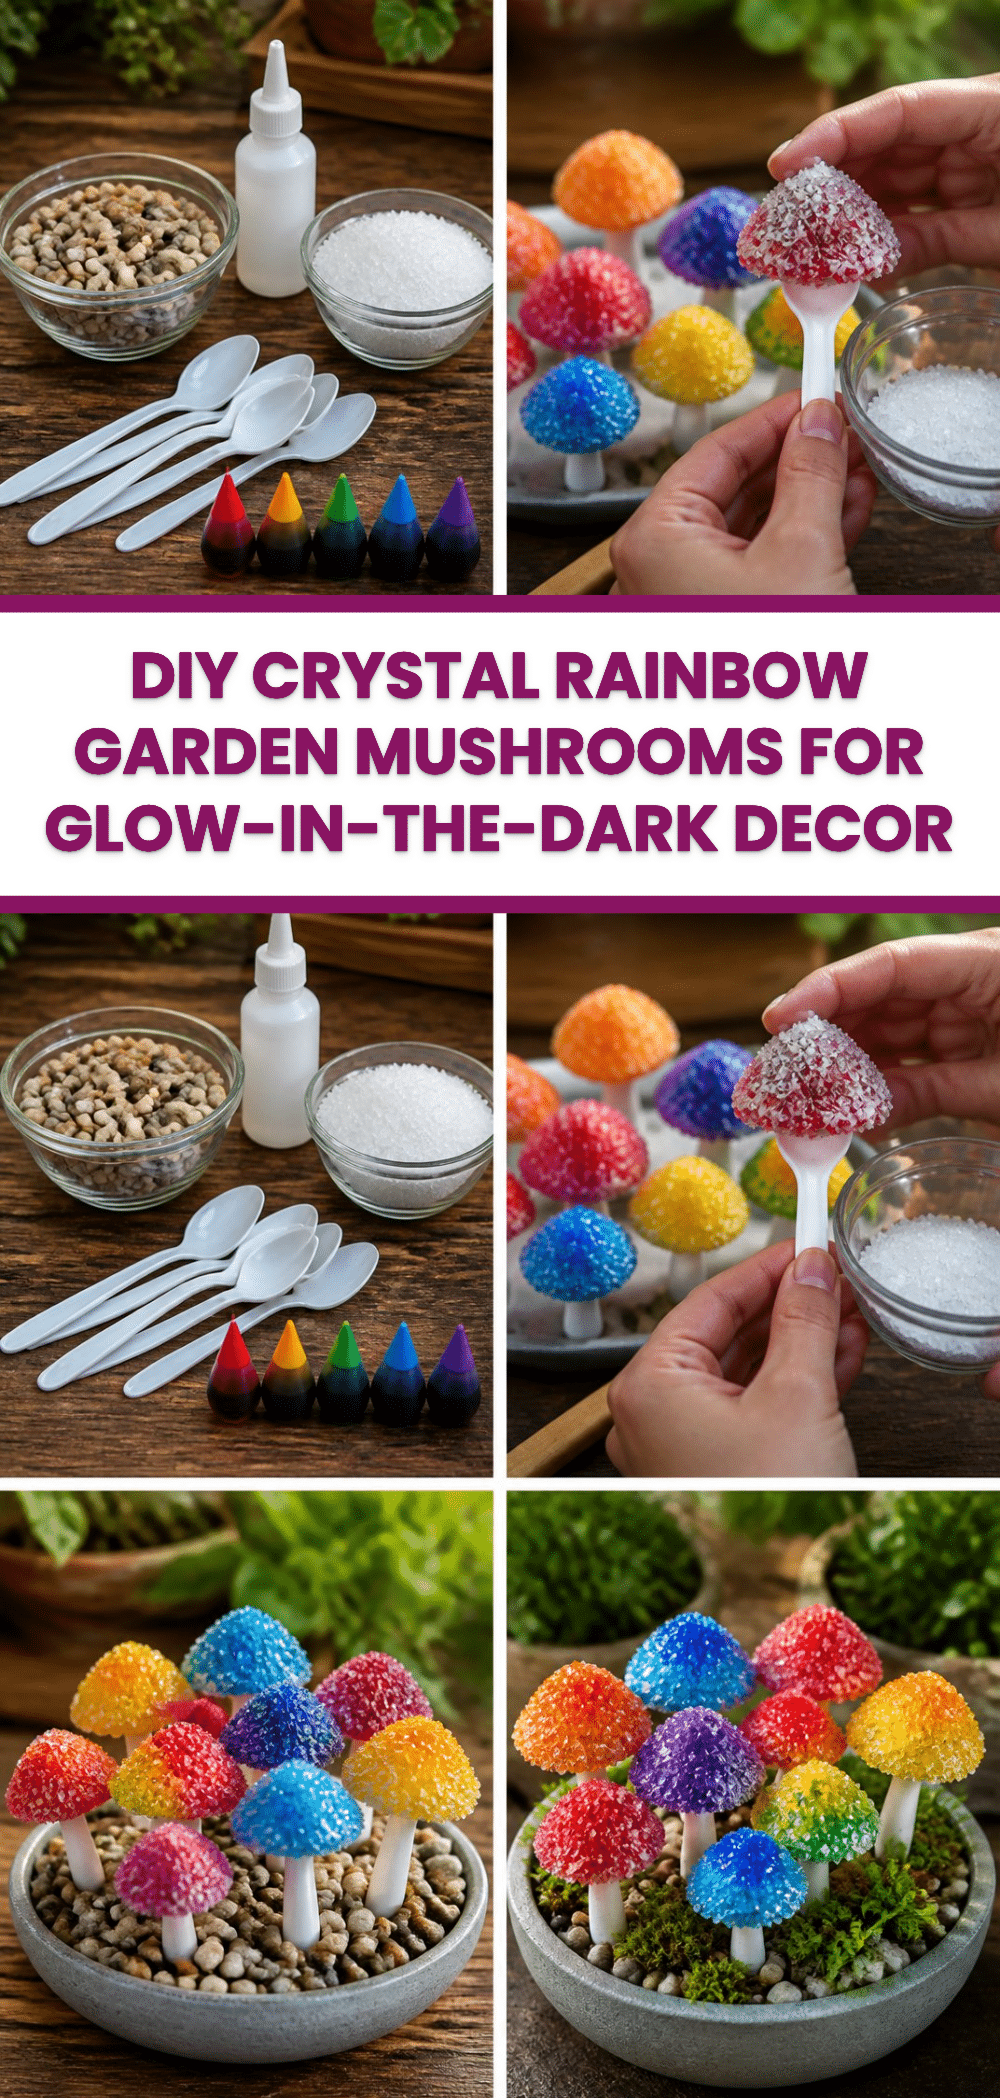
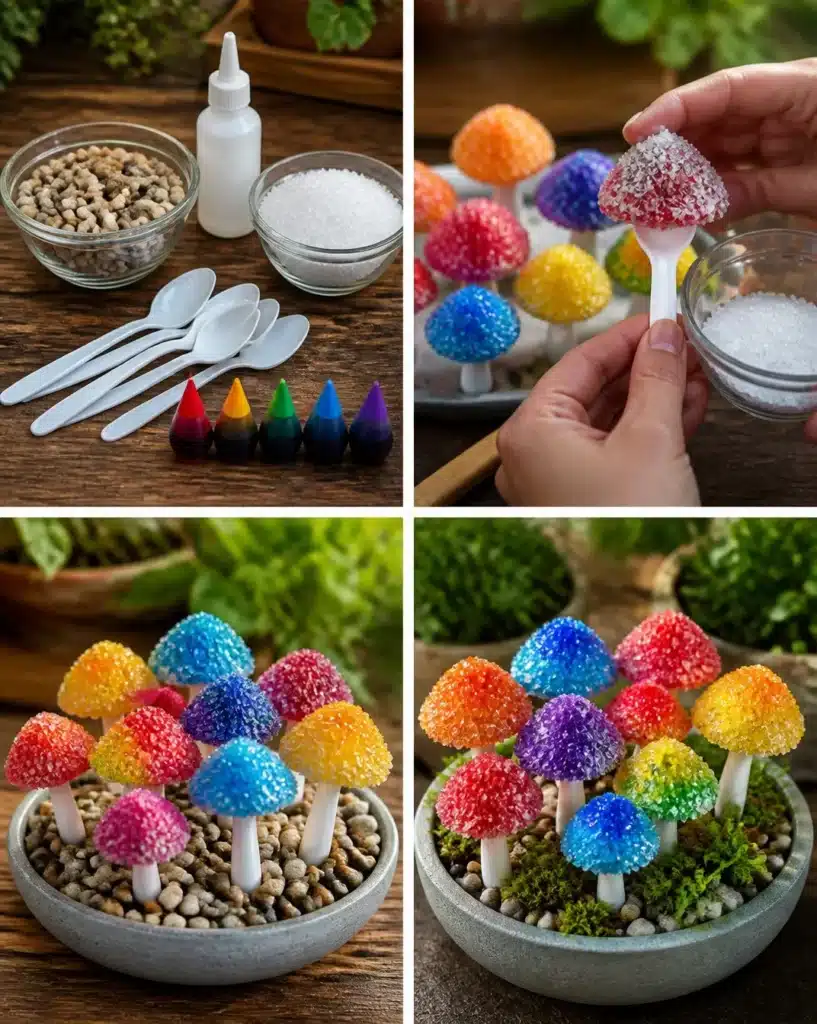
Start by gathering your plastic spoons and small pebbles. You’ll use the spoons as the mushroom caps and the pebbles to create sturdy stems.
After positioning the pebbles, apply white glue to the scooped portion of each spoon. Make sure to cover it evenly.
While the glue is still wet, let the kids sprinkle coarse salt over the glued area. This step will give the mushrooms a lovely crystalline appearance.
Once you have coated the spoon with salt, proceed to use food coloring to tint the salt. You can either dip a small brush into various colors or gently drizzle them on to create a vibrant mix.
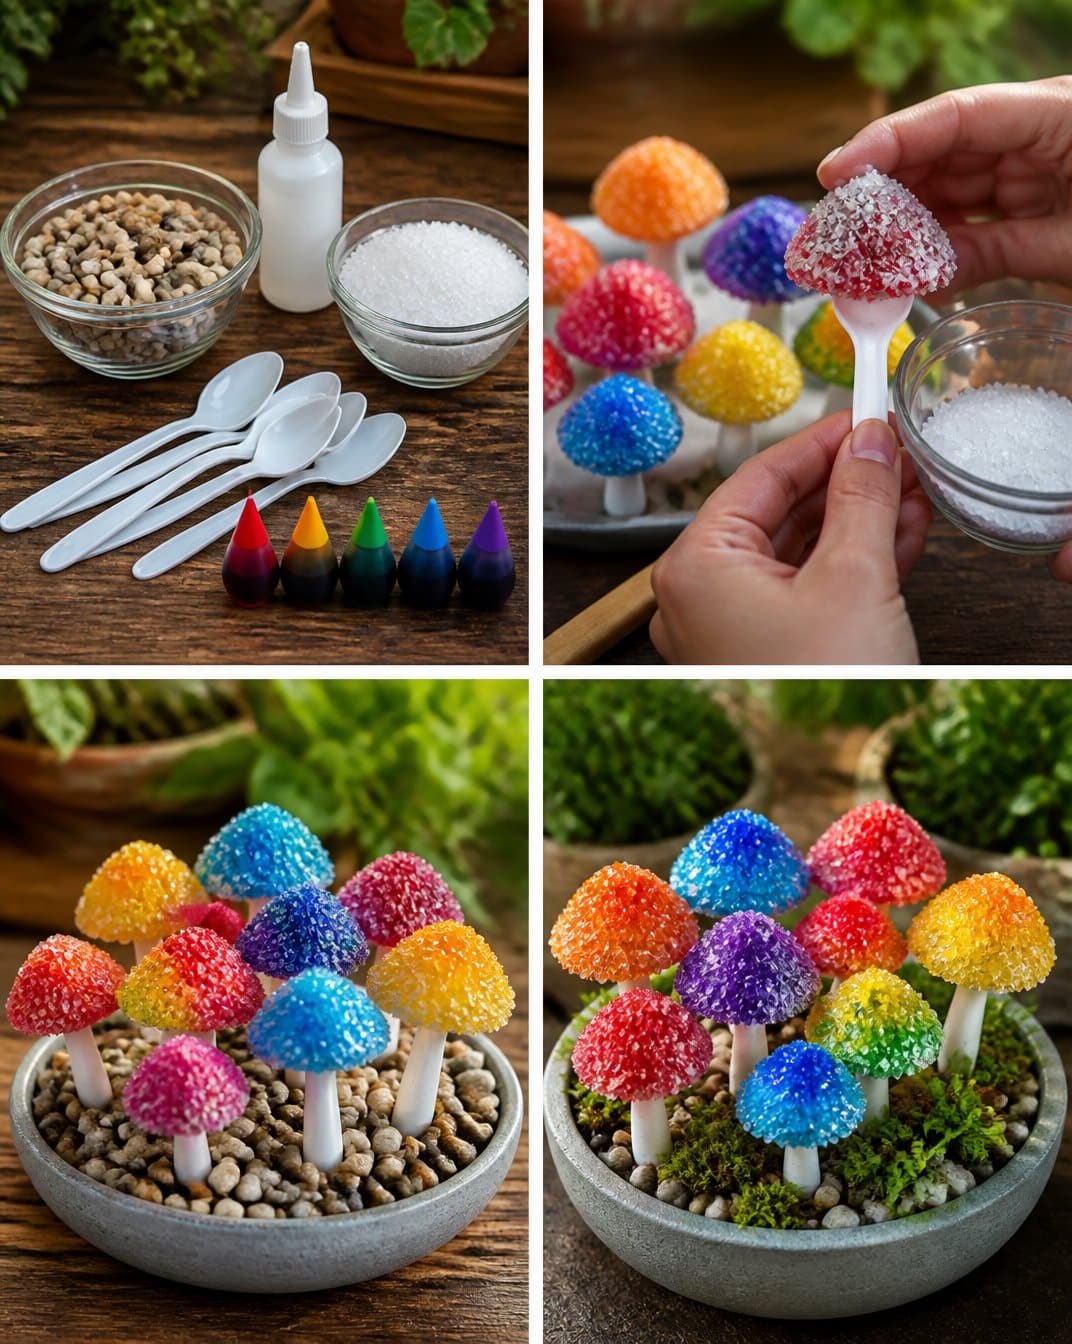
Finally, arrange your colorful mushrooms together in a playful manner, forming a delightful miniature garden that surely brightens up any corner of your home.
How to Display Crystal Rainbow Garden Mushrooms
These whimsical Crystal Rainbow Garden Mushrooms can be displayed in various ways around your home. Consider placing them on a windowsill where sunlight can catch the sparkling salt textures. You can also create a centerpiece for a table or invite the kids to help decorate a garden area. For seasonal decoration, they can be placed around outdoor seating during warm months or even used as vibrant accents in a holiday display.
Tips for the Best Result
- Ensure that the glue layer is even to avoid clumping salt in areas, which can make the appearance uneven.
- Let the salt dry thoroughly once sprinkled before moving to the next step to prevent sliding or losing the crystalline look.
- Use different colors of food coloring to create distinct mushroom variations for an even more enchanting look.
- If you want the mushrooms to be more durable, consider applying a thin layer of clear varnish after fully drying.
Common Mistakes to Avoid
- Too much glue: If you apply excessive glue, it can cause the salt to soak in and lose its texture. To avoid this, use a thin, even coat.
- Colors bleeding: If you do not wait for the salt to dry before applying another color, you might end up with muddy hues. Allow drying time in between layers for the best result.
- Cracked salt: Ensure that the salt is not disturbed too much while drying to keep the chunks intact for a sparkling finish.
Easy Variations for Crystal Rainbow Garden Mushrooms
- Different shapes: While the spoons make lovely caps, try using different sizes or materials for unique shapes, like small paper cups for larger mushrooms.
- Additional decorations: Consider adding tiny painted stones or beads around the base for more color and texture.
- Seasonal themes: You could use colors that align with holidays such as orange and black for Halloween, or pink and red for Valentine’s Day.
How to Store Crystal Rainbow Garden Mushrooms
Keeping your Crystal Rainbow Garden Mushrooms in a safe and dry area will help them last longer. Ideally, store them in a cool place away from direct sunlight, as heat and moisture can damage the delicate salt structure. You can use a dust cover or a box to protect them from dust and accidental breakage.
A Quick Safety Note
When working with children, ensure that they are supervised during the project. Adult guidance is useful when handling glue and applying food coloring, as these steps can get messy and might require some cleanup.
FAQs About Crystal Rainbow Garden Mushrooms
How long does it take?
The entire process may take about 1-2 hours, depending on drying times.
Can I use a different material?
Yes! You can use materials like small wooden dowels or even clay for the stems if you want to switch things up.
What glue works best?
White craft glue works well for this project, but you can also use a glue gun for faster adhesion, though adult supervision is needed.
How should I store it?
Keep your mushrooms in a dust-free area and avoid humidity to preserve their look.
Can children make it?
This project is suitable for children, but they should have adult supervision, especially while handling the food coloring and glue.
Conclusion
Crafting your own Crystal Rainbow Garden Mushrooms can be a joyful and colorful experience. Display them proudly or gift them to someone special. For more creative inspirations, consider exploring these merry garden mushrooms to make! and check out these lovely suncatchers that can complement your homemade project! Enjoy your crafting adventure and let your creativity shine!
Follow us on social for more recipe ideas & inspiration!
Crystal Rainbow Garden Mushrooms
Would you like to save this recipe?
By submitting you agree to receive this recipe and occasional emails. Unsubscribe anytime.
Ingredients
Main ingredients
- 10 pieces Plastic spoons Used as the mushroom caps
- 10 pieces Small pebbles Serve as sturdy stems
- 1 bottle White glue For adhering salt to the spoons
- 1 cup Coarse salt Provides the crystalline texture
- Assorted drops Food coloring To tint the salt in various colors
Helpful tools
- 2 pieces Paper plates or trays For holding glue and salt
- 1 piece Paintbrush For applying glue
Instructions
Preparation
- Gather plastic spoons and small pebbles.
- Position the pebbles to create sturdy stems for the mushrooms.
Creating the Mushrooms
- Apply white glue evenly to the scooped portion of each spoon.
- While the glue is still wet, sprinkle coarse salt over the glued area.
- Use food coloring to tint the salt by dipping a small brush into colors or drizzling them on.
- Arrange the colorful mushrooms together to form a delightful miniature garden.
Last Step: Don’t forget to leave a rating and comment below! It helps other readers find the best recipes — and it helps us too!
Tips & Notes:
Nutrition Information: Serving: 10 | Calories: | Carbohydrates: | Protein: | Fat: | Sodium: | Fiber: | Sugar:
Nutritional information is provided as a courtesy and calculated automatically. Values can vary depending on the brands and ingredients you use, so if you’re tracking closely, I recommend calculating with your own preferred tool.