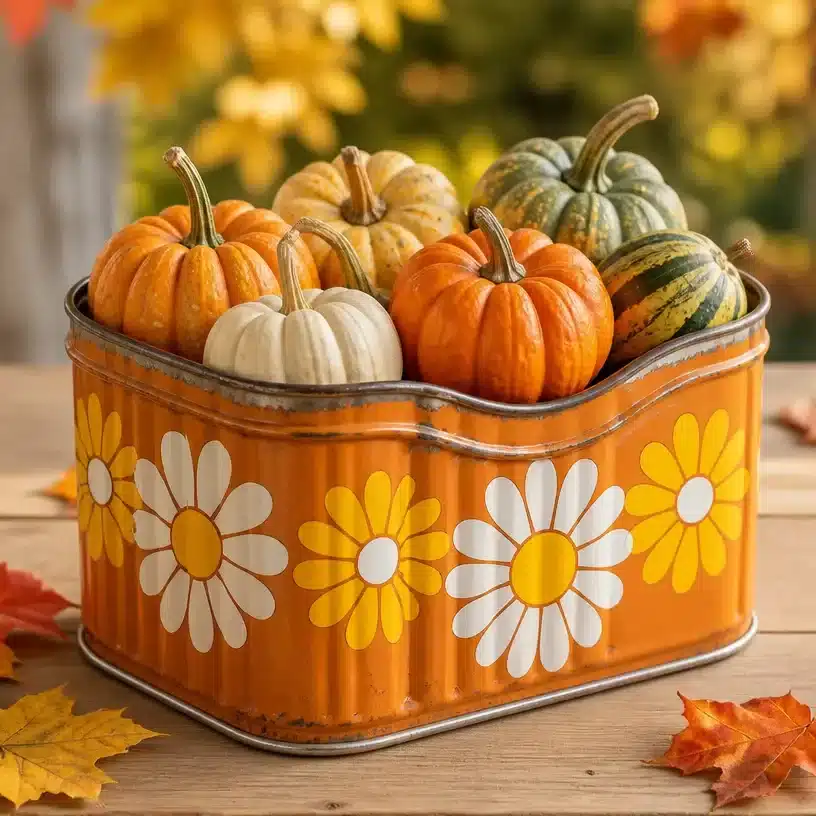
Why DIY Pumpkin Organizer From Upcycled Tin With Retro Daisy Is Worth Making
Creating a DIY Pumpkin Organizer from an upcycled tin with a retro daisy design is not only a fun project but also an incredibly rewarding one. This craft allows you to recycle materials that might otherwise be discarded, transforming them into a practical and decorative item. The pumpkin shape adds a charming seasonal touch, making it a perfect addition to your fall decorations. Whether you decide to gift it, use it to organize your craft supplies, or beautify your home, this organizer is sure to spark joy. You may also find Diy Rainbow Flower Pumpkin Centerpiece With Pipe Cleaners useful.
The project is also beginner-friendly, requiring minimal materials and straightforward steps. Its simple design can be customized with different colors and styles, ensuring that your pumpkin organizer can reflect your personal taste. The texture and shine of the paint, combined with the playful daisy pattern, create a visually appealing piece that is light-catching and vibrant. You’ll find that it’s not just functional but also a delightful representation of your creativity. You may also find Diy Glass Bottle Lanterns For Spooky Ghost Lighting useful.
Once you’re ready to embark on this crafting adventure, you may also want to explore other related projects. For instance, check out this DIY rainbow pipe cleaner pumpkin decor for additional craft inspiration suitable for the season.
Before You Start
Before diving into making your DIY Pumpkin Organizer, it’s essential to gather your materials and set up your workspace. This project generally requires the use of paint, glue, and a few tools for shaping, so having everything ready will streamline the process. Your finished project should resemble a charming pumpkin that serves as a container for small items, adding both function and design to your space. You may also find Diy Rainbow Pony Bead Pumpkin Suncatcher useful.
To simplify the project, make sure you work in a well-lit area, and consider laying down newspaper or a plastic covering to protect your surfaces. You’ll also want to be mindful of drying times for the glue and paint as you progress. Plan your work in stages to allow each layer to set properly before moving on.
Materials You’ll Need
- An empty tin can (e.g., soup can)
- Orange acrylic paint
- Green acrylic paint
- Paintbrushes (one for orange and one for green)
- Glue (craft glue or hot glue for stronger adhesion)
- Scissors
- Decorative paper or stickers with daisy pattern
- Craft knife (optional for cutting patterns)
- Clear sealer spray (optional for a glossy finish)
When selecting paint, opt for acrylic as it dries quickly and adheres well to metal surfaces. If you would like a more polished look, consider using a clear sealer spray at the end, which can enhance the durability of your painted surface.
Helpful Tools
- Paint palette for mixing colors
- Ruler for measuring dimensions (if needed)
- Pencil for marking placements
How to Make DIY Pumpkin Organizer From Upcycled Tin With Retro Daisy
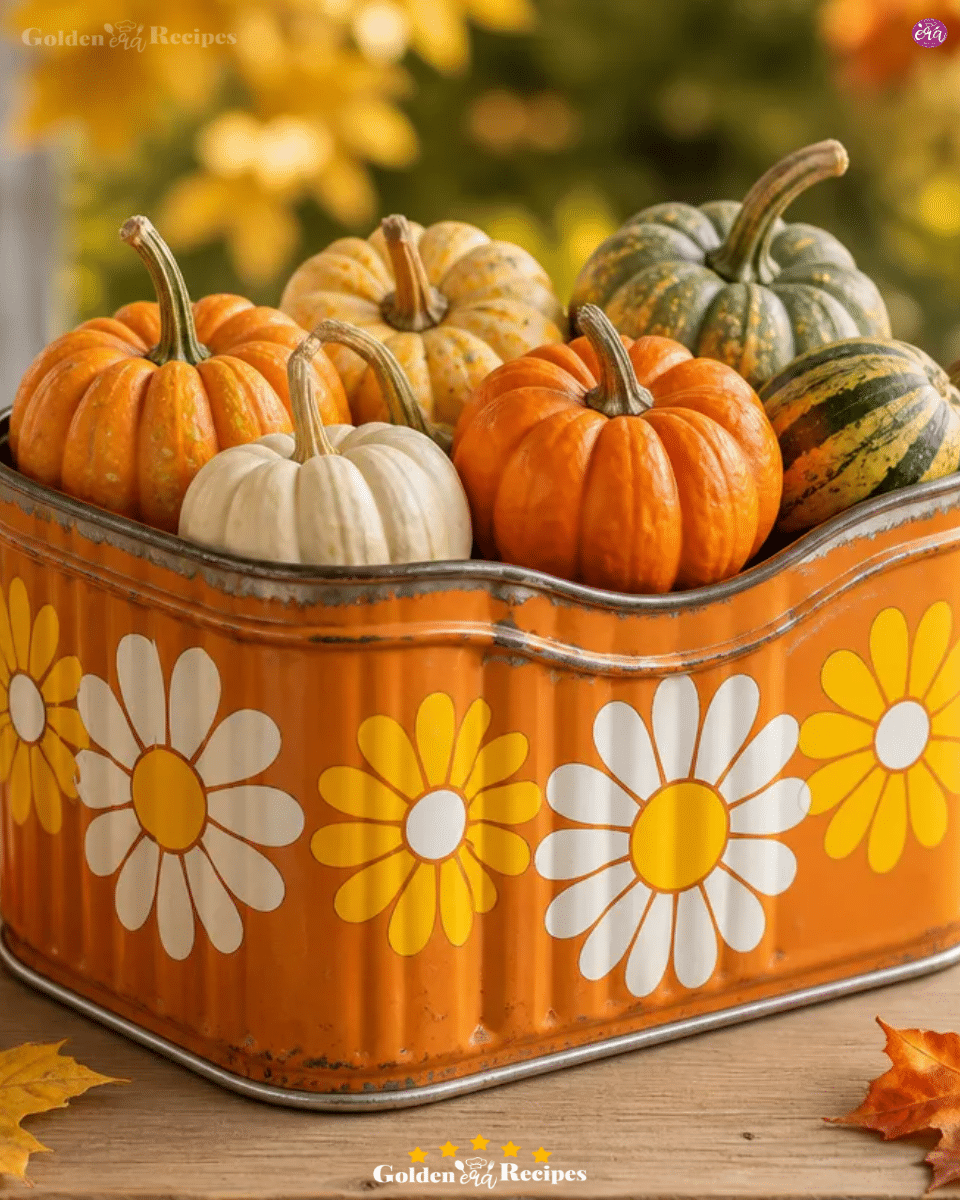
Prepare the tin: Start by thoroughly cleaning the tin can to remove any labels and residue. Let it dry completely. If necessary, use a craft knife to trim any sharp edges left from the original can opening.
Paint the base color: Using your orange acrylic paint and a paintbrush, apply a generous coat to the outside of the tin. Allow it to dry completely before adding another layer if necessary for full coverage.
Create the green stem: Once the orange paint has dried, take the green paint and use it to paint the top portion of the tin, representing the pumpkin’s stem. Ensure the paint is even and covers well.
Design the daisy patterns: While the green paint dries, take your decorative paper or stickers that feature daisy patterns. Carefully cut out the desired shapes or use the stickers directly. If you’re cutting out shapes, make sure they fit well and complement the pumpkin’s form.
Attach the daisies: Once all paint is dry, glue the daisy cutouts or stickers onto the pumpkin. You may choose to place them symmetrically or sporadically, depending on your design preferences.
Seal the design (optional): After everything is dry, if you wish to add extra durability, spray a clear sealer over the entire painted surface and daisies. This step is particularly useful if you plan to use the organizer frequently.
Let it cure: Allow the entire pumpkin organizer to cure for several hours or even overnight before placing any items inside. This will ensure that all components adhere well.
How to Display DIY Pumpkin Organizer From Upcycled Tin With Retro Daisy
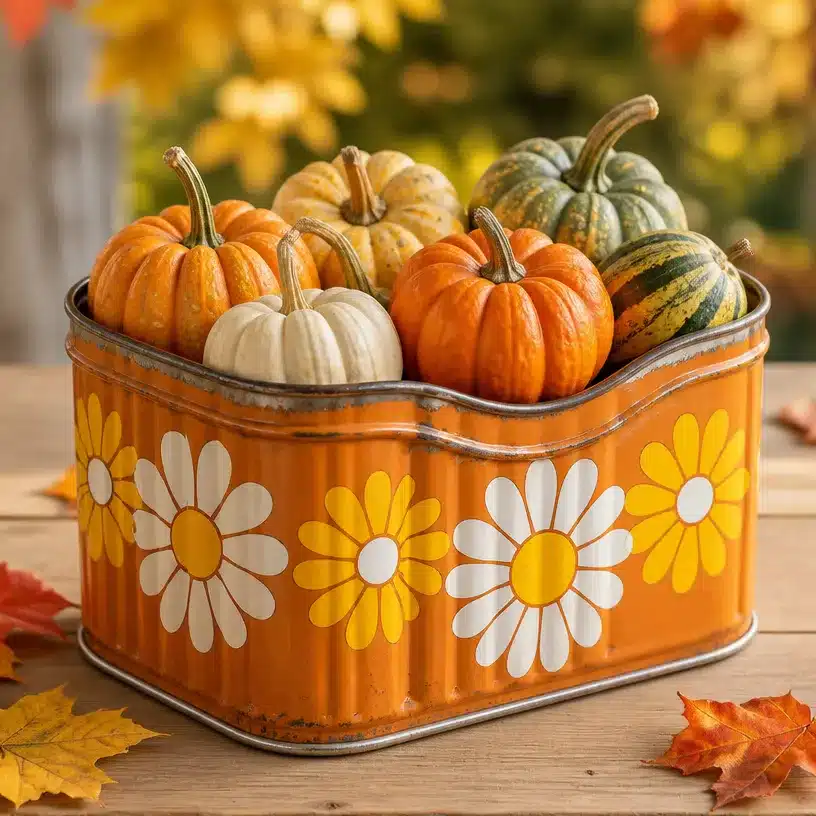
Once you’ve finished your DIY Pumpkin Organizer, you can display it in various creative ways. Place it on your desk to organize pens and craft supplies or use it as a festive decoration on your dining table. Consider adding small seasonal decorations inside, such as faux leaves, small gourds, or even treats to enhance its charm during fall gatherings.
You could also use it as a unique gift holder for friends or family, especially around the Halloween and Thanksgiving seasons. The personalization involved not only showcases your crafting abilities but results in a heartfelt item that others will appreciate.
Tips for the Best Result
To ensure your DIY Pumpkin Organizer turns out beautifully, keep these tips in mind:
- Even paint application: Apply thin, even layers of paint rather than one thick coat. This approach prevents drips and allows colors to dry uniformly.
- Allow drying time: Don’t rush through the drying time between paint applications and when adding glue to components. Patience here pays off.
- Position before gluing: Arrange your daisy designs before gluing them down. This way, you can adjust the placement until it feels right.
- Avoiding bubbles: When using glue, apply it gently to prevent air bubbles which can affect the final look of your craft.
- Cleaning your tools: Clean up brushes and utensils immediately after use to keep them in good condition for future projects.
Common Mistakes to Avoid
Even seasoned crafters may run into a few problems when tackling this project. Here are some common mistakes and how to avoid or fix them:
- Uneven paint coverage: This can happen when applying paint too quickly or too thickly. If you notice areas are uneven, let the paint dry and add a second coat to those sections.
- Loose decorations: If your daisies peel away, consider using stronger adhesive or wait longer for the glue to set. You can also add a layer of sealer over them for added protection.
- Rushed drying times: Allow each layer of paint and glue adequate drying time. Rushing this step can lead to smudging or pieces shifting during the curing process.
Creative Ways to Make It Your Own
Want to personalize your Pumpkin Organizer further? Here are some easy variations:
- Color changes: Choose different colors like yellow or blue for your pumpkin to match your décor.
- Different patterns: Instead of daisies, consider themes like stripes, polka dots, or seasonal motifs such as leaves or ghosts.
- Add texture: Use items like ribbon, fabric pieces, or twine to embellish the pumpkin’s edges or stem.
- Size variety: Use different sizes of tins to create a set of pumpkins for varying storage needs and a cohesive look.
These options will ensure that your pumpkin organizer is uniquely yours and stands out wherever you display it.
How to Store DIY Pumpkin Organizer From Upcycled Tin With Retro Daisy
Caring for your finished craft is simple! To keep your Pumpkin Organizer looking its best, dust it regularly with a soft cloth to remove any residue. Avoid placing it in direct sunlight for extended periods, as this can fade the colors and damage the finish. If you’d like to store the organizer when not in use, consider wrapping it in tissue paper to protect it from scratches and dings.
A Quick Safety Note
While crafting, if using sharp tools like scissors or craft knives, always exercise caution and supervise children closely. Ensure that the working area is free of hazards and that you have a first-aid kit nearby for any unforeseen accidents.
FAQs About DIY Pumpkin Organizer From Upcycled Tin With Retro Daisy
How long does it take?
The entire project can take approximately 2-3 hours, including drying times.
Can I use a different material?
Yes! If you don’t have a tin can, any sturdy container can be repurposed similarly.
What glue works best?
Craft glue works for lighter materials, but hot glue provides a firmer hold for heavier decorations.
Can children make it?
Adults should supervise children to ensure safety with tools and materials.
Conclusion
Creating a DIY Pumpkin Organizer from an upcycled tin offers a charming touch to your fall decor while helping you keep your space organized. Embrace the creative process, personalize your design, and enjoy the satisfaction of making something unique. For more inspiration, you might like to explore this Pumpkin Papier-Mâchè Box with Primitive Candies or the Hello Fall Sign on a DIY Loom for additional crafting ideas. Enjoy your crafting journey!
Follow us on social for more recipe ideas & inspiration!
Pumpkin Organizer
Would you like to save this recipe?
By submitting you agree to receive this recipe and occasional emails. Unsubscribe anytime.
Ingredients
Materials
- 1 empty tin can (e.g., soup can) Ensure it is clean and dry.
- 1 bottle orange acrylic paint For the base pumpkin color.
- 1 bottle green acrylic paint For the pumpkin's stem.
- 2 paintbrushes One for orange and one for green paint.
- 1 glue (craft glue or hot glue) For attaching decorations.
- 1 decorative paper or stickers with daisy pattern For embellishing the pumpkin.
- 1 scissors For cutting out shapes or trimming.
- 1 can clear sealer spray Optional for a glossy finish.
- 1 craft knife Optional for cutting patterns.
Helpful Tools
- 1 paint palette for mixing colors To mix paint as needed.
- 1 ruler For measuring dimensions.
- 1 pencil For marking placements.
Instructions
Preparation
- Clean the tin can thoroughly to remove labels and residue. Let it dry completely.
- If necessary, use a craft knife to trim any sharp edges left from the original can opening.
Painting
- Apply a generous coat of orange acrylic paint to the outside of the tin. Allow it to dry completely.
- Once dry, paint the top portion of the tin with green paint to represent the pumpkin’s stem.
Decoration
- While the green paint dries, cut out desired shapes from the decorative paper or stickers.
- Glue the daisy cutouts or stickers onto the pumpkin after all paint is dry.
- Spray a clear sealer over the entire painted surface if desired for extra durability.
Curing
- Allow the pumpkin organizer to cure for several hours or overnight before placing items inside.
Last Step: Don’t forget to leave a rating and comment below! It helps other readers find the best recipes — and it helps us too!
Tips & Notes:
Nutrition Information: Serving: 1 | Calories: | Carbohydrates: | Protein: | Fat: | Sodium: | Fiber: | Sugar:
Nutritional information is provided as a courtesy and calculated automatically. Values can vary depending on the brands and ingredients you use, so if you’re tracking closely, I recommend calculating with your own preferred tool.