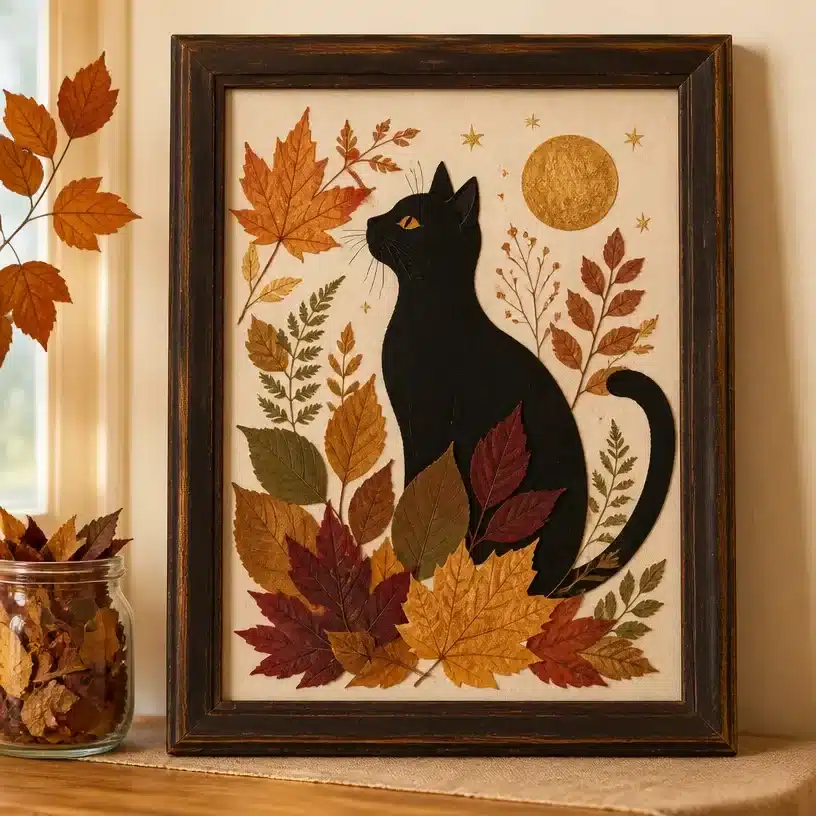
Why You’ll Want to Make DIY Pressed Leaf Mod Black Cat Wall Art
Creating DIY Pressed Leaf Mod Black Cat Wall Art is an engaging way to celebrate the changing seasons while adding a delightful decorative piece to your home. This project stands out because it allows you to merge natural beauty with creative expression, resulting in an art piece that’s not only visually appealing but also rich in texture. Using pressed leaves gives your artwork a unique touch, perfect for both seasonal décor and year-round displays. Whether you hang it on your wall, place it on a shelf, or gift it to a friend, it will surely catch attention and spark conversation. You may also find Diy 3D Flower Wall Art useful.
With easily sourced materials and straightforward steps, even beginners can enjoy this crafty endeavor. If you love crafting and want to make something that showcases your personality and creativity, this project is for you. For those looking for more inspiration, consider checking out other fun DIYs, like adorable black kitten suncatchers that incorporate colorful elements.
Before You Start
Before diving into your DIY Pressed Leaf Mod Black Cat Wall Art project, it’s helpful to understand the crafting process. Overall, this project involves gathering materials, creating a base form, and then layering colors and details to achieve the final appearance. You can expect a blend of rich, autumnal colors combined with natural details that reflect your artistic vision. You may also find Beaded Heart Crystal Suncatcher Tutorial useful.
To ensure the best crafting experience, protect your work surface using newspaper or a craft mat, especially since adhesive and paint might cause some mess. Since this project is designed to cater to all skill levels, adult supervision or help may be beneficial for younger crafters. You may also find Colorful Experiments Diy Rainbow Color Mixing Art For Kids useful.
Materials You’ll Need
- Pressed fall leaves
- Heavy cardstock
- Thrifted frame
- Glue stick
- Fine-tip marker
- Craft colors in harvest gold
- Avocado green
- Burnt orange
- Walnut brown
When selecting your pressed leaves, think about different shapes, colors, and textures as these will help your artwork stand out. The heavy cardstock serves as the sturdy base, while the thrifted frame can add character to your finished piece. Be sure to choose a glue stick that dries clear to keep the aesthetic intact, and use high-quality craft paint for vibrant results.
Helpful Tools
- Scissors for trimming leaves and cardstock
- Paintbrushes for applying colors
How to Make DIY Pressed Leaf Mod Black Cat Wall Art
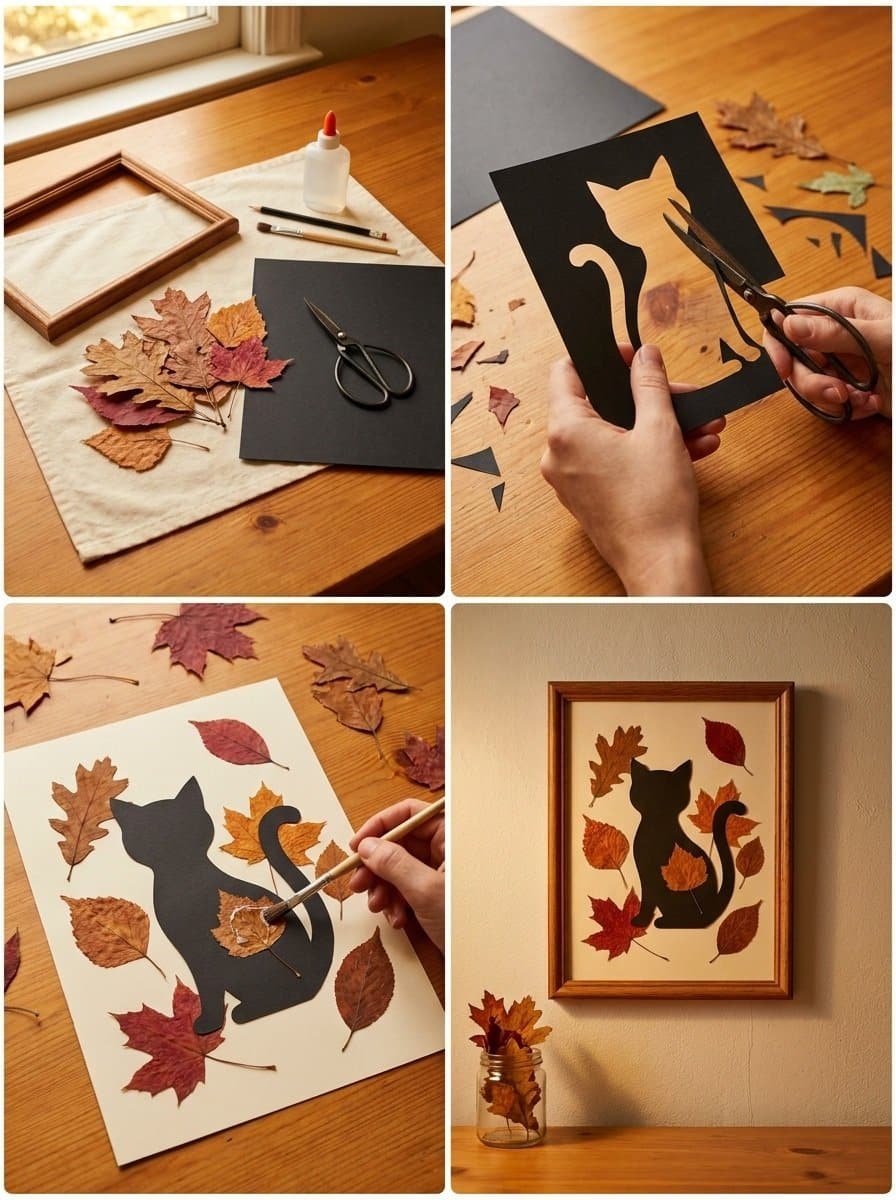
Gather all materials and protect your workspace with newspaper or a craft mat. Flatten any recycled pieces if you are using them.
Create the base form by sketching the outline of a black cat on the cardstock. Keep the design simple to make it easier for cutting and gluing later.
Dry-fit the pieces to determine the placement before gluing. This will ensure that everything sits together securely.
Begin painting the main colors on the cat shape in thin layers. Use a mix of harvest gold, avocado green, burnt orange, and walnut brown to mirror the cozy feel of fall. Allow drying between coats for a crisp finish.
Add detailed elements, such as small pressed leaves, stars, or facial features. Keep focal details central to capture attention.
Secure all pieces with your glue stick and trim any stray glue or threads around the edges.
Seal the artwork with a compatible sealer if desired, which can add durability and a polished finish.
Style the finished piece against a simple fall background or place a cool battery-operated LED inside to enhance visibility if preferred.
Ideas for Using Your Finished Craft
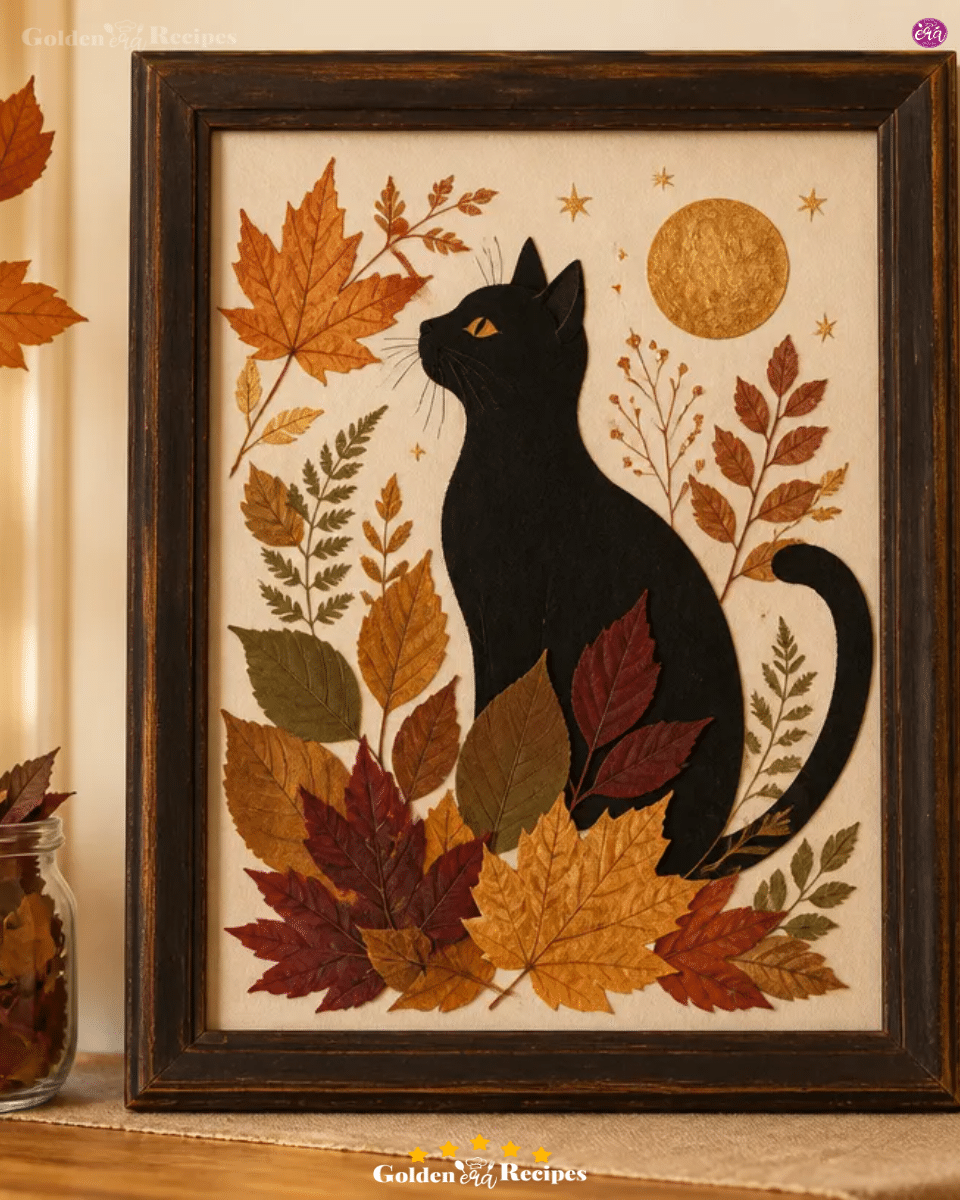
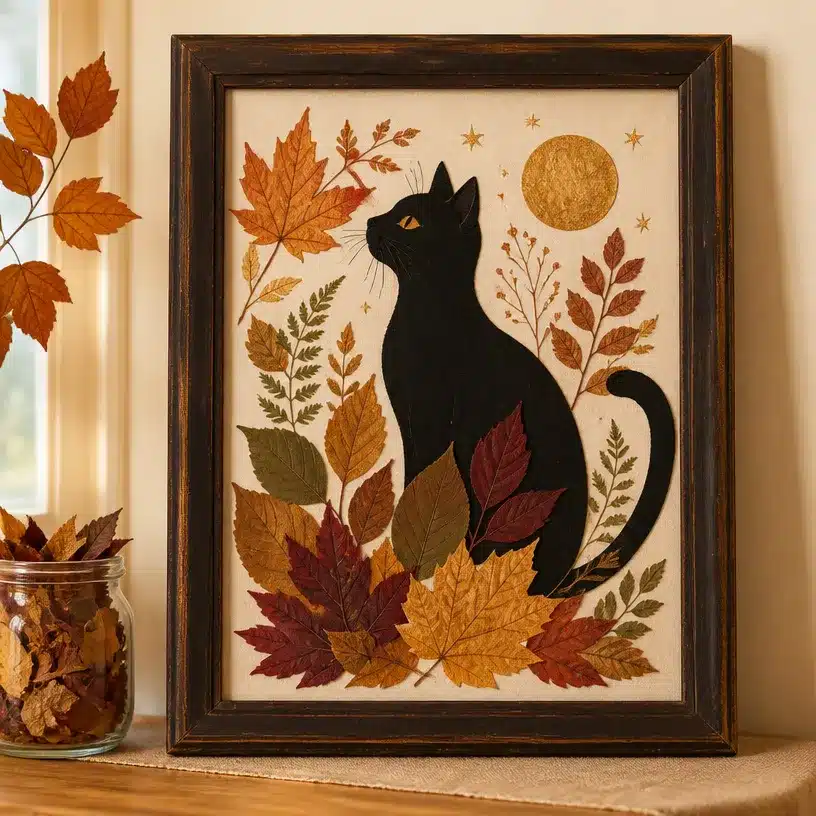
With your DIY Pressed Leaf Mod Black Cat Wall Art completed, you can display it in various settings. Consider using it as seasonal décor for Halloween, integrating it into your fall decorations, or even using it as a playful piece in your children’s room. It makes for an excellent gift for cat lovers or anyone who appreciates handmade creations. However you choose to display it, let it express your creativity and style.
Tips for the Best Result
- Apply thin layers of paint to avoid clumping and ensure even color coverage.
- Keep leaf pieces flat during glued application to prevent wrinkles or air bubbles.
- Allow sufficient drying time between layers to maintain color integrity and avoid muddy finishes.
- Position elements carefully before securing to visualize the final look better.
- Use light pressure while applying glue to prevent excess from seeping out.
Common Mistakes to Avoid
Uneven paint application: This might occur due to applying thick coats. Instead, focus on layering thinly and allowing each layer to dry fully.
Loose pieces: If elements seem to be falling off, it could be due to insufficient glue. Reapply with a generous but neat amount to ensure a secure bond.
Wrinkled leaves: Wrinkles can arise if pressed leaves are not handled gently. Ensure that you flatten them properly before gluing to get a smooth finish.
Creative Ways to Make It Your Own
- Incorporate other natural materials like twigs or pinecones.
- Experiment with different color palettes, perhaps opting for a black and white theme or incorporating metallics for a touch of glam.
- Personalize your cat with names or initials using the fine-tip marker.
- Add glitter or beads to create more depth and texture.
How to Store DIY Pressed Leaf Mod Black Cat Wall Art
To preserve your artwork, avoid exposing it to direct sunlight for extended periods to prevent fading. Store it in a cool, dry place. If you use any fragile elements, consider wrapping them in a soft cloth or placing them in a protective box during storage.
A Quick Safety Note
When working with scissors or sharp tools, always supervise young crafters. Ensure adult help is available when handles materials that could pose a risk.
FAQs About DIY Pressed Leaf Mod Black Cat Wall Art
How long does it take to make?
This project typically takes around 2-3 hours, depending on drying times.
Can I use a different material for the base?
Yes! While heavy cardstock is recommended for sturdiness, other thicker papers can work as alternatives.
What glue works best?
A glue stick is ideal for this project as it dries clear and is easy to apply without creating a mess.
Can I change the size of the artwork?
Absolutely! Adjust the dimensions of the design as desired, keeping in mind the number of leaves and elements you plan to use.
Conclusion
Creating your own DIY Pressed Leaf Mod Black Cat Wall Art is an enjoyable way to express your creativity. By utilizing natural materials, you can make a unique piece that embodies the beauty of the season. For those interested in expanding their crafting skills, consider exploring techniques for creating pressed flower art or brainstorming ideas for pressed leaf greeting cards; they’re both fantastic ways to harness the beauty of nature in your artwork. For more inspiration, check out resources like DIY Vintage-Inspired Pressed Flower Art or DIY: Pressed-Leaf Greeting Cards. Enjoy the process and happy crafting!
Follow us on social for more recipe ideas & inspiration!
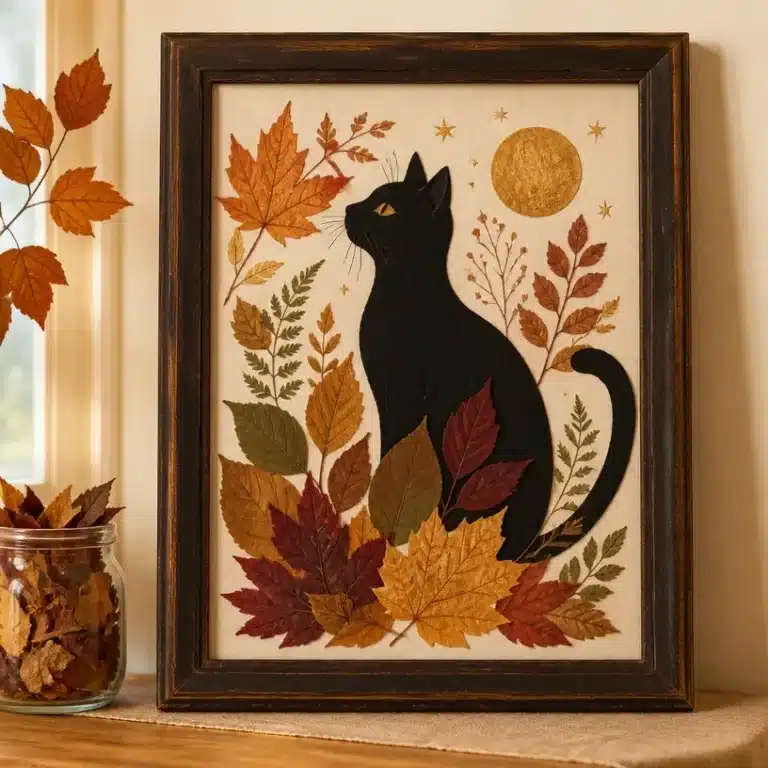
DIY Pressed Leaf Mod Black Cat Wall Art
Would you like to save this recipe?
By submitting you agree to receive this recipe and occasional emails. Unsubscribe anytime.
Ingredients
Materials Needed
- 1 set Pressed fall leaves Select various shapes, colors, and textures.
- 1 piece Heavy cardstock Serves as the sturdy base.
- 1 piece Thrifted frame Adds character to the finished piece.
- 1 stick Glue stick Choose one that dries clear.
- 1 marker Fine-tip marker For adding details.
- 1 set Craft colors Harvest gold, avocado green, burnt orange, walnut brown.
Helpful Tools
- 1 piece Scissors For trimming leaves and cardstock.
- 1 set Paintbrushes For applying colors.
Instructions
Preparation
- Gather all materials and protect your workspace using newspaper or a craft mat.
- Create the base form by sketching the outline of a black cat on the cardstock.
Assembly
- Dry-fit the pieces to determine their placement before gluing.
- Begin painting the main colors (harvest gold, avocado green, burnt orange, walnut brown) in thin layers.
- Add detailed elements such as small pressed leaves, stars, or facial features.
- Secure all pieces with the glue stick and trim any stray glue or threads.
- Seal the artwork with a compatible sealer if desired.
- Style the finished piece against a simple fall background or incorporate a cool battery-operated LED.
Last Step: Don’t forget to leave a rating and comment below! It helps other readers find the best recipes — and it helps us too!
Tips & Notes:
Nutrition Information: Serving: 1 | Calories: 50kcal | Carbohydrates: | Protein: | Fat: | Sodium: | Fiber: | Sugar:
Nutritional information is provided as a courtesy and calculated automatically. Values can vary depending on the brands and ingredients you use, so if you’re tracking closely, I recommend calculating with your own preferred tool.