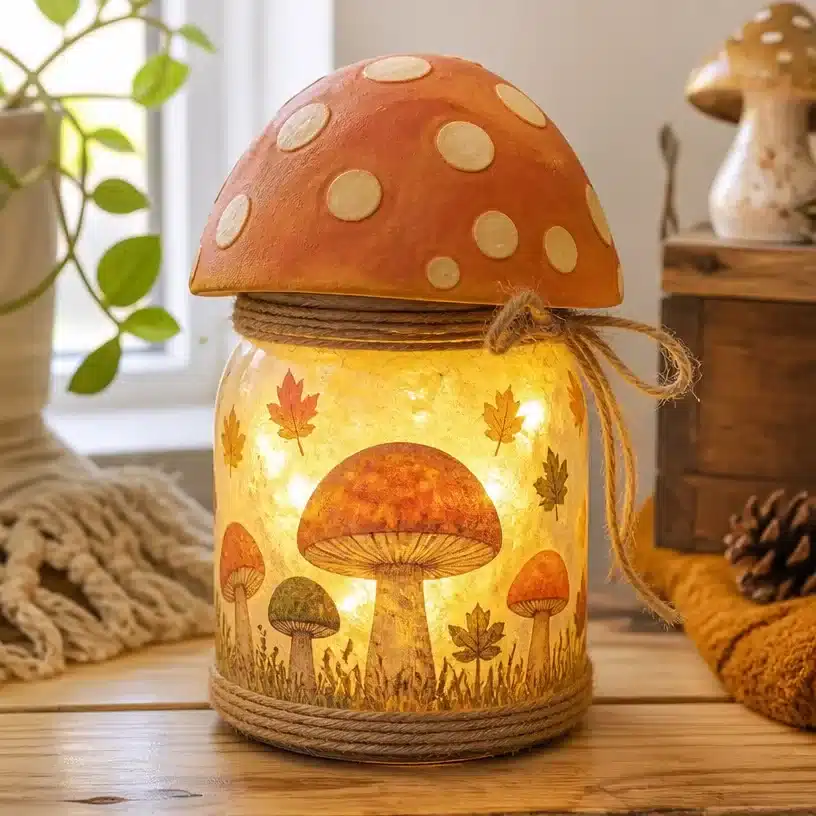
Why DIY Recycled Jar 70s Mushroom LED Lantern Is Worth Making
The DIY Recycled Jar 70s Mushroom LED Lantern is an enchanting project that evokes a nostalgic charm while allowing you to repurpose everyday items. This craft is not only a creative outlet, but it also brings a warm and inviting glow to any space in an energy-efficient way. The use of simple, readily available materials makes it an excellent project for crafters at any skill level. You may also find Diy Crystal Rainbow Garden Mushrooms For Glow In The Dark Decor useful.
You might consider setting this lantern on a cozy bookshelf, hanging it as an outdoor decoration during summer evenings, or gifting it as a personalized present. Each lantern can become a unique expression of your style, thanks to the myriad of colors and decorative techniques you can apply. Plus, working with recycled materials gives the project an eco-friendly twist that many find rewarding. Crafting your own lantern can create a sense of accomplishment as you transform often overlooked items into vibrant decorations for your home or garden. You may also find Diy Frozen Flower Ice Lantern For Summer Evenings useful.
Before You Start
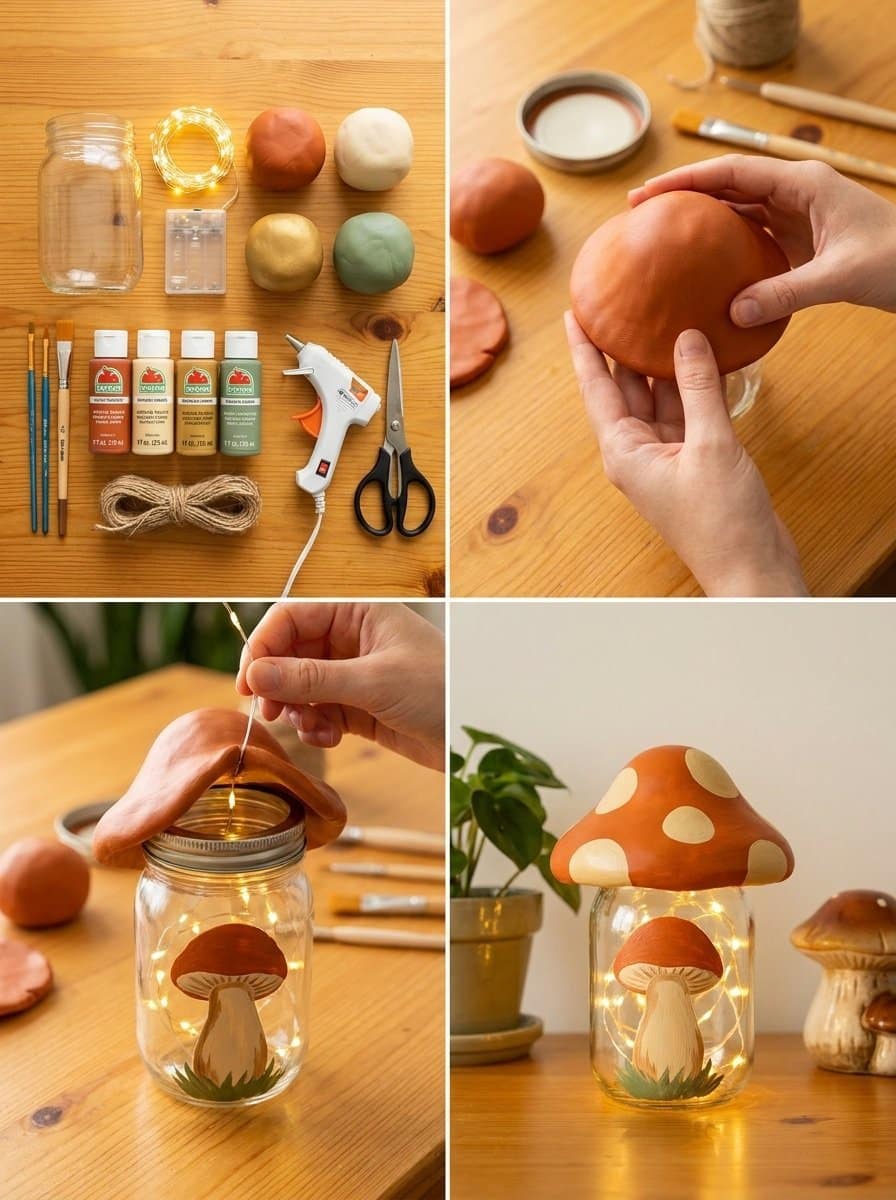
Before diving into creating your DIY Recycled Jar 70s Mushroom LED Lantern, it’s essential to have a clear understanding of the project. The basic process involves layering colors and textures to achieve that quintessential retro look reminiscent of the 1960s and 1970s design.
Prepare your workspace by laying down protective covering, keeping it clean and organized. Ensure you have plenty of light so that you can see the details of your work. Additionally, consider having all your materials within arm’s reach to streamline your crafting experience.
Lastly, while this project is beginner-friendly, there may be moments that require patience, especially while waiting for layers to dry. The result a beautifully crafted lantern that catches light just right will be worth the wait.
What You’ll Need for DIY Recycled Jar 70s Mushroom LED Lantern
- Clean glass jar
- Tissue or vellum paper
- Decoupage medium
- Twine
- Battery LED tea light
- Craft colors in harvest gold, avocado green, burnt orange, walnut brown
- Battery-operated LED light only
Helpful Tools
- Scissors
- Brush for applying decoupage
- Craft knife for precise cuts
- Ruler or measuring tape for manipulating paper
Understanding your materials is key. For instance, using a sturdy glass jar will help support the design and allow the light to diffuse beautifully. Tissue or vellum should be lightweight so it doesn’t weigh down the structure. The choice of craft colors should ideally have a matte finish to capture that retro aesthetic effectively.
How to Make DIY Recycled Jar 70s Mushroom LED Lantern
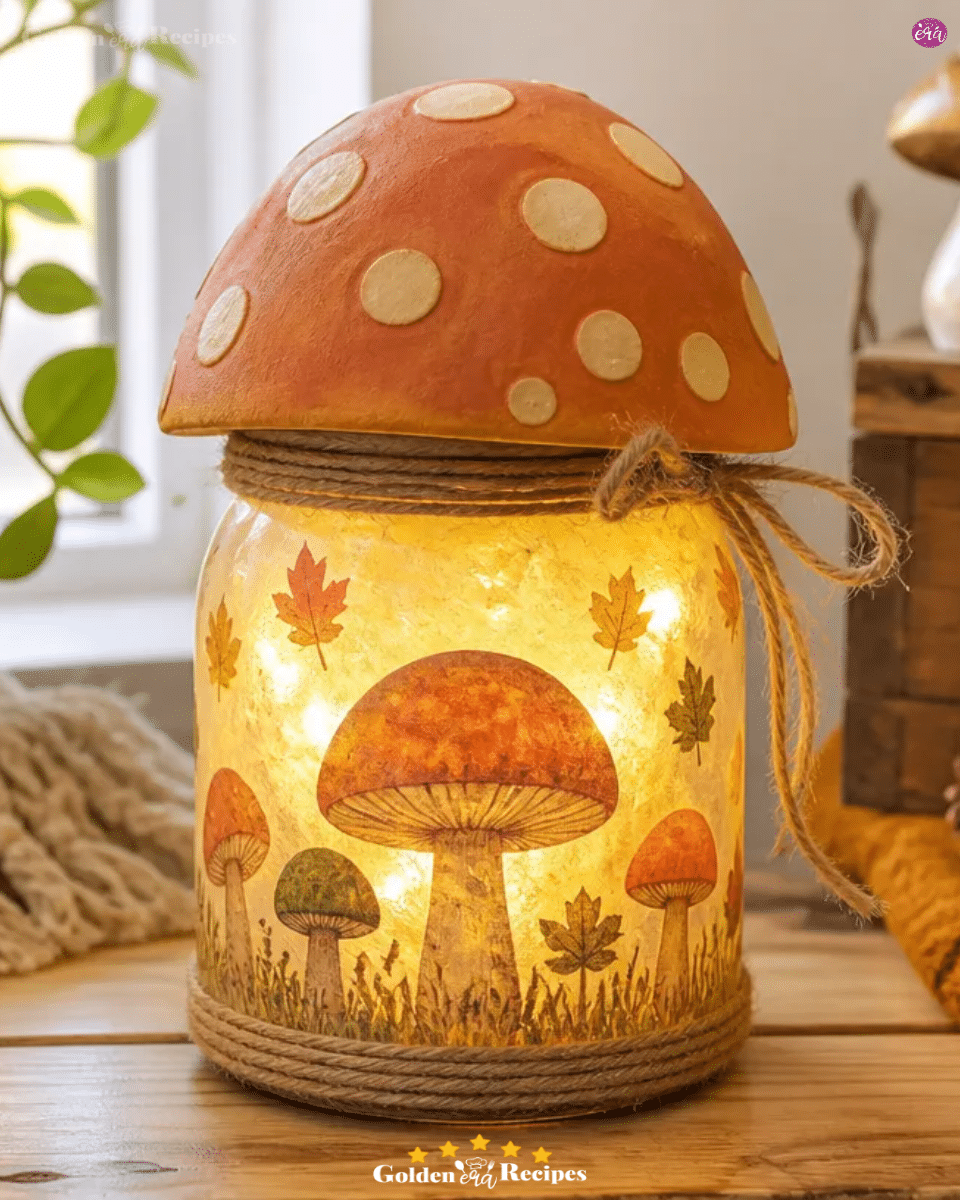
Gather your materials: Ensure all items are clean and ready for use. Flatten any recycled pieces that might be needed to fit your design.
Build the base form: Using your jar as a guide, dry-fit the tissue or vellum around it, keeping edges neat and proportions simple enough for a beginner to manage. This helps visualize the layout before gluing.
Add the main color layers: Apply the craft colors in thin coats to mimic the retro style. Utilize a combination of harvest gold, burnt orange, and walnut brown. Allow each layer to dry thoroughly before adding additional coats to prevent muddiness.
Incorporate seasonal details: Add playful elements like small painted leaves, vines, or stars to make your mushroom lantern distinct. Focus on the center to create an appealing visual.
Secure the pieces and finalize: Trim any stray threads or glue, use the decoupage medium as a sealer where necessary, and double-check that everything is securely attached. If you are using a light source, opt for a battery-operated LED. Style your finished piece against a simple background to enhance its beauty.
For those who enjoy additional crafting projects, consider making a crystal rainbow mushroom lantern or perhaps a DIY crystal fairy lantern to complement your mushroom lantern.
Ideas for Using Your Finished Craft
The versatility of your DIY Recycled Jar 70s Mushroom LED Lantern allows it to enhance various spaces. It makes for delightful:
- Shelf decor in indoor spaces, adding a warm glow to bookshelves.
- Table centerpieces at gatherings, inviting conversation and warmth.
- Outdoor mood lighting for summer nights, perfect for patio spaces.
- Seasonal decorations, especially during fall and winter, with thematic embellishments.
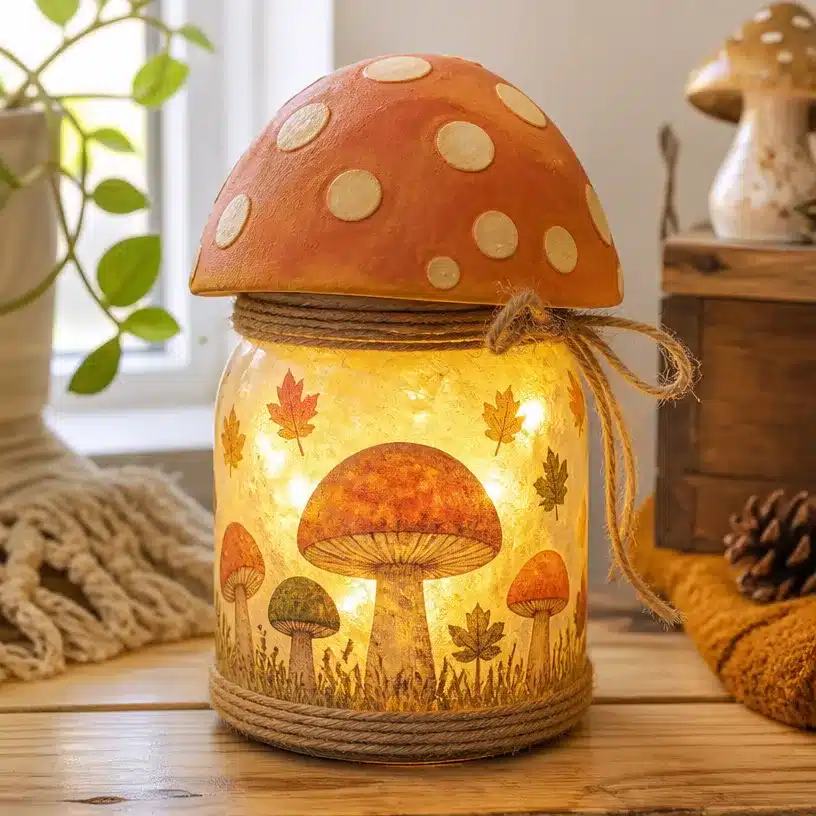
Tips for the Best Result
- Avoid excess glue: Too much can create a soggy texture and alter the nice finish.
- Let layers dry completely: This prevents colors from bleeding into one another, maintaining crisp outlines.
- Use a light touch when applying color: Thin layers ensure even coverage and prevent cracking as they dry.
- Experiment with placement: Position decorative elements before adhering them to ensure a balanced look.
- Be gentle while handling fragile materials: It prevents breaking or damaging your lantern before completion.
Common Mistakes to Avoid
Uneven paint application: This usually arises from not allowing layers to dry. To fix, sand lightly and reapply a smooth coat once dry.
Loose parts: If elements detach during or after completion, reinforce with additional decoupage medium and allow ample drying time.
Cloudy surfaces: Use a clear acrylic sealer post-color application to avoid this and enhance shine.
By addressing these common issues upfront, you’ll reduce frustration and increase your chances of success.
Creative Ways to Make It Your Own
- Experiment with colors: Try using shades like mustard yellow or deep aubergine for a unique look.
- Add personal touches: Use stencils to paint initials or special symbols on the jar.
- Incorporate natural elements: Attach small twigs or leaves for a rustic finish.
These variations allow crafters to express individuality while staying true to the project’s essence.
Caring for Your Finished Craft
To ensure your lantern shines brightly for as long as possible:
- Dust periodically: Use a soft cloth to keep surfaces clean.
- Avoid direct sunlight: This prevents colors from fading over time.
- Store responsibly: If displaying seasonally, wrap it gently for storage to avoid damage.
A Quick Safety Note
When using sharp tools, like scissors or craft knives, exercise caution. It’s always best to cut away from your body and ensure children are supervised when engaging with crafting tools.
FAQs About DIY Recycled Jar 70s Mushroom LED Lantern
How long does it take to make?
Allow approximately 3-4 hours, including drying time between layers.
Can children make it?
While it’s a great family project, adult supervision is necessary, especially when handling sharp tools.
What glue works best for this craft?
A decoupage medium such as Mod Podge works well for adhering paper and sealing colors.
Can I change the size of the jar?
Absolutely! Just ensure that the dimensions you choose still allow for stability with the light source inside.
How should I store it?
Keep it in a cool, dry place, and wrap it gently to avoid any scratching.
Conclusion
Creating a DIY Recycled Jar 70s Mushroom LED Lantern is an inviting and enjoyable project. As you bring your vision to life with colors and personal touches, you’ll find joy in the process and the rewarding end result. If you’re interested in expanding your craft repertoire, check out additional projects like this DIY lantern from a glass globe light or explore beautiful decorative options on Etsy for unique pieces. Happy crafting!
Follow us on social for more recipe ideas & inspiration!
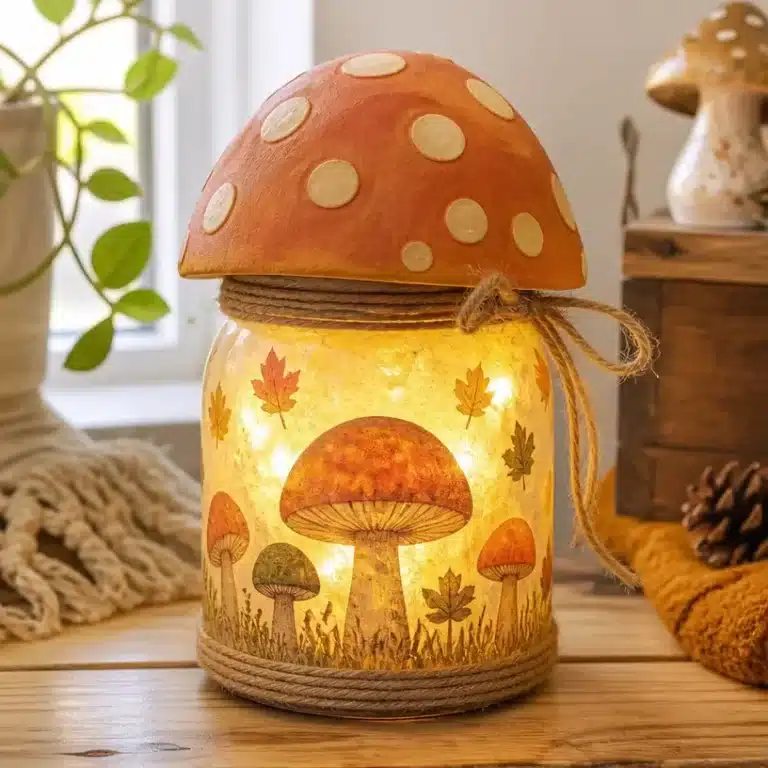
DIY Recycled Jar 70s Mushroom LED Lantern
Would you like to save this recipe?
By submitting you agree to receive this recipe and occasional emails. Unsubscribe anytime.
Ingredients
Main Materials
- 1 piece Clean glass jar Ensure it supports the design and allows light diffusion.
- 1 sheet Tissue or vellum paper Should be lightweight.
- 1 bottle Decoupage medium Mod Podge works well.
- 1 piece Twine For decorative purposes.
- 1 piece Battery LED tea light Choose a small light source.
Craft Colors
- 1 bottle Harvest gold For the retro style.
- 1 bottle Avocado green
- 1 bottle Burnt orange
- 1 bottle Walnut brown
Instructions
Preparation
- Gather your materials: Ensure all items are clean and ready for use.
- Flatten any recycled pieces that might be needed to fit your design.
- Prepare your workspace by laying down protective covering and keeping it organized.
Construction
- Build the base form by dry-fitting the tissue or vellum around the jar.
- Apply craft colors in thin coats, allowing each layer to dry before applying the next.
- Incorporate seasonal details like painted leaves or stars for decoration.
- Trim stray threads or glue, then use the decoupage medium to seal all pieces.
Finishing Touches
- Style your finished piece against a simple background.
- Store responsibly if displaying seasonally.
Last Step: Don’t forget to leave a rating and comment below! It helps other readers find the best recipes — and it helps us too!
Tips & Notes:
Nutrition Information: Serving: 1 | Calories: | Carbohydrates: | Protein: | Fat: | Sodium: | Fiber: | Sugar:
Nutritional information is provided as a courtesy and calculated automatically. Values can vary depending on the brands and ingredients you use, so if you’re tracking closely, I recommend calculating with your own preferred tool.