Why You’ll Want to Make Tissue Paper Sun Catchers for Sunny Windows
Creating vibrant Tissue Paper Sun Catchers for Sunny Windows is a delightful DIY project that transforms ordinary materials into colorful, luminous decorations. These beautiful sun catchers not only bright up your windows but also serve as wonderful decorations for festive occasions and seasonal displays. The project is relatively simple, making it accessible for crafters of all ages, and offers the chance to explore creativity. A personal touch can easily be added through various colors and shapes, allowing your unique artistic flair to show. You may also find 5 Delicious Berberine Smoothie Recipes For Weight Loss Success useful.
Moreover, using materials like tissue paper that you likely already have at home makes this project both cost-effective and eco-friendly. Not to mention, these sun catchers enable children and adults alike to engage in a hands-on craft that sparks joy when the sunlight streams through the colorful designs. If you are looking for a fun and artistic afternoon, this project is definitely worth considering. You may also find 5 Delicious Ways To Enjoy Kefir Overnight Oats For Breakfast useful.

Before You Start
Before diving into making your Tissue Paper Sun Catchers for Sunny Windows, it’s helpful to understand the basics of the project. The primary process involves tracing shapes on adhesive contact paper, applying tissue paper squares, and sealing everything together. The final product should be a bright and visually striking window decoration that diffuses sunlight beautifully, creating a warm glow within your space. You may also find 5 Easy Cortisol Cocktail Recipes For A Relaxing Morning Boost useful.
Preparation is key for a smoother crafting experience. Ensure you have a clean, flat workspace, as you’ll be working with sticky materials. It’s beneficial to have adult supervision when younger crafters are involved, especially during cutting and handling materials.
Materials You’ll Need
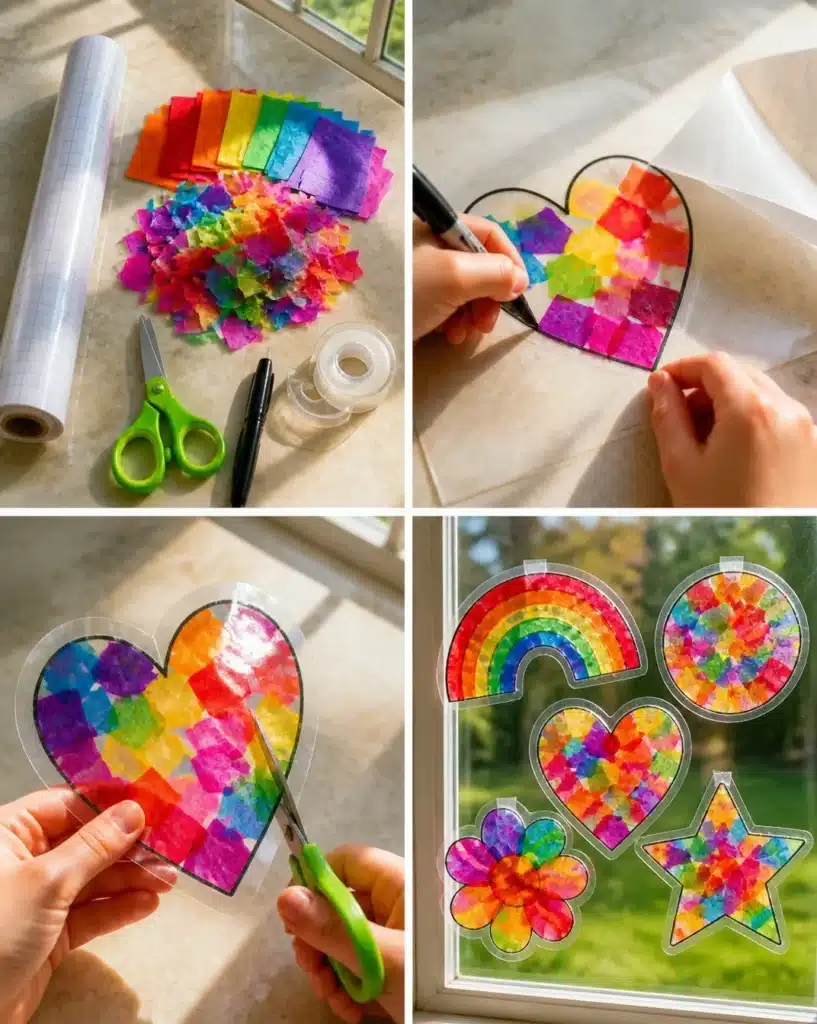
- 1 roll clear adhesive contact paper
- 10 sheets assorted colorful tissue paper, cut into 1-inch squares
- 1 pair child-safe craft scissors
- 1 black permanent marker
- 1 roll clear tape for hanging
Helpful Tools
Using child-safe craft scissors is crucial for ensuring a safe crafting experience, particularly when kids are involved. The clear contact paper plays an essential role in keeping everything together while allowing light to filter through, making it a fantastic choice for this project.
How to Make Tissue Paper Sun Catchers for Sunny Windows
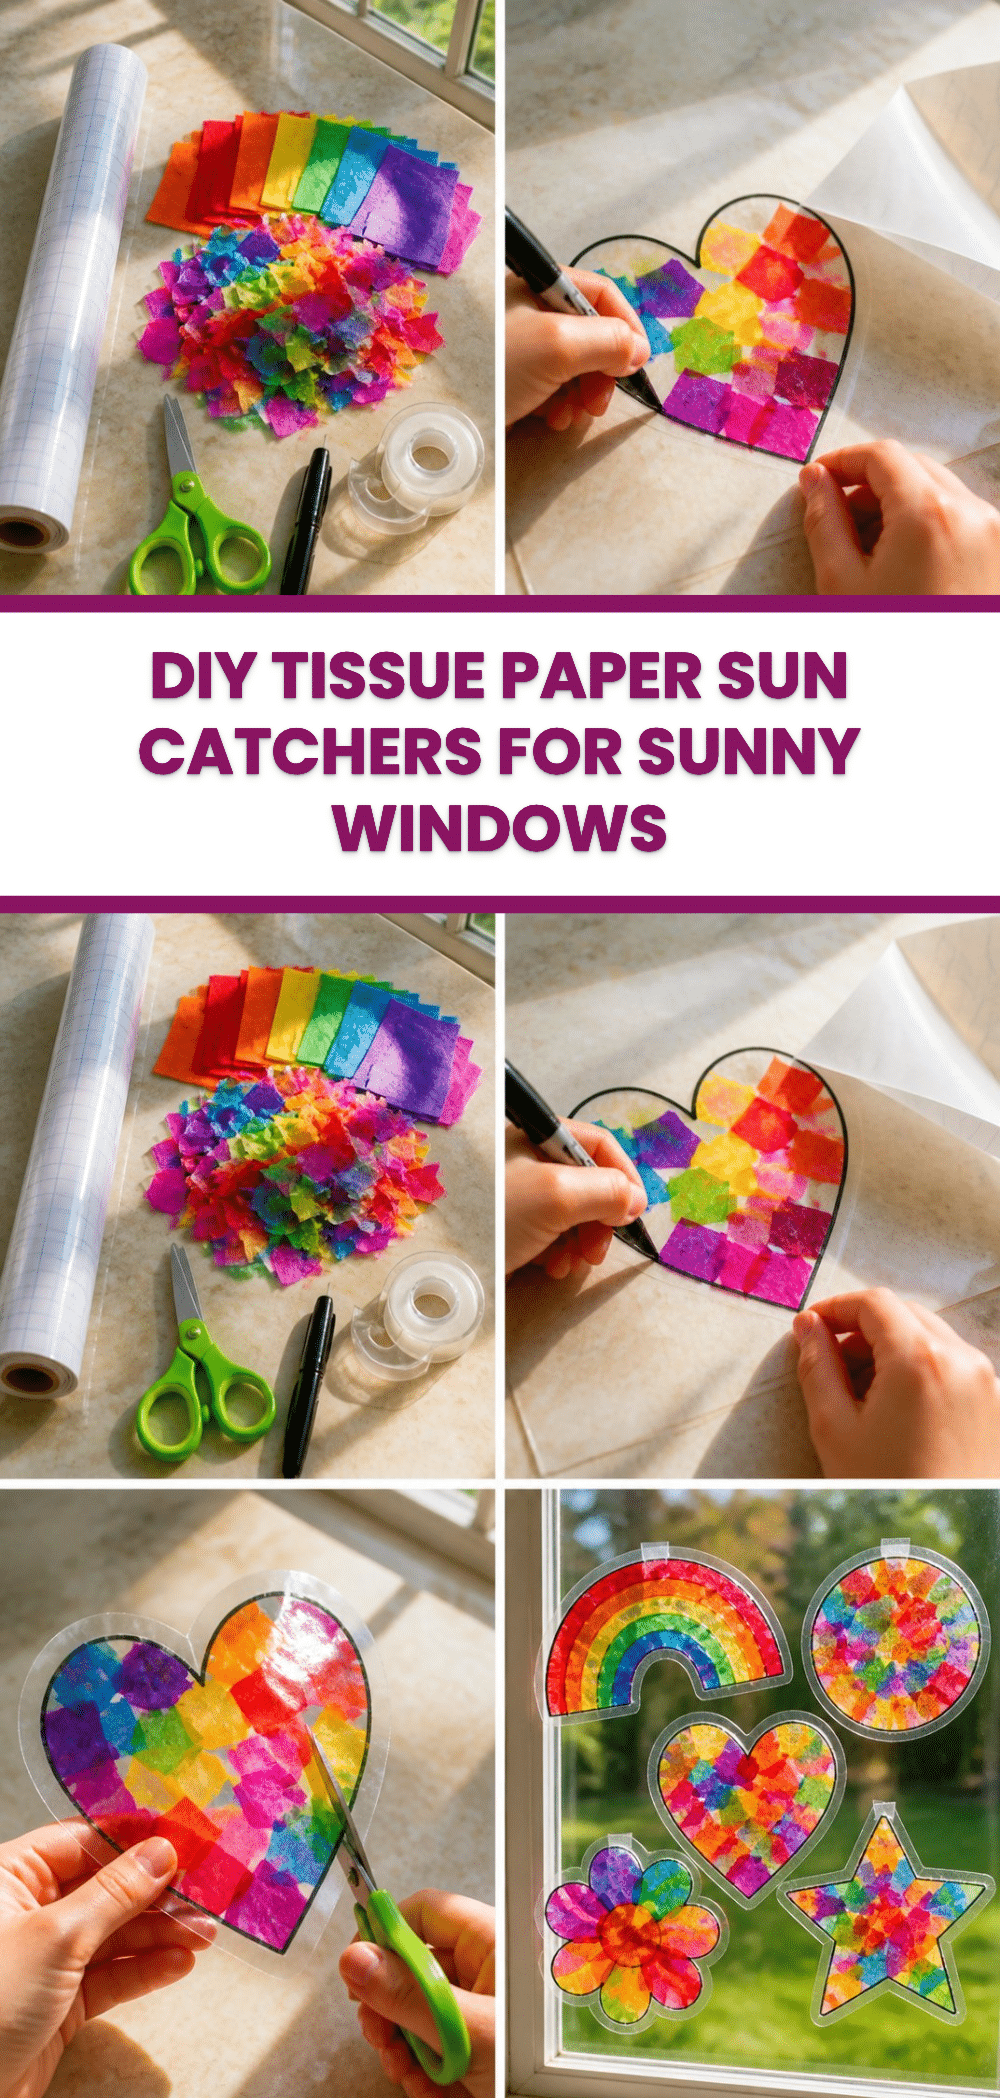
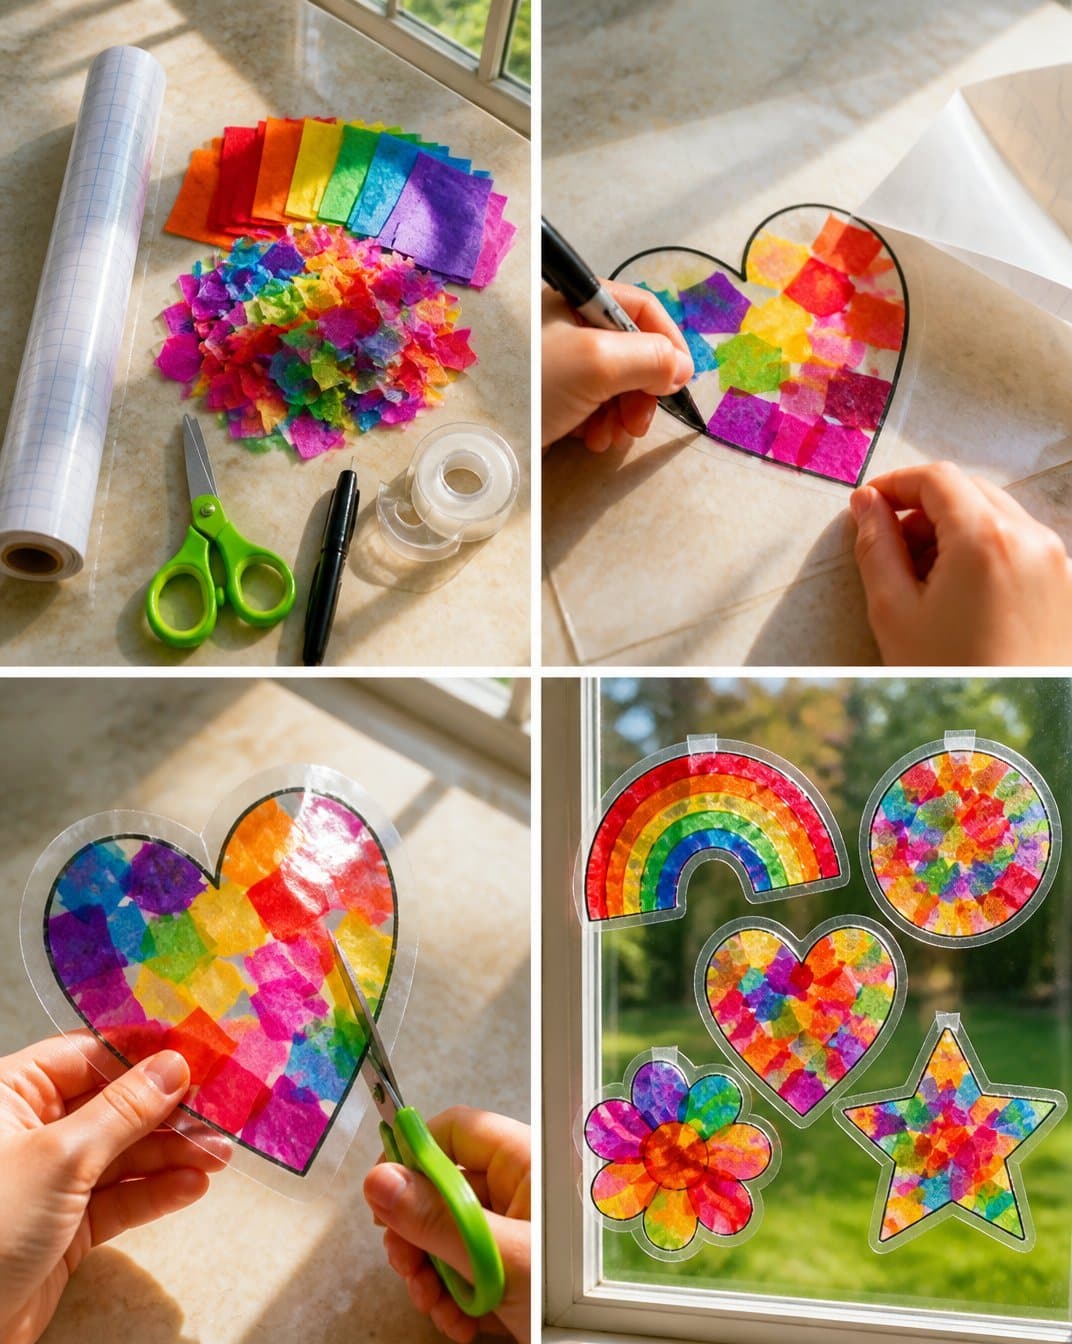
- Start by tracing simple shapes like hearts, flowers, or stars onto the smooth side of a piece of contact paper using your black marker.
- Next, gently peel off the paper backing to reveal the sticky surface.
- Press the colorful tissue paper squares onto your traced shape until it is fully covered. Overlapping pieces can create depth and variation in color.
- Once your design is complete, place a second piece of clear contact paper over the top to seal the tissue paper flat, ensuring that no wrinkles or bubbles are trapped beneath.
- Carefully cut around the edges of your traced shape using child-safe craft scissors, making sure to follow the lines closely for a clean finish.
- Finally, use a small piece of clear tape to stick your beautiful sun catcher onto a sunny window, allowing it to catch and refract the light.
How to Display Tissue Paper Sun Catchers for Sunny Windows
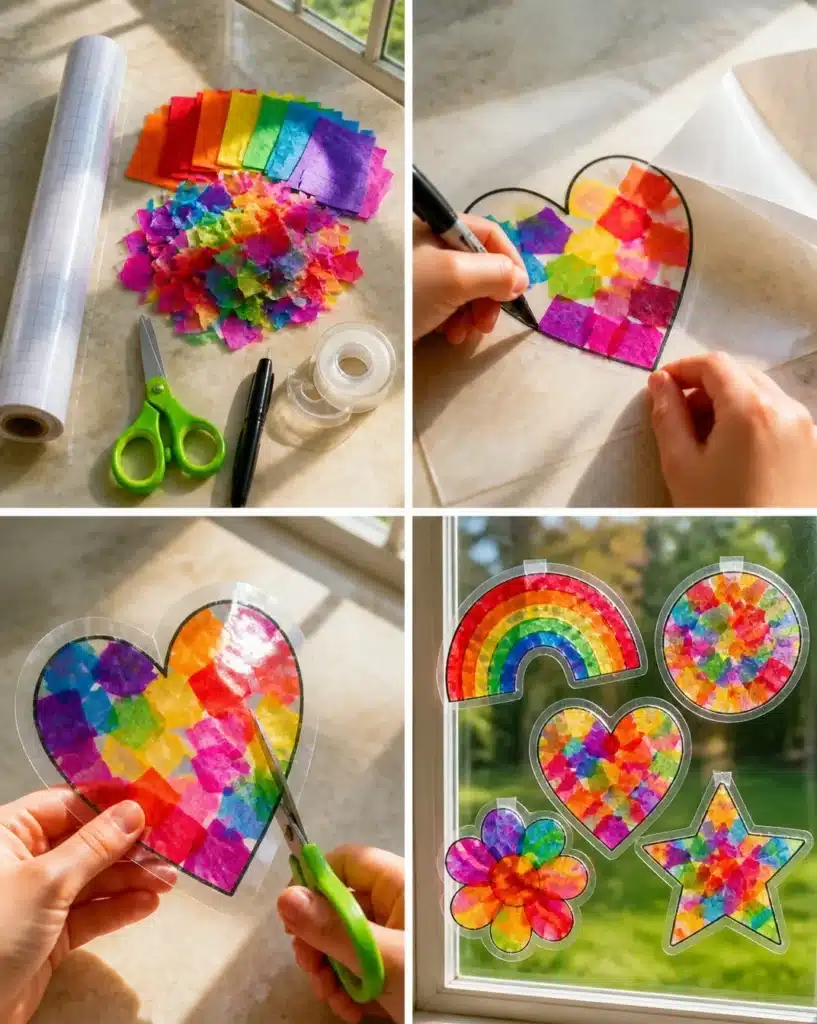
After crafting your vibrant sun catchers, the next step is thinking about how to display them effectively. They work wonderfully over windows, where sunlight can illuminate the colors. You could hang them in a line across a window, use several different shapes, or create a larger mural by utilizing multiple sun catchers in a continuous design.
Consider displaying them in children’s rooms, play areas, or even in common spaces like the living room. They can also serve as beautiful seasonal decorations during holidays, adding a charming touch to your home.
Tips for the Best Result
- Avoid using too much contact paper; it may create bubbles that can distort your design.
- For cleaner edges, take your time while cutting around the shapes.
- Ensure the tissue paper squares overlap slightly for a blended look and to prevent gaps.
- Keep the craft surface covered with newspaper or a plastic sheet to make cleanup easier.
- Allow the layers to dry completely before handling them, especially after sealing with the second layer of contact paper.
Common Mistakes to Avoid
- Wrinkling: This may be caused by rushing the sealing process. To solve this, gently smooth the tissue paper before applying the top layer of contact paper.
- Uneven Cutting: This can happen if you cut too quickly. To prevent this, go slowly and focus on following the drawn lines accurately.
- Weak Adhesion: If your sun catcher falls off, it might be due to insufficient sealing. Ensure the top sheet of contact paper is pressed down firmly and that the edges are securely sealed.
Creative Ways to Make It Your Own
There are numerous ways to personalize your Tissue Paper Sun Catchers. Here are a few ideas:
- Experiment with shapes; besides hearts and flowers, consider animals, stars, or even abstract designs.
- Add glitter or sequins to the tissue paper before sealing for some sparkle.
- Blend colors for an ombre effect by carefully layering different hues in the same shape.
- Use themed colors for holidays like red and green for Christmas or pastels for Easter.
How to Store Tissue Paper Sun Catchers for Sunny Windows
To care for your finished sun catchers, store them in a flat position to avoid damaging the tissue layers. If they are kept in a place that avoids moisture and direct sunlight, they should last longer without fading. If you need to take them down, cover them with a piece of wax paper during storage to keep dust away.
A Quick Safety Note
When working with scissors, especially for younger crafters, adult supervision is recommended to ensure safe cutting practices. Also, if using any additional decorative materials, check for any specific safety requirements or age recommendations.
FAQs About Tissue Paper Sun Catchers for Sunny Windows
How long does it take?
The entire process, including preparation and drying, can take about 1–2 hours.
Can I use different material?
Yes, while tissue paper is ideal, you can use thin fabric scraps or even colored plastic, though this may change the light diffusion effect.
How should I store them?
Store your sun catchers flat, possibly in a dedicated craft box, away from direct sunlight to keep colors vibrant.
Can my kids help with the craft?
Absolutely, older kids can lead the process, while younger ones can enjoy tearing tissue paper and placing it on the sticky surface with supervision.
Conclusion
Creating Tissue Paper Sun Catchers for Sunny Windows is a delightful project that not only fosters creativity but also leads to beautiful, functional art for your home. Adding personal touches through colors and shapes can make each sun catcher unique and meaningful. For additional crafting inspiration, check out these delightful projects: Colorful Tissue Paper Suncatchers: 3 Easy Designs Kids Love and Tissue Paper Easter Suncatchers (Free Templates). Let your creativity shine as you enjoy this light-filled craft!
Follow us on social for more recipe ideas & inspiration!
Tissue Paper Sun Catchers
Would you like to save this recipe?
By submitting you agree to receive this recipe and occasional emails. Unsubscribe anytime.
Ingredients
Materials Needed
- 1 roll clear adhesive contact paper For holding the tissue paper.
- 10 sheets assorted colorful tissue paper, cut into 1-inch squares Use a variety of colors for a vibrant effect.
- 1 pair child-safe craft scissors To ensure safe cutting for kids.
- 1 piece black permanent marker For tracing shapes.
- 1 roll clear tape for hanging To attach the sun catcher to the window.
Instructions
Preparation
- Prepare a clean, flat workspace to work with sticky materials.
Creating the Sun Catcher
- Start by tracing simple shapes like hearts, flowers, or stars onto the smooth side of the contact paper using your black marker.
- Gently peel off the paper backing to reveal the sticky surface.
- Press colorful tissue paper squares onto your traced shape until it is fully covered, overlapping pieces for depth.
- Place a second piece of clear contact paper over the top to seal the tissue paper flat.
- Carefully cut around the edges of your traced shape using child-safe craft scissors.
- Use a small piece of clear tape to stick your sun catcher onto a sunny window.
Last Step: Don’t forget to leave a rating and comment below! It helps other readers find the best recipes — and it helps us too!
Tips & Notes:
Nutrition Information: Serving: 1 | Calories: | Carbohydrates: | Protein: | Fat: | Sodium: | Fiber: | Sugar:
Nutritional information is provided as a courtesy and calculated automatically. Values can vary depending on the brands and ingredients you use, so if you’re tracking closely, I recommend calculating with your own preferred tool.