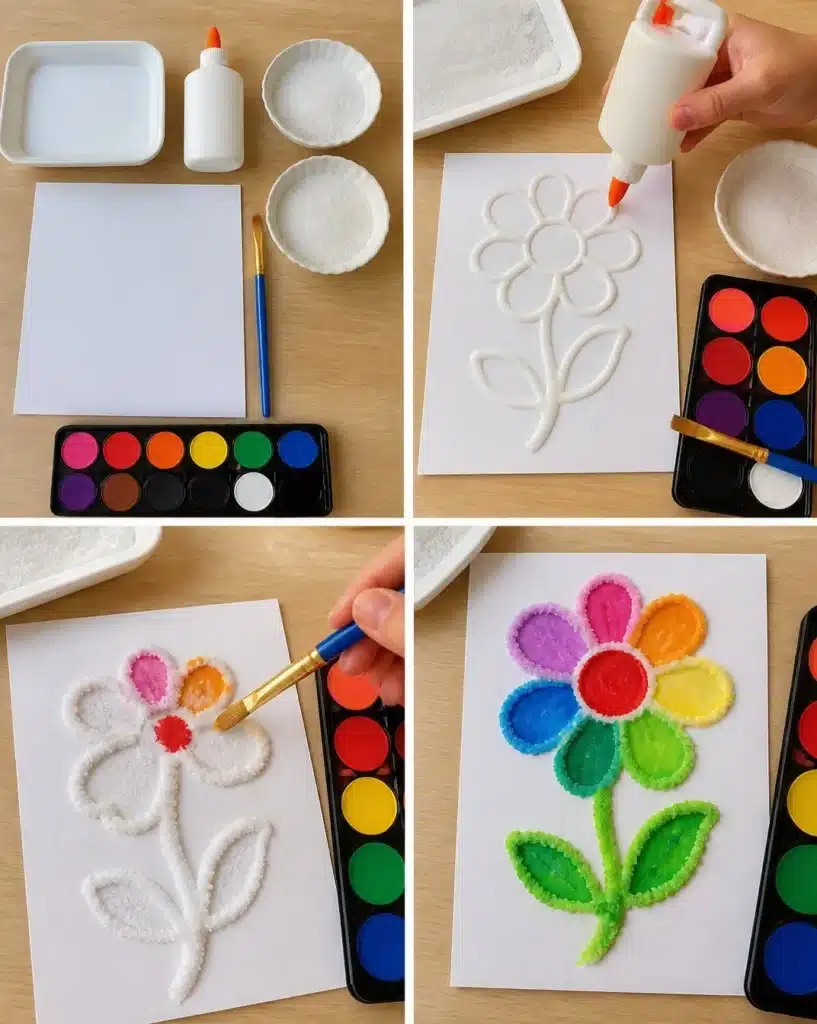
Why You’ll Want to Make 3D Raised Salt Art Tutorial
Creating your own 3D Raised Salt Art is a wonderful way to express your creativity while exploring vibrant colors and unique textures. This art project uses simple materials that you likely have at home, making it not only enjoyable but also accessible for everyone. The results are visually stunning, perfect for decorating your home, adding a personal touch to gifts, or even brightening up a classroom. You may also find Apple Cider Vinegar And Pink Salt Morning Drink useful.
The beauty of this project lies in its simplicity; it utilizes basic tools and supplies while allowing for endless customization possibilities. Children and adults alike can appreciate the tactile experience of working with salt and glue, making this a fantastic activity to share with family or friends. Whether you’re crafting for a holiday, a special event, or just for fun, making 3D Raised Salt Art can spark your imagination as you create unique designs that sparkle and shine. You may also find Best 16 Breakfast Bowl Recipes Kickstart Your Day useful.
To get started, it’s beneficial to understand not just the basic process, but also the exciting outcomes you can achieve along the way. You might even consider integrating your salt art with other DIY projects particularly those involving textures or colors. For example, you can read about the benefits of pink salt to enhance your understanding of this versatile material.
Before You Start
Before diving into the fun, a brief overview of what to expect and how to set yourself up for success enhances your crafting experience. The process of making 3D Raised Salt Art includes drawing your favorite patterns on cardstock, sprinkling salt to add a raised texture, and then infusing vibrant colors with liquid watercolors. The end result is a delightful blend of tactile and visual allure that will catch the eye of anyone who sees it.
While the activity is straightforward, ensuring you have a clean workspace will make things easier and protect your surfaces from glue and salt. You may also want to include adult supervision when crafting with younger children, especially when using liquid watercolors. Remember to let your designs dry completely before handling them to avoid any damage.
Materials You’ll Need
Gathering the right materials is crucial before starting this project. Here’s a simple list of what you will need:
- 1 sheet of thick white cardstock
- 1/2 cup of table salt
- 1 bottle of white school glue
- 4 tablespoons of liquid watercolors
- 1 small paintbrush
- 1 tray for catching excess salt
Helpful Tools
In addition to the materials above, having the following tools can help streamline the process:
- A spatula or flat tool for smoothing out glue (optional)
- Paper towels for quick cleanup
- An old newspaper or cloth to protect your crafting surface
Be mindful of the type of glue you use; school glue is ideal since it dries clear and is easy to work with. Ensuring the cardstock is of good quality will also help your art maintain its shape once complete.
How to Make 3D Raised Salt Art Tutorial
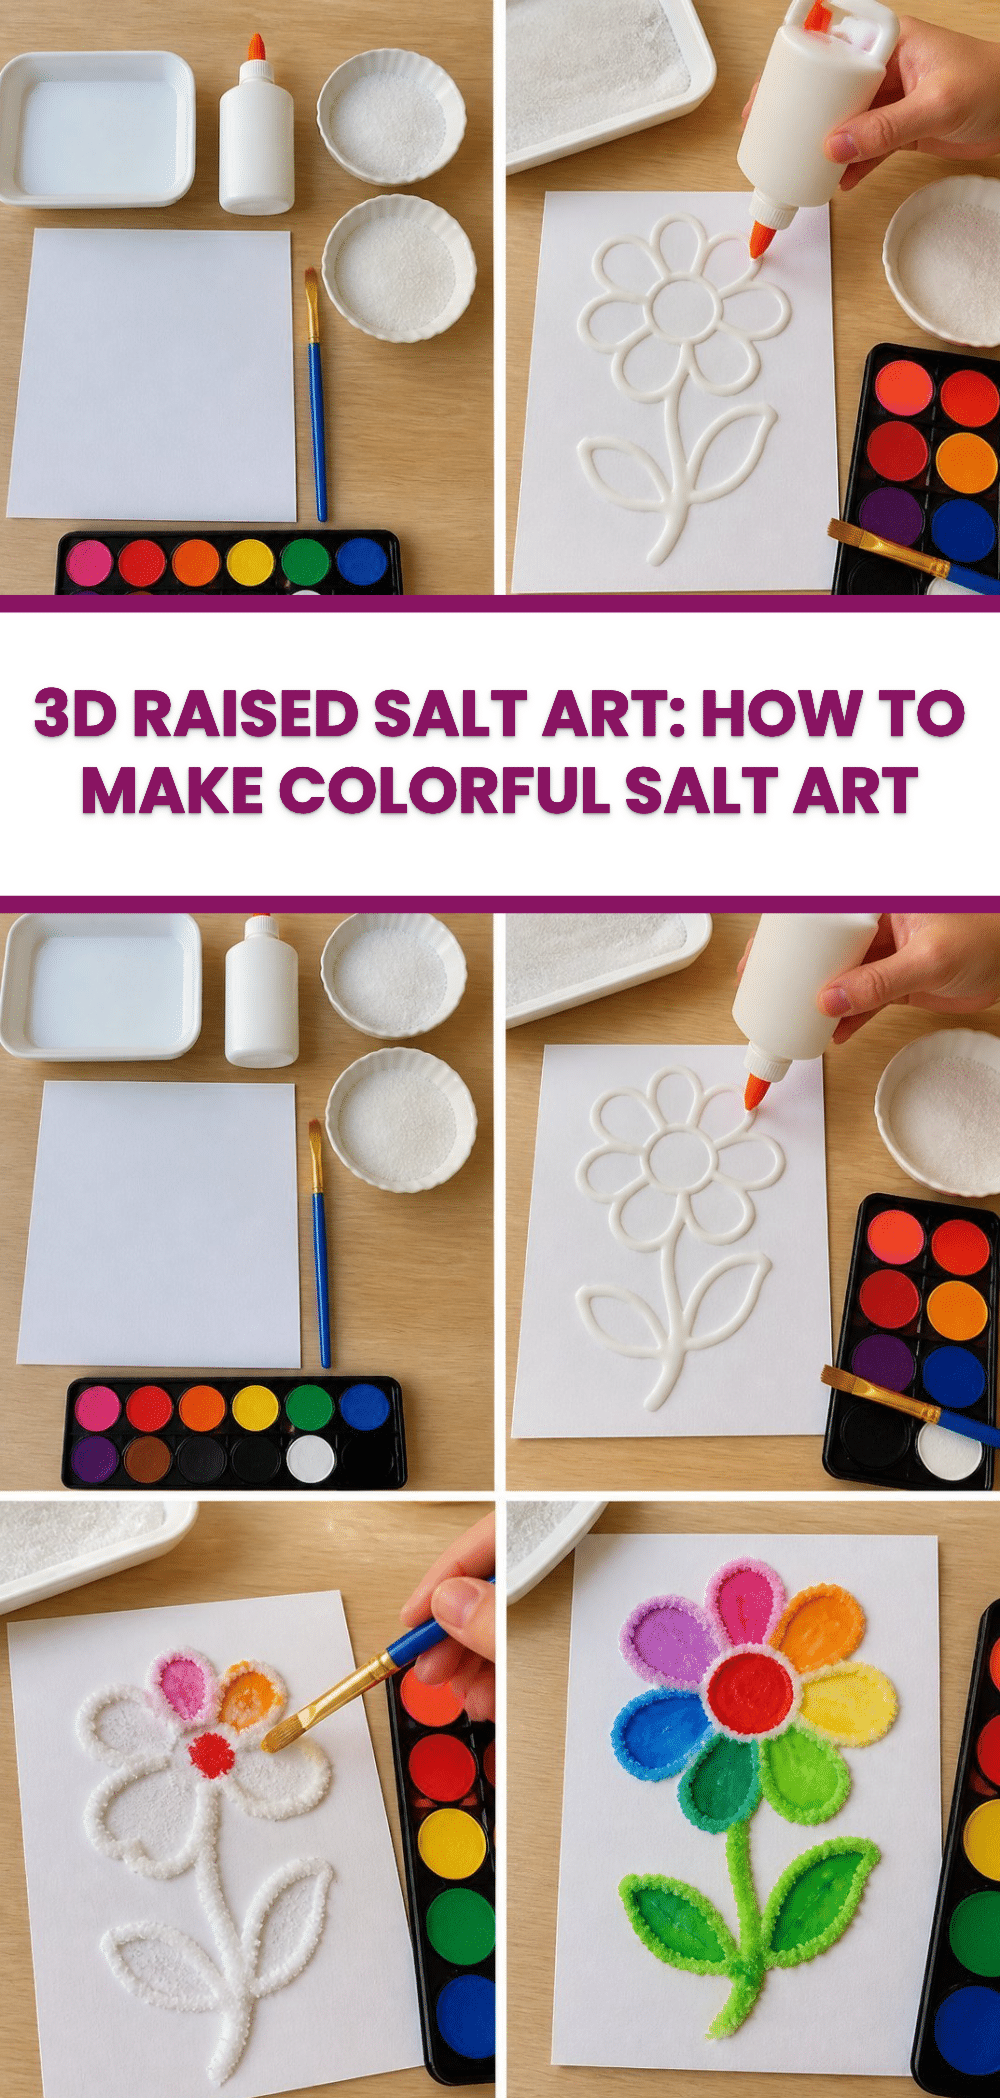
Creating your raised salt art is simple, yet the results are stunning! Follow these steps to craft your masterpiece:
Begin by using the school glue to carefully draw your favorite design or patterns right onto the cardstock. Let your imagination run free! Aim for lines that are thick enough to hold the salt but not too thick to cause drips.
While the glue is still wet, sprinkle a generous amount of salt over the design until it is completely covered. This is where the magic begins! The salt will catch the glue and form a raised texture.
Once covered, gently shake the excess salt off the paper into your tray, leaving only the salt stuck to the glue. It’s helpful to do this over the tray to catch any mess.
Now, dip your paintbrush into the liquid watercolors and lightly touch the wet salt lines. Watch in wonder as the colors spread beautifully along your design. Try different colors for unique effects.
Allow your artwork to dry completely, preferably in a flat position. This may take a few hours depending on the thickness of the glue.
How to Display 3D Raised Salt Art Tutorial
After crafting your salt art, you may wonder where to place it. These projects can be displayed in many creative ways:
- Frame your artwork for a polished look that adds a personal touch to your decor.
- Use a small easel to showcase your piece on a bookshelf or table.
- Hang it as part of a gallery wall alongside other creations for an eclectic vibe.
- Give it as a thoughtful handmade gift to friends or family members who appreciate unique art.
This versatile project creates beautiful pieces that can fit into any home decor or special occasion.
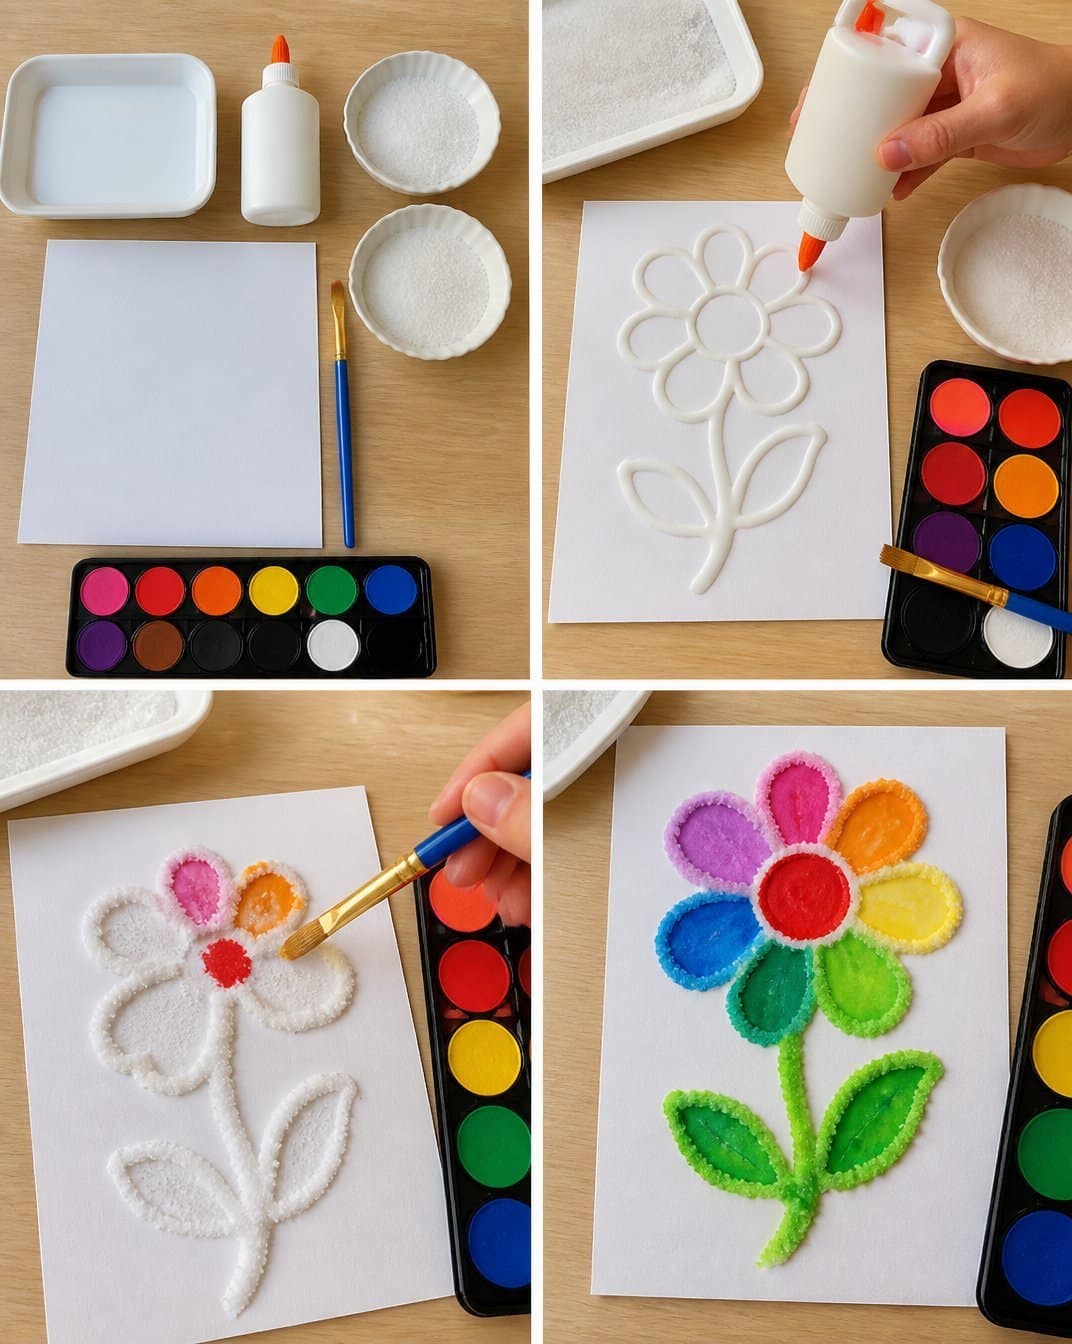
Tips for the Best Result
To achieve the best results with your 3D Raised Salt Art, consider these helpful tips:
Avoid Excess Glue: Too much glue can cause the salt to clump and not adhere properly. Aim for an even coating.
Let Layers Dry Fully: Fully drying each layer prevents colors from bleeding into one another when applying watercolors.
Protect Your Work Surface: Using newspaper or a cloth can make cleanup a breeze, especially with the glue and salt.
Keep Colors Distinct: When working with multiple colors, clean your brush between colors to maintain their vibrancy and prevent muddy mixtures.
Practice Different Patterns: Experiment with different designs and textures to find a style that resonates with you.
Common Mistakes and Easy Fixes
Even in a straightforward project like this, a few common pitfalls can arise. Here’s how to troubleshoot:
Uneven Paint Application: This can happen if the paintbrush is overloaded. Use lighter strokes for better control and to prevent pooling.
Fix: If you notice pooling, gently dab the area with a paper towel to absorb excess water.
Salt Not Sticking: If the salt doesn’t adhere, you may not have used enough glue or applied it unevenly.
Fix: Ensure a more generous and even application of glue next time.
Cloudy Appearance: If your colors look dull, this might be because the salt absorbed too much liquid.
Fix: Try using a lighter touch when applying the watercolors or let them dry better before adding more color.
Creative Variations
Once you’re comfortable with the basic technique, here are some fun variations to spark your creativity:
Change Up the Colors: Use neon or metallic watercolors for a more vibrant look.
Add Decorative Elements: Consider incorporating glitter or sequins to add extra texture and sparkle to your design.
Personalize Your Art: Include names, initials, or quotes in your designs for a unique touch.
Seasonal Themes: Create themed art for various holidays using appropriate colors and symbols, like pumpkins for Halloween or snowflakes for winter.
Making these adjustments can make the artwork even more special and suited to its intended purpose.
Caring for Your Finished Craft
To keep your 3D Raised Salt Art looking its best, consider the following care tips:
Avoid Direct Sunlight: Keep your artwork out of direct sunlight to prevent fading of colors.
Dust Regularly: Use a soft brush or cloth to keep the surface clean without disturbing the salt.
Handle with Care: As the texture is somewhat fragile, be gentle when moving or displaying your art.
A Quick Safety Note
When crafting with younger children, it’s crucial that an adult assists with components like liquid watercolors and ensuring safety around the workspace. Always supervise to prevent spills and messes.
FAQs About 3D Raised Salt Art Tutorial
How long does it take to make?
The crafting process takes about 30-45 minutes, but drying time will require several hours based on the thickness of your glue.
What glue works best?
White school glue is recommended due to its ease of use and clear-drying properties.
Can I use a different type of salt?
Table salt is ideal, but experimenting with coarser or colored salt can create unique textures.
Can children make this craft?
Yes, but they should be supervised by an adult, especially when using liquid watercolors.
How should I store my artwork?
Store rubber or cardboard boxes to prevent damage while keeping them dust-free.
Conclusion
Creating 3D Raised Salt Art is a fun and engaging way to express your creativity while experimenting with texture and color. By following these steps and incorporating tips for success, you can produce unique pieces that are both visually stunning and meaningful. For further inspiration, consider exploring additional projects like vibrant jellyfish paintings or water lily-inspired crafts. You can find ideas in various resources like jellyfish watercolor techniques and 3D water lilies projects. Happy crafting!
Follow us on social for more recipe ideas & inspiration!
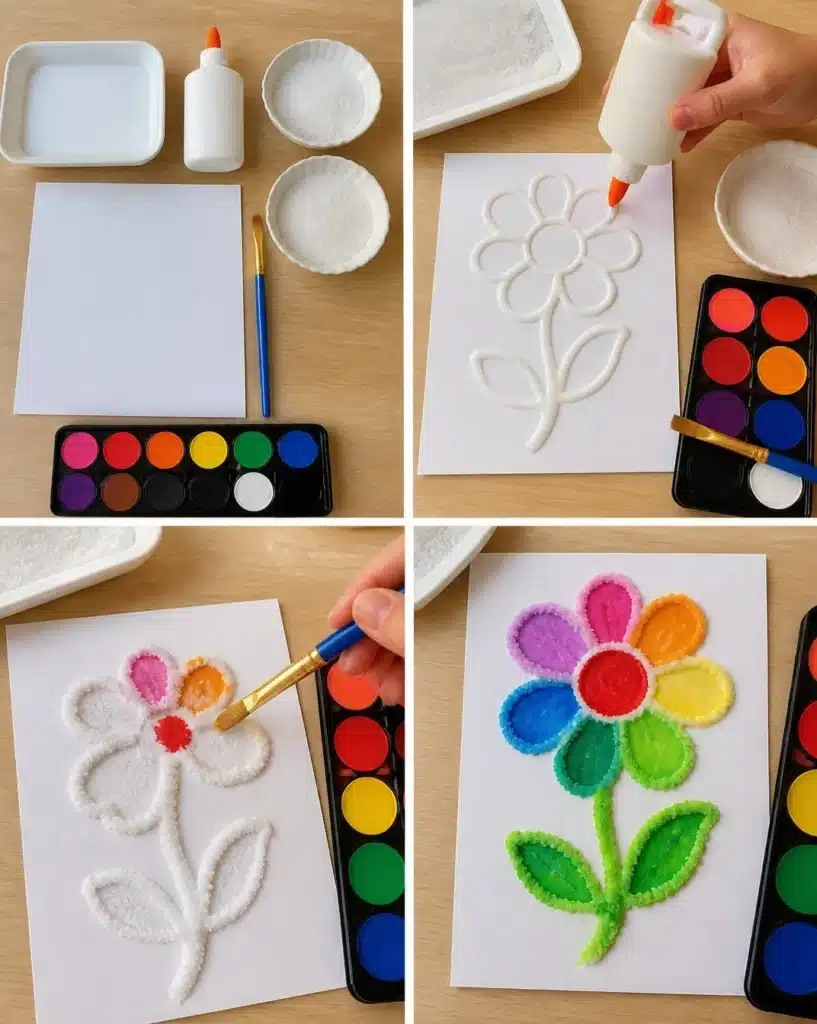
3D Raised Salt Art
Would you like to save this recipe?
By submitting you agree to receive this recipe and occasional emails. Unsubscribe anytime.
Ingredients
Main Materials
- 1 sheet thick white cardstock Use good quality cardstock.
- 1/2 cup table salt Regular table salt works best.
- 1 bottle white school glue Choose glue that dries clear.
- 4 tablespoons liquid watercolors Choose vibrant colors for best effect.
- 1 small paintbrush Use for applying watercolors.
- 1 tray for catching excess salt Helps to minimize mess.
Helpful Tools
- 1 optional spatula or flat tool For smoothing glue.
- 1 few paper towels For quick cleanup.
- 1 old newspaper or cloth To protect surfaces.
Instructions
Creating Your Salt Art
- Begin by using the school glue to carefully draw your favorite design or patterns right onto the cardstock.
- While the glue is still wet, sprinkle a generous amount of salt over the design until it is completely covered.
- Gently shake the excess salt off the paper into your tray, leaving only the salt stuck to the glue.
- Dip your paintbrush into the liquid watercolors and lightly touch the wet salt lines, allowing colors to spread.
- Allow your artwork to dry completely, preferably in a flat position. This may take a few hours.
Displaying Your Salt Art
- Frame your artwork for a polished look.
- Use a small easel to showcase your piece.
- Hang it as part of a gallery wall.
- Give it as a thoughtful handmade gift.
Last Step: Don’t forget to leave a rating and comment below! It helps other readers find the best recipes — and it helps us too!
Tips & Notes:
Nutrition Information: Serving: 1 | Calories: | Carbohydrates: | Protein: | Fat: | Sodium: | Fiber: | Sugar:
Nutritional information is provided as a courtesy and calculated automatically. Values can vary depending on the brands and ingredients you use, so if you’re tracking closely, I recommend calculating with your own preferred tool.