Why You’ll Want to Make Crystal Worry Stones
Crystal Worry Stones are not only beautiful but also serve a meaningful purpose, making them a fantastic DIY project. These small polished stones fit comfortably in the hand and can be used as a tactile tool for calming anxiety and promoting mindfulness. The colorful and shimmering effects created by epoxy resin can capture light beautifully, adding a decorative touch to any space. Plus, you can easily personalize these stones to match your style or make thoughtful gifts for friends and family. You may also find Crystal Worry Stones useful.
Whether you want to incorporate them into your self-care routine or give them as handmade gifts, making Crystal Worry Stones is an enjoyable and fulfilling project. The materials are readily available, and the steps involved are beginner-friendly. If you’re looking to create something artistic yet functional, this craft promises to be both satisfying and rewarding. As you work, you’ll get to explore color mixing and enjoy the creative process of crafting something useful all from the comfort of your home. Ready to dive into the details? You may also find Crystal Worry Stones useful.
Getting Ready to Make Crystal Worry Stones
Before jumping into crafting your own Crystal Worry Stones, let’s overview the project. You’ll be working with epoxy resin, which creates a durable and glossy finish. The final project should comprise vibrantly colored, smooth stones with a beautiful galaxy effect, perfect for holding during moments of stress or anxiety. You may also find Coconut Water Cloud Coffee Boosts Focus useful.
To make the process smoother, prepare your workspace to prevent any mess, given that epoxy can be tricky to clean once set. Ensure that your work area is well-ventilated and covered with an old cloth or newspaper to catch any drips. Also, remember that creating these stones will require some time, as you’ll need to let the resin set for a day before they are ready for use.
Materials You’ll Need
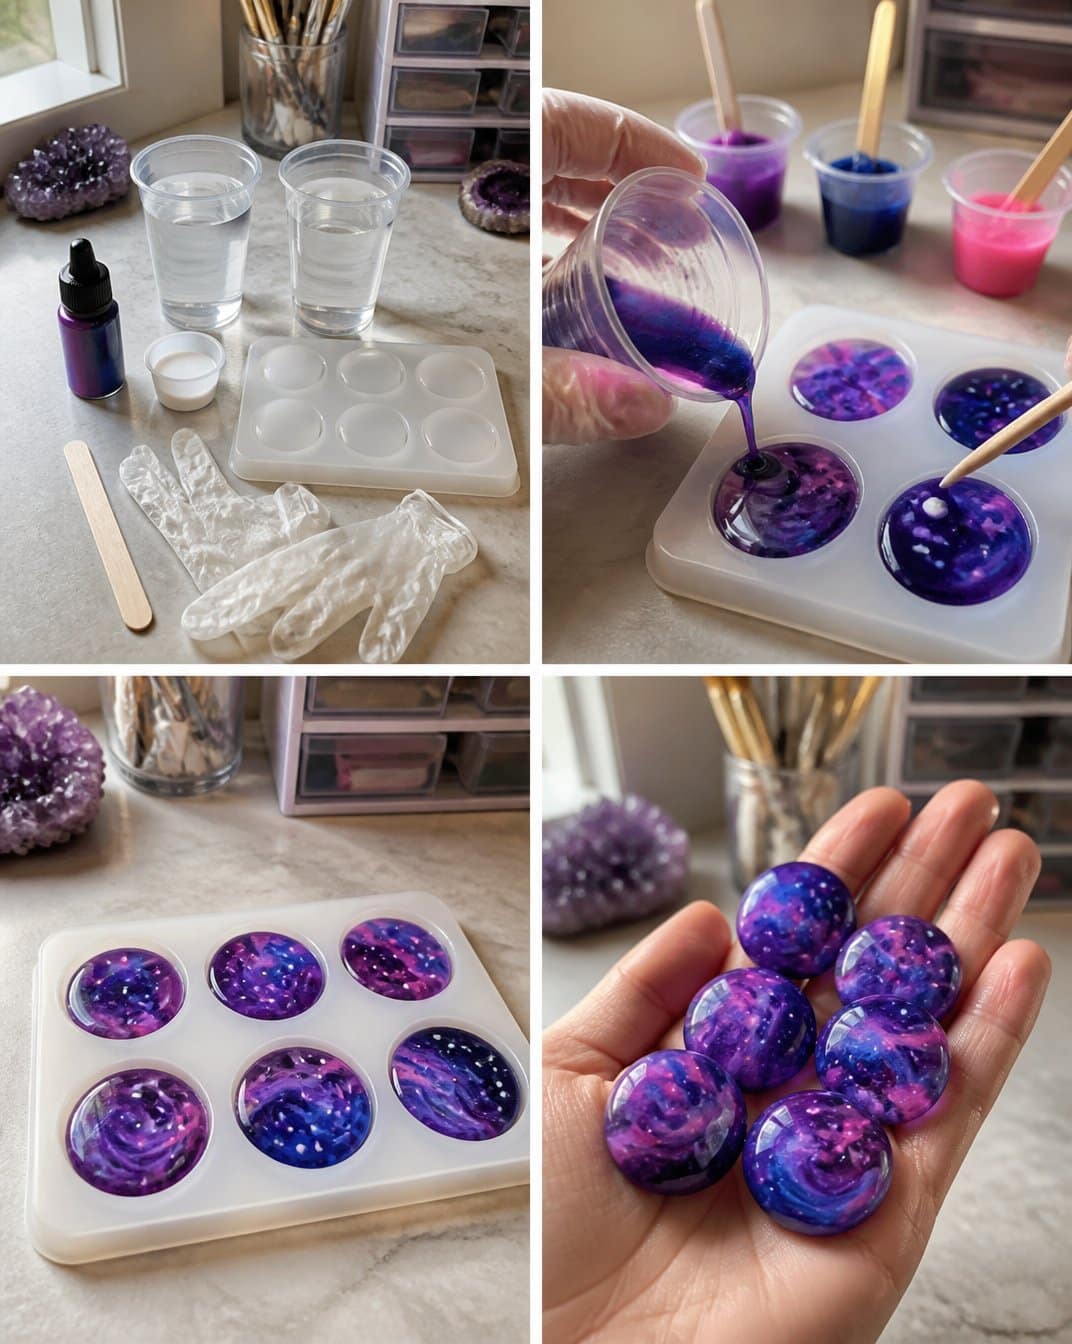
Gather your supplies before starting. Here’s what you’ll need for this craft:
- 2 cups clear epoxy resin
- 1 bottle deep purple, blue, and pink alcohol ink
- 1 teaspoon white acrylic paint
- 1 silicone mold with round cavities
- 1 wooden stir stick
- 1 pair of disposable gloves
Each of these materials plays a crucial role in the crafting process. The epoxy resin will be the base for the stones, while the alcohol ink provides the vibrant colors. The silicone mold will help shape your worry stones, ensuring a smooth finish.
Helpful Tools
- Mixing cups (disposable or reusable)
- Toothpicks (for swirling colors)
These tools will assist you in mixing and pouring the resin effectively, as well as creating the desired galaxy effect within each stone.
How to Make Crystal Worry Stones
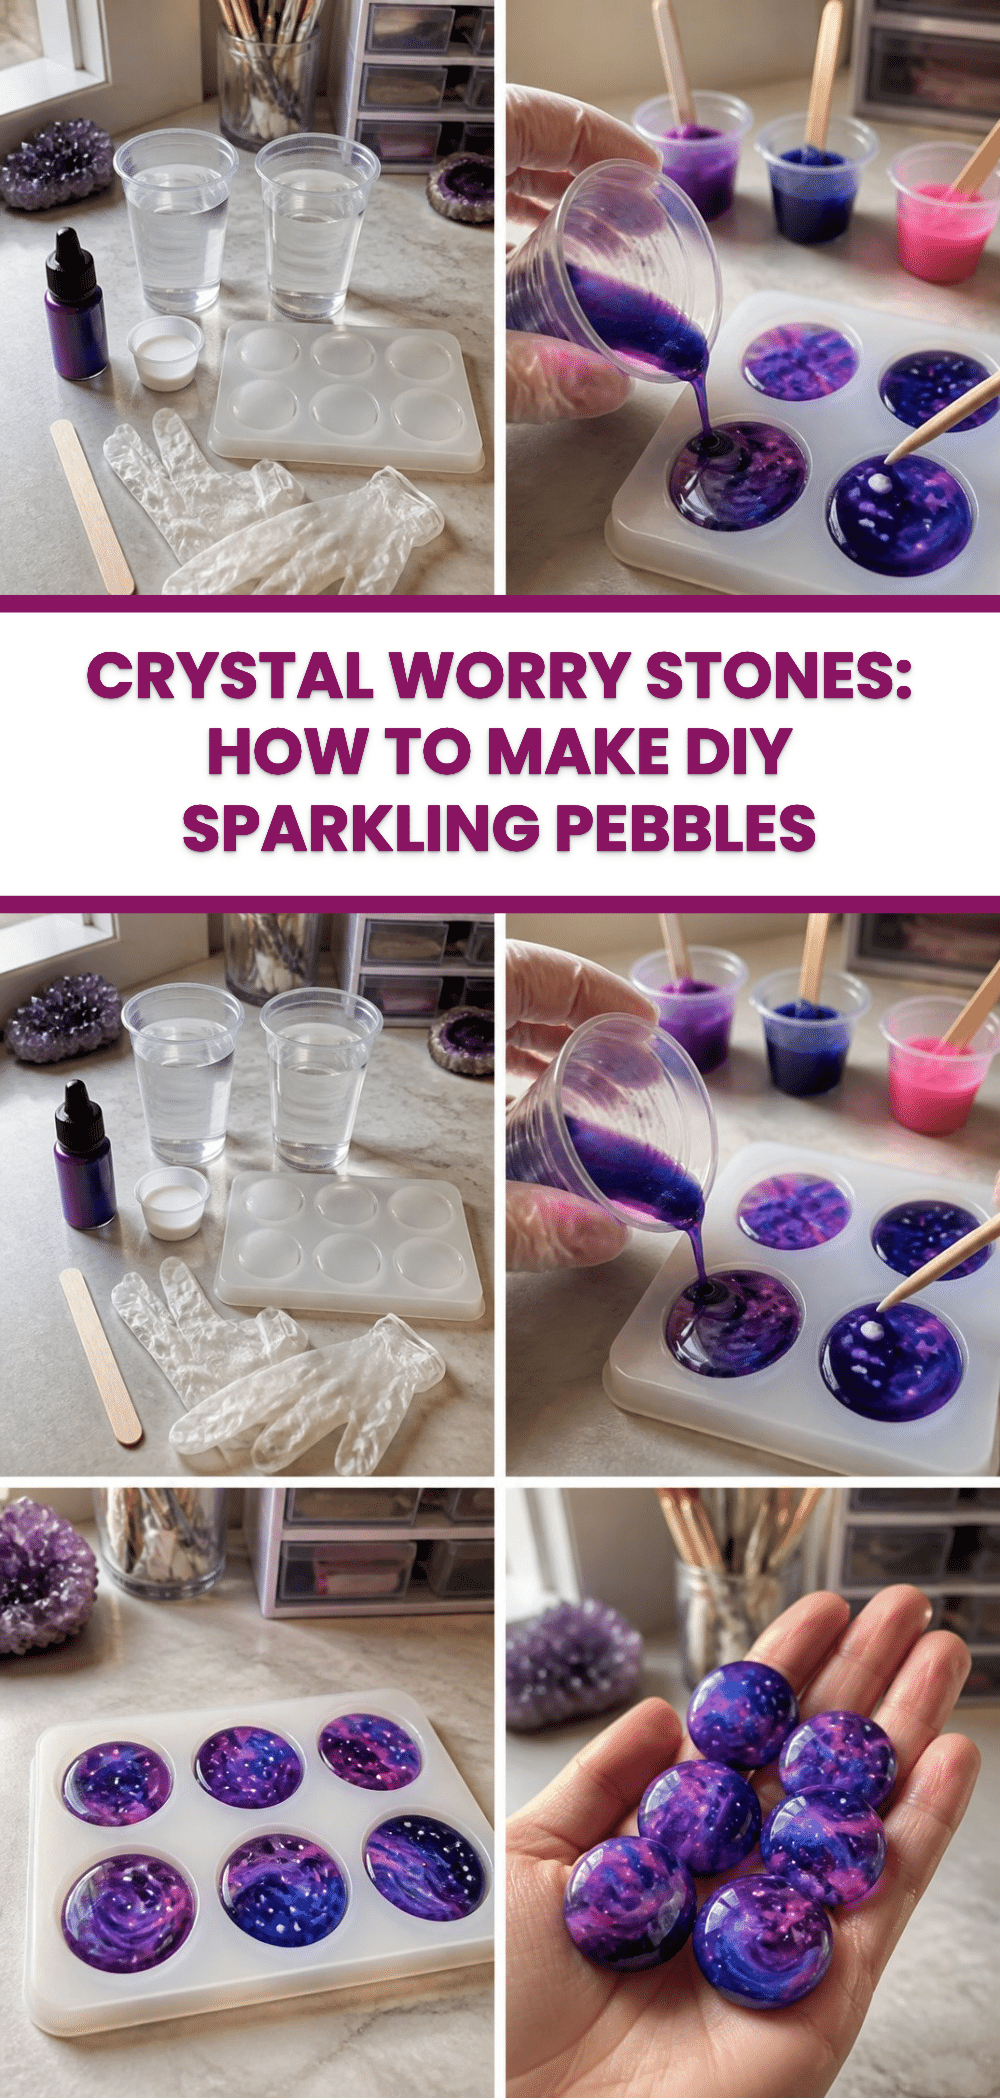
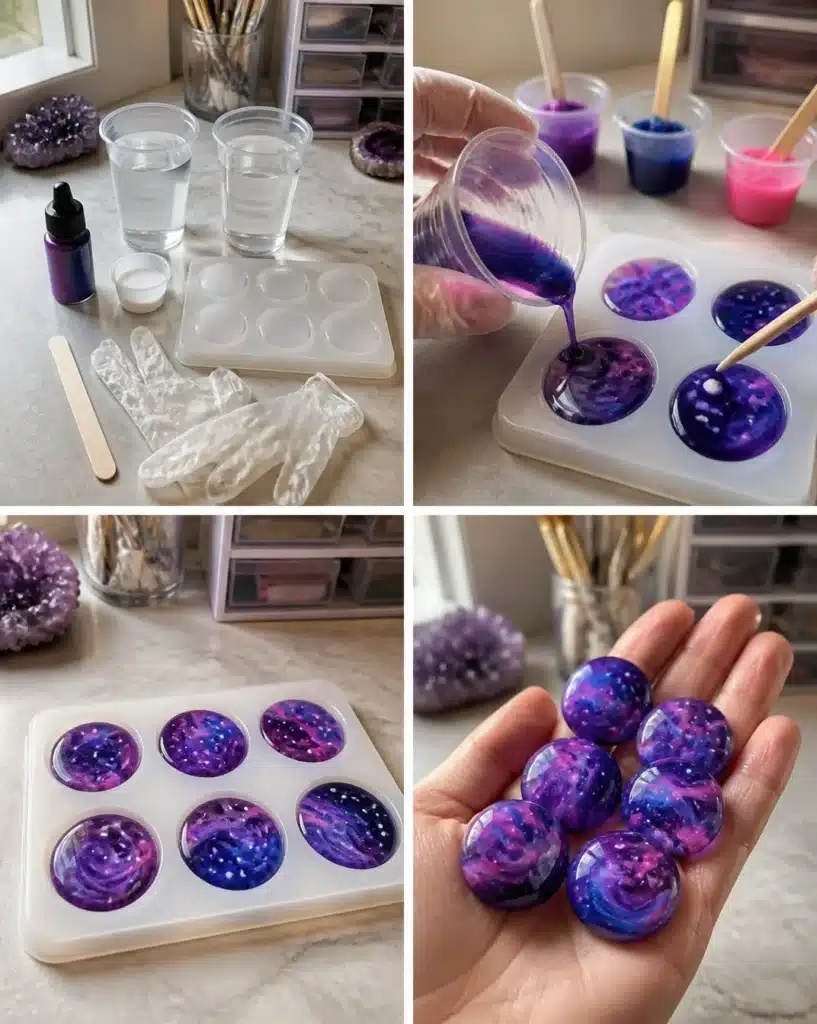
Begin by putting on your gloves and carefully mixing the epoxy resin according to the package instructions. This is where the fun starts, so take your time!
Next, divide the mixed resin into small cups, adding a few drops of alcohol ink to each cup until you achieve your favorite colors. Don’t be afraid to mix the shades!
Now, pour the colorful resin into the silicone mold cavities. Add a tiny dot of white paint to each one and use a toothpick to swirl it gently, creating a beautiful galaxy effect.
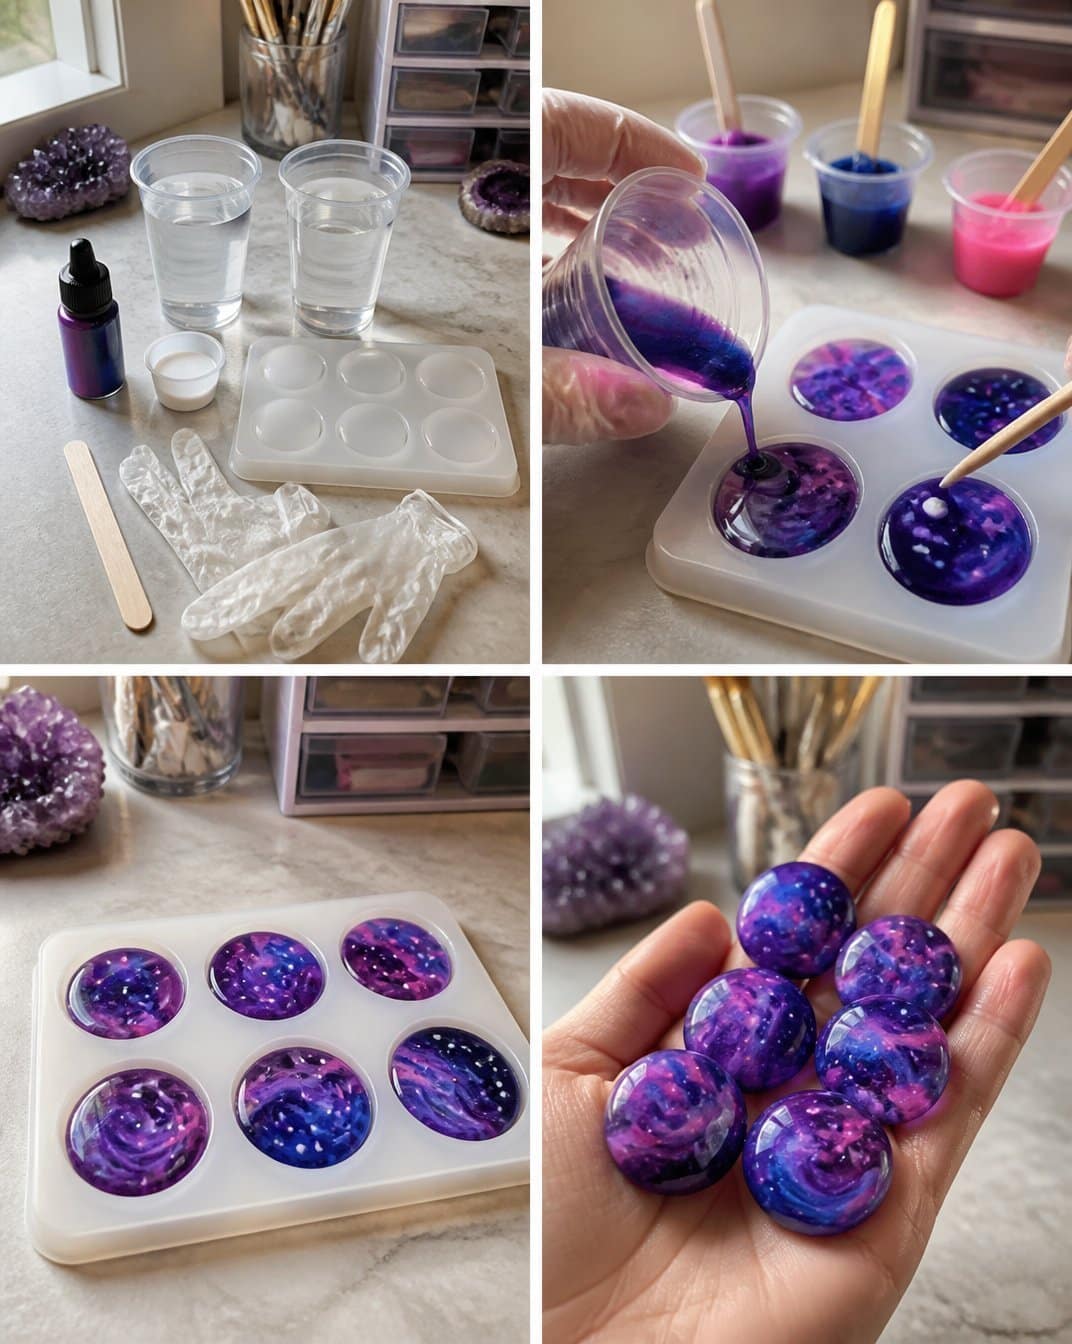
Finally, let the stones cure completely in the mold for 24 hours. Once they’re ready, gently pop them out to reveal your very own worry stones.
How to Display Crystal Worry Stones
Once your Crystal Worry Stones are complete, there are plenty of ways to enjoy them. You can display them on a bookshelf, use them as decorative pieces on your desk, or create a calm corner in your home dedicated to mindfulness. They can also be lovely gifts for friends, especially if you personalize them with specific colors that hold meaning for you or the recipient.
Tips for the Best Result
- Ensure that your molds are clean and dry before pouring the resin to avoid any unwanted effects.
- Stir the epoxy resin thoroughly but gently to minimize the introduction of air bubbles.
- When adding the alcohol ink, start with a little; you can always add more to adjust the color.
- Don’t overcrowd the mold; leave some space for the resin to expand slightly as it cures.
- Allow each layer of color to set slightly before adding another to prevent them from mixing too much.
Common Mistakes to Avoid
Cloudy Resin: If your resin appears cloudy, it might be due to not mixing it thoroughly. Ensure you mix the resin and hardener as recommended by the manufacturer.
Fix: Mix more slowly and thoroughly next time to incorporate both parts completely, ensuring clarity.
Bubbles in the Resin: Often, air bubbles can get trapped in the resin.
Fix: Try lightly heating the surface with a heat gun or a lighter from a distance; this can pop the bubbles effectively.
Uneven Colors: If your colors bleed together too much, it may be due to pouring them too quickly or not letting each layer set enough.
Fix: Be patient. Allow some time for each layer to set before adding the next, and control the pour speed.
Creative Ways to Make It Your Own
You can personalise your Crystal Worry Stones in a few fun ways:
- Color Combinations:Experiment with different combinations of alcohol inks for unique effects.
- Add Glitter: For a sparkly touch, mix in some fine glitter before pouring the resin.
- Natural Embellishments: Incorporate small dried flowers or other natural materials within the resin for added texture.
- Shape Variations: If you can’t find a silicone mold with the round shapes you want, consider using molds for other shapes like stars or hearts.
How to Store Crystal Worry Stones
To keep your Crystal Worry Stones looking fresh and vibrant, store them in a cool, dry place away from direct sunlight. If they collect dust, gently wipe them clean with a soft cloth. Avoid using chemical cleaners, as they may damage the glossy finish of the resin.
A Quick Safety Note
While working with epoxy resin, it is essential to wear gloves and work in a well-ventilated area to avoid inhaling fumes. If you are crafting with children, make sure an adult supervises to ensure safety while handling the materials.
FAQs About Crystal Worry Stones
How long does it take for the resin to cure?
The resin typically takes about 24 hours to fully cure.
Can I use different materials or colors?
Yes, you can experiment with various colors of alcohol ink and even add different embellishments.What should I do if my stones don’t turn out as expected? Don’t be discouraged! Assess what went wrong, and refer to the tips provided for troubleshooting. Practicing and experimenting can lead to exciting new results.
How should I store my worry stones?
Store them in a cool, dry place, preferably in a container to keep dust away.
Conclusion
Making your own Crystal Worry Stones is a delightful and artistic endeavor that offers both relaxation and creativity. The hands-on process of mixing colors and working with resin can be immensely satisfying, allowing you to craft unique pieces perfect for personal use or gifts. If you’re interested in incorporating more into your wellness routine, consider exploring additional options for enhancing your home with soothing elements, such as worry stones or other calming decor. You might also find value in products like the SHARKOOO Thumb Worry Stone to deepen your relaxation practices. Happy crafting!
Follow us on social for more recipe ideas & inspiration!
Crystal Worry Stones
Would you like to save this recipe?
By submitting you agree to receive this recipe and occasional emails. Unsubscribe anytime.
Ingredients
Materials
- 2 cups clear epoxy resin This is the base for the stones.
- 1 bottle deep purple, blue, and pink alcohol ink Provides the vibrant colors.
- 1 teaspoon white acrylic paint For creating the galaxy effect.
- 1 silicone mold with round cavities Shapes the worry stones.
- 1 each wooden stir stick Used for mixing.
- 1 pair disposable gloves Protects hands while working with resin.
Helpful Tools
- 1 each mixing cups Use disposable or reusable.
- 1 each toothpicks For swirling colors.
Instructions
Preparation
- Put on your gloves and carefully mix the epoxy resin according to the package instructions.
- Divide the mixed resin into small cups, adding a few drops of alcohol ink to each cup until the desired colors are achieved.
Molding
- Pour the colorful resin into the silicone mold cavities.
- Add a tiny dot of white paint to each one and use a toothpick to swirl it gently to create a galaxy effect.
- Let the stones cure in the mold for 24 hours.
Finishing
- Once cured, gently pop the stones out of the mold.
Last Step: Don’t forget to leave a rating and comment below! It helps other readers find the best recipes — and it helps us too!
Tips & Notes:
Nutrition Information: Serving: 6 | Calories: | Carbohydrates: | Protein: | Fat: | Sodium: | Fiber: | Sugar:
Nutritional information is provided as a courtesy and calculated automatically. Values can vary depending on the brands and ingredients you use, so if you’re tracking closely, I recommend calculating with your own preferred tool.