Why You’ll Want to Make DIY Faux Stained-Glass Flowers That Glow
Crafting DIY Faux Stained-Glass Flowers That Glow is more than just a fun activity; it offers a wonderful way to bring color and warmth into your home. The vibrant, translucent qualities of these faux stained-glass pieces will catch the light beautifully, making them perfect for window displays or as cheerful decorations for various occasions. This project is not only simple but also invites creativity, allowing you to experiment with colors and patterns that reflect your personal style. You may also find Discover The Banana Trick For Weight Loss That Actually Works useful.
With easy-to-find materials and straightforward steps, even beginners can create stunning results. You can use these enchanting flowers to brighten up your living space, add a splash of color to a classroom, or create thoughtful handmade gifts for friends and family. The allure lies in their playful designs and the sense of accomplishment that comes from crafting something uniquely yours. You may also find Fluffy Pink Velvet Cake That Celebrates Every Occasion useful.
Before You Start
Before diving into the project, it’s helpful to understand the basic process of creating your faux stained-glass flowers. The final pieces will be colorful, light-catching designs that look lovely in any setting. The steps are straightforward, but preparation will make the task easier. Set up your crafting space on a flat, clean surface to avoid spills or accidents. A non-stick parchment paper will be your friend, preventing your creations from sticking and making cleanup a breeze. If children are involved, adult supervision is recommended to ensure safety with the materials used. You may also find Irresistible Strawberry Earthquake Cake That Steals The Show useful.
Materials You’ll Need
Gathering the right materials is crucial for a successful crafting experience. Here’s what you’ll need:
- 1/2 cup clear white school glue
- 2 tablespoons acrylic paint in assorted bright colors
- 1 sheet of non-stick parchment paper
- 1 toothpick for swirling colors
- 1 small paintbrush
These materials are readily available at craft stores or even around your home. The school glue provides a clear, sturdy base for your colors, while the acrylic paint allows for vibrant shades that will mimic real stained glass. When selecting your paints, opt for those that are bright and opaque for the best effect.
Helpful Tools
While the materials above are essential, having a few extra tools on hand can enhance your crafting experience:
- A pair of scissors (for trimming excess paper if needed)
- A spatula or palette knife (optional, for easier spreading of glue)
With these tools and materials ready, you’re all set to start crafting your beautiful faux stained-glass flowers.
How to Make DIY Faux Stained-Glass Flowers That Glow
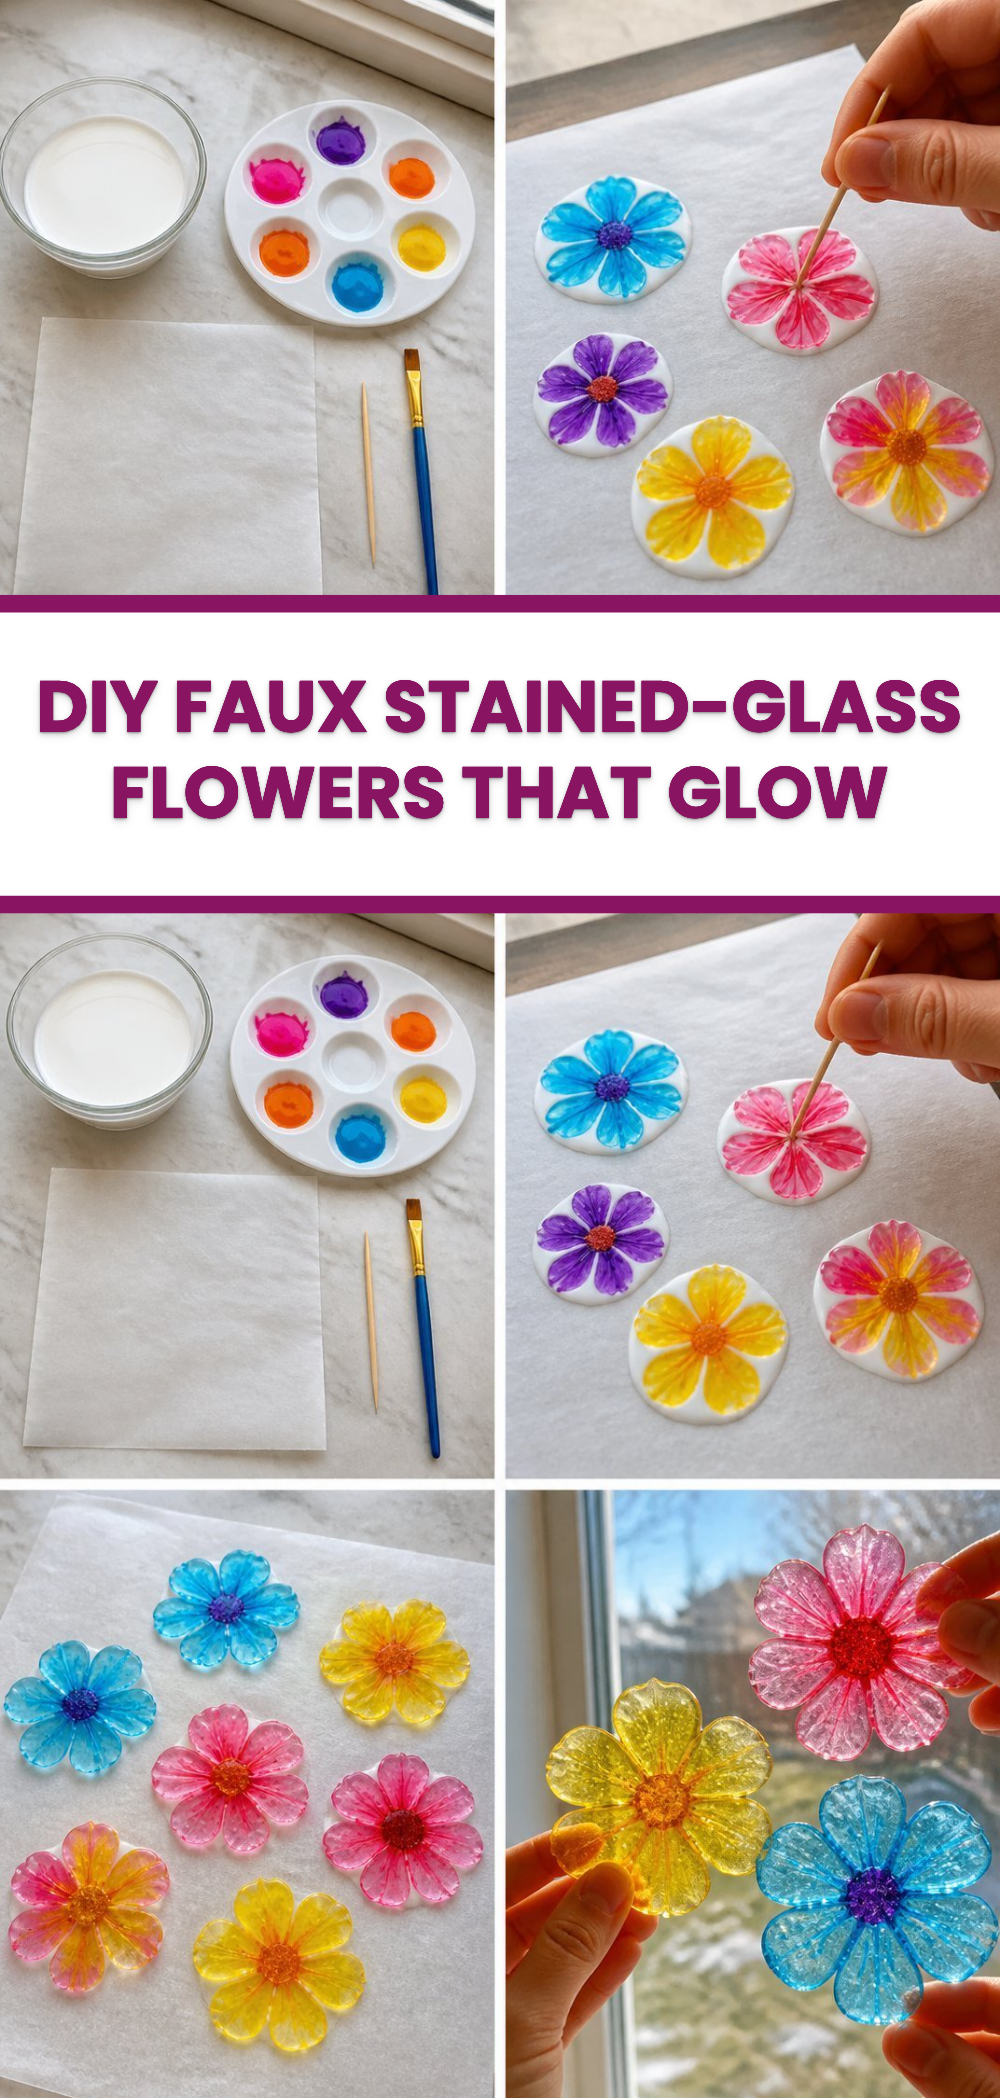
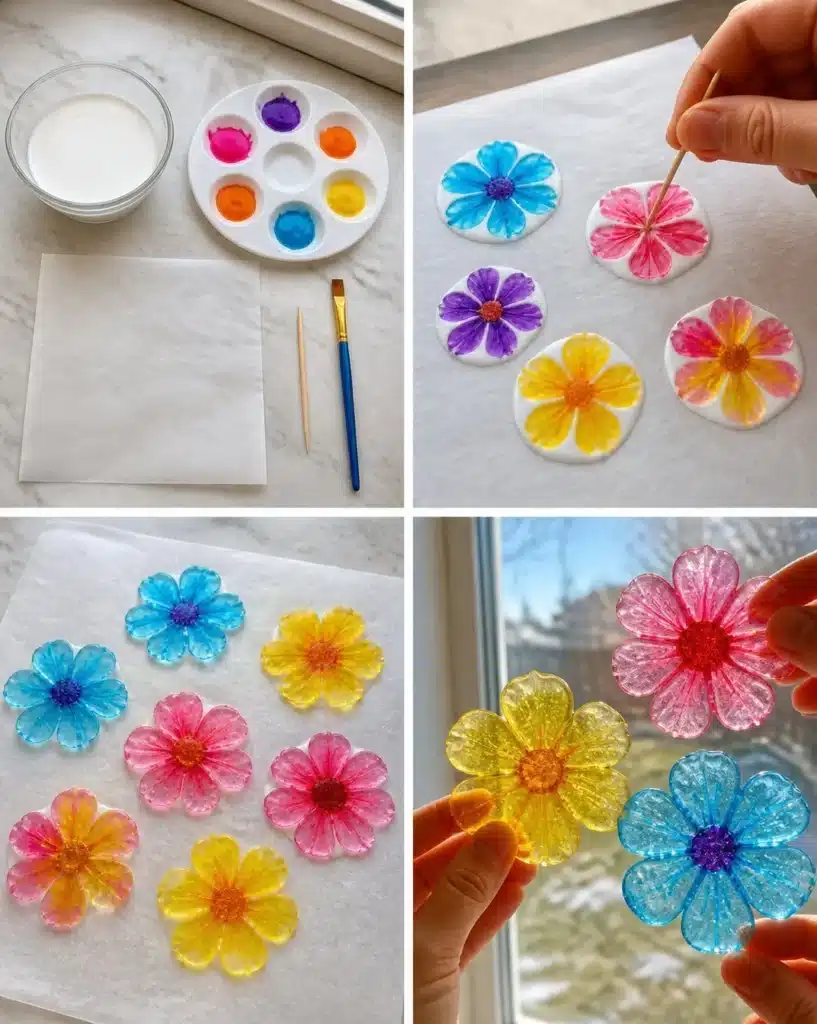
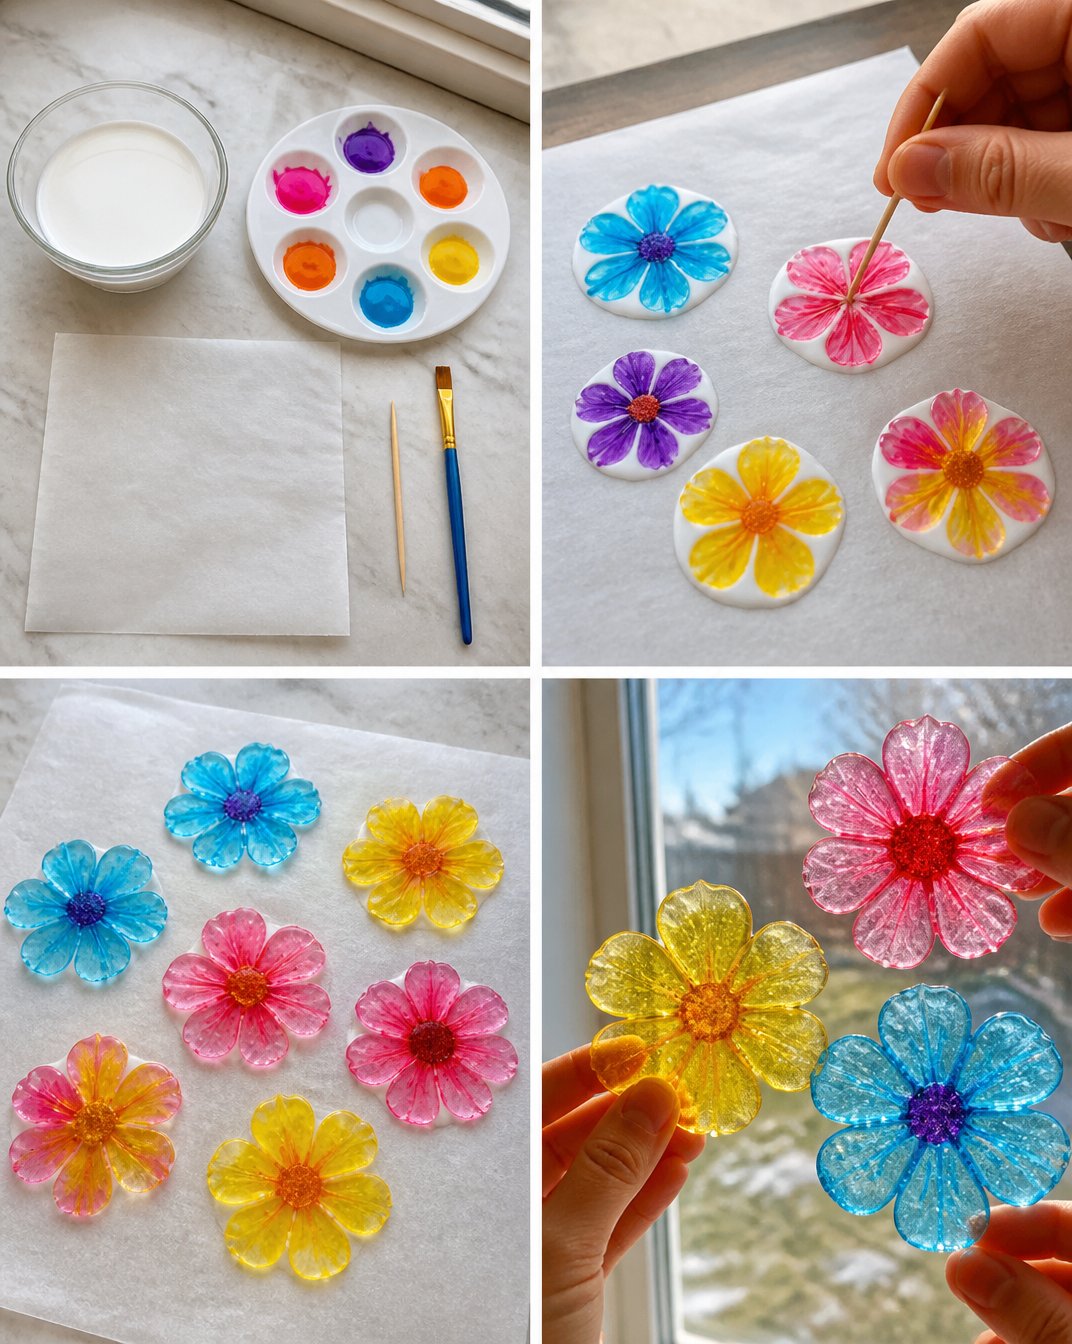
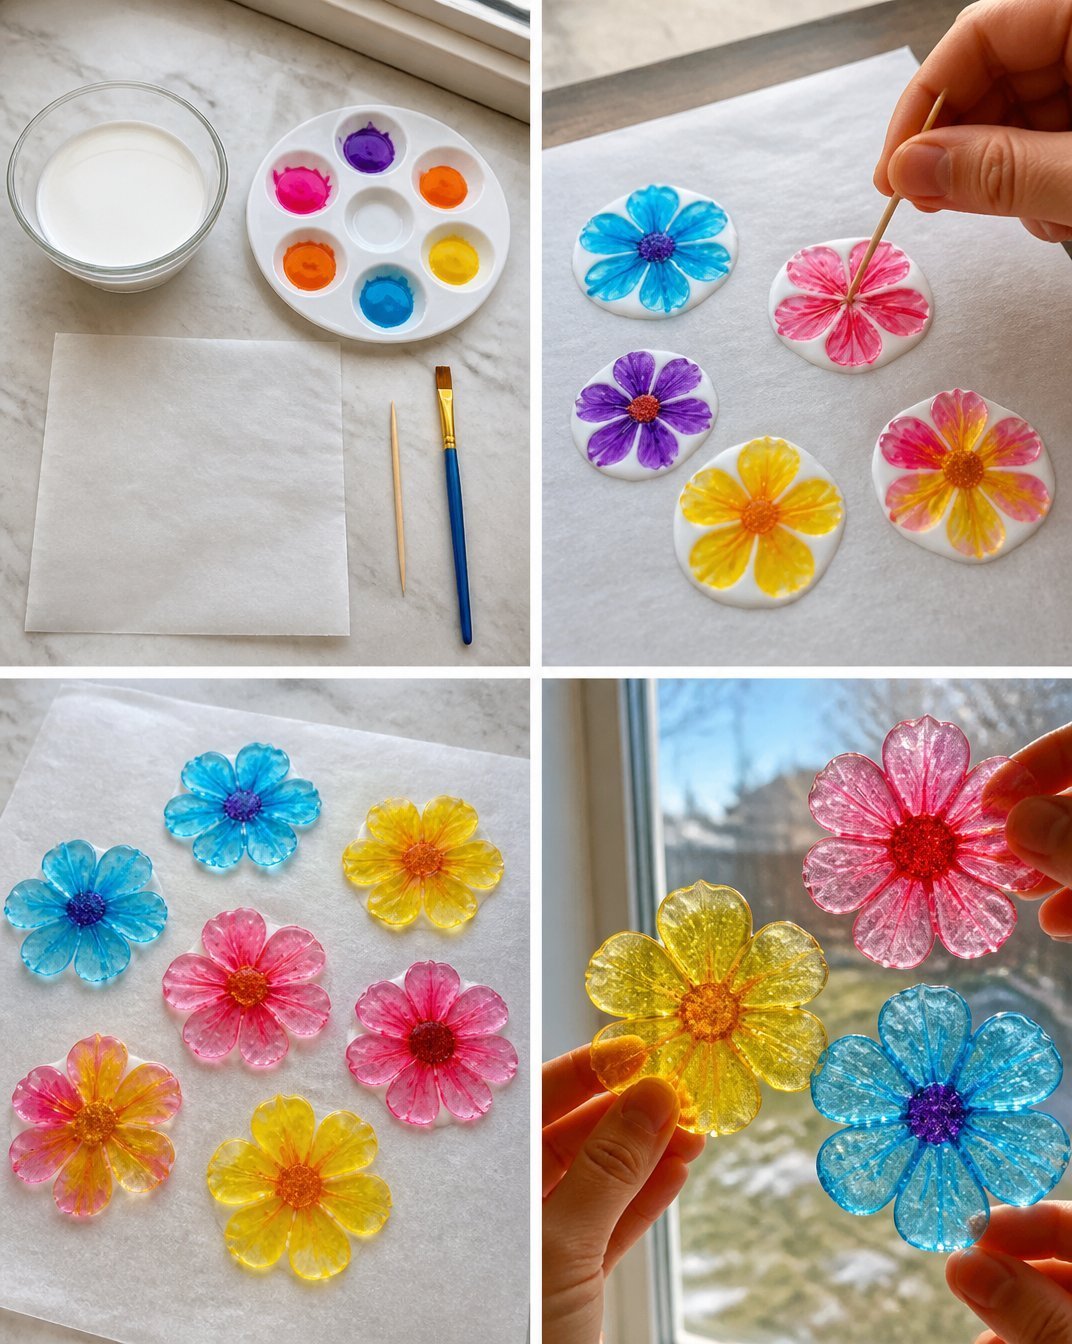
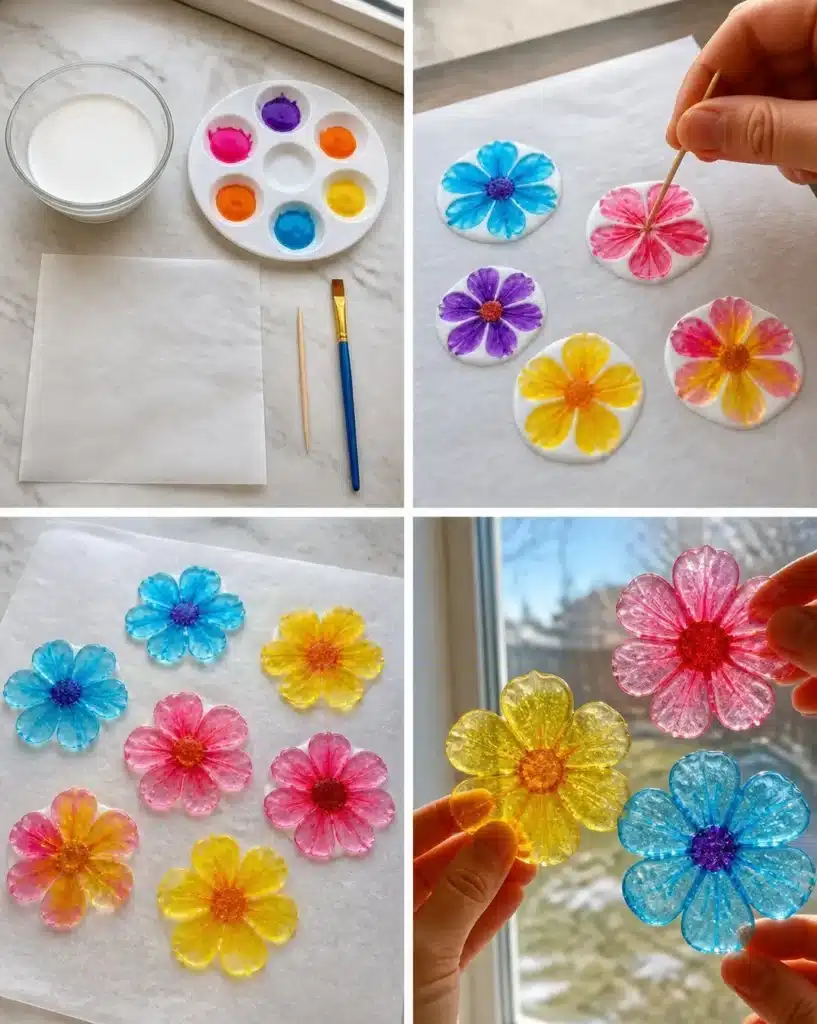
Begin by laying out the parchment paper on a flat, level surface where little hands can easily access it. This ensures that your workspace is clear and ready for creativity.
Next, drop small dollops of glue onto the paper. Use about a tablespoon of glue for each flower you want to create.
Mix in a drop of acrylic paint for each color you’d like to use. Each dollop of glue should be vibrant and colorful, allowing for gorgeous flower designs.
With the toothpick, gently swirl the paint into the glue to create lovely patterns that mimic beautiful flowers. You can create a marbling effect by swirling lightly without over-mixing.
Be patient and allow the flower shapes to air dry completely for 24 hours until they become clear and firm. This is a crucial step as proper drying time allows the colors to set and the glue to hold.
Finally, peel the finished faux stained-glass pieces carefully from the paper. You can now display your colorful creations, ready to brighten your home.
How to Display DIY Faux Stained-Glass Flowers That Glow
These stunning flowers can be displayed in numerous ways to showcase their beauty. Consider placing them in your windows to maximize the light that filters through, creating an inviting and cheerful atmosphere indoors. You can also set them on shelves, use them as table centerpieces, or incorporate them into seasonal decor.
These creations make fantastic handmade gifts, too, as they infuse a personal touch that store-bought items often lack. You can present them in a lovely vase or wrap them as a creative gift for birthdays or holidays.
Tips for the Best Result
Here are some practical tips to help you achieve the best results with your faux stained-glass flowers:
- A little glue goes a long way; too much can cause the finished product to warp.
- Swirl the paint gently to prevent excess bubbles from forming in your designs.
- For a cleaner look, try to keep the paint contained within your glue circular borders.
- Keep the colors distinct by cleaning your toothpick between colors, ensuring they don’t mix prematurely.
- Allow ample time for drying; if the pieces are still tacky after 24 hours, let them dry longer.
Common Mistakes to Avoid
While crafting is meant to be fun, there can be a few hiccups along the way. Here are some common issues and how to handle them:
Problem: The flowers become cloudy instead of clear.
- Cause: This usually happens if the layers of glue were too thick or if they didn’t dry for long enough.
- Fix: Allow them to dry longer, or ensure you’re applying thinner layers next time.
Problem: The paint mixes too much with the glue.
- Cause: Over-swirl can cause the colors to bleed into one another.
- Fix: Work quickly and gently when swirling to create defined lines.
Problem: The pieces stick to the parchment paper.
- Cause: Using parchment paper that’s not non-stick or over-application of glue can lead to this.
- Fix: Use high-quality non-stick parchment paper and apply glue in moderation.
Creative Variations
If you’d like to personalize your DIY Faux Stained-Glass Flowers further, consider the following variations:
- Colors: Experiment with pastel shades for a softer look or vibrant neons for a bold impact.
- Patterns: Create swirl designs, stripes, or even hearts to match themes for events like Valentine’s Day or birthdays.
- Add-ons: Incorporate glitter into the glue mix for an eye-catching sparkle.
- Shapes: Instead of flowers, try making leaves or abstract shapes for a unique display piece.
These variations can add a delightful twist to your basic design!
How to Store DIY Faux Stained-Glass Flowers That Glow
Taking care of your creations is essential for keeping them vibrant. Here are some tips on storing your finished crafts:
- Dusting: Occasionally dust your faux stained-glass flowers to keep them looking their best.
- Avoid Moisture: Keep them in a dry location, as moisture can affect the glue’s integrity.
- Protection: If displaying near windows, consider rotating them to avoid prolonged direct sunlight, which can fade colors over time.
- Seasonal Storage: If using them for specific seasons or holidays, wrap them carefully in tissue paper and store in a box to prevent damage.
A Quick Safety Note
As with any craft project, it’s essential to take precautions. Ensure that young children are supervised when using scissors or mixing materials. The glue and paints, while generally safe, should be kept out of reach of younger children to avoid ingestion.
FAQs About DIY Faux Stained-Glass Flowers That Glow
Q: How long does it take to make these flowers?
A: The actual crafting process takes about an hour, but don’t forget to allow for a full 24 hours of drying time.
Q: Can I use a different type of glue?
A: While white school glue works best for this project, you can use other clear-drying craft adhesives if needed.
Q: Will the colors run if I use too much glue?
A: Yes, excess glue can cause the paint to bleed, so be mindful of the amount you apply.
Q: Can children make this craft?
A: This project is suitable for children with adult supervision, especially with the use of scissors and paints.
Conclusion
Crafting DIY Faux Stained-Glass Flowers That Glow is not only a joyful activity but also a way to infuse your space with color and beauty. The steps are clear and straightforward, making it easy for anyone to create lovely decorations. As you explore variations and storage options, remember to let your creativity shine!
For more creative ideas, check out more faux stained glass Mickey ears for a playful twist on this technique or consider a flower lantern craft kit for additional crafting fun with kids. Enjoy the process and happy crafting!
Follow us on social for more recipe ideas & inspiration!
DIY Faux Stained-Glass Flowers
Would you like to save this recipe?
By submitting you agree to receive this recipe and occasional emails. Unsubscribe anytime.
Ingredients
Main Materials
- 1/2 cup clear white school glue Provides a clear, sturdy base.
- 2 tablespoons acrylic paint in assorted bright colors Choose vibrant, opaque colors for the best effect.
- 1 sheet non-stick parchment paper Prevents sticking and makes cleanup easier.
- 1 toothpick toothpick for swirling colors For creating patterns in the glue and paint.
- 1 small paintbrush For applying paint if necessary.
Helpful Tools
- 1 pair scissors For trimming excess paper if needed.
- 1 optional spatula or palette knife For easier spreading of glue.
Instructions
Setup
- Lay out the non-stick parchment paper on a flat, level surface.
- Ensure the workspace is clear and ready for creativity.
Create Flowers
- Drop small dollops of glue onto the paper, using about a tablespoon for each flower.
- Mix in a drop of acrylic paint for each color you'd like to use.
- Gently swirl the paint into the glue using the toothpick to create patterns.
- Allow the flower shapes to air dry completely for 24 hours.
- Carefully peel the finished faux stained-glass pieces from the paper.
Display
- Display the flowers in windows, on shelves, or as table centerpieces.
- Consider giving them as handmade gifts in a lovely vase.
Last Step: Don’t forget to leave a rating and comment below! It helps other readers find the best recipes — and it helps us too!
Tips & Notes:
Nutrition Information: Serving: 1 | Calories: | Carbohydrates: | Protein: | Fat: | Sodium: | Fiber: | Sugar:
Nutritional information is provided as a courtesy and calculated automatically. Values can vary depending on the brands and ingredients you use, so if you’re tracking closely, I recommend calculating with your own preferred tool.