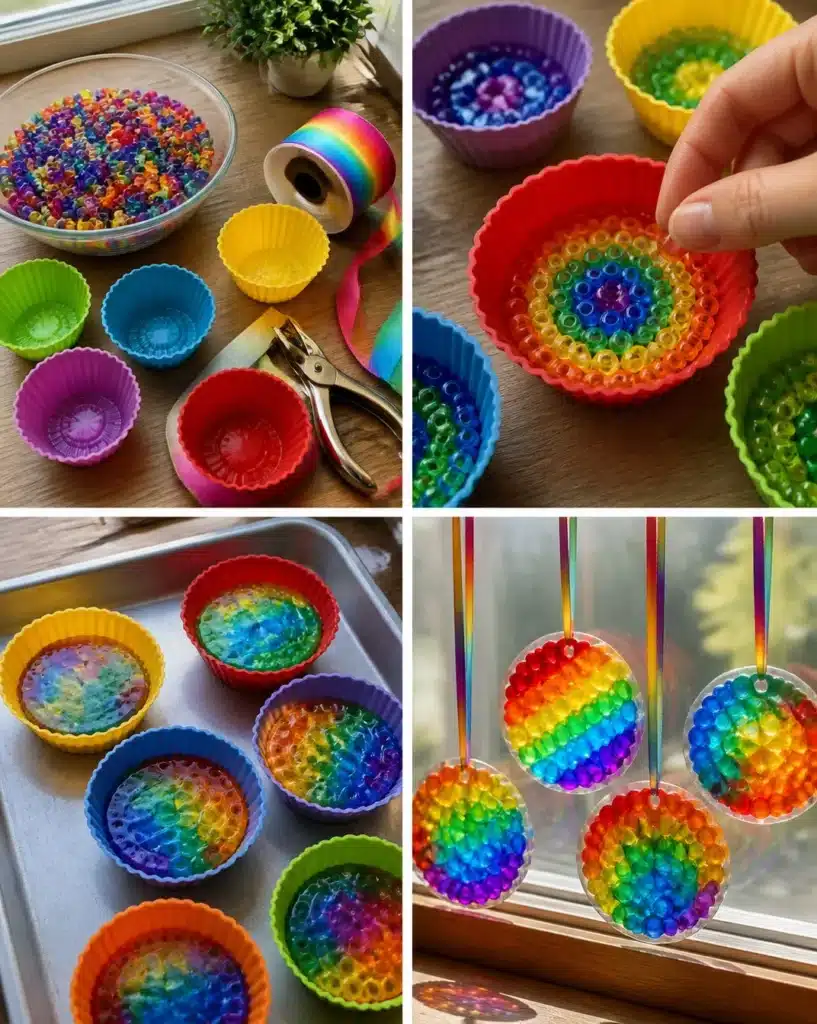
Melted Rainbow Bead Window Drops are a delightful and colorful craft that any DIY enthusiast will adore. These vibrant decorations can brighten up any window, transforming everyday light into a spectacle of colors as the sun shines through. Whether you’re looking to add a personalized touch to your home decor, create a lovely gift, or simply enjoy a fun crafting project with friends or family, making these window drops is both simple and enjoyable. You may also find Sweet Sour Vodka Rainbow Rollups useful.
Crafting with melted beads offers a unique blend of creativity and fun. As you arrange the beads, you can let your artistic side take over, creating a visual masterpiece with ease. Plus, once melted, the translucent beads create a beautiful shine, making these drops a lovely addition to any window. It’s an ideal project for all ages, allowing young crafters to explore their creativity under adult supervision—perfect for an afternoon activity or a weekend craft session.
Why Melted Rainbow Bead Window Drops Are Worth Making
Making Melted Rainbow Bead Window Drops is a fantastic DIY project for several reasons. First and foremost, the materials are easily accessible. Transparent pony beads and silicone baking cups can often be found at local craft stores or online, making this project budget-friendly. The joyful design allows for great customization, letting each crafter create something unique that reflects their style.
Moreover, this craft is beginner-friendly. The steps are straightforward, involving arranging beads, melting, and assembly, making it suitable for those who may be new to crafting. The end result is visually striking—catching light in a way that adds warmth to your space.
Additionally, these colorful gems can be used in various ways. Hang them in windows for a cheerful display, use them as decorations for parties, or even make them as gifts. They serve as a thoughtful present for teachers, friends, or family members, showcasing not only your creativity but your thoughtfulness in making something by hand.
Getting Ready to Make Melted Rainbow Bead Window Drops
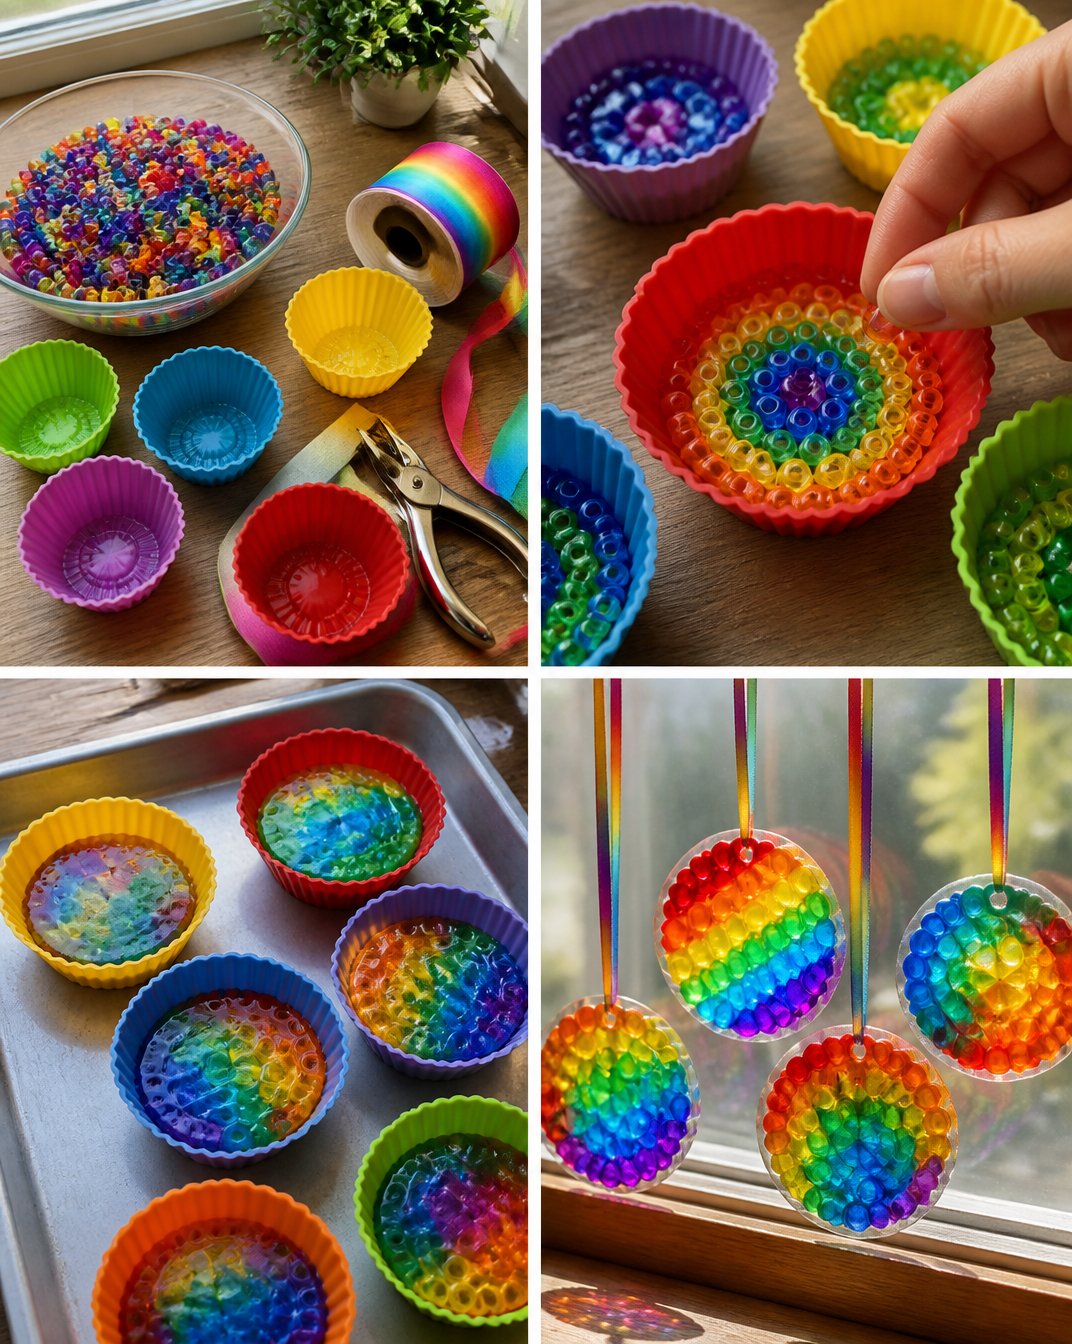
Before diving into the fun, it’s essential to set the stage for your crafting adventure. You’ll want to gather your materials and create a comfortable workspace. Working with silicone baking cups on a flat, non-stick surface can help with easy removal after the beads have melted.
The finished project should appear as beautiful, glossy beads shaped into your chosen designs and themes. All these pieces will have a bit of shine to them, capturing light wonderfully. Remember that this project involves high heat from the oven, so having adult supervision is crucial, especially for younger craft enthusiasts.
Materials You’ll Need
- Transparent pony beads
- Silicone baking cups
- Ribbon
- Hole punch
Helpful Tools
Having a baking tray on hand is useful for fitting the silicone cups into the oven safely. This project doesn’t require heavy-duty tools, but the hole punch will be essential for creating a space to thread the ribbon.
How to Make Melted Rainbow Bead Window Drops
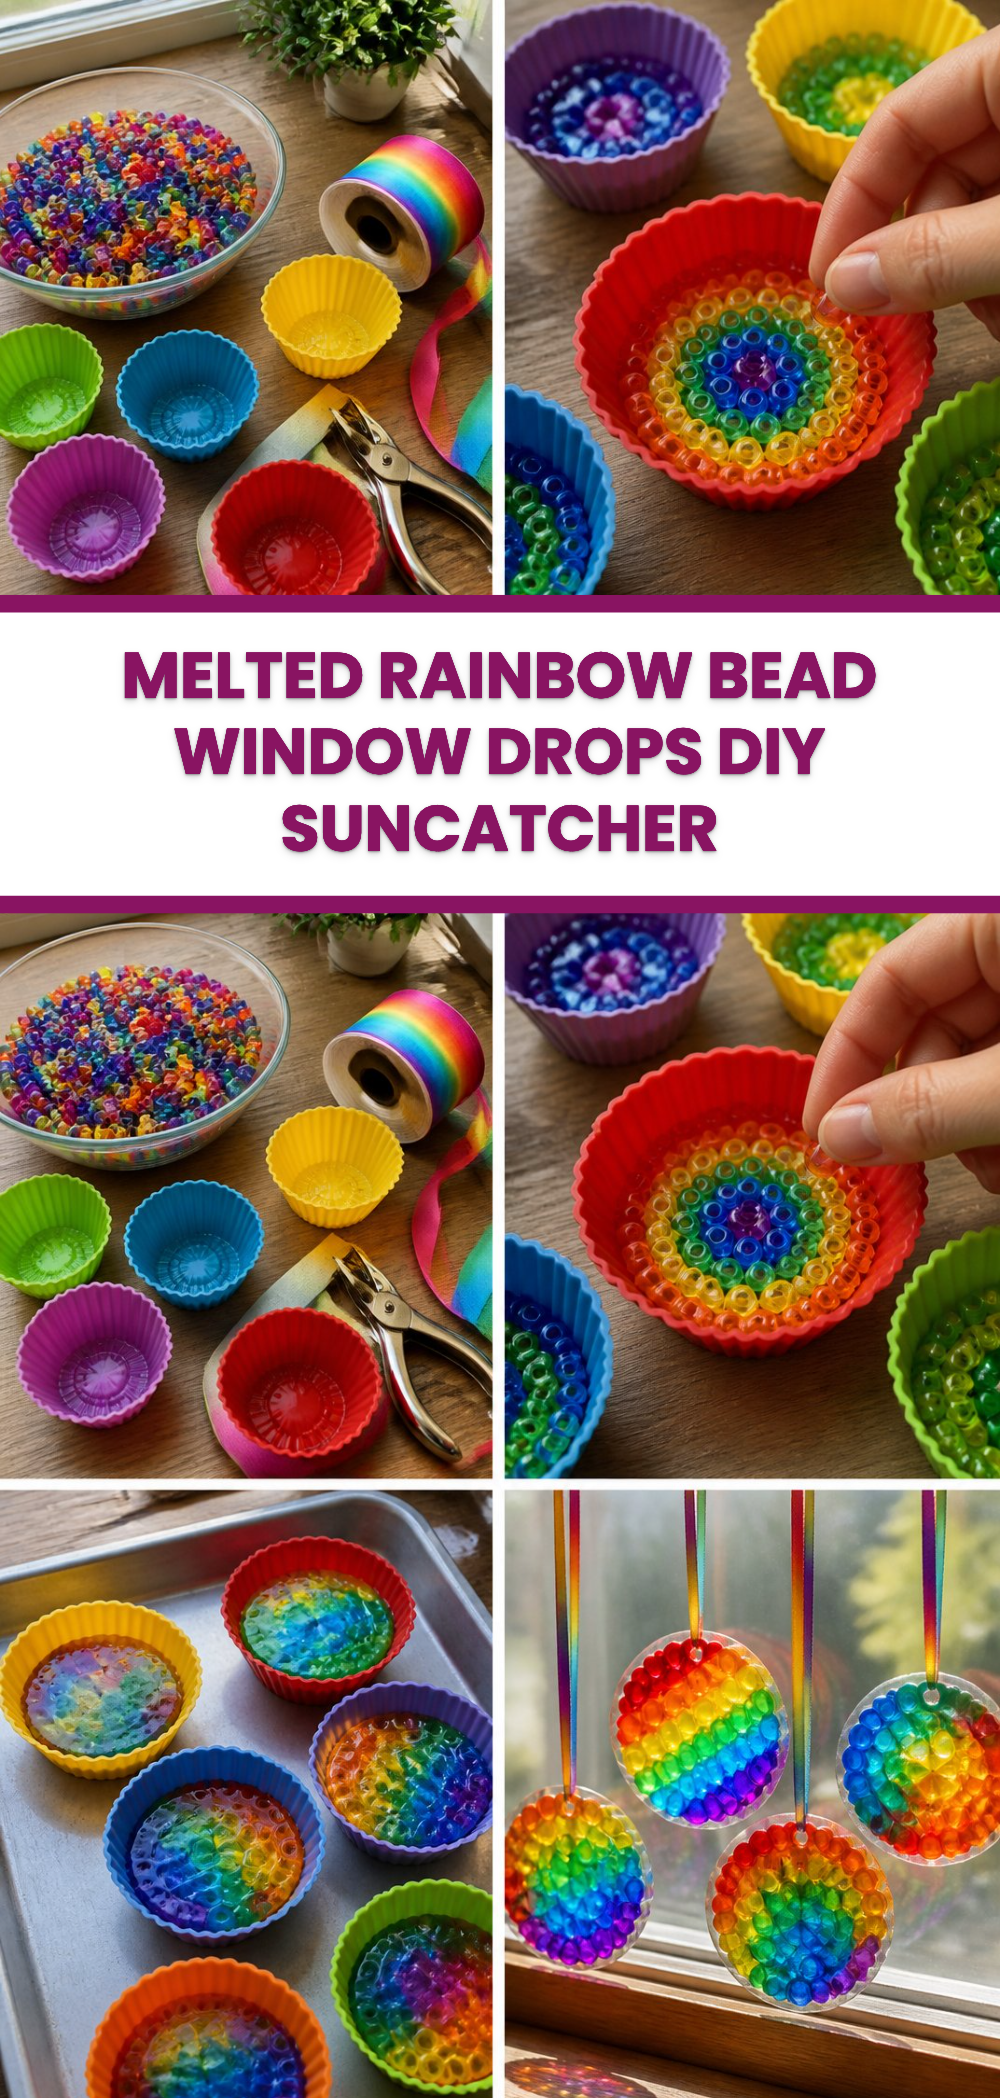
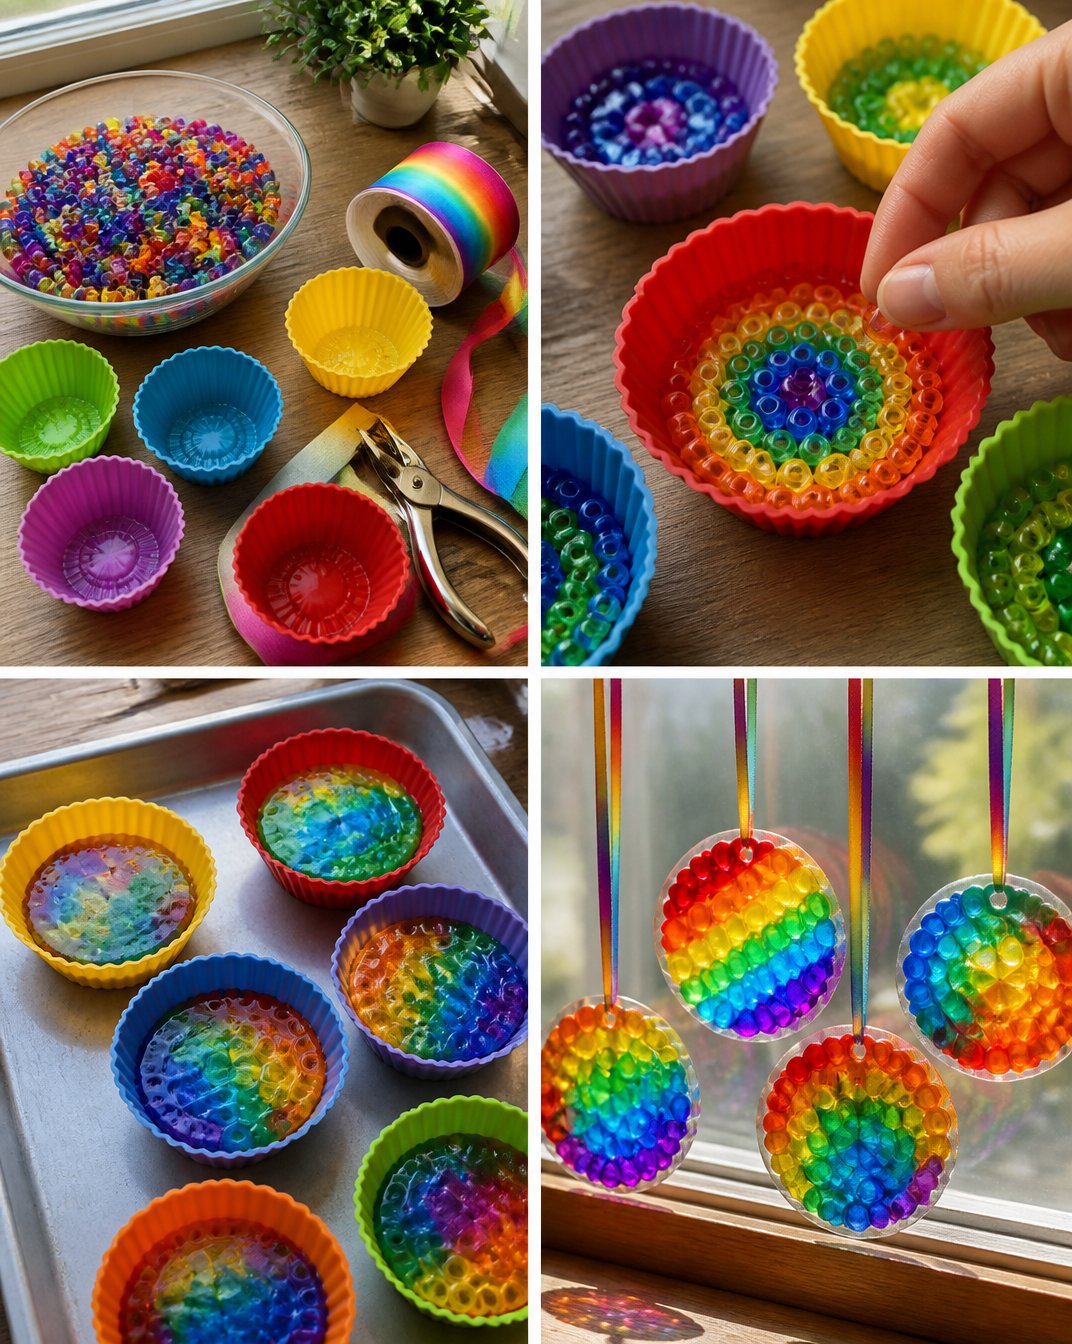
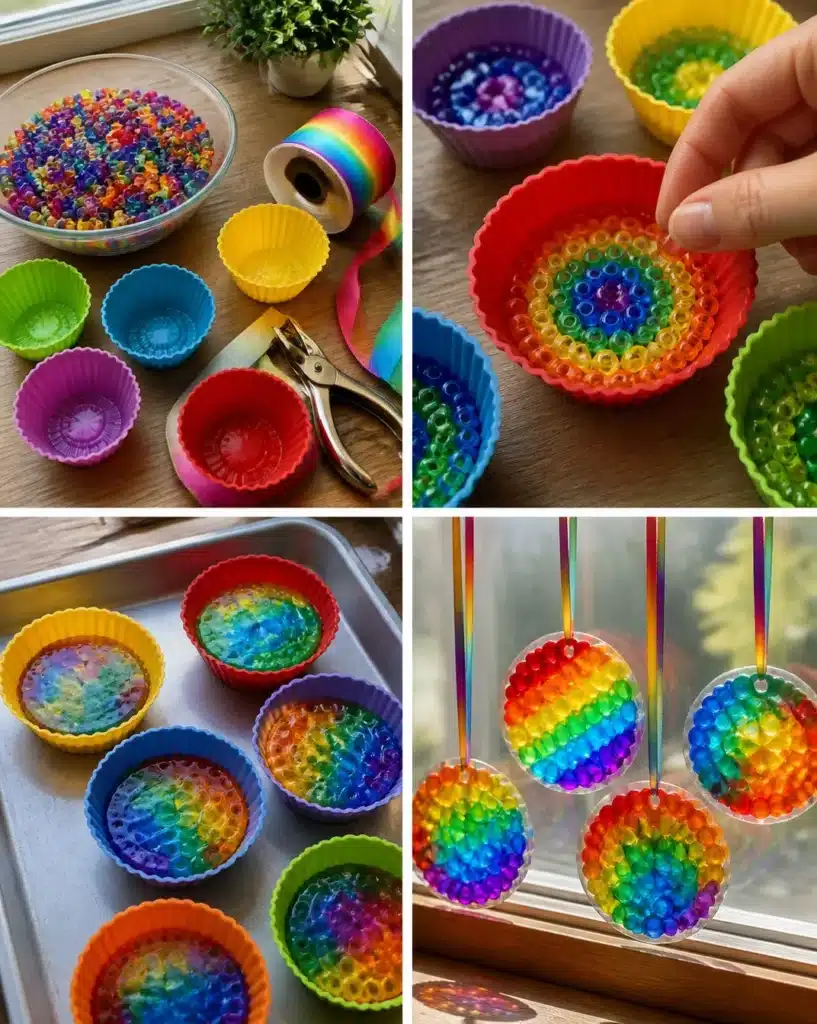
Begin by arranging the colorful pony beads in a fun design inside your silicone baking cups. Let your creativity shine through the designs you create with the fresh, vibrant colors of the beads!
With adult supervision, melt the beads in the oven according to the manufacturer’s guidance. This part is best done by a grown-up, allowing everyone to see the magic unfold as the beads melt together.
Once melted, allow the beads to cool completely in the silicone cups. This cooling step is crucial; if you attempt to remove them too soon, they may break or lose their shape.
After they’ve cooled, gently pop the melted beads out of the cups. Be cautious here, as they may be fragile.
Use a hole punch to make a small hole near the top of each design. This will allow you to thread a piece of ribbon through for hanging.
Finally, hang your lovely creations in a sunny window and watch them glow with vibrant colors—a perfect addition to any room!
How to Display Melted Rainbow Bead Window Drops
These colorful decorations are best shown off in places with sufficient sunlight. Windowsills are perfect as they allow light to shine through beautifully. You can also use them to brighten up a door frame or even in a classroom setting as cheerful decorations.
Additionally, consider creating a seasonal display. For holidays, these window drops can add a festive touch. For example, using red and green beads for Christmas or pastels for spring.
Tips for the Best Result
Even Placement: When arranging your beads in the molds, make sure they are evenly spaced. This ensures an even melt and a consistent look.
Avoiding Overcrowding: Don’t overfill the molds with beads. Leave some space, as they will expand when melted and may form air bubbles if packed too tightly.
Cooling Time: Be patient during the cooling process. Rushing this step can lead to uneven shapes or cracks.
Using Quality Beads: Opt for high-quality pony beads to ensure that they melt properly and hold their shape once cooled.
Common Mistakes to Avoid
Not Checking Oven Temp: Make sure to confirm your oven’s temperature setting. If it’s too high, the beads may burn instead of melt.
Removing Too Soon: Removing the beads from the molds while still warm can cause them to break or lose their shape.
Using Improper Molds: Ensure that the molds are silicone, as metal pans can stick and make removing the final product difficult.
Creative Ways to Make It Your Own
Color Patterns: Experiment with unique color arrangements and patterns. For instance, create a gradient or rainbow effect by arranging the beads in a spectrum.
Themed Designs: You can create themed pieces, such as hearts for Valentine’s Day or stars for a summer decor.
Mixed Materials: Consider combining other decorative elements such as glitter or small charms in the silicone cups before adding the beads for added detail.
How to Store Melted Rainbow Bead Window Drops
If you need to store your completed window drops, keep them in a cool, dry place away from direct sunlight. Dust them occasionally to maintain their bright appearance. If storing for a season, consider placing them in a padded box to prevent them from scratching each other.
A Quick Safety Note
When working with the oven, it’s crucial to ensure that adults handle any heated materials. Make sure that the workspace is clear of flammable materials and that younger crafters are supervised at all times.
FAQs About Melted Rainbow Bead Window Drops
How long does this craft take?
Total time is approximately 1 to 2 hours, factoring in preparation, melting, and cooling time.
Can I use different materials?
While transparent pony beads yield the best results, experimenting with different colors may work. Just ensure they are safe for melting.
What do I do if the beads don’t melt properly?
Make sure you check the temperature of the oven. If they are not melting, they may require a slightly higher temperature.
Can children make these on their own?
While older children may manage the project with minimal supervision, younger kids will need adult help, especially during the melting process.
Conclusion
Making Melted Rainbow Bead Window Drops is an enjoyable craft project that can brighten your living space and spark creativity. If you’re looking for more fun and engaging projects, consider exploring these Teen-To-Go Projects – Goffstown Public Library for further inspiration. Additionally, for more ideas on using melted crafts, check out Melted Pony Bead Ornaments – Sarah Jane’s Craft Blog, which offers an array of creative options to try at home!
Follow us on social for more recipe ideas & inspiration!
Melted Rainbow Bead Window Drops
Would you like to save this recipe?
By submitting you agree to receive this recipe and occasional emails. Unsubscribe anytime.
Ingredients
Main Ingredients
- 1 bag Transparent pony beads Choose various colors for vibrant designs.
- 6 cups Silicone baking cups Ensure they are silicone to ease removal after melting.
- 1 piece Ribbon For hanging the finished beads.
Tools
- 1 piece Hole punch To create holes for threading the ribbon.
- 1 tray Baking tray To hold the silicone cups in the oven.
Instructions
Preparation
- Arrange the colorful pony beads in a fun design inside your silicone baking cups.
- With adult supervision, melt the beads in the oven according to the manufacturer's guidance.
- Allow the beads to cool completely in the silicone cups.
- Carefully pop the melted beads out of the cups.
- Use a hole punch to create a small hole near the top of each design for threading the ribbon.
- Hang your creations in a sunny window.
Last Step: Don’t forget to leave a rating and comment below! It helps other readers find the best recipes — and it helps us too!
Tips & Notes:
Nutrition Information: Serving: 1 | Calories: | Carbohydrates: | Protein: | Fat: | Sodium: | Fiber: | Sugar:
Nutritional information is provided as a courtesy and calculated automatically. Values can vary depending on the brands and ingredients you use, so if you’re tracking closely, I recommend calculating with your own preferred tool.