There’s something oddly comforting about that sharp, tangy kick you get from a good batch of salt and vinegar chips. It’s the kind of flavor that lingers in the best way bold, nostalgic, and strangely addictive. The first time I tried recreating salt and vinegar seasoning at home, it was for a movie night with friends. I wanted something better than the usual store-bought stuff, so I pulled out my grandmother Dalida’s old notes she used to make her own blends for popcorn and fries, back when “DIY” wasn’t trendy, it was just how you cooked. What I discovered was a simple but magical formula.
I’ll be honest: the first batch was way too salty. The second one didn’t have enough vinegar punch. By the third try, my Nashville kitchen smelled like a pickle factory, and my grandmother who’d stopped by unannounced stood in the doorway with her arms crossed and said, “Olivia, if you’re measuring salt like a scientist, you’ve already lost the joy of cooking.” She had a point. But I also learned that a little precision, paired with intuition, creates something truly worth keeping in your pantry.
In this guide, I’ll walk you through what salt and vinegar seasoning really is, how to make it from scratch using two different methods, which ingredients work best, and how to use it on everything from roasted chickpeas to savory breakfast wraps. Whether you’re trying to avoid artificial additives or just want full control over flavor, this is your go-to resource for that classic tangy kick done right, at home, in minutes.
What Is Salt and Vinegar Seasoning?
Origins and Why We Love It
Salt and vinegar seasoning has roots in British pub culture, where malt vinegar and coarse salt were shaken over hot fish and chips straight from the fryer. That combination sharp acidity balanced with savory salt became iconic. Over time, the flavor migrated from corner chip shops into snack aisles, showing up on kettle-cooked crisps, popcorn, and even roasted nuts.
Today, it’s not just a chip topping. You’ll find it tossed on air-fried chickpeas, dusted over roasted vegetables, and even stirred into salad dressings or yogurt-based dips. The combination of acidity and saltiness is uniquely crave-worthy it wakes up your taste buds without overwhelming them.
If you’re already into customizing your pantry staples, like the sea-salt toppings we use in our Pink Salt Trick Recipe for Weight Loss, you’ll find salt and vinegar seasoning just as easy and versatile to mix at home.
Why Homemade Beats Store-Bought Every Time
Making your own salt and vinegar seasoning gives you complete control over ingredients, intensity, and texture. Most commercial blends rely on vinegar powder mixed with salt, plus stabilizers like maltodextrin, anti-caking agents, and sometimes artificial flavoring. That’s fine for shelf life but you’re not getting a clean, kitchen-fresh taste.
By going DIY, you can:
- Choose your favorite salt texture (fine, flaky, or coarse)
- Adjust vinegar tang to match your personal taste
- Skip unnecessary fillers and preservatives
- Add extras like chili flakes, garlic powder, or a hint of sweetness
If you’re already experimenting with homemade pantry items like our Homemade Blue Curaçao Syrup, this tangy spice mix will feel like second nature.
Salt and Vinegar Seasoning Ingredients (with Variations)
Types of Salt: Sea, Kosher, or Table?
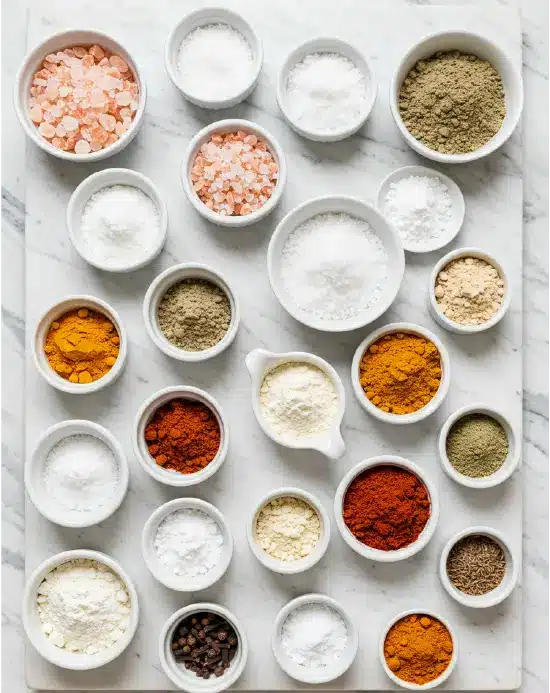
When making salt and vinegar seasoning at home, your choice of salt makes a real difference in both flavor and texture. Here’s a breakdown of the most commonly used options:
- Sea salt: Known for its briny complexity and larger flakes, sea salt is perfect for seasoning snacks like homemade popcorn or fries. It dissolves slowly, delivering layered flavor with every bite. It’s a favorite in many kitchens just like we use in our Brown Sugar Bacon Twist for that satisfying crunch.
- Kosher salt: This type is flakier and lighter than table salt, which makes it ideal for more even distribution. If you’re using it in a spice shaker, it won’t clump as quickly as finer salts. It’s also less “salty” by volume, meaning you can use more without overwhelming the dish.
- Table salt: While accessible and affordable, table salt is often iodized and has a sharper flavor. It’s very fine and dissolves fast great for spice blends you want to stick to food instantly (like for roasted chickpeas or crisps). However, it clumps easily, so pair it with anti-caking agents or use immediately after blending.

For most DIY blends, sea salt or kosher salt tends to work best. If you’re new to this, try starting with half sea salt and half kosher then tweak from there based on texture preference.
Vinegar Options: Malt, White, or Apple Cider
The “vinegar” in salt and vinegar seasoning usually comes in powder form but the source vinegar still matters for flavor.
- Malt vinegar powder: This gives your mix that classic British chip shop tang. It’s robust, slightly sweet, and perfect if you’re after an old-school pub snack flavor.
- White vinegar powder: Made from distilled vinegar, this is your clean, sharp option. If you’re adding herbs or spices like chili or garlic later on, start with white vinegar powder to keep the flavor neutral and balanced.
- Apple cider vinegar powder: Slightly fruity with a softer edge, this works well in blends where you’re also adding sweetness like for Tajín-style seasoning or even on sweet potato fries.
For a balanced DIY blend, I recommend starting with 2 parts salt to 1 part vinegar powder. You can always increase the vinegar later for a stronger punch.
If you’re into customizing the feel-good staples in your kitchen, this is just like how we fine-tuned acidity and sweetness in our Blue Hawaiian Cocktail Recipe different ingredients can totally transform the outcome.
Salt and Vinegar Seasoning Recipes & Methods
Method 1: Simple Vinegar Powder + Salt Blend (5 Minutes)
If you’re after a no-fuss, pantry-friendly method, this is your winner. The salt and vinegar seasoning you find on snack aisle chips is often nothing more than vinegar powder mixed with salt and you can do the same at home in under 5 minutes.
What You’ll Need:
- 2 tablespoons sea salt or kosher salt
- 1 tablespoon vinegar powder (malt, white, or apple cider)
Optional add-ins:
- ¼ teaspoon cornstarch (helps prevent clumping)
- ⅛ teaspoon citric acid (for extra tang)
- Pinch of garlic or onion powder
How to Make It:
- Add salt and vinegar powder to a bowl.
- Whisk together until fully combined.
- Store in an airtight container preferably glass to preserve flavor.
You can sprinkle this directly onto fresh popcorn, roasted nuts, or air-fried veggies. For a protein-friendly twist, try dusting it on snacks alongside our Protein Coffee Recipe for a bold and energizing combo.
This method shines for its speed and simplicity. It’s also the easiest way to experiment with small batches so you can try out new variations, like adding a hint of chili or dried parsley.
Method 2: Paste-Dry Method (Old-School Home Drying)
Long before powdered vinegar became a pantry item, home cooks were drying real vinegar into salt using basic kitchen tools. This old-school method takes time but gives you intense flavor with no additives.
What You’ll Need:
- 2 tablespoons sea salt
- 1 tablespoon white or malt vinegar
- Optional: ½ teaspoon cornstarch
How to Make It:
- In a small bowl, mix salt and vinegar until it forms a thick paste.
- Spread the paste on a parchment-lined baking tray.
- Let it air dry for 24–48 hours at room temperature, or place in a warm oven (under 200°F) for 2 hours.
- Once fully dry, crush any clumps using a mortar and pestle or blender.
- Add cornstarch if you want to reduce future clumping.
This method is ideal if you don’t have access to vinegar powder. It creates deep vinegar flavor baked into every grain of salt perfect for when you’re pairing it with complex dishes like our Maple Bacon Breakfast Wraps or homemade veggie chips.
If you’re curious, some DIY forums even suggest soaking bread in vinegar and dehydrating that though salt-based methods tend to give a stronger, longer-lasting flavor.
Comparison of DIY Methods
You’ve got two great ways to make salt and vinegar seasoning at home but which one suits your style, pantry, and schedule best? Below is a quick reference chart to help you choose the method that fits your needs, whether you’re making snack-sized batches or bulk seasoning blends.
| Method | Time Required | Equipment Needed | Flavor Intensity | Cost | Best For |
|---|---|---|---|---|---|
| Vinegar powder + salt blend | 5 minutes | Bowl, spoon, airtight jar | Moderate | Low–Moderate | Fast prep, popcorn, roasted snacks |
| Paste-dry (vinegar + salt) | 24–48 hrs air dry or 2 hrs oven | Tray, parchment, oven (optional), blender | High | Low | Stronger vinegar flavor, no special powders |
Each method has its strengths. If you want quick results, stick with the vinegar powder mix. But if you’re after bold, layered flavor, go old-school with the paste-dry version.
For example, when I want to season something fresh out of the oven like our crispy Cottage Cheese Bagels the dry blend is my go-to. But if I’m prepping a seasoning jar for the week, the paste-dry method is worth the wait.
How to Use Salt and Vinegar Seasoning
On Chips, Fries, Popcorn & Veggies
Homemade salt and vinegar seasoning isn’t just for potato chips it’s a game-changer for just about any savory snack. Its sharp, salty bite pairs perfectly with:
- Freshly baked fries: Toss sweet potato or russet fries in olive oil, roast until crisp, and sprinkle on the seasoning while hot so it sticks.
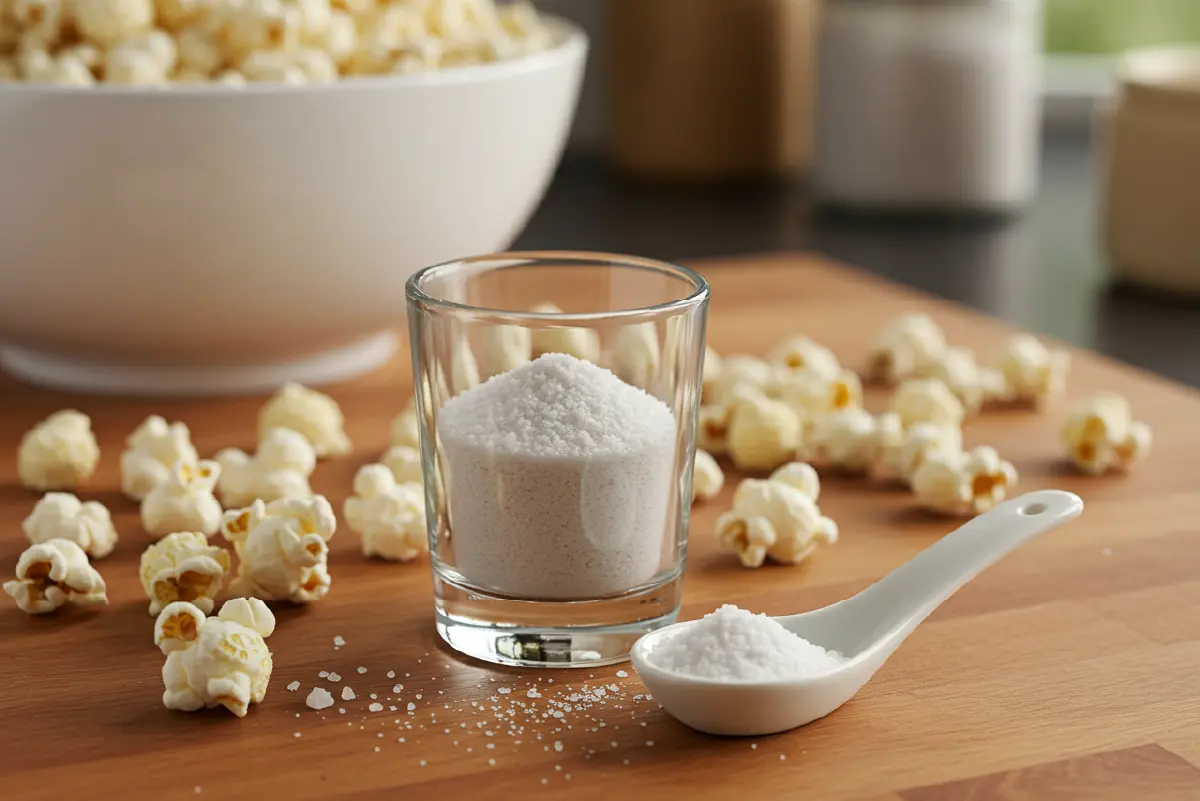
- Popcorn: A few shakes of the dry vinegar blend on buttered popcorn gives that nostalgic movie snack a tangy twist.
- Air-fried or roasted chickpeas: For a protein-rich, crunchy snack, roast chickpeas and dust them with your blend right before serving.
- Zucchini or kale chips: The seasoning cuts through the earthy flavor and crisps beautifully on dehydrated veggies.
Many readers who enjoy our Weight Loss Drink Recipes also look for low-calorie snacks to pair them with these vinegar-seasoned veggies make the perfect match.
Pro tip: Always season while the food is still warm to help the vinegar powder and salt adhere better.
As a Dry Rub or in Salad Dressings
What makes salt and vinegar seasoning so versatile is its ability to move beyond snack foods. You can fold it into your everyday cooking in a few clever ways:
- Dry rub for meats: Mix your seasoning with paprika, garlic powder, and a pinch of brown sugar for a tangy rub on chicken wings or ribs.
- Egg salad or tuna salad: Add a small pinch into your mix instead of using extra mustard or lemon juice.
- Homemade dressings: Combine ½ teaspoon of your seasoning with olive oil, a dash of Dijon, and a splash of water or yogurt for a quick vinaigrette. The vinegar powder dissolves nicely and adds zip.
- Savory yogurt dip: Stir it into Greek yogurt with herbs for a salty-sour dip perfect for raw veggies or high-protein snacks.
One of my favorite tricks? Sprinkling it over toasted bagel halves like we do in our High Protein Bagel Recipes for a fun, zingy brunch twist.
Common Mistakes to Avoid When Making or Using It
Making salt and vinegar seasoning at home is simple but a few small missteps can mess with flavor or texture. Here’s what to watch for and how to avoid them.
Too Much Moisture: How to Prevent Clumping
One of the biggest issues with DIY salt and vinegar seasoning is clumping. Vinegar naturally introduces moisture, especially when you’re using liquid or paste-dry methods. Here’s how to stop your blend from turning into a sticky mess:
- Use cornstarch: Just ¼ teaspoon per batch helps absorb excess moisture and keeps your mix free-flowing.
- Dry thoroughly: If using the paste method, make sure your mix is completely dry before crushing and storing.
- Store it right: Keep it in an airtight glass jar, away from humidity or steam-prone areas (like above the stove).
If you love making your own blends like our How to Make Curaçao at Home guide these same moisture-control rules apply. Drying and storing correctly keeps your flavors fresh and textures crisp.
Overpowering Vinegar Taste: Balancing Acidity
Too much vinegar powder can quickly overwhelm the blend, making it harsh or unpleasant. Instead of going heavy-handed, aim for balance:
- Start with a 2:1 salt-to-vinegar ratio, then adjust to taste.
- Add a pinch of citric acid for extra zing without overpowering acidity.
- Round out flavors with garlic powder, onion powder, or even a dash of sugar if the vinegar tastes too sharp.
The beauty of homemade salt and vinegar seasoning is that you can customize it to fit your preferences. Some like a mellow background tang, others want a full-blown mouth-puckering punch. Either way, it should enhance not hijack your food.
Avoiding these common pitfalls makes your blend more versatile, so you can enjoy it on everything from simple snacks to complex dishes like our Blue Lagoon Spritzer Recipe.
Advanced Tips & Variations
Spice It Up: Adding Chili, Herbs, Garlic Powder
If you’re someone who likes a little fire in your flavor, there are endless ways to jazz up your salt and vinegar seasoning with extras. Once you’ve nailed your base mix, try building on it with a few of these bold add-ins:
- Chili powder or cayenne: Add heat that balances beautifully with acidity.
- Dried herbs: Dried thyme, rosemary, or dill give a savory, earthy touch.
- Garlic or onion powder: These add depth without stealing the spotlight.
- Smoked paprika: A hint of smokiness goes great on roasted potatoes or veggie chips.
Experiment in small batches until you find your signature twist. I’ve found that mixing garlic with vinegar powder creates something close to the tangy kick of a pickled snack and it pairs incredibly well with crispy proteins like our Protein Bagel Recipe with Greek Yogurt.
Salt and Vinegar Blends with Sweetness (e.g., Tajín-Style)
For a more complex flavor profile, consider adding a little sweetness to your salt and vinegar seasoning. Think of the popular Mexican seasoning Tajín, which balances citrus, salt, and mild chili with just a touch of sugar. Here’s how to do a similar version at home:
- Add ½ teaspoon coconut sugar or brown sugar to your base blend.
- Include lime or lemon powder along with vinegar powder for citrusy brightness.
- Top with mild chili flakes or smoked salt to create a layered taste.
This blend is perfect for rimmed cocktail glasses especially on drinks like our tropical Liquid Marijuana Cocktail or even sprinkled over fruit slices like pineapple or watermelon.
With these simple upgrades, your salt and vinegar seasoning becomes a dynamic pantry tool, not just a chip topping.
Store-Bought vs. Homemade: Which Is Better?
Popular Store Options (e.g., Badia, Mauro Provisions)
If you’re short on time or just curious, there are plenty of salt and vinegar seasoning products available online and in stores. Some of the more popular ones include:
- Badia Salt & Vinegar Seasoning: A favorite for popcorn lovers, it’s tangy but contains anti-caking agents and maltodextrin.
- Mauro Provisions Vinegar Powder Blend: Sold as a premium BBQ rub component, this seasoning leans savory and acidic with a smooth finish.
- Spice Jungle & My Spice Sage: Offer bulk vinegar powders for those who want to DIY but don’t want to start from scratch.
These are great in a pinch, but let’s break down the real pros and cons.
Taste, Cost, Shelf-Life Comparison
Here’s how homemade salt and vinegar seasoning stacks up against store-bought blends:
| Feature | Homemade Blend | Store-Bought Blend |
|---|---|---|
| Taste | Fresh, customizable, clean flavor | Consistent, sometimes artificial |
| Cost | Low (especially in bulk) | Moderate–high per ounce |
| Shelf Life | 2–3 months (if stored well) | 6–12 months (with preservatives) |
| Flexibility | Fully adjustable | Fixed recipe, may include allergens |
| Ingredients | Natural; you control everything | May contain MSG, maltodextrin, dyes |
Most store-bought blends serve one purpose: quick seasoning for popcorn or snacks. Homemade, on the other hand, lets you scale the flavor and skip the extras. If you’re already into DIY kitchen staples like our How to Make Authentic Mama Juana, you’ll appreciate the clean-label simplicity of homemade seasoning.
When stored correctly, your DIY salt and vinegar seasoning can last just as long as the store-bought kind especially if you use vinegar powder and airtight containers.
Bonus Tips: Storage & Shelf Life
Best Containers & Conditions
To keep your salt and vinegar seasoning fresh and flavorful, storage is key. Since moisture is the enemy, always:
- Use airtight containers preferably glass jars with sealing lids.
- Avoid plastic bags or shakers with loose tops that let in air or humidity.
- Store in a cool, dry place like a pantry or spice drawer, away from heat sources or steam.
If you plan to use the blend over several weeks (especially the paste-dried version), consider placing a small desiccant packet inside the jar to reduce any residual moisture.
How Long Does It Last?
Homemade salt and vinegar seasoning typically lasts:
- 2 to 3 months if made with vinegar powder
- 1 to 2 months if made with a paste-dried method using liquid vinegar
You’ll know it’s time to toss it if the mix clumps hard, loses aroma, or starts tasting flat. For best flavor, make small batches and use within a few weeks especially if you’ve added extras like garlic or herbs.
Just like how we recommend storing infused syrups in our Does Blue Curaçao Syrup Have Alcohol? article, proper sealing and placement can make all the difference in freshness.
Note Before You Try
The information shared in this post is based on personal experience and general wellness knowledge. It’s meant to inspire not replace professional medical or nutritional advice. Always consult your doctor or dietitian for personalized health guidance.
Your Questions About Salt and Vinegar Seasoning Answered
What ratio of salt to vinegar powder creates the best seasoning?
A good starting point for balanced flavor is 2 parts salt to 1 part vinegar powder. This ratio works well for most snacks and can be adjusted if you want a more intense vinegar bite. Just remember vinegar powder is potent, so build up slowly if you’re sensitive to tang.
Can I use liquid vinegar instead of vinegar powder?
Yes, but you’ll need to dry it. That’s where the paste dry method comes in mixing vinegar with salt, spreading it out, and drying it thoroughly before grinding. It’s a great option if you don’t have vinegar powder on hand but still want authentic salt and vinegar seasoning from scratch.
How long does homemade salt and vinegar seasoning last?
If stored in an airtight container, it can last 2 to 3 months. Be sure to keep it in a cool, dry place and use moisture absorbing ingredients like cornstarch to help prevent clumping.
Is cornstarch necessary in DIY seasoning?
Not required, but recommended. Cornstarch acts as an anti caking agent especially helpful if you’re using a paste dry method or storing the mix in a humid kitchen.
Can I add spices to make flavored salt and vinegar seasoning?
Absolutely. Try chili powder, garlic, onion, or even smoked paprika. You can also experiment with sugar for a sweet savory balance, similar to our citrus style blends in cocktail salt or seasoning rubs.
Your Kitchen, Your Flavor, Your Control
Making salt and vinegar seasoning at home is one of those small kitchen wins that feels bigger than it should. It’s budget-friendly, customizable, and surprisingly simple whether you’re using the quick vinegar powder method or going old-school with the paste-dry approach. Either way, you end up with a tangy, crave-worthy seasoning that works on far more than just chips.
From popcorn to roasted chickpeas, savory yogurt dips to homemade dry rubs, this blend brings bold flavor without the mystery ingredients or artificial aftertaste. And when you make it yourself, you get to control the salt level, the vinegar punch, and every little extra that makes it uniquely yours.
So the next time you’re craving that sharp, nostalgic tang don’t reach for the store-bought stuff. Pull out your pantry staples, whisk up a batch, and enjoy the satisfaction of knowing exactly what’s in your seasoning jar.
P.S. Love simple, feel-good recipes that bring flavor and wellness together? I share more homemade pantry staples, healthy breakfast ideas, and behind-the-scenes kitchen moments on my Facebook page. I’d love to have you there! 💛
If you loved this guide, be sure to check out more of our creative blends like Exploring Unique Gin Cocktails for Summer or grab our free recipe eBook packed with seasoning ideas and homemade snack pairings.
⚠️ Disclaimer:
This article offers general culinary advice. Always follow food safety guidelines to avoid contamination or spoilage.


