

Every time the scent of homemade chocolate cookies wafts through the house, I am transported back to my childhood kitchen. The air is filled with a rich, warm aroma that wraps around you like a beloved family quilt. I remember standing on a stool, peering over the counter as my grandmother expertly mixed together ingredients, her hands steady and sure. Those gentle moments spent together, wrapped in the sweetness of nurturing and love, created memories that would last a lifetime. Homemade chocolate cookies are not just a treat; they embody the heart of family traditions and the joy of shared connections.
The Heart Behind This Recipe
Homemade chocolate cookies have a special place in many kitchens. They capture the essence of comfort and familiarity, bringing people together around the table. Baking these cookies is a time-honored tradition in my family a ritual that marks celebrations, rainy days, and every ordinary moment in between. It’s fascinating how such a simple recipe carries the weight of history, love, and laughter.

As the cookies bake, the house transforms into a comforting haven where stories are exchanged and laughter bubbles over. Each batch brings with it a piece of our past, connecting generations through the shared experience of baking. It’s the little things, like the warmth from the oven or the joyful anticipation as we wait for them to cool, that make these cookies so special.
Preparing Homemade Chocolate Cookies
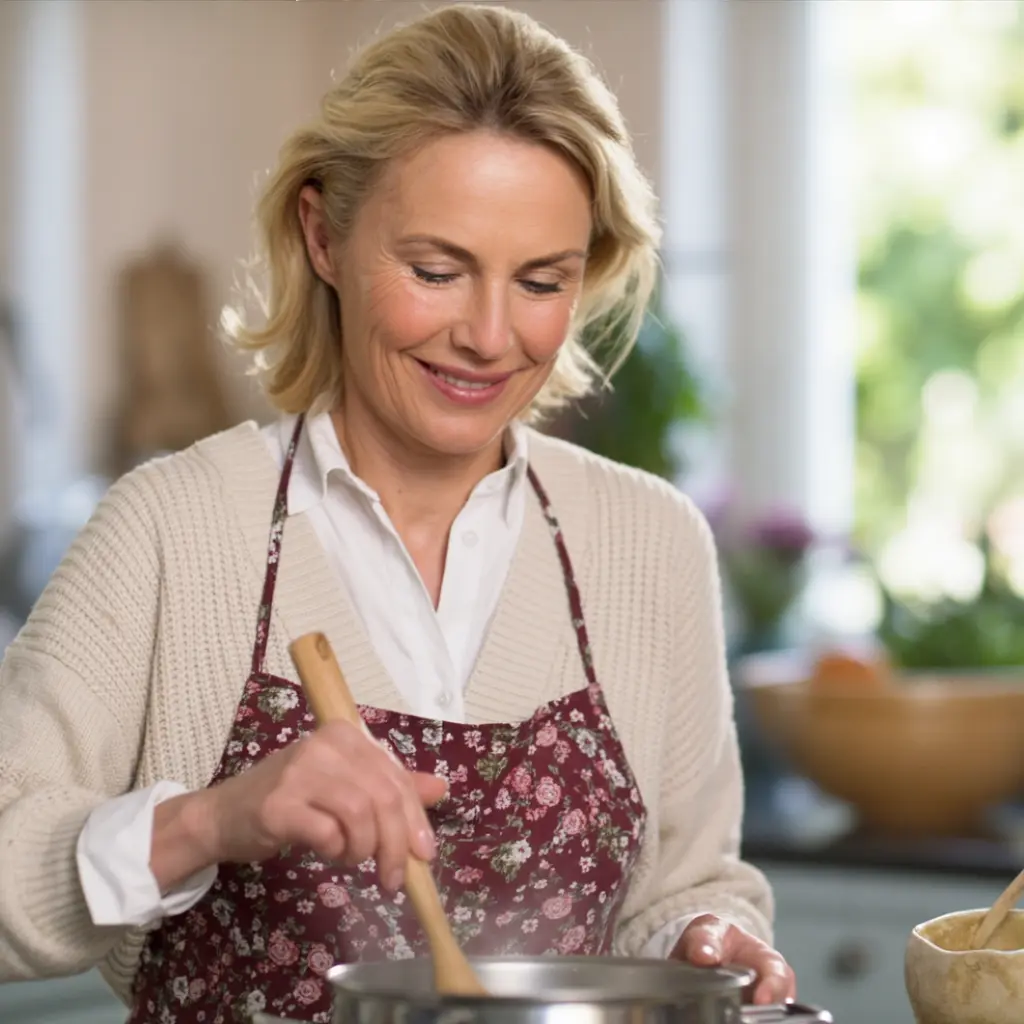
“Every time I stir this pot, it smells just like Sunday at home.”
Making homemade chocolate cookies is not an arduous task; rather, it is a simple yet delightful process that anyone can participate in. The ingredients come together beautifully, each contributing to the wonderful texture and flavor. You’ll notice the rich brown sugar, the decadent cocoa, and the inviting chocolate chips as they meld together.
Gather your ingredients and join me in this comforting journey. Let’s indulge in the experience of creating something magical with our own hands.
Gathering the Ingredients
To make these delightful cookies, you will need the following ingredients:
- 1 cup unsalted butter, softened
- 2 cups brown sugar, packed
- 2 large eggs
- 1 teaspoon vanilla extract
- 2 cups all-purpose flour
- 1/2 cup unsweetened cocoa powder
- 1 teaspoon baking soda
- 1/4 teaspoon salt
- 1 cup chocolate chips
When selecting your ingredients, always look for quality. Fresh eggs and unsalted butter provide the best flavors. If you desire a hint of brightness in your cookies, consider using pure vanilla extract; it adds a layer of depth that enhances overall flavor.
Step-by-Step Directions
- Preheat your oven to 350°F (175°C). This ensures the cookies bake evenly.
- In a large bowl, cream together the softened butter and brown sugar until smooth. The mixture should be light and fluffy, resembling a cloud.
- Beat in the eggs one at a time, then stir in the vanilla. This step adds moisture and rich flavor to the cookie base.
- In another bowl, whisk together the flour, cocoa powder, baking soda, and salt. This helps distribute the dry ingredients evenly.
- Gradually add the dry ingredients to the butter mixture, mixing until just combined. Avoid overmixing to keep the cookies tender.
- Fold in the chocolate chips gently, ensuring they’re evenly distributed throughout the dough.
- Drop spoonfuls of dough onto ungreased baking sheets, leaving space between each to allow for spreading.
- Bake for 10-12 minutes or until the edges are set. Keep an eye on them; the aroma will guide you.
- Allow to cool on the baking sheets for a few minutes before transferring them to a wire rack to cool completely. This step is crucial for achieving just the right texture.
As you work through these steps, take in the comforting scents and textures. Each mix, each fold, brings you closer to the joy of sharing your finished creation.
Bringing Homemade Chocolate Cookies to the Table
Once your batch of homemade chocolate cookies is ready, it’s time for the most rewarding part sharing them with loved ones. Picture this: the cookies are slightly warm, their edges crisp and the centers chewy. A light dusting of cocoa powder may cling to your fingers as you reach for one.

Gathering around the table, laughter fills the air as everyone digs in, savoring the chocolatey goodness. Children’s giggles mix with conversations about the day, memories unfolding with each bite. Such moments remind us that food is not just about nourishment; it is about connection.
Imagine serving the cookies alongside a glass of cold milk, or perhaps some freshly brewed coffee. The combination creates a feeling of warmth and satisfaction, a cherished experience that transcends generations.
Keeping the Comfort Alive
After indulging in your homemade chocolate cookies, you might be wondering how to preserve the goodness for tomorrow. Storing your cookies properly will ensure that they maintain their delightful flavors and textures.
To keep your homemade chocolate cookies fresh:
- Allow them to cool completely before storing.
- Store them in an airtight container at room temperature to maintain their chewy texture.
- If you want to extend their shelf life, consider placing a slice of bread in the container. The moisture from the bread will keep the cookies nice and soft.
- For longer storage, you can freeze the cookies. Just place them in a freezer-safe container with parchment paper between layers. Thaw them at room temperature before enjoying.
The flavors of these cookies may deepen after a day, making them even more enjoyable. The chocolate chips may become more melty, inviting you to experience the joy of this delightful treat all over again.
Dalida’s Little Secrets
In my years of baking, I’ve learned a few tips and tricks to enhance my homemade chocolate cookie experience. Here are some insights:
- Letting the dough rest in the refrigerator for 30 minutes can help the flavors meld together, resulting in a more intense chocolate flavor.
- If you like a hint of nuttiness, consider adding roughly chopped nuts or substituting half of the all-purpose flour with almond flour.
- Always keep an eye on your cookies while they bake. They are often best when they look just set but still soft in the center.
- Try adding a sprinkle of sea salt on top right before they finish baking. It creates a wonderful contrast to the sweetness.
These little secrets can elevate your cookies and bring new dimensions to this classic recipe.
Discover More Heritage Recipes
Every recipe carries a piece of memory, care, and tradition. If you enjoyed this dish, you might also love the other comforting meals I’ve shared from my kitchen. Each one is crafted with the same patience and heart that have guided me for decades.
Our Regional Touch
Over the years, my family has played with this traditional recipe, adorning it with regional flavors. Some of us have embraced local ingredients, incorporating things like chili powder for a subtle kick or maple syrup instead of some sugar for a lovely twist.
In some of our variations, a touch of espresso powder brings out the richness of chocolate even more. Others add fresh orange zest, which gives the cookies an unexpected but refreshing citrus note. These personalized touches not only create diversity within the recipe but also keep the spirit of family legacy alive.
Homemade Chocolate Cookies
Ingredients
Method
- Preheat your oven to 350°F (175°C).
- In a large bowl, cream together the softened butter and brown sugar until light and fluffy.
- Beat in the eggs one at a time, then stir in the vanilla.
- In another bowl, whisk together the flour, cocoa powder, baking soda, and salt.
- Gradually add the dry ingredients to the butter mixture, mixing until just combined.
- Fold in the chocolate chips gently.
- Drop spoonfuls of dough onto ungreased baking sheets.
- Bake for 10-12 minutes or until the edges are set.
- Allow to cool on baking sheets for a few minutes before transferring to a wire rack.
Nutrition
Notes
Tried this recipe?
Let us know how it was!FAQs About Homemade Chocolate Cookies
Can I use honey instead of sugar?
Can I substitute chocolate chips with another type? How can I make these cookies healthier? Can these cookies be made vegan? How do I know when my cookies are done?
Can I use honey instead of sugar?
Yes, it gives a softer sweetness and reminds me of my mother’s spring version. It results in a chewier texture similar to a brownie.
Can I substitute chocolate chips with another type?
Absolutely! Feel free to mix it up using white chocolate, peanut butter chips, or even dried fruits for a unique flavor combination.
How can I make these cookies healthier?
Consider using whole wheat flour instead of all-purpose flour or reducing the sugar by a third. You might even substitute some butter with unsweetened applesauce to cut down on calories while maintaining moisture.
Can these cookies be made vegan?
Yes! Substitute the butter with coconut oil or vegan butter, and use flax eggs instead of regular eggs. The texture may vary slightly, but the flavor will still shine through.
How do I know when my cookies are done?
Look for the edges to be set and slightly golden. The centers may seem soft, but they will firm up as they cool. Trust your eyes and that delicious aroma wafting through the air.
A Final Thought
As we come to the end of our journey through homemade chocolate cookies, I hope you feel the warm embrace of family memories, shared stories, and the joy of creation in your own kitchen. These cookies serve as more than just a sweet treat. They are a reminder of the love and connection we cultivate in our lives.
The kitchen is where relationships blossom, laughter fills the air, and delicious scents intertwine with the stories of our past. May these homemade chocolate cookies find their way into your heart and your home, inspiring new traditions that you will pass down for generations to come. Each baking session is its own celebration, a chance to weave together love, warmth, and unforgettable flavors. As you make this recipe your own, remember that you are not just baking cookies; you are creating moments to cherish forever.
Join Me at the Family Table on Facebook
In our family, recipes aren’t just instructions they’re stories passed from one kitchen to another. If you’d like to gather around my table and discover more comforting dishes like this one, I’d love for you to join me on Facebook. That’s where I share more of the recipes that have warmed our home for generations.