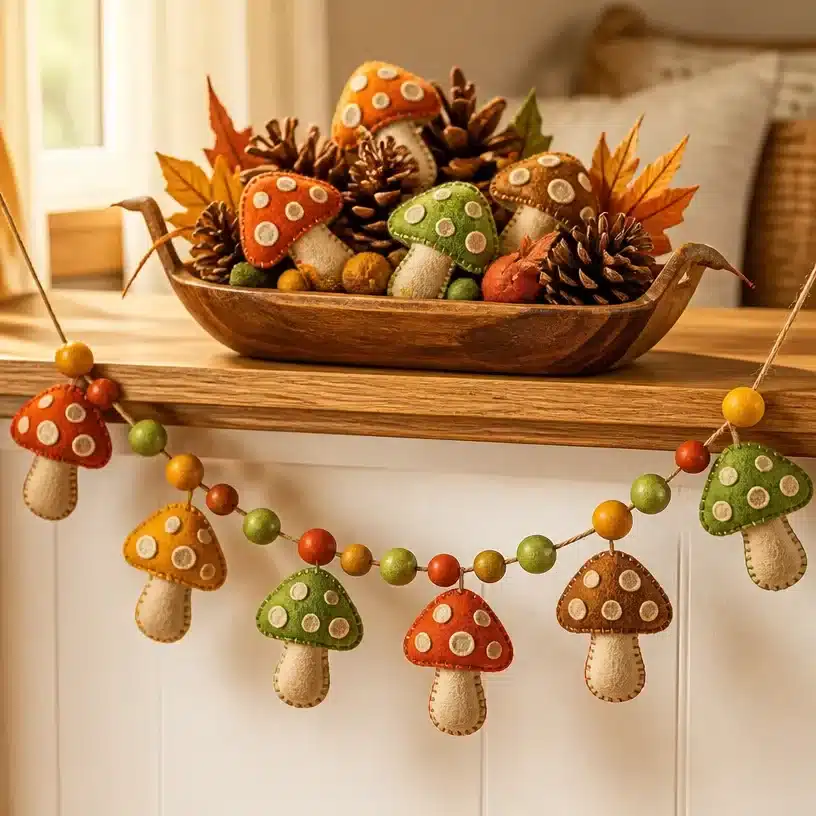
Why You’ll Want to Make Felt 70s Mushroom Garland
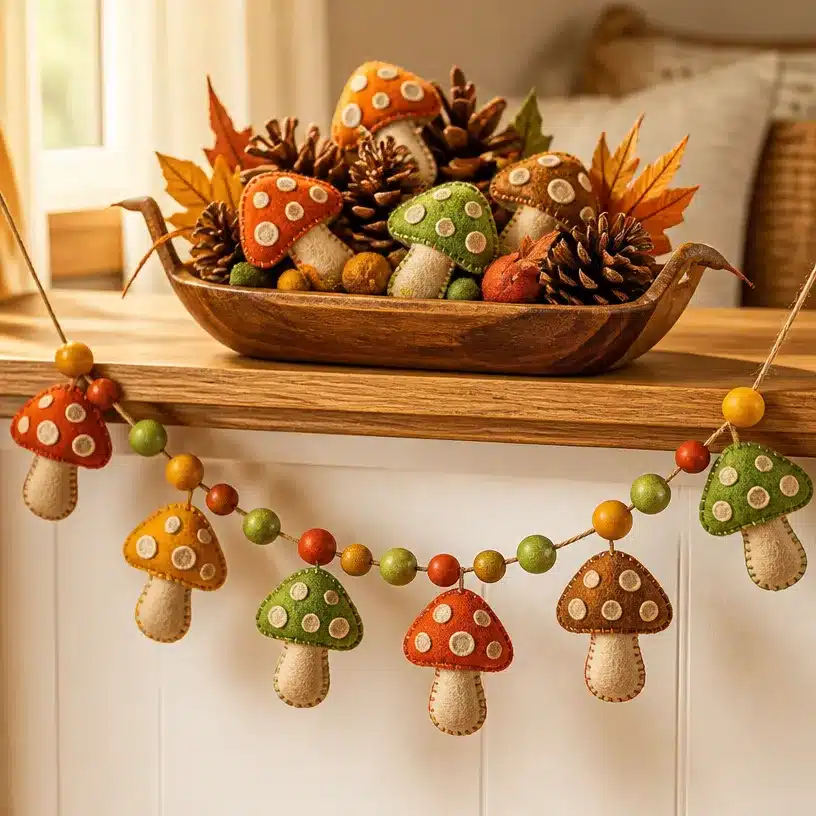
Creating a Felt 70s Mushroom Garland is a delightful way to infuse a cozy, nostalgic atmosphere into your home. This DIY project allows you to craft a charming piece that can brighten up any space, whether it hangs in a bedroom, adorns a living room, or serves as festive decor for a party. The use of vibrant colors like harvest gold, avocado green, burnt orange, and walnut brown brings a retro flair that is both eye-catching and inviting. You may also find Chicken Spinach And Mushroom useful.
Not only is this project fun and satisfying, but it also offers a great opportunity to personalize your decor. You can easily customize your garland according to the season or occasion, making it suitable for fall festivities or a whimsical home addition. With basic materials that are readily available and beginner-friendly steps, the Felt 70s Mushroom Garland is an accessible and rewarding craft that anyone can enjoy. Plus, you can pair it with other mushroom-themed crafts or decor items, like decorative glass lights, to enhance your creative display.
Before You Start
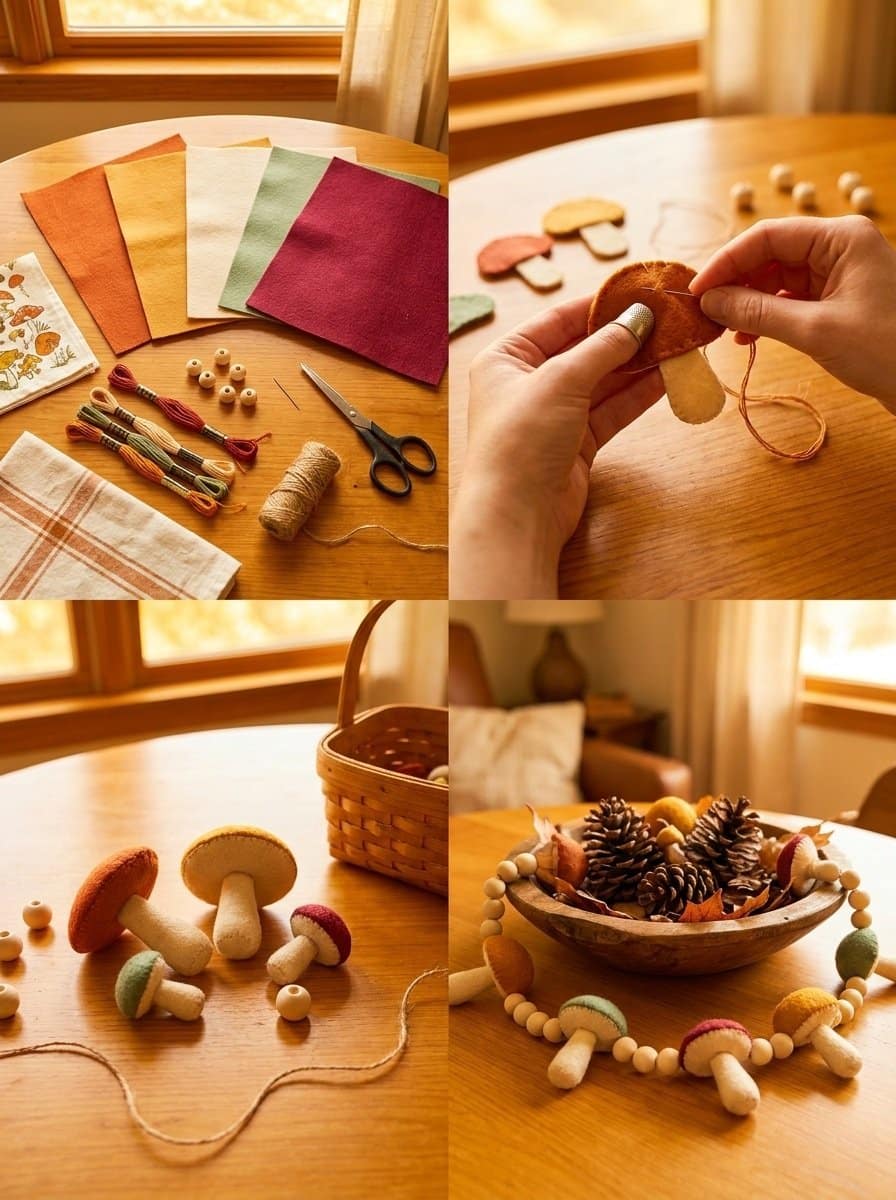
To embark on this crafting adventure, it’s essential to familiarize yourself with the steps involved in making the Felt 70s Mushroom Garland. The finished project typically consists of playful, mushroom-shaped decorations, perfectly suited for draping or hanging. Before diving into the crafting process, take a moment to prepare your workspace. Protect your table with old newspapers or a crafting mat to catch glue spills or paint splatters. You may also find Cottage Cheese Mushroom Soup Recipe useful.
Additionally, gather all necessary materials and tools close at hand to ensure a smooth crafting experience. Have a plan for drying pieces, as waiting for glue to set is crucial in maintaining the integrity of your design. Finally, don’t hesitate to involve family or friends for a enjoyable crafting session – together, you can create something truly unique! You may also find Creamy Wild Rice And Mushroom Soup useful.
Materials You’ll Need
To make your Felt 70s Mushroom Garland, gather the following materials:
- Felt sheets in harvest gold, avocado green, burnt orange, and walnut brown
- Embroidery floss in complementary colors
- Fiberfill for added texture
- Twine for hanging the garland
- Fabric scissors
- Craft paints in retro shades
Helpful Tools
- Hot glue gun or fabric glue for secure adhesion
- Paintbrushes or sponges for even paint application
- Round cutting template or a compass for distinct mushroom shapes
How to Make Felt 70s Mushroom Garland
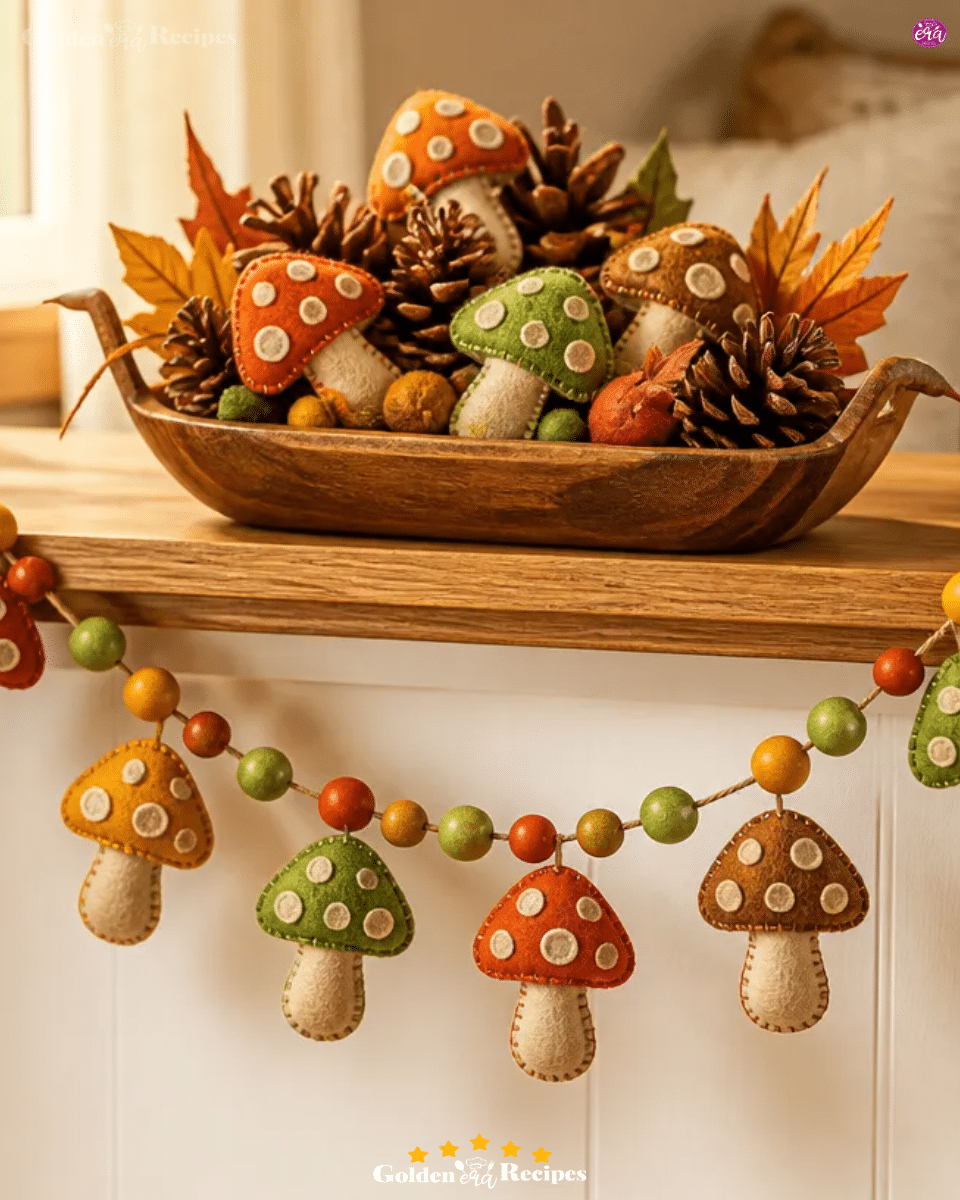
Gather Your Materials: Ensure you have all your materials ready and clean. Flatten any recycled items if you want to add texture. Protect your workspace with a cover.
Design the Base Form: Refer to your design. Cut out mushroom shapes from the felt, ensuring that sizes are simple enough for beginners. Dry-fit the pieces to visualize the final arrangement.
Add Color Layers: Use thin, even coats of craft paint in your chosen colors. This retro style reflects the 1960s and 70s vibes. Allow each coat to dry before applying the next this keeps colors crisp.
Incorporate Decorative Elements: Add seasonal touches such as small leaves, stars, or even little faces to your mushrooms. Focus on the central piece for a strong visual appeal.
Finalize Your Garland: Secure any loose threads or parts. Once finished, consider applying a compatible sealer if necessary. If incorporating lights, use a cool battery-operated LED only, ensuring safety. Style your garland against a simple background for the final look.
How to Display Felt 70s Mushroom Garland
Your completed Felt 70s Mushroom Garland can add charm in a variety of settings. Hang it across a mantelpiece, drape it around a window, or use it as a cheerful centerpiece on a dining table. It’s also suitable for classrooms to bring a bit of whimsy.
The vibrant colors and playful design create a welcoming atmosphere, perfect for inviting guests. Don’t hesitate to pair it with other decor items like a cozy throw or some seasonal plants for a more cohesive display.
Tips for the Best Result
- Apply Glue Sparingly: Avoid excess glue, which can create a mess and make pieces shift out of place.
- Control Paint Application: Use a light touch when painting to prevent bubbles and achieve a smoother finish.
- Let Each Layer Dry: Patience is key in allowing layers to dry fully to maintain distinct color separation and prevent muddy appearances.
- Position Before Attaching: Use dry-fitting methods to arrange pieces before finalizing their placement to avoid misalignments.
Common Mistakes to Avoid
Uneven Paint Application: This can happen if layers aren’t allowed to dry fully. To fix this, gently sand areas with uneven paint before applying another coat.
Weak Adhesion: If pieces come apart, it might be due to using insufficient glue. Make sure to apply enough adhesive and allow it to cure properly.
Misaligned Shapes: Sometimes pieces don’t fit well together. To prevent this, always dry-fit shapes before securing them.
Creative Ways to Make It Your Own
- Color Variations: Feel free to mix in other colors or patterns to personalize your garland.
- Add Glitter: Incorporate some sparkles for that extra charm during festive seasons just remember this is optional.
- Change the Shapes: Adapt your design to include various fungi types besides mushrooms, like toadstools or quirky fantasy designs.
How to Store Felt 70s Mushroom Garland
To care for your new garland, dust it off gently and store it in a cool, dry place. Avoid direct sunlight which can cause colors to fade. You can gently roll it up or lay it flat in a container to maintain the integrity of its shape.
A Quick Safety Note
When working with hot glue guns and sharp scissors, ensure that children have proper adult supervision. Always handle tools with care.
FAQs About Felt 70s Mushroom Garland
How long does it take?
The total crafting time can vary, but you can expect to spend about 2-3 hours, including drying time.
What glue works best?
Fabric glue or hot glue are both effective for attaching felt pieces securely.
Can I use different colors?
Absolutely! The versatility of felt allows you to personalize your garland with any colors you prefer.
Is this project suitable for kids?
While children can participate, adult supervision is necessary, especially when using hot tools.
How should I store it?
Store your garland in a dry place away from direct sunlight to keep colors vibrant.
Conclusion
Creating a Felt 70s Mushroom Garland is not only enjoyable but also a wonderful way to make your space more vibrant and inviting. When you finish crafting, consider exploring additional mushroom-themed decor, such as a charming mushroom garland or quirky mushroom banners to enhance your decorative collection. Enjoy the process, embrace your creativity, and have fun personalizing your garland!
Follow us on social for more recipe ideas & inspiration!
Felt 70s Mushroom Garland
Would you like to save this recipe?
By submitting you agree to receive this recipe and occasional emails. Unsubscribe anytime.
Ingredients
Materials
- 4 sheets Felt sheets in harvest gold, avocado green, burnt orange, and walnut brown Choose vibrant colors for a retro flair.
- 1 set Embroidery floss in complementary colors For stitching decorative elements.
- 1 package Fiberfill for added texture Helps to give mushrooms a plush look.
- 1 roll Twine for hanging the garland Use for securing your garland in place.
- 1 pair Fabric scissors Needed for cutting felt shapes.
- 1 set Craft paints in retro shades To decorate mushroom shapes.
Tools
- 1 pcs Hot glue gun or fabric glue For secure adhesion of felt pieces.
- 1 pcs Paintbrushes or sponges For applying paint evenly.
- 1 pcs Round cutting template or compass To create distinct mushroom shapes.
Instructions
Preparation
- Gather all your materials and protect your workspace by covering it with old newspapers or a crafting mat.
- Ensure all materials are clean and ready for use.
Design and Color Application
- Cut mushroom shapes from the felt using a simple design. Ensure sizes are manageable for beginners.
- Use thin, even coats of craft paint in your chosen colors and allow each coat to dry fully before applying the next.
- Add decorative elements like small leaves or stars to your mushrooms, focusing on visual appeal.
Assembly
- Secure any loose threads and pieces with your glue. If including lights, ensure they are battery-operated.
- Style your finished garland against a simple background for the best visual effect.
Display
- Hang your completed garland across a mantel, drape it around a window, or use it as a centerpiece on a dining table.
Last Step: Don’t forget to leave a rating and comment below! It helps other readers find the best recipes — and it helps us too!
Tips & Notes:
Nutrition Information: Serving: 1 | Calories: | Carbohydrates: | Protein: | Fat: | Sodium: | Fiber: | Sugar:
Nutritional information is provided as a courtesy and calculated automatically. Values can vary depending on the brands and ingredients you use, so if you’re tracking closely, I recommend calculating with your own preferred tool.