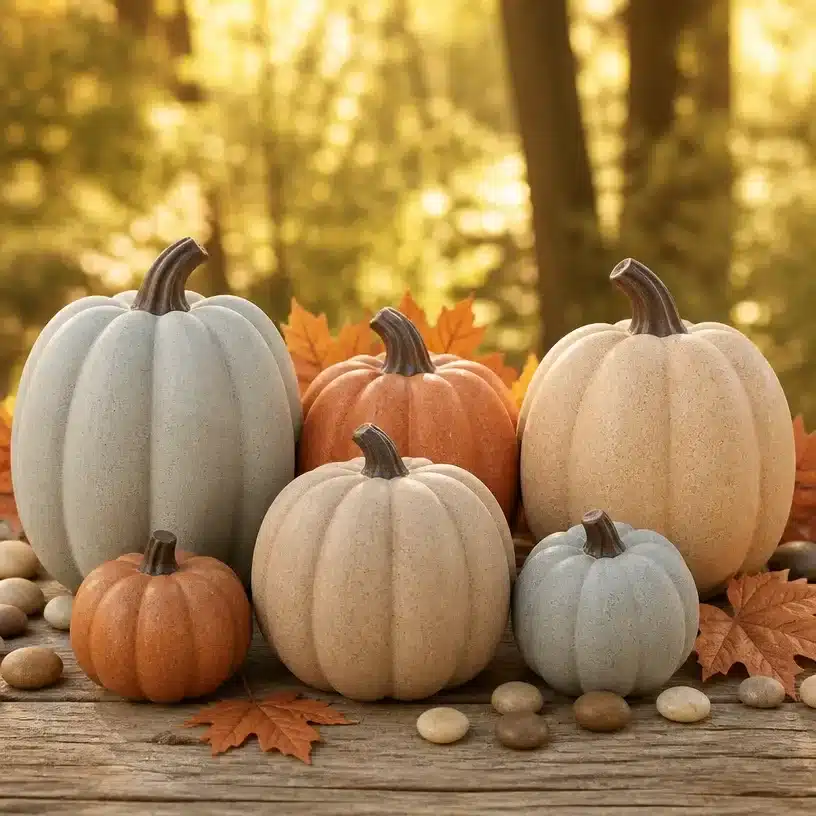
Why Dollar-Store Pumpkin Matte Stone Makeover Is Worth Making
Imagine transforming a simple, plastic pumpkin into a chic, matte stone masterpiece that can fit perfectly in your autumn decor. This Dollar-Store Pumpkin Matte Stone Makeover is both an exciting project and a decorative upgrade for your home. Not only does it allow you to express your creativity, but it also helps you create a seasonal piece that is incredibly versatile. Whether you want to display it on a mantel, at a front entryway, or as a part of a festive table setting, this craft can elevate your interior decor without breaking the bank. You may also find 3 Ingredient Pumpkin Chocolate Candy useful.
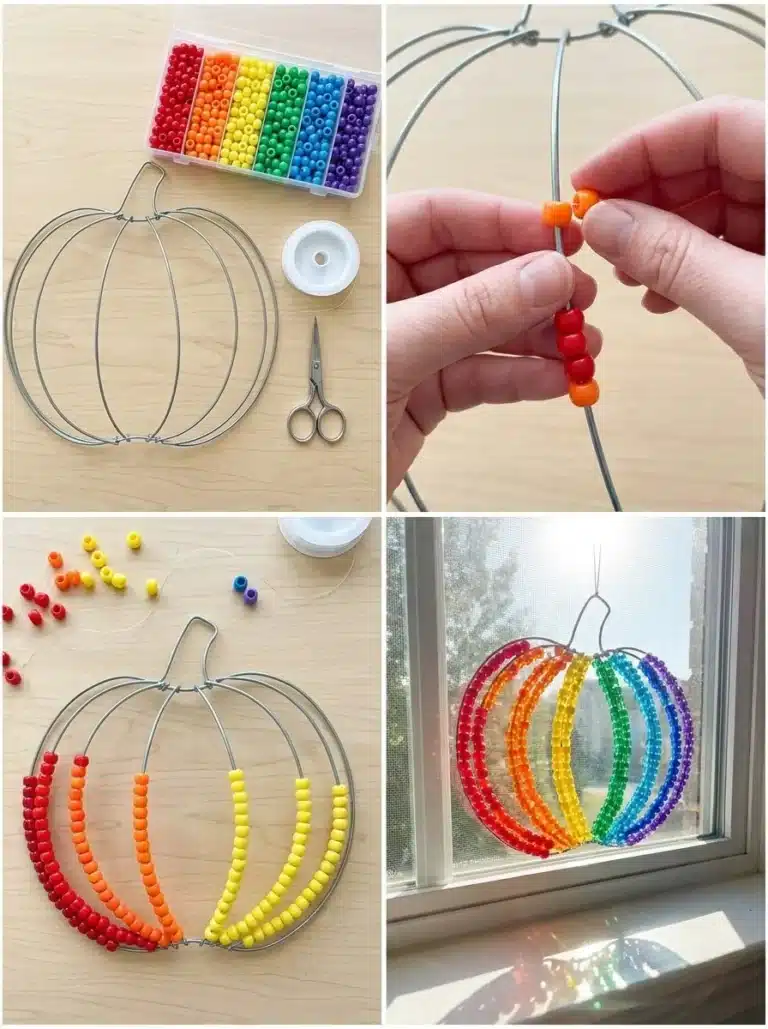
One of the appeals of this project is how accessible it is. You only need a few easily obtain materials from your local dollar store or even items you may already have at home. The step-by-step process is beginner-friendly, making it perfect for crafters of all levels. After completing this project, you’ll be left with a sophisticated decoration that could also serve as a unique handmade gift. You may also find Adorable Black Kitten Rainbow Pumpkin Suncatcher For Windows useful.
You may also find Best Easy Pumpkin Chocolate Chip Cookies useful.
Before You Start
Setting up for your Dollar-Store Pumpkin Matte Stone Makeover is essential to ensure things go smoothly. The process primarily involves applying layers of paint to achieve that chic matte stone look, and you’ll want to prepare your workspace beforehand. Begin by gathering all your materials and tools, so you have everything on hand when you start crafting. It’s also wise to protect your surfaces with old newspaper or a plastic sheet to catch any spills or drips while painting. You may also find Best Gluten Free Pumpkin Muffins useful.
As you move through the project, pay attention to the drying times between layers of paint. This project typically yields a finish that resembles natural stone, with a velvety texture. Expect to take about 2-3 hours overall, factoring in drying times. Make sure to have a clear area for your painted pumpkins to dry without any disturbances.
Materials You’ll Need
Gather the following materials to ensure your Dollar-Store Pumpkin Matte Stone Makeover is a success:
- Plastic Pumpkins (available at dollar stores)
- Acrylic Paint (choose colors such as gray, white, or beige for the stone effect)
- Spray Adhesive (optional, for textural effects)
- Sponges (for applying paint)
- Paintbrushes (a small detail brush and a larger flat brush)
- Sealer Spray (to protect your finish)
- Masking Tape (to block off areas if you want a two-tone effect)
- Water and Paper Towels (for cleanup)
Notes on materials: Acrylic paint is best for this project since it dries quickly and adheres well to plastic surfaces. Ensure that you have enough sponges to create a stone-like texture, as these will be crucial for achieving that desired finish.
Helpful Tools
Here are some optional but helpful tools you may want to consider:
- Scissors (for cutting masking tape)
- Palette (for mixing colors)
- Container (for water when cleaning brushes)
How to Make Dollar-Store Pumpkin Matte Stone Makeover
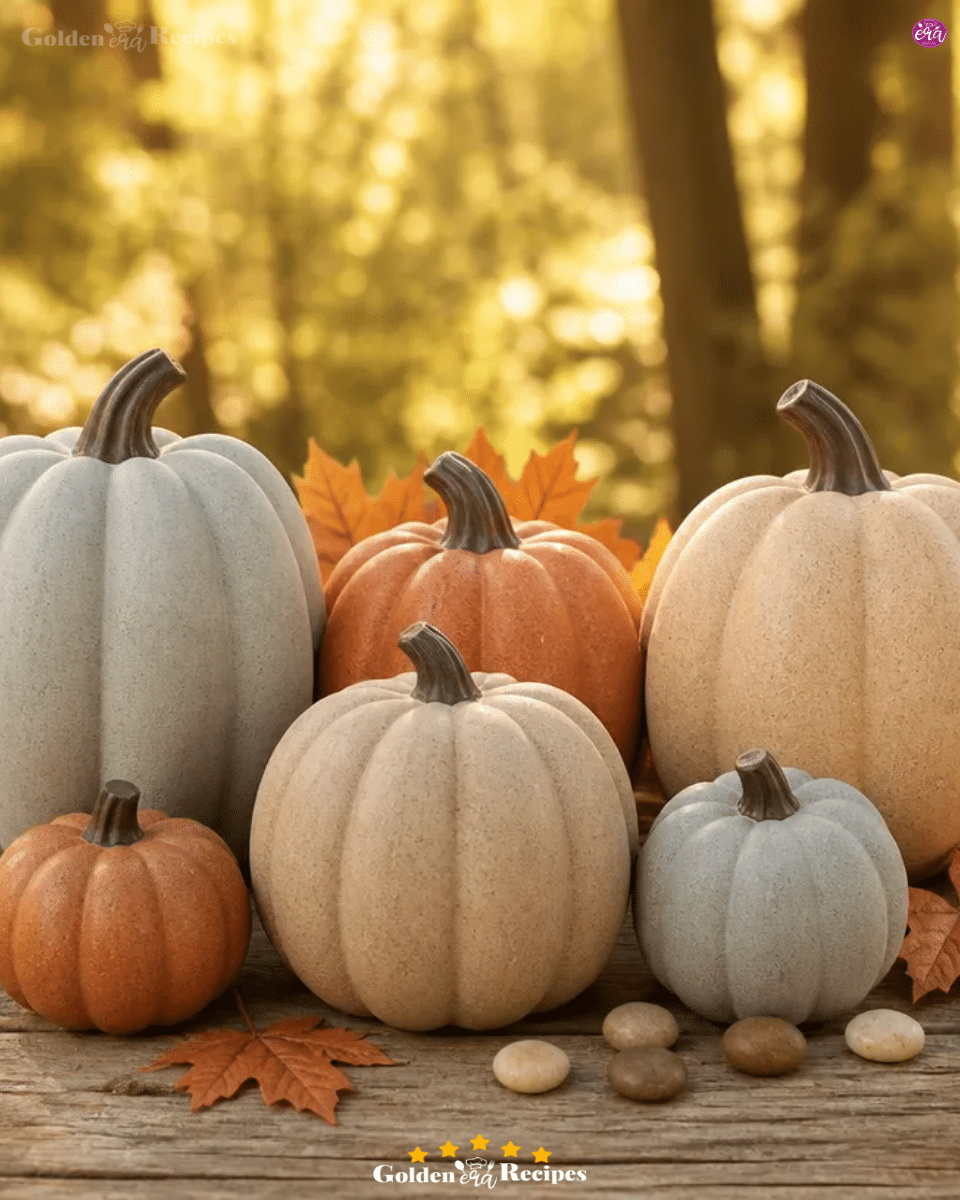
Prepare Your Workspace: Clear a table or counter and lay down protective covering. Make sure it’s well-ventilated if you’re using spray adhesive or sealer.
Select Your Pumpkins: Choose the plastic pumpkins you wish to transform. Wipe them down to remove dust or dirt.
Base Coat Application: Start by painting the pumpkins with a base coat. Use a larger flat brush to apply a layer of your chosen neutral color (like light beige). Allow this coat to dry fully.
Creating the Stone Effect: Once dry, dip your sponge into a slightly darker shade of paint. Gently dab the sponge onto the surface of the pumpkin to create texture. You can layer different shades to enhance the stone appearance, overlapping colors for depth.
Texturizing: If you want to add texture, apply some spray adhesive lightly and sprinkle powdery substances like baking soda to achieve a rough, stone-like feel. Let it adhere for a few minutes.
Finishing Touches with Paint: After the texture is set, you might want to add fine details. Use a small detail brush to create shadows or highlights around the grooves of the pumpkin for added dimension.
Sealing Your Pumpkin: Once everything is completely dry, apply a coat of sealer spray. This will enhance durability and give your project a polished finish.
Final Drying: Allow the pumpkins to completely dry in a cool, dry area before displaying them.
How to Display Dollar-Store Pumpkin Matte Stone Makeover
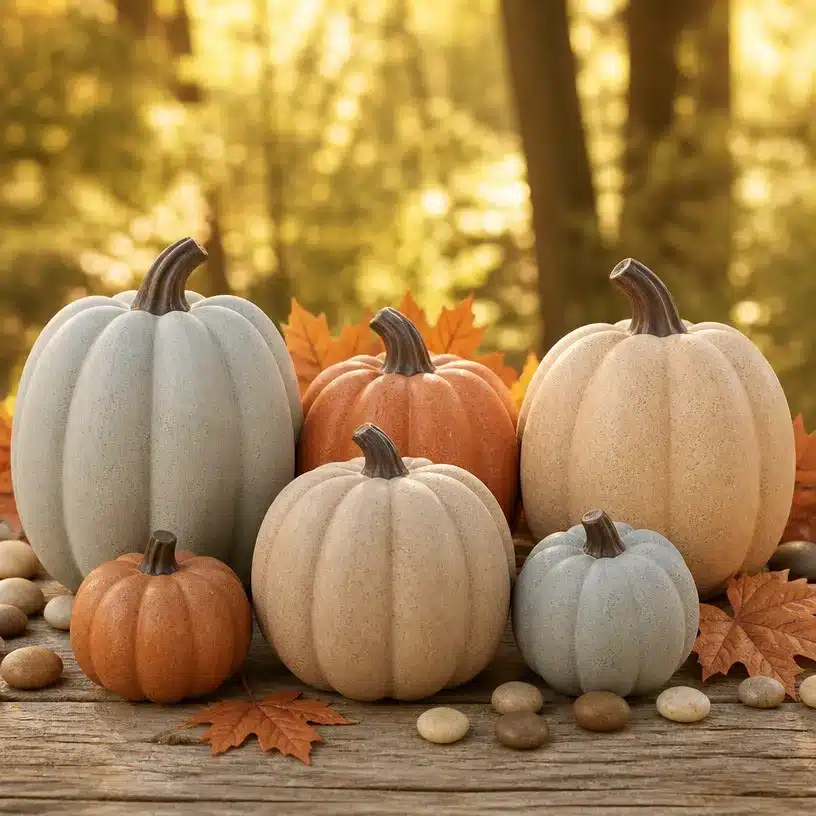
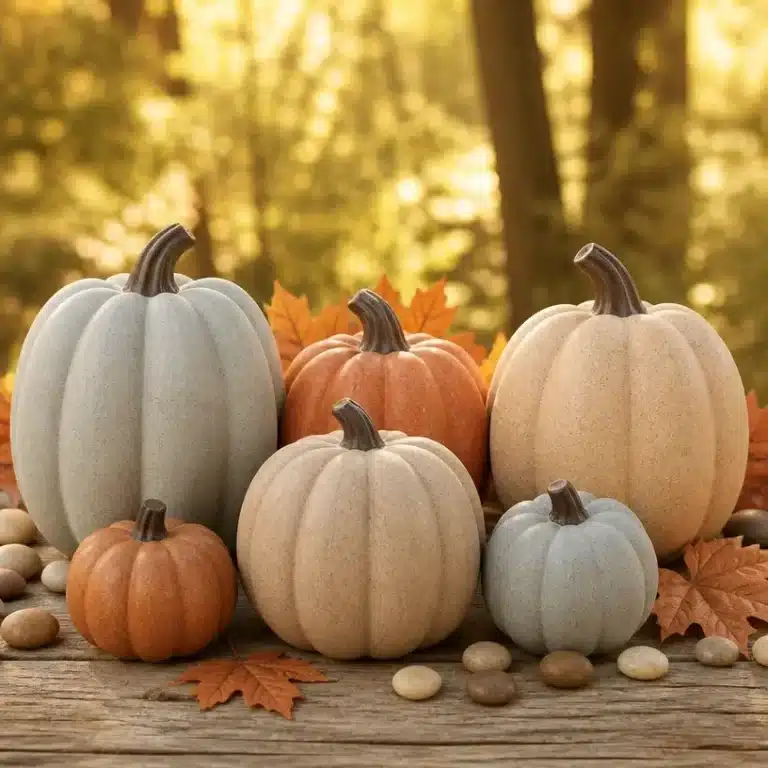
Once your pumpkins are complete, it’s time to showcase your work. These elegant, stone-finish pumpkins will fit nicely in various settings:
- Table Centerpieces: Create a stunning arrangement on your dining table along with other autumn-inspired decor like candles and leaves.
- Mantle Accents: Place them on your fireplace mantle, alongside framed fall family photos or other seasonal decorations.
- Outdoor Decor: If you want to display them outside, ensure they are adequately sealed to withstand the elements though it’s best to bring them inside for harsh weather.
Tips for the Best Result
- Thin Layers Work Best: Always apply thinner layers of paint to prevent drips and ensure a smooth finish.
- Don’t Rush the Drying Process: Allow each coat to dry thoroughly before applying the next. This will help prevent smudges and unevenness.
- Positioning of Textures: If creating texture, practice dabbing techniques on scrap material to find your desired look before applying to the pumpkin.
- Use Quality Materials: Budget-friendly doesn’t mean using low-quality materials. Ensure your paints and adhesives are appropriate for the best finish.
Common Mistakes to Avoid
- Too Thick Paint: Applying paint too thickly can lead to drips and an uneven surface. Aim for thin, uniform layers instead.
- Rushing Dry Time: If you don’t let the layers dry completely, you’ll risk smudging your design. Patience is crucial!
- Ignoring Sealing: Skipping the sealing step can diminish the project’s durability, especially if you plan to display the pumpkins outdoors.
Creative Variations
- Color Changes: Experiment with colors such as dark gray or even bright colors to match your home decor.
- Adding Accents: Consider using ribbons, twine, or artificial flowers glued to the pumpkins for additional visual interest.
- Size and Scale: Use a variety of pumpkins in different shapes and sizes to create a charming grouping.
How to Store Dollar-Store Pumpkin Matte Stone Makeover
To keep your pumpkins looking their best, store them in a cool, dry area away from direct sunlight. If possible, stack them carefully to avoid scratching the painted surfaces. If using any fragile items for decoration, be sure to wrap them carefully for protection.
A Quick Safety Note
When working with spray adhesives or sealers, ensure the area is well-ventilated. Use the products according to their directions to avoid inhalation or contact with the skin.
FAQs About Dollar-Store Pumpkin Matte Stone Makeover
How long does it take?
The project usually takes about 2-3 hours overall, considering drying times.
Can children make it?
While older children might enjoy this craft with adult supervision, younger children may require help with the paint and adhesives.
What glue works best?
For the best adhesion and durability, a strong spray adhesive or a craft glue designed for plastic works well.
Can I make it ahead of time?
Absolutely! These pumpkins can be made in advance and stored until you are ready to use them.
Conclusion
In conclusion, the Dollar-Store Pumpkin Matte Stone Makeover is a simple yet creative project that can vastly upgrade your seasonal décor. With just a few supplies and some time, you can create beautiful pumpkins that enhance your home for the fall season. For more autumn crafting ideas, check out this fall napkin decoupage pumpkin tutorial for another unique approach to seasonal decorating. If you’re looking to make over any other decor, you can learn about how to makeover the dollar tree stacked pumpkins. Happy crafting!
Follow us on social for more recipe ideas & inspiration!
Dollar-Store Pumpkin Matte Stone Makeover
Would you like to save this recipe?
By submitting you agree to receive this recipe and occasional emails. Unsubscribe anytime.
Ingredients
Materials
- 2 pieces Plastic Pumpkins Available at dollar stores
- 1 bottle Acrylic Paint Choose gray, white, or beige for the stone effect
- 1 can Spray Adhesive Optional, for textural effects
- 3 pieces Sponges For applying paint
- 2 pieces Paintbrushes A small detail brush and a larger flat brush
- 1 can Sealer Spray To protect your finish
- 1 roll Masking Tape To block off areas for a two-tone effect
- 1 container Water For cleanup
- 1 roll Paper Towels For cleanup
Helpful Tools
- 1 piece Scissors For cutting masking tape
- 1 palette Palette For mixing colors
- 1 container Container For water when cleaning brushes
Instructions
Preparation
- Clear a table or counter and lay down protective covering.
- Ensure the workspace is well-ventilated, especially when using spray adhesive or sealer.
Painting
- Choose and wipe down the plastic pumpkins to remove dust or dirt.
- Apply a base coat using a larger flat brush with a neutral color like light beige.
- Allow the base coat to dry fully before proceeding.
- Use a sponge dipped in a darker shade of paint to create texture by gently dabbing onto the surface of the pumpkin.
- For added texture, lightly apply spray adhesive and sprinkle baking soda to achieve a rough, stone-like effect.
- After the texture is set, add fine details with a small detail brush for shadows or highlights.
- Once everything is completely dry, apply a coat of sealer spray to enhance durability.
Drying & Displaying
- Allow the pumpkins to completely dry in a cool, dry area before displaying them.
- Once complete, showcase the pumpkins as table centerpieces, mantle accents, or outdoor decor.
Last Step: Don’t forget to leave a rating and comment below! It helps other readers find the best recipes — and it helps us too!
Tips & Notes:
Nutrition Information: Serving: 1 | Calories: | Carbohydrates: | Protein: | Fat: | Sodium: | Fiber: | Sugar:
Nutritional information is provided as a courtesy and calculated automatically. Values can vary depending on the brands and ingredients you use, so if you’re tracking closely, I recommend calculating with your own preferred tool.