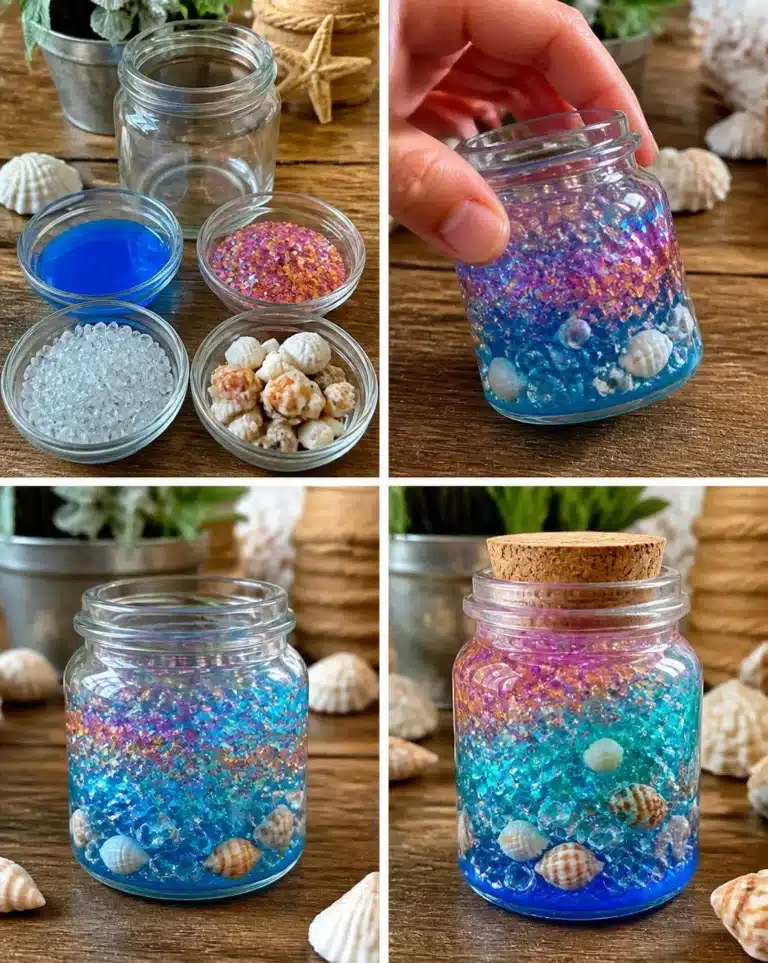
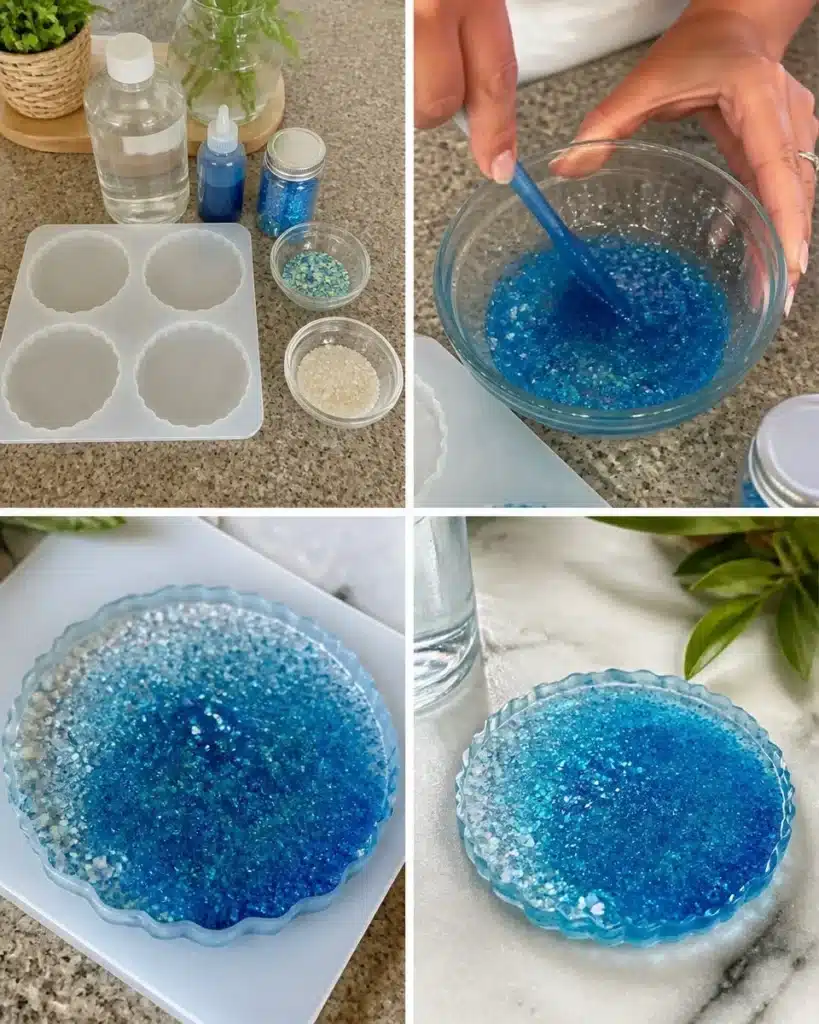
Ocean Resin-Style Coasters are not just functional surface protectors; they capture the essence of a beautiful day spent at the beach. With their shimmering blues and hint of glitter, these coasters evoke a sense of calm and creativity right in your home. Perfect for displaying a collection of refreshing drinks or as a thoughtful gift, this DIY project invites you to experience the joy of crafting something both beautiful and practical. You may also find Ocean Fizz Recipe useful.
Why You’ll Want to Make Ocean Resin-Style Coasters
Creating Ocean Resin-Style Coasters merges creativity with functionality. Not only are they visually stunning pieces of home decor, but they also provide a great conversation starter during gatherings. The appeal of these coasters lies in their handcrafted charm, which can easily suit any decor style.
The materials required for this project are easy to find, and the steps are beginner-friendly, making it a suitable activity for anyone from seasoned crafters to DIY novices. Additionally, because resin coasters are durable and versatile, they can be used for everyday occasions. Plus, with the ability to customize colors and glitter, you can truly make each piece unique!
Before You Start
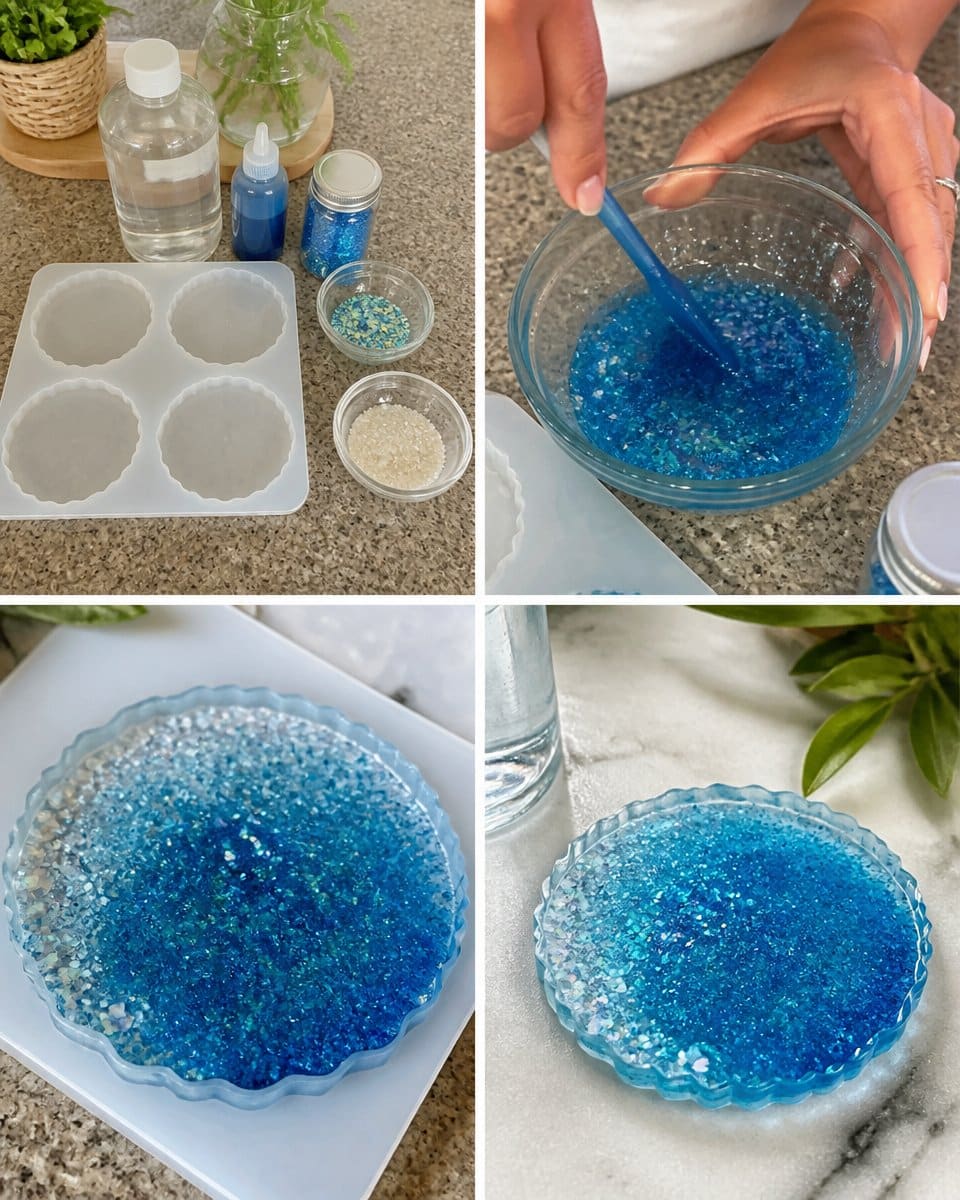
Before diving into this creative endeavor, it helps to have a clear understanding of the craft process. You’ll be combining clear glue, coloring, and glitter to pour into a silicone mold. The expected final product will contain beautiful layers resembling ocean waves that sparkle and shine in the light.
Preparing your workspace is essential. Cover surfaces to protect against spills, as resin can stick and is difficult to clean up once set. Make sure you have all your materials close at hand so that you can work smoothly through the steps of creating your coasters. Remember, patience is key; allowing your coasters to cure completely will ensure a beautiful finish.
Materials You’ll Need
- 2 oz Clear glue
- 1 oz Blue coloring
- 1 oz Glitter
- Silicone mold
Having the right materials is crucial for achieving the desired results. When choosing clear glue, a fast-drying variety often works best for crafting projects. The blue coloring should be vibrant to enhance the ocean effect; consider testing different shades to find what you love. The glitter can be adjusted depending on how much sparkle you want: a little for subtlety or a lot for a dramatic look.
Helpful Tools
- Mixing bowl
- Stirring stick
- Measuring cup
Using the right tools can make a significant difference in the quality of your finished coasters. Ensure you have a good mixing bowl that can handle the materials and a stirring stick for even blending.
How to Make Ocean Resin-Style Coasters
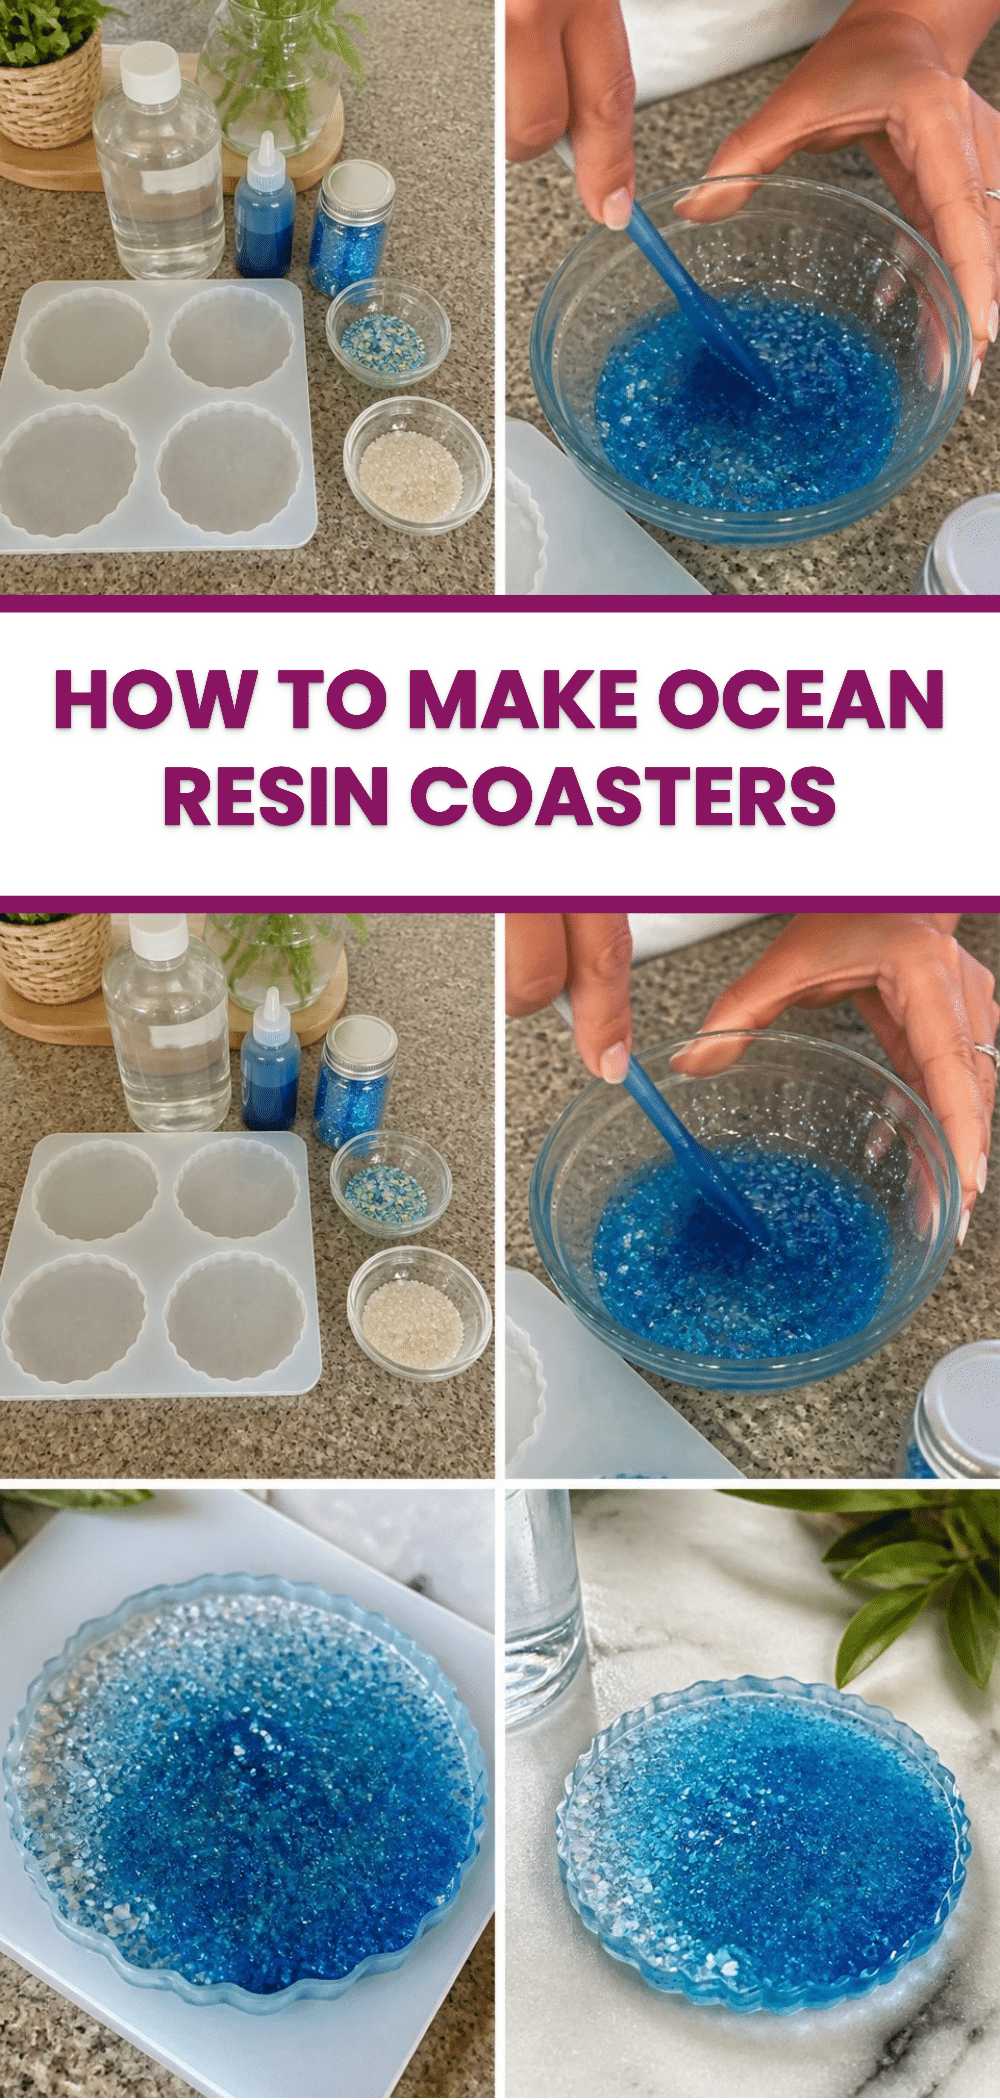
Start by mixing the clear glue and hardener in a bowl until you’ve got a smooth, even blend.
Gradually stir in the blue coloring, adjusting as necessary to achieve your desired shade.
Sprinkle in the glitter, ensuring it is well-distributed throughout the mixture.
Pour the mixture slowly into the cavities of the silicone mold, being careful to avoid air bubbles.
Allow the coasters to set undisturbed on a level surface until fully cured, which can take several hours or even overnight depending on the glue used.
How to Display Ocean Resin-Style Coasters
Once your Ocean Resin-Style Coasters are ready, you’ll want to showcase them! They can be beautifully arranged on coffee tables, side tables, or kitchen countertops, adding a touch of coastal charm to your space.
Gift them to friends during housewarming, birthdays, or any special celebration. They also make great decorations during summer parties or as a summertime addition to your home, reminding you of beach days even on rainy ones.
Tips for the Best Result
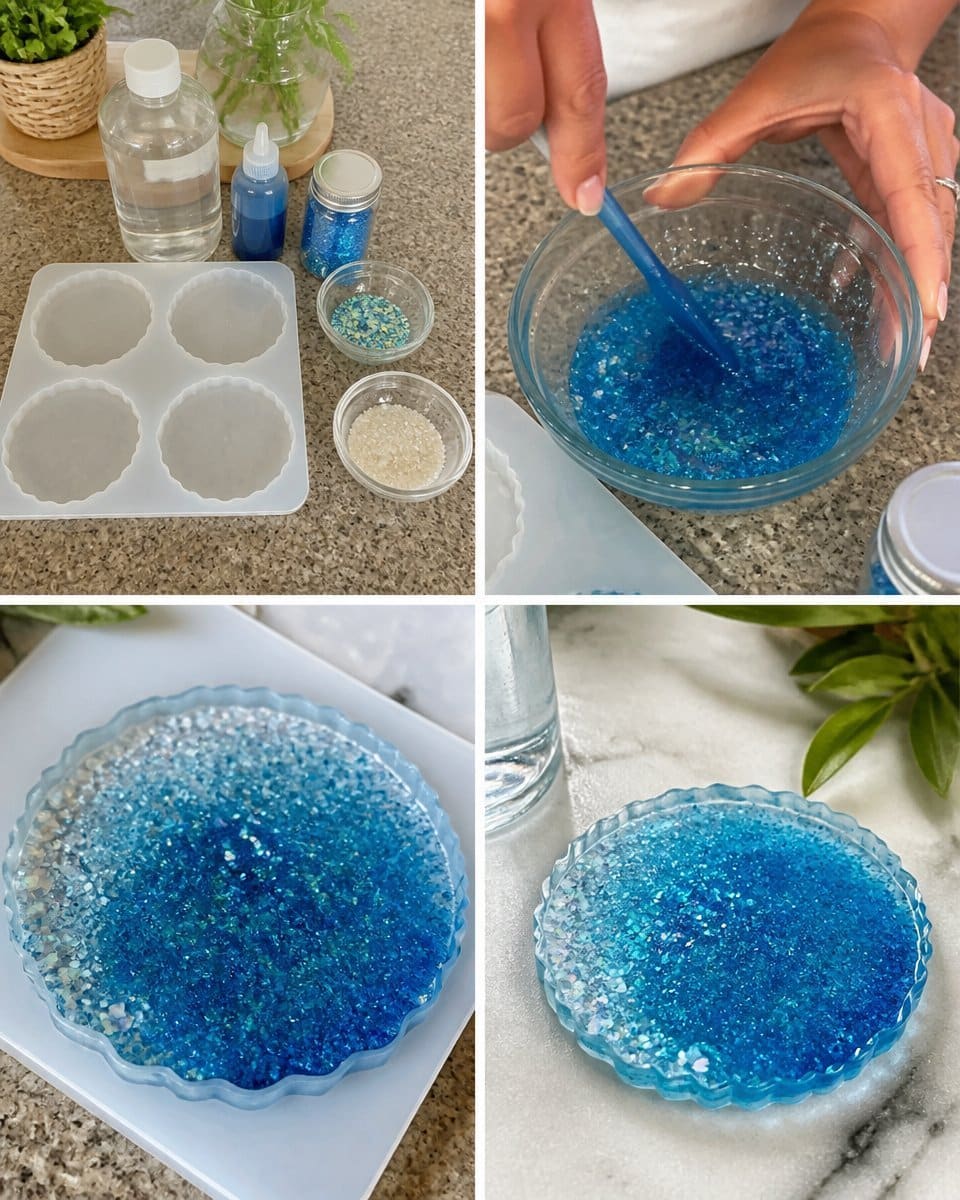
- Ensure your pouring technique is slow to avoid air pockets that might mar your final design.
- Use a level surface to prevent uneven setting.
- If you want to introduce any decorative elements, consider doing so when your resin is partially set for better adhesion.
- Experiment with layering colors for a more dynamic ocean effect.
- Clean your molds promptly after use to keep them in great condition for future projects.
Common Mistakes to Avoid
- Bubbles in the Resin: This can happen if you pour too quickly or stir too vigorously. To prevent bubbles, pour gently and try tapping the mold lightly after pouring.
- Uneven Finishing: Make sure to allow enough time for curing so that the coasters set evenly.
- Overpacking Glitter: If you use too much, it can cause the resin to become cloudy. Start with a moderate amount and adjust based on your preference.
Creative Ways to Make It Your Own
You can personalize your Ocean Resin-Style Coasters in many ways:
- Color Variations: Experiment with different shades of blue or even add hints of green for a truly unique ocean look.
- Layering Techniques: Create waves or gradients by pouring layers separately.
- Natural Elements: Consider adding small shells or sand for a more tactile representation of the beach.
- Shapes: Try different silicone molds to create coasters of varied sizes and forms, such as hexagons or circles.
Caring for Your Finished Craft
Care is essential in maintaining the beauty of your Ocean Resin-Style Coasters. To keep them looking fantastic, gently wipe them with a damp cloth. Avoid harsh cleaning products or soaking the coasters, as these may damage the finish.
For longer-lasting results, store your coasters in a cool, dry place away from direct sunlight. This helps prevent potential discoloration or degradation of the resin.
A Quick Safety Note
When working with resin materials, always ensure adequate ventilation in your workspace. Protect your hands with gloves, as prolonged exposure may cause skin irritation.
FAQs About Ocean Resin-Style Coasters
How long does it take to make these coasters?
The entire process can take several hours to a day, including drying time.What should I do if the resin does not set properly? If you find that the resin isn’t setting, it may be due to improper mixing of the glue and hardener. Always follow the instructions provided with your materials carefully.
Can I use different colors?
Absolutely! Feel free to experiment with various colors to achieve your desired look for your coasters.
How can I store the coasters?
Store them flat in a protective case or stacked with a couple of sheets of paper between them to prevent scratches.
Conclusion
Creating Ocean Resin-Style Coasters is a fulfilling DIY project that allows you to express creativity while crafting a useful item. Whether you make them for yourself or as gifts, they are sure to brighten a room. For more inspiration and resources, check out this article on coaster resin ideas and explore various methods for crafting resin-based decor at this DIY Resin Beach Coasters guide. Enjoy your crafting experience!
Follow us on social for more recipe ideas & inspiration!
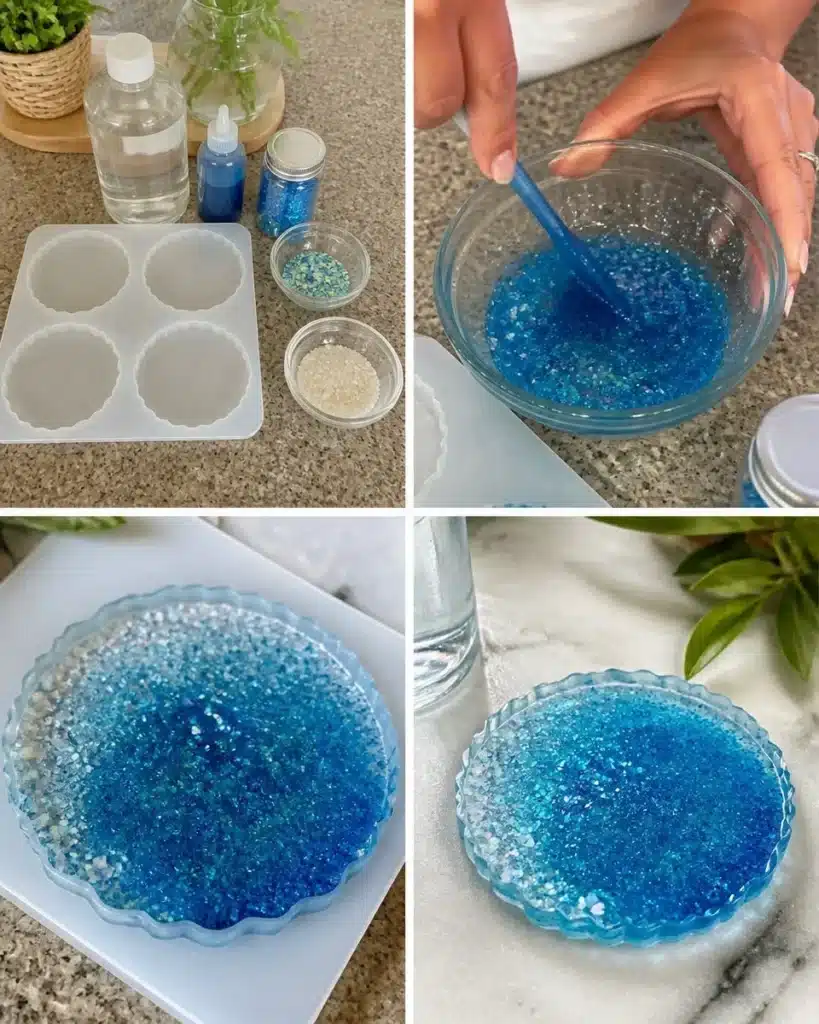
Ocean Resin-Style Coasters
Would you like to save this recipe?
By submitting you agree to receive this recipe and occasional emails. Unsubscribe anytime.
Ingredients
Coaster Ingredients
- 2 oz Clear glue Use a fast-drying variety for best results.
- 1 oz Blue coloring Choose vibrant shades to enhance the ocean effect.
- 1 oz Glitter Adjust the amount based on desired sparkle.
- 1 each Silicone mold Choose molds with desired shapes for coasters.
Instructions
Preparation
- Prep your workspace by covering surfaces to protect against spills.
Mixing
- Start by mixing the clear glue and hardener in a bowl until smooth.
- Gradually stir in the blue coloring until achieving the desired shade.
- Sprinkle in the glitter and ensure it is well-distributed.
Molding
- Pour the mixture slowly into the silicone mold, avoiding air bubbles.
Curing
- Allow the coasters to set undisturbed on a level surface until fully cured, which can take several hours to overnight.
Display
- Once ready, display the coasters beautifully on coffee tables or countertops.
Last Step: Don’t forget to leave a rating and comment below! It helps other readers find the best recipes — and it helps us too!
Tips & Notes:
Nutrition Information: Serving: 4 | Calories: 50kcal | Carbohydrates: | Protein: | Fat: | Sodium: | Fiber: | Sugar:
Nutritional information is provided as a courtesy and calculated automatically. Values can vary depending on the brands and ingredients you use, so if you’re tracking closely, I recommend calculating with your own preferred tool.