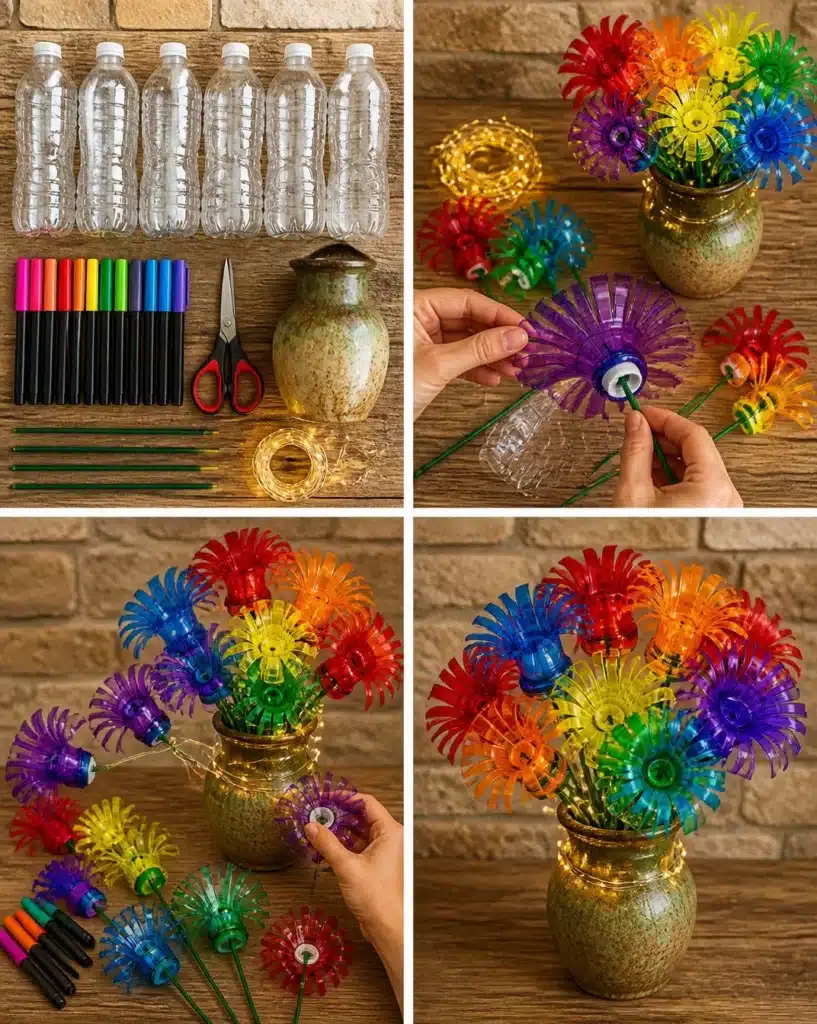
Why Plastic Bottle Rainbow Flower Bouquet DIY Is Worth Making
Creating your own Plastic Bottle Rainbow Flower Bouquet is a delightful and vibrant way to repurpose materials while adding a splash of color to your home or workspace. This project is not only visually appealing but also offers a fun and interactive experience for crafters of all ages. The beauty of this craft lies in its simplicity and accessibility you probably already have most of the required materials at home. With just a few clear plastic bottles and some colorful markers, you can make a beautiful bouquet that would brighten anyone’s day. You may also find Mediterranean Cauliflower Soup Recipe useful.
Moreover, these lovely blooms are perfect for seasonal decorating, gifts, or even to inspire creativity in children. They can easily be placed in a window, on a table, or anywhere you want a cheerful touch. This craft doesn’t require much time, and the results are sure to impress. You can even explore additional resources, like creative projects to complement your colorful creations.
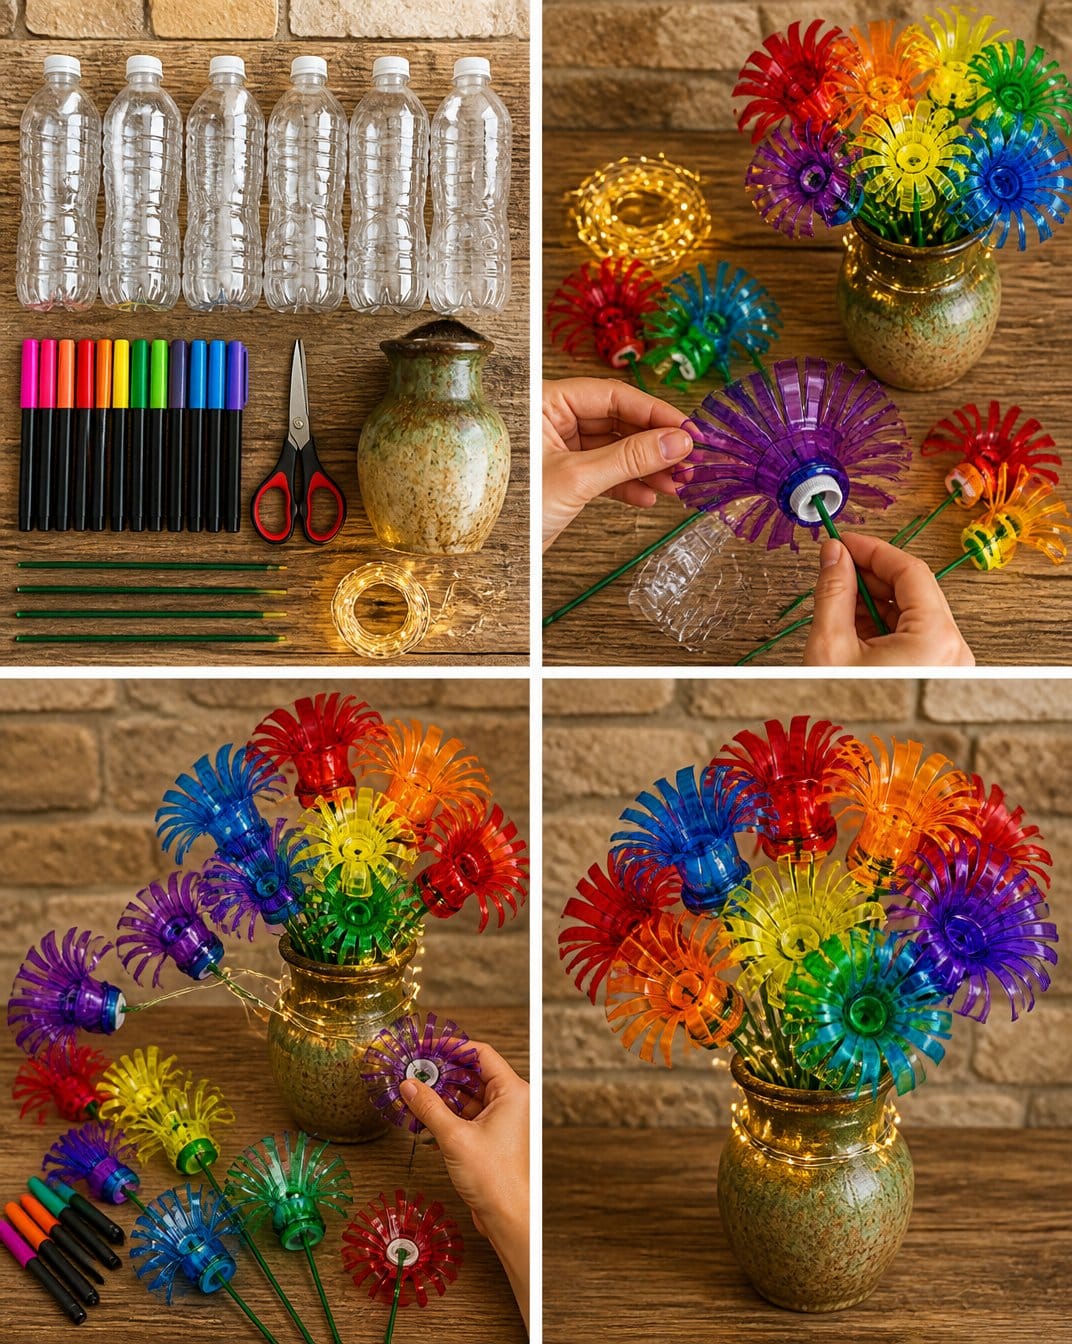
Before You Start
Before diving into the Plastic Bottle Rainbow Flower Bouquet DIY, it’s important to gather your materials and establish a comfortable workspace. This project involves several steps, beginning with cutting and transforming bottles into flowers and preparing them for coloring. The finished product will be vibrant flowers that look great in any setting a fun contrast to the clear materials you started with.
Make sure to protect your work surface with newspaper or a plastic sheet to avoid any mess from the markers. Adult supervision is recommended when using scissors, especially if children are involved in the crafting process. Having everything organized will make it easier to focus on the fun part creating your beautiful bouquet!
Materials You’ll Need
- 6 clear plastic water bottles (16.9 oz)
- 1 set rainbow permanent markers
- 1 pair craft scissors
- 6 green floral wire stems (12 inches long)
- 1 strand mini LED fairy lights (3 feet)
- 1 rustic glass or ceramic vase
Helpful Tools
- Craft knife (optional for more intricate cutting)
- Hot glue gun (optional for additional decorations)
It’s important to note that while any permanent markers will work, rainbow markers will help you achieve the most colorful result. You’ll want to ensure that your craft scissors are sharp enough to cut through the plastic easily.
How to Make Plastic Bottle Rainbow Flower Bouquet DIY
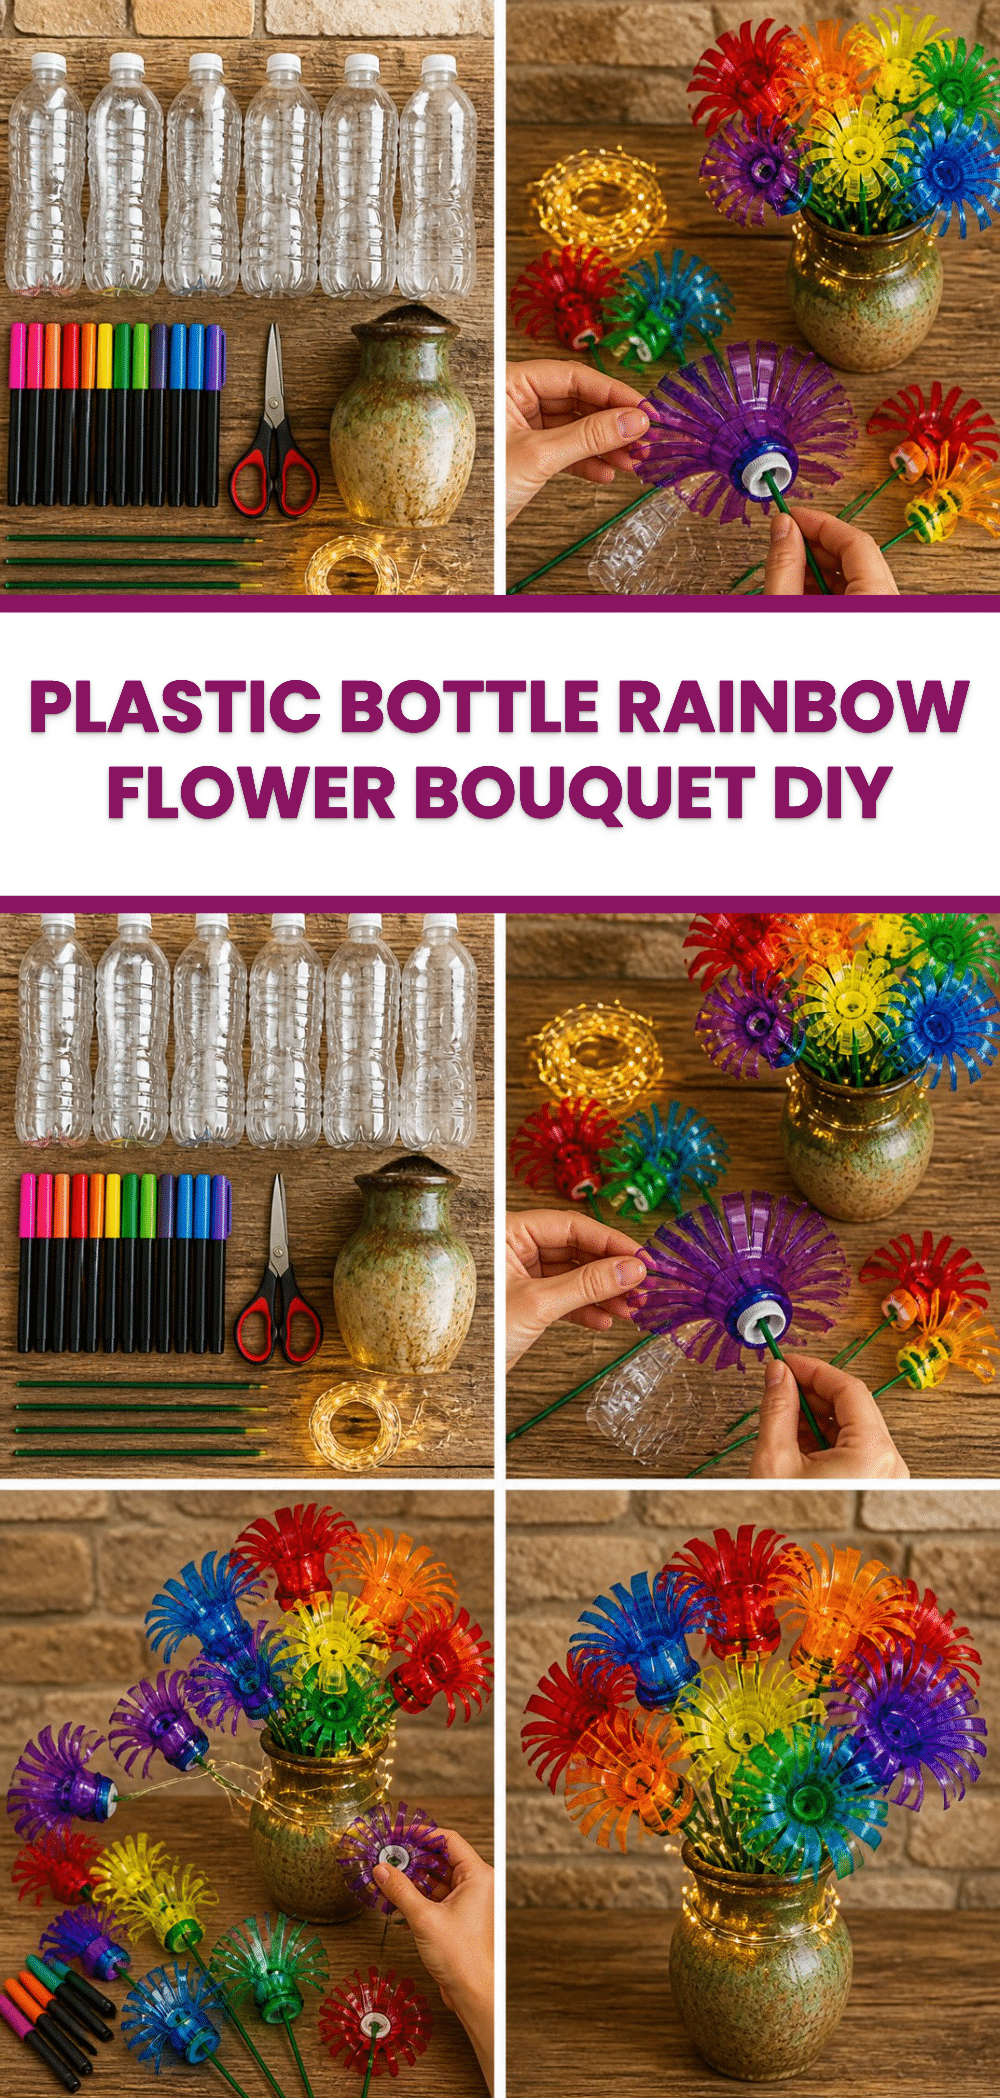
Start by carefully cutting off the top portion of each plastic bottle. This will create a hollow space for the flower petals.
Next, slice vertical strips down towards the cap line to create beautiful, individual petals. Aim for about 6 to 8 strips on each flower for a fuller look.
Color each petal thoroughly with your bright rainbow permanent markers. After coloring, gently press and curl the petals outward to give them dimension and a realistic flower look.
Take the floral wire stem and thread it through the bottle cap of each flower, securing it tightly beneath the flower for stability. Make sure the petals are fanned out nicely before securing the wire.
Finally, arrange all of your cheerful rainbow flowers in a lovely vase and wrap the mini LED fairy lights around the stems for a twinkling touch. This will add a soft glow and bring your bouquet to life.
How to Display Plastic Bottle Rainbow Flower Bouquet DIY
Once your Plastic Bottle Rainbow Flower Bouquet is complete, you’ll want to find the perfect place to show it off. Consider displaying it on a table as a centerpiece or placing it on a windowsill where it can catch the light. The addition of fairy lights will not only enhance its beauty during the day but also create a magical atmosphere at night.
This bouquet works wonderfully for seasonal decor, party themes, or as a handcrafted gift for friends and family. The vibrant colors are sure to bring joy and become a conversation starter.
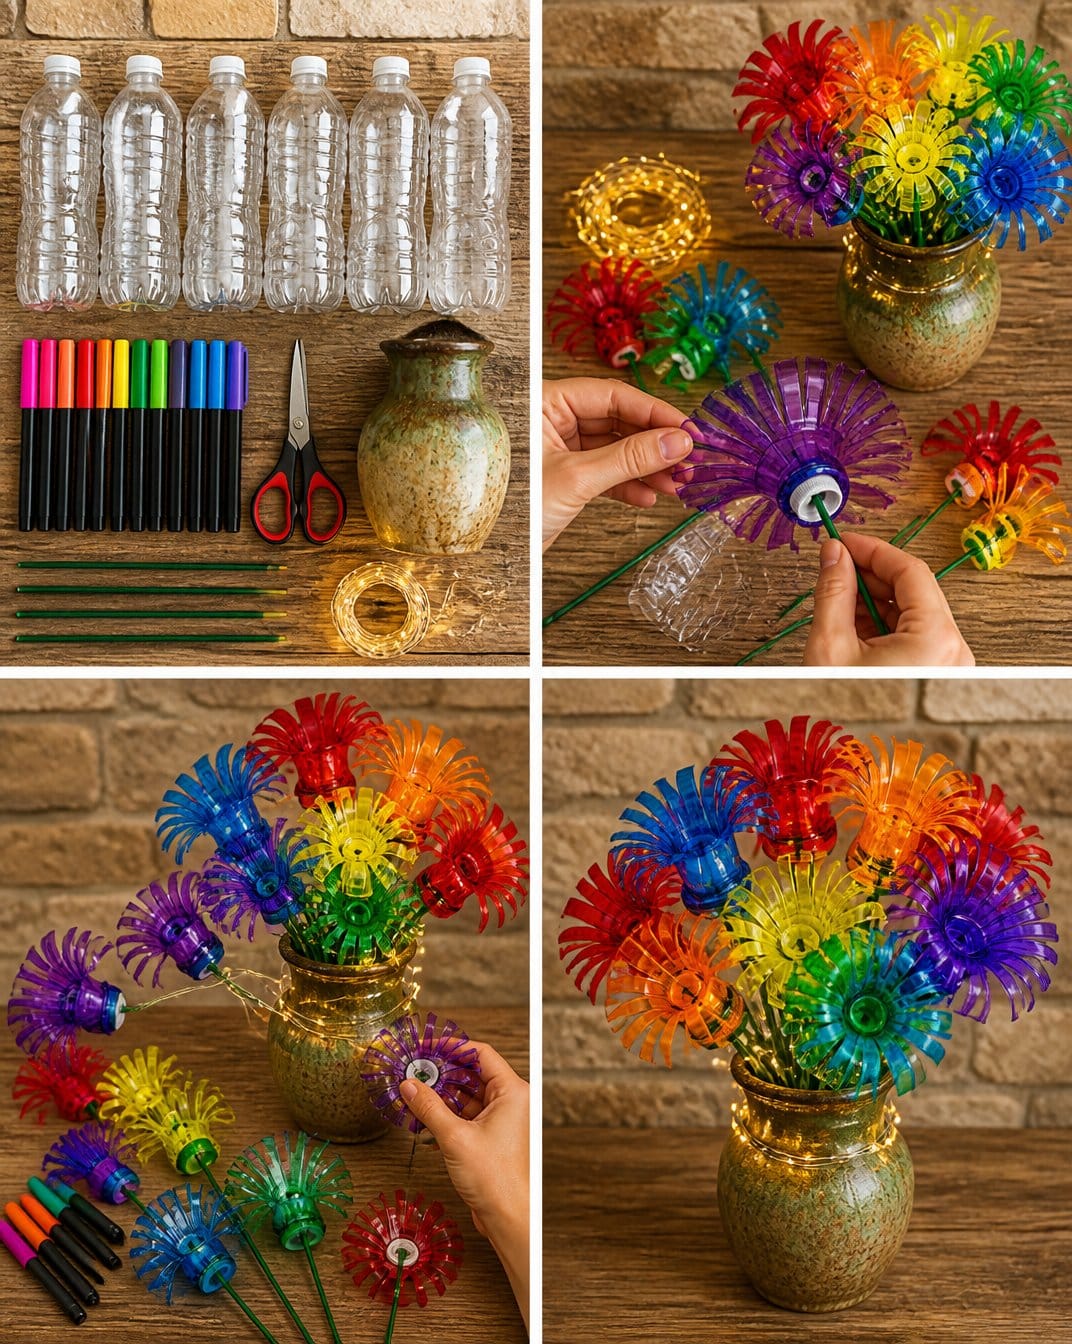
Tips for the Best Result
- Make sure to use thick, steady strokes with the markers to ensure even pigmentation.
- Be gentle when curling the petals to avoid breaking them.
- Allow each colored petal to dry slightly before moving to the next to prevent color bleeding.
- If using wire stems, double-check that they are securely attached to support the flowers’ weight.
- Experiment with different shapes of flower petals for variety in your bouquet.
Common Mistakes to Avoid
Uneven Petals: If your petals are cut unevenly, the flowers may look awkward. To avoid this, make sure to measure your strips carefully before cutting.
Fix: If this happens, you can adjust the length of some petals by trimming them more.
Insufficient Curling: Flowers that aren’t curled may appear flat and unattractive.
Fix: Use gentle pressure to curl each petal outward, and try to vary the angle for a more natural look.
Stems Not Secure: If the stems don’t hold tight enough to the flower heads, they might wobble.
Fix: Thread the floral wire securely and use a bit of hot glue if needed to help affix them to the flower caps better.
Creative Variations
- Texture Additions: Use fabric or lace to decorate the stems for a more rustic feel.
- Seasonal Themes: Consider making flowers in season-specific colors pastels for spring or warm tones for autumn.
- Diverse Shapes: Experiment by cutting the petals into different shapes, such as hearts or stars, for a unique bouquet.
- Add Glitter: For a sparkling effect, use glue to add glitter to the edges of the petals.
Caring for Your Finished Craft
To keep your Plastic Bottle Rainbow Flower Bouquet looking fresh and vibrant, dust it regularly with a soft cloth. Avoid placing it in direct sunlight for prolonged periods, as this can fade the colors. If you use LED lights, they’ll remain cool to the touch and won’t cause any damage to your creations. For cleaning, gently wipe the vase with a damp cloth to remove any dust or moisture.
A Quick Safety Note
When using scissors or sharp cutting tools, always exercise caution. It’s best for children to work under adult supervision, especially during the cutting phase of the project.
FAQs About Plastic Bottle Rainbow Flower Bouquet DIY
How long does it take to complete the project?
Typically, it takes about 1-2 hours, depending on your crafting speed and level of detail.
Can I use a different type of plastic bottles?
Yes, any clear plastic bottle can be used, but the size will affect the final size of each flower.
How long do the markers take to dry?
Most permanent markers dry quickly, usually within a few minutes. However, it’s wise to allow the flowers to sit for about 30 minutes to ensure complete drying.
Can children make it?
Children can definitely make this project with adult supervision, mainly during the cutting phase.
What’s the best way to store the bouquet?
Keep your bouquet in a cool, dry area to avoid warping the plastic. If storing long-term, consider wrapping it gently to prevent dust build-up.
Conclusion
Creating a Plastic Bottle Rainbow Flower Bouquet is an enjoyable way to unleash your creativity while contributing to a more sustainable world by upcycling plastic materials. The vibrant colors and playful shapes can brighten up any space or serve as a thoughtful gift. To explore more creative ideas, check out these fantastic resources: Upcycled Plastic Bottle Rainbow Flowers and DIY Mini Flower Bouquets. Gather your materials and get ready to craft your very own colorful bouquet today!
Follow us on social for more recipe ideas & inspiration!
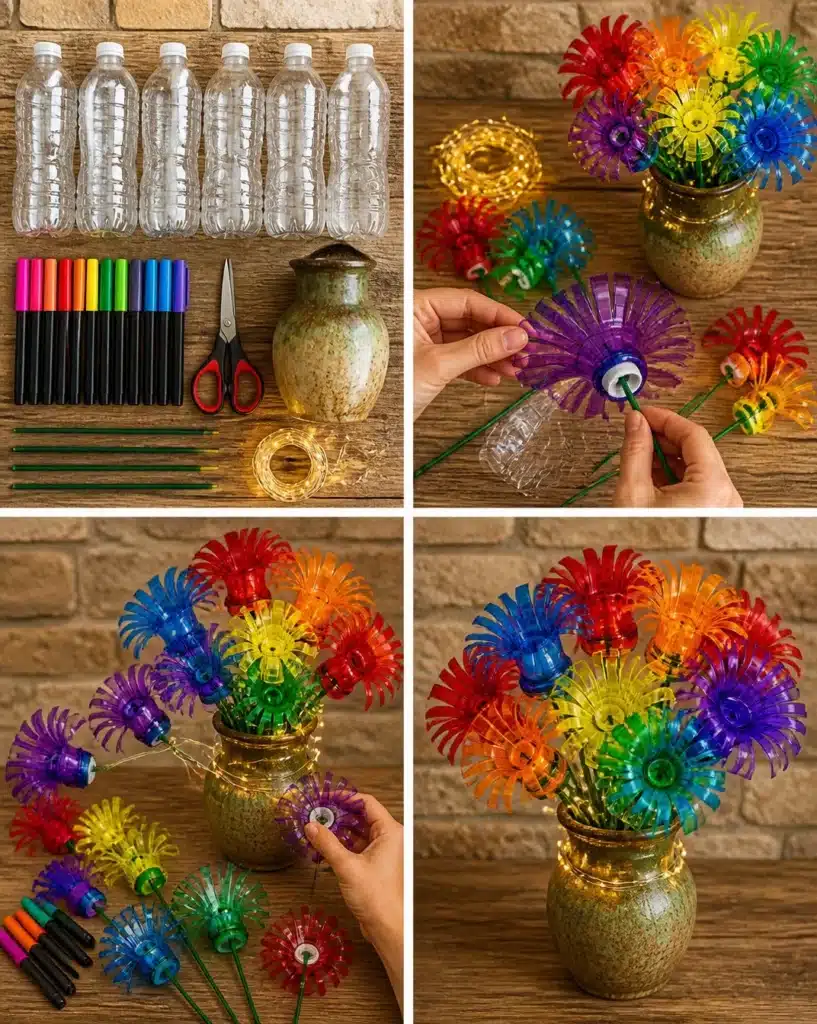
Plastic Bottle Rainbow Flower Bouquet
Would you like to save this recipe?
By submitting you agree to receive this recipe and occasional emails. Unsubscribe anytime.
Ingredients
Flowers Materials
- 6 pieces clear plastic water bottles (16.9 oz) Any clear plastic bottle can be used.
- 1 set rainbow permanent markers Rainbow markers provide the most colorful result.
- 1 pair craft scissors Ensure scissors are sharp enough for cutting plastic.
- 6 pieces green floral wire stems (12 inches long) These will hold the flowers together.
- 1 strand mini LED fairy lights (3 feet) Optional for adding a twinkling element.
- 1 piece rustic glass or ceramic vase Use to display the final bouquet.
Helpful Tools
- 1 piece craft knife Optional for more intricate cutting.
- 1 piece hot glue gun Optional for additional decorations.
Instructions
Preparation
- Carefully cut off the top portion of each plastic bottle to create a hollow space for the flower petals.
- Slice vertical strips down towards the cap line to create individual petals, aiming for about 6 to 8 strips on each flower.
- Color each petal thoroughly with rainbow permanent markers, pressing and curling them outward for dimension.
Assembly
- Take a floral wire stem and thread it through the bottle cap of each flower, securing it tightly beneath for stability.
- Arrange the rainbow flowers in a vase, wrapping mini LED fairy lights around the stems for added charm.
Last Step: Don’t forget to leave a rating and comment below! It helps other readers find the best recipes — and it helps us too!
Tips & Notes:
Nutrition Information: Serving: 1 | Calories: | Carbohydrates: | Protein: | Fat: | Sodium: | Fiber: | Sugar:
Nutritional information is provided as a courtesy and calculated automatically. Values can vary depending on the brands and ingredients you use, so if you’re tracking closely, I recommend calculating with your own preferred tool.