
Homemade Strawberry Syrup
The sun is shining brightly, casting a warm glow over the kitchen, where the soft sound of bubbling fills the air. Fresh strawberries, sweet and fragrant, sit patiently on the countertop, their vibrant red color an invitation to create something magical. The aroma of simmering strawberries mingles with the sweet notes of sugar as I stir the saucepan, a soothing reminder of leisurely summer afternoons spent with family. Each splash of syrup evoking cherished memories of pancake mornings and ice cream sundaes shared at the table. Homemade strawberry syrup is more than just a sweet addition to our meals; it is a taste of nostalgia, love, and tradition that brings people together in the simplest of ways.
Why Homemade Strawberry Syrup Belongs in Your Kitchen Story
Homemade strawberry syrup is not just a recipe; it is a heartfelt connection to our past, lovingly stirred in simmering pots. For many of us, it carries the weight of cherished family traditions, memories that blossom like the strawberry plants in summer. Making this syrup is rooted in a rich history, where the simple act of gathering around the table transforms into a moment of togetherness. The glossy, deep red syrup is a symbol of warmth, togetherness, and the essence of summer captured in a jar.
As you prepare to create this delightful syrup, think about the moments that will unfold: breakfasts shared with loved ones, the laughter of children enjoying their pancakes, and the sweet satisfaction that comes after a scoop of ice cream drizzled with homemade strawberry syrup. This recipe serves as a bridge between generations, bringing forth the simplest joys in life.

The Cooking Process Explained
In this enchanting kitchen experience, creating homemade strawberry syrup is a delightful process that evokes multiple senses. As the strawberries soften in the pot, their colors deepen into a richer hue, and the sweet aroma fills the room, reminiscent of sun-soaked berry fields. With a few simple ingredients, we are embarking on a journey that turns ordinary strawberries into something truly extraordinary.
“Every time I stir this pot, it smells just like Sunday at home.”
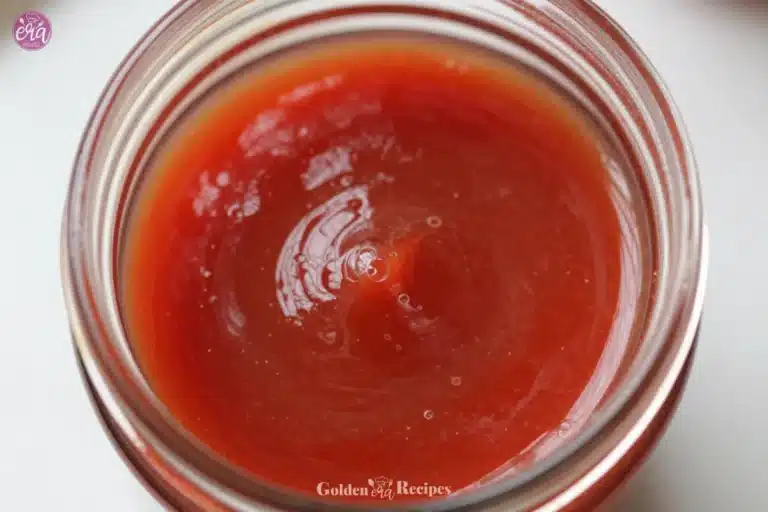
Before diving into the ingredients and step-by-step instructions, let us take a moment to cherish the anticipation of our creation. Picture the vibrant red syrup, thick and glossy, as it transforms in the pot, promising a delightful finish that will remind you of family gatherings and special moments.
Gathering the Ingredients
To make this delightful homemade strawberry syrup, you will need:
- 2 cups fresh strawberries, hulled and sliced
- 1 cup granulated sugar
- 1 cup water
- 1 tablespoon lemon juice
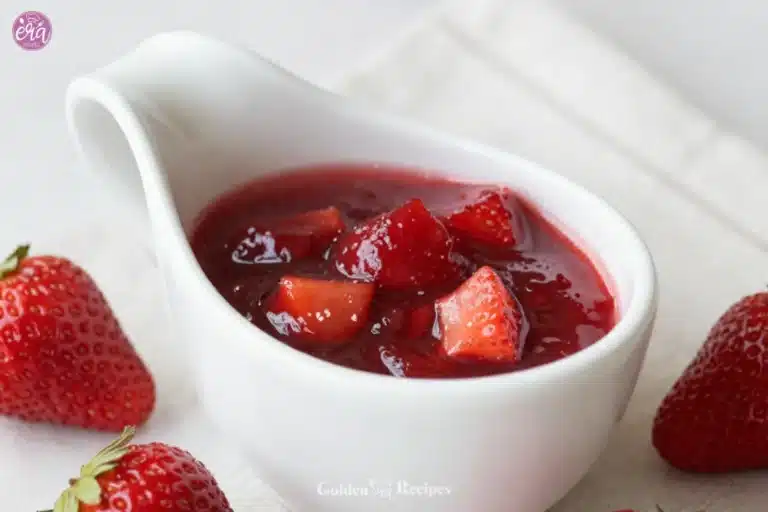
These ingredients come together to create a syrup that balances freshness and sweetness. Be sure to select ripe strawberries, as they will enhance the syrup’s flavor. Each ripe berry, bursting with juice, adds a layer of enjoyment that sugar alone cannot deliver. If you can, choose organic strawberries for the freshest taste.
Step-by-Step Directions
Creating homemade strawberry syrup is a delightfully straightforward process, and following these simple steps will lead you to a beautiful outcome.
- In a medium saucepan, combine the fresh strawberries, sugar, and water. The strawberries should be nestled comfortably among the sugar crystals.
- Bring the mixture to a boil over medium heat, stirring occasionally. During this step, watch as the strawberries begin to release their juices.
- Once it reaches boiling, reduce the heat and let it simmer for about 15-20 minutes. This is where the magic happens. The strawberries will soften, and the mixture thickens, filling your kitchen with an irresistible aroma.
- Stir occasionally to prevent the syrup from sticking to the bottom of the pan. You want to see those glossy bubbles forming.
- When the strawberries have fully softened and the syrup has thickened to your preference, remove the pot from the heat.
- Stir in the tablespoon of lemon juice. This brightens the flavor, adding a delightful tang that complements the sweetness.
- Allow the syrup to cool slightly. If desired, you can strain the syrup to remove the fruit pieces, resulting in a smoother finish. If you prefer to enjoy the bits of strawberry for texture, you can leave them in.
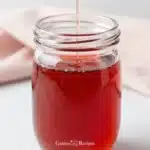
- Finally, pour the syrup into a clean jar, seal it, and store it in the refrigerator.
Note that the syrup will continue to thicken as it cools. You may also wish to adjust the sweetness or acidity according to your preference by adding more sugar or lemon juice as needed.
Serving Homemade Strawberry Syrup With Family Warmth
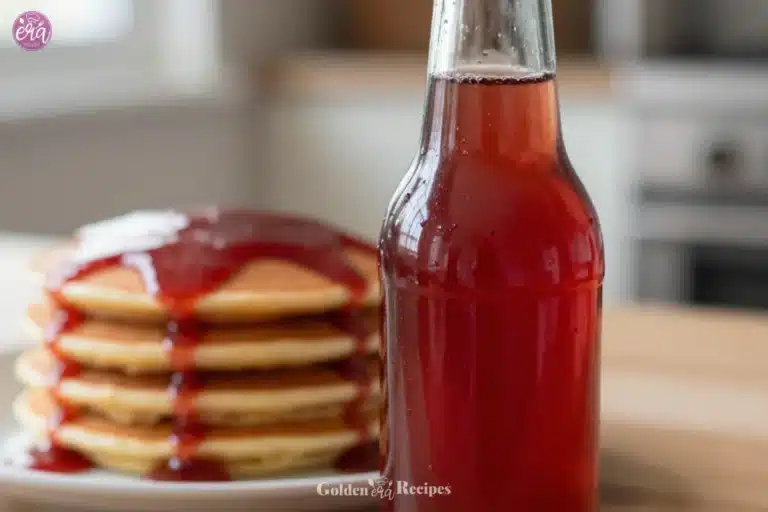
Serving homemade strawberry syrup brings a joyful warmth to the table, creating unforgettable moments among family and friends. Picture a stack of golden-brown pancakes glistening with warm syrup, inviting everyone to gather around.
As you drizzle the vibrant syrup over waffles or ice cream, the deep red color contrasts beautifully with the soft white creaminess, creating an inviting dish that is not only pleasing to the eye but also delightful to the palate.
Imagine the delighted faces of children as they take their first bites, their eyes wide with joy and anticipation. It is in these small moments that love flourishes and bonds are strengthened. The homemade strawberry syrup becomes a part of your family story, finding its way into countless breakfasts, desserts, and even shared laughter.

Keeping the Comfort Alive
After making your syrup, you will want to savor its sweetness for days to come. Proper storage will maintain its delectable flavor while ensuring you can enjoy it whenever the moment calls for a taste of this homemade delight.
Pour your cooled syrup into a clean jar with a tight-fitting lid. It will keep in the refrigerator for about two weeks. The flavors may deepen over time, allowing you to discover new layers of taste with each use. You can easily drizzle it over Monday morning oatmeal or use it to bring cheer to a winter’s night dessert.
When you’re ready to use it again, simply give it a gentle stir or a quick warm-up in the microwave, restoring its smooth texture and inviting aroma. You can also create a stunning summer drink by mixing it with sparkling water for a refreshing beverage.
Dalida’s Little Secrets
Over the years, I have gathered a few tricks that can enhance your homemade strawberry syrup experience. Here are some practical notes to guide you:
-
Substitutions: If you prefer a lighter syrup, consider reducing the sugar or using honey. It gives a softer sweetness, evoking nostalgia for my mother’s spring version.
-
Tools Needed: A fine mesh strainer is helpful if you choose to strain out the fruit. It creates a cleaner syrup that is perfect for topping desserts.
-
Texture Cues: When the syrup coats the back of a spoon, it’s ready! This signifies the right thickness you want for drizzling.
-
Timing Advice: Keep an eye on the pot as it simmers. If it begins to boil over, simply reduce the heat. You want a gentle simmer, not a frantic boil.
-
Flavor Enhancements: Variants like adding a splash of vanilla extract or a sprinkle of cinnamon can elevate the syrup, adding depth and warmth.
Heritage Variations
In my family, we have embraced several delicious variations of homemade strawberry syrup. As traditions vary by region, so does the way we create and share this delightful treat.
In some instances, my family adds a touch of balsamic vinegar toward the end of cooking. This addition enhances the natural flavor of the strawberries and introduces an unexpected yet delightful complexity.
Additionally, those from the Southern parts of the United States often mix in mint or basil, creating a refreshing syrup that becomes a popular topping for fresh biscuits or cornbread. Each twist on this beloved recipe reminds us of our unique backgrounds and the ways we share love through food.
FAQs About Homemade Strawberry Syrup
Can I use honey instead of sugar?
Yes, using honey gives a softer sweetness and reminds me of my mother’s spring version, where the syrup danced lightly across pancakes.
How long does homemade strawberry syrup last?
Stored properly in the refrigerator, the syrup will stay fresh for about two weeks, deepening in flavor as it sits.
Can I use frozen strawberries?
Absolutely. Frozen strawberries can work in a pinch, though they may yield a slightly different texture and flavor. Thaw and drain before using.
What can I use strawberry syrup for?
Beyond pancakes and ice cream, strawberry syrup is delightful as a topping for yogurt, in cocktails, or drizzled over cheesecake.
Conclusion
Homemade strawberry syrup is a celebration of flavors, colors, and memories that unfold at the heart of our homes. With each batch, we cast a loving spell woven from tradition and warmth, inviting those we cherish to gather around and share in the joy of food. Preparing this syrup isn’t just about creating a sweet treat; it’s about crafting an experience, a moment, and a memory.
Every drizzle tells a story, echoing laughter and companionship in every bite. If you feel inspired to explore different variations, check out this Simple Strawberry Syrup Recipe or mix things up with Homemade Strawberry Simple Syrup (with Fresh Strawberries). May your kitchen continue to be a place of love, nourishment, and the sweetest memories.

Homemade Strawberry Syrup
Ingredients
Method
- In a medium saucepan, combine the fresh strawberries, sugar, and water.
- Bring the mixture to a boil over medium heat, stirring occasionally.
- Once it reaches boiling, reduce the heat and let it simmer for about 15-20 minutes.
- Stir occasionally to prevent the syrup from sticking to the bottom of the pan.
- When the strawberries have fully softened and the syrup has thickened to your preference, remove the pot from the heat.
- Stir in the tablespoon of lemon juice.
- Allow the syrup to cool slightly, straining if preferred.
- Pour the syrup into a clean jar, seal it, and store it in the refrigerator.