

When the sun begins to shine brighter and the air fills with the sweet scent of spring, my thoughts drift to the kitchen, where memories of preparing strawberry syrup with the tops dance like the shadows of those sunlit days. The very act of transforming simple strawberry tops into a luscious syrup reminds me of my grandmother’s gentle guidance, her hands deftly creating magic from what others deemed waste. Each whiff of simmering strawberries and sugar carries with it the warmth of family gatherings, the laughter of siblings teasing each other, and the comfort of a home that is tasted and felt. This is not just a recipe; it is a doorway back to family traditions, rich with heritage and love.
The Heart Behind This Recipe
Strawberry syrup made from the tops is not merely a delightful addition to your breakfast table; it represents a cycle of nurturing and sustainability often overlooked. Growing up, we didn’t waste anything, and every part of the strawberry was cherished. This simple act of making syrup is a celebration of resourcefulness, a practice passed down through generations.
Using the tops of strawberries cuts down on waste and enriches our cooking with flavor that speaks of resourcefulness. The bright green leaves and occasionally the tiny blossoms add subtle notes to the syrup that just can’t be achieved with store-bought options. The glistening, deep red syrup reminds me of summer, yet it evokes a sense of nostalgia that warms the heart.

The emotional connection to this recipe is grounded in the shared stories around our family table. Breakfasts brightened by pancakes drizzled with homemade strawberry syrup, laughter mingling with the familiar aroma of fresh fruits, all create a lasting tapestry of memories. Just as the vibrant syrup beckons us, we too gather, creating new stories to cherish. So let us delve deeper into not just how to make strawberry syrup with the tops but also into why this humble recipe finds its place in our kitchens today.
Preparing How to Make Strawberry Syrup with the Tops
“Every time I stir this pot, it smells just like Sunday at home.”
The journey to creating a batch of strawberry syrup with the tops begins with sourced ingredients transformed into something profound. Gather your materials and open your heart to the process. The play of colors—deep reds surrounded by vibrant greens—when visualizing the ingredients is the starting point.
To craft this syrup, you will need:
- 4 cups of strawberry tops
- 3 cups of sugar
- 3 cups of water
Whether you gather the ingredients from your garden or a local farmer’s market, each selection is an opportunity to connect. The aroma of fresh strawberries thriving in their early summer growth signals an experience that is just waiting to unfold.
Step-by-Step Directions
- Pour strawberry tops and sugar into a stockpot and cover with water.
- Bring to a boil, allowing the mixture to sing and bubble for 10-15 minutes.
- Take the pot off the burner and carefully strain out the tops, relinquishing their essence into the liquid.
- Pour the juice back into the pot.
- Bring the juice back to a boil, then lower the heat to simmer until it reduces for about 20 minutes or until it reaches your desired consistency.
As you stir, watch for glossy surfaces that reflect the light and give off a sweet fragrance—a cue that your creation is on the right path. The vibrant color deepens, and the aroma fills the air, teasing taste buds and igniting anticipation.
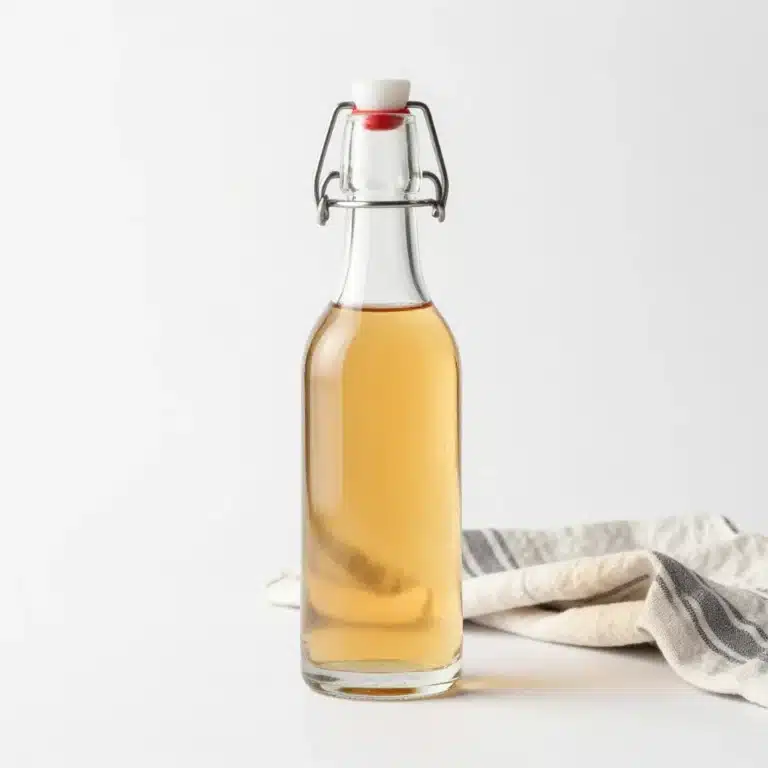
- Turn off the burner and pour the syrup into a jar or bottle, capturing your homemade treasure to store in the fridge.
The clear, shimmering syrup is like liquid sunshine, ready to add brightness to any dish.
Sharing How to Make Strawberry Syrup with the Tops With Loved Ones
Once you have finished crafting your syrup, it’s time to invite your loved ones to share in this culinary creation. The table becomes a gathering point where stories are exchanged, laughter rings true, and hearts are warmed. Picture a lazy summer morning where the syrup glistens in a bowl, creating an inviting centerpiece among fluffy pancakes and fresh whipped cream.
As you pour the rich syrup onto fluffy pancakes or blend it into sparkling water, the delight collects in the eyes of your family. We pour, dip, and drizzle, bringing everyone together with each golden droplet. That moment of connection at the table—a tapestry of flavors weaving amongst joyful chatter—captures the essence of shared meals.

Serving this homemade strawberry syrup transcends the act of merely eating; it is about creating a shared experience that holds the power of tradition. Indeed, each spoonful carried to your mouth is a reminder of those who came before us, who nurtured and crafted memories out of the simplest moments.
Keeping the Comfort Alive
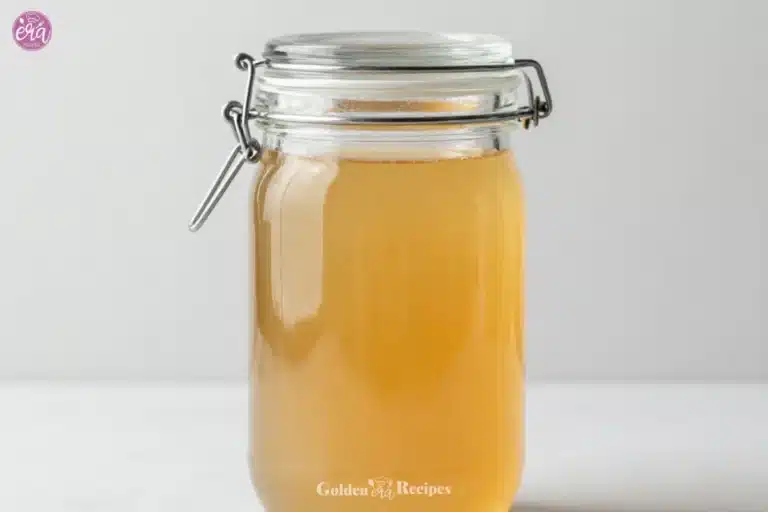
Preserving the warmth and comfort of this homemade strawberry syrup is essential for replenishing yourself tomorrow. The syrup can typically last for up to 2 weeks when stored properly in the refrigerator. As it sits, flavors deepen and evolve, giving it a complexity that makes it even more delightful upon reheating.
To keep the syrup fresh, ensure it is stored in glass jars, which maintain quality better than plastic. When the craving hits, simply warm it gently on the stove or in the microwave. Serve it warm, drizzled over ice cream or used to enhance morning oatmeal. Each bite filled with memories brings a sense of home and warmth.
Dalida’s Little Secrets
Here are a few little tips I’ve learned over the years that make the process even smoother and the flavors even better:
- You can substitute a portion of the sugar with brown sugar for a deeper taste that emphasizes the caramel notes.
- A splash of lemon juice can brighten the syrup, giving it a refreshing twist.
- If you ever find yourself short on fresh strawberry tops, you can also experiment with other berry tops for a blend of flavors.
- Use a fine mesh strainer to ensure that your syrup has a silky texture, catching any remnants of pulp or particles.
- Remember to keep an eye on the syrup as it reduces; you want a thick, glossy consistency with no burning edges.
These little nuggets of wisdom are the result of trial and joy, turning a simple recipe into an enriching experience.
Family Twists on How to Make Strawberry Syrup with the Tops
Across families, this simple recipe may carry unique variations rooted in regional touches and personal preferences. In my family, for instance, we often add a hint of vanilla extract to invoke a deeper warmth that pairs beautifully with the strawberry’s natural sweetness.
Others might mix in fresh herbs like mint or basil, which add an unexpected freshness to the syrup. In certain regions, a splash of balsamic vinegar lends an intriguing balance of tartness, transforming the syrup into a versatile accompaniment for savory dishes too. Each variation becomes an expression of culture and love, weaving its way into an already rich history.
FAQs About How to Make Strawberry Syrup with the Tops
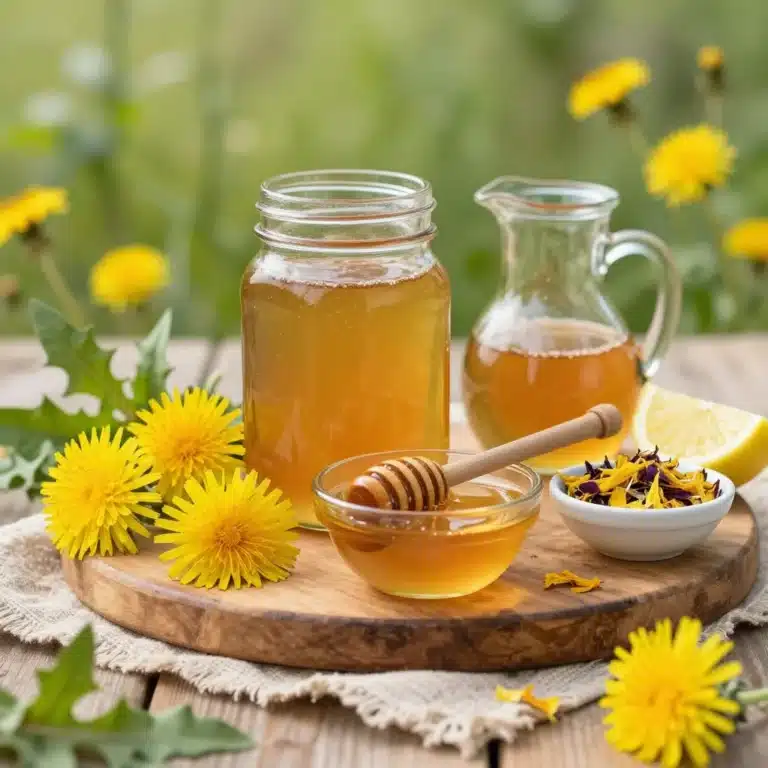
Can I use honey instead of sugar?
Yes, using honey gives the syrup a softer sweetness, reminiscent of springtime. It also recalls fond memories of my mother’s spring version of this syrup.
How do I know when the syrup is done?
Watch for a thickened texture that coats the back of a spoon. It should look glossy and rich, with a vibrant color that promises flavor.
Can I use frozen strawberry tops instead?
While fresh tops yield the best flavor, you can use frozen ones if necessary. Just allow them to thaw and drain excess water before proceeding.
What do I do with leftover syrup?
The syrup can be used in a variety of ways. Drizzle it over yogurt, mix it into smoothies, or use it as a sweetener for teas.
Can I can this syrup for later use?
Certainly! Follow standard canning procedures to preserve it for longer storage. Ensure to use sterilized jars for safety.
Conclusion
In wrapping the experience of this recipe in a cozy embrace, the layers of memory and love envelop us. Making strawberry syrup with the tops is more than just a way to utilize fruit scraps; it brings us back to the hearth of family, rich traditions, and celebrations that endure through generations. Each step, from the gathering of ingredients to pouring the syrup over breakfast delicacies, invites us back to meaningful connections.
If you wish to deepen your understanding of this delightful syrup, check out PlantYou’s zero-waste strawberry syrup recipe for even more inspiration. You can also explore Entirely Elizabeth’s tips on making simple strawberry syrup, which offers plenty of insights as well. As we move forward into tomorrow, may we continue to embrace family traditions—reminders that love can be tasted, savored, and ultimately shared.

Strawberry Syrup with Tops
Ingredients
Method
- Pour the strawberry tops and sugar into a stockpot and cover with water.
- Bring to a boil, allowing the mixture to simmer for 10-15 minutes.
- Take the pot off the burner and carefully strain out the tops.
- Pour the juice back into the pot.
- Bring the juice back to a boil, then lower the heat to simmer until it reduces for about 20 minutes, or until it reaches your desired consistency.
- Turn off the burner and pour the syrup into a jar or bottle for storage.